So we have started that your bathroom floor has to find a way to be cleaned thoroughly and routinely as well as be cozy under feet and with this in mind I'd recommend a tile floor for your bath room. Yet another promising option is carpet, which has to be reluctant to water, stain, and also mildew to be able to last for a long time.
Images about Bathroom Floor Tile Layout 12×24
Whatever flooring covering you decide to go with in the bathroom of yours you should not just consider the atmosphere of the bathroom however, remember the fact that more often than not you are going to have bare feet when strolling in the bathroom so picking a flooring that's comfy under foot is a vital need. The threat could be understood very easily.
Bathroom Floor Tile Layout in 5 Easy Steps DIYTileguy
Vinyl as well as laminate tiles are additionally a terrific option since they're easy and affordable to keep. This will give them a smooth and shiny look and also shields the tiles from wear and tear. This can give your bathroom a contemporary feel. Vinyl tiles tend to be coated with urethane or enhanced urethane. They're not difficult to maintain as well as remains warm even in winter.
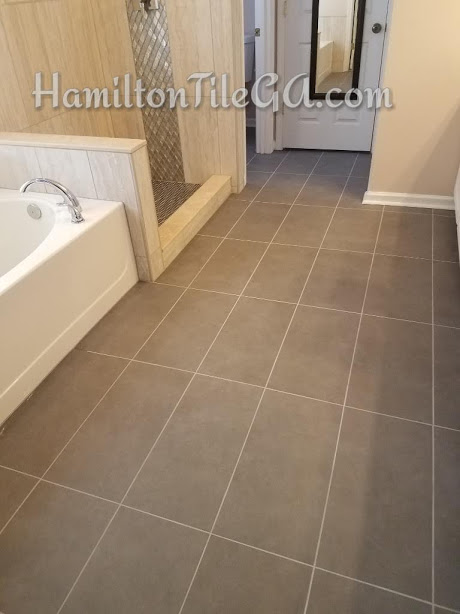
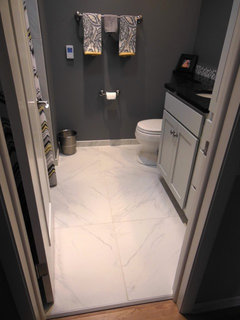
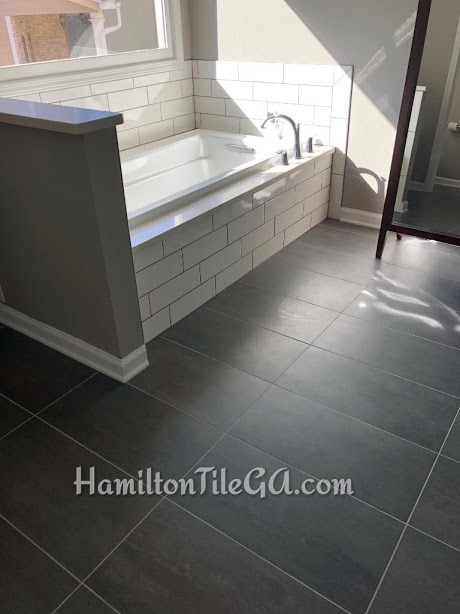
12×24 porcelain tile on Master Bathroom floor. Patterned floor

10 Beginner DIY Tips for Installing Floor Tile – Abbotts At Home
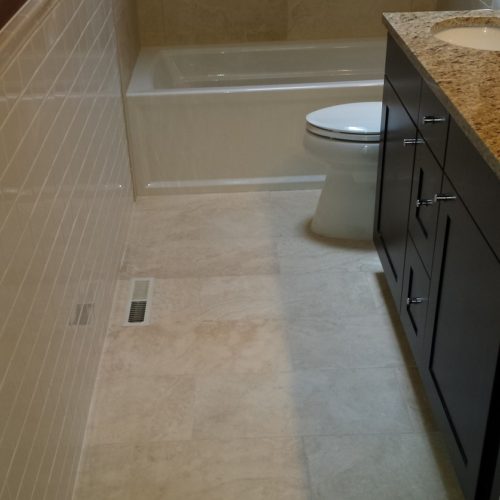
12×24″ tile floor layout in small bathroom – Ceramic Tile Advice
10 Beginner DIY Tips for Installing Floor Tile – Abbotts At Home
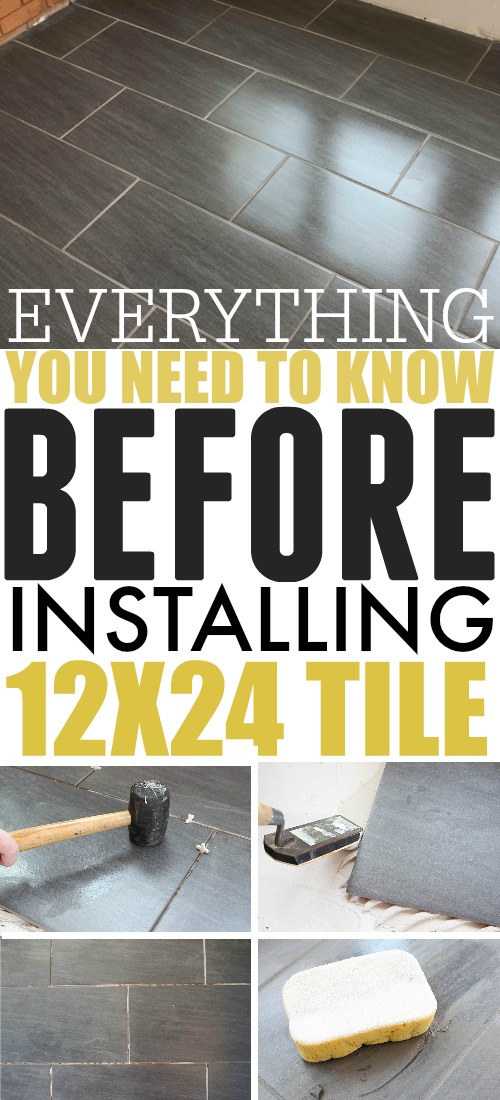
Everything You Need to Know Before Installing 12×24 Tile – The
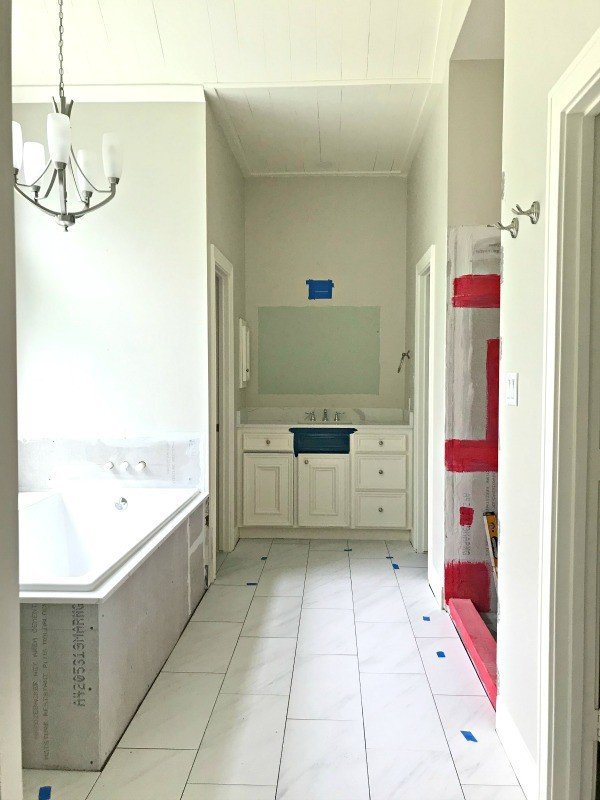
Bathroom Renovation – 12×24 Bathroom Tile Pattern Options
SKYBRIDGE 12X24 GRAY FLOOR TILE Floor tile patterns layout

Everything You Need to Know Before Installing 12×24 Tile – The
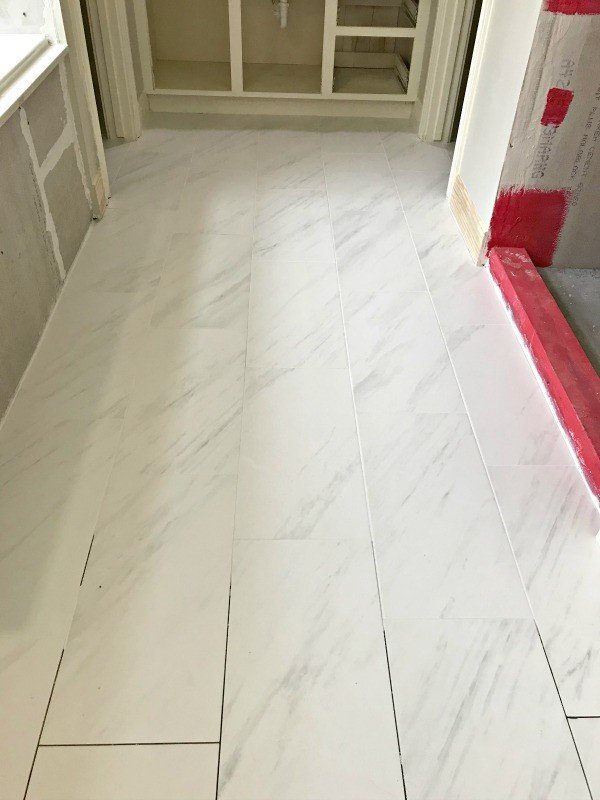
Can I use 12×24 floor tiles in a small bathroom
A Tile Guyu0027s Blog – Bathroom remodeling education and tips.

How to Tile a Small Bathroom Floor DIY Bath Remodel

A Tile Guyu0027s Blog – Bathroom remodeling education and tips.
Related Posts:
- Bathroom Floor Tiles Moving
- Honed Or Polished Marble For Bathroom Floor
- Small Bathroom Floor Tile Designs
- Karndean Bathroom Flooring
- Home Goods Bathroom Floor Cabinets
- Heated Tile Floor In Basement
- Best Way To Clean Hair Off Bathroom Floor
- What Size Tile For Bathroom Floor
- How To Clean A Bathroom Floor Tile
- Cheap Bathroom Laminate Flooring
Bathroom Floor Tile Layout 12×24: A Comprehensive Guide to Achieving a Stunning and Functional Design
Introduction:
The layout of bathroom floor tiles plays a crucial role in determining the overall aesthetic appeal and functionality of the space. Among the various tile sizes available, the 12×24 format has gained immense popularity due to its versatility and ability to create visually appealing patterns. In this comprehensive guide, we will delve into the intricacies of bathroom floor tile layout using 12×24 tiles, providing you with detailed instructions, tips, and answers to frequently asked questions.
I. Understanding the Basics of Bathroom Floor Tile Layout:
To achieve a successful tile layout, it is important to understand the basics of design principles and considerations. Here are some key factors to keep in mind:
1. Proportions: Consider the size of your bathroom and choose a tile size that complements the space. The 12×24 format is particularly suitable for medium-sized bathrooms as it creates an illusion of spaciousness.
2. Orientation: Decide on the orientation of your tiles based on the desired effect. Horizontal placement can make the room appear wider, while vertical placement can add height to the space.
3. Grout Lines: Plan your grout lines carefully to ensure they align with your design vision. Narrow grout lines can create a seamless look, while wider grout lines can add definition and contrast.
4. Subfloor Preparation: Before starting the tiling process, ensure that your subfloor is clean, level, and free from any cracks or imperfections. This will help prevent any issues with tile adhesion or unevenness.
II. Popular Bathroom Floor Tile Layout Patterns:
1. Straight Lay Pattern: This classic pattern involves laying tiles in a straightforward grid-like formation. It is simple yet timeless, making it suitable for both traditional and modern bathroom designs.
2. Herringbone Pattern: The herringbone pattern adds a touch of elegance and sophistication to your bathroom floor. It involves laying tiles at a 45-degree angle, creating a zigzag effect that adds visual interest.
3. Stacked Pattern: In the stacked pattern, tiles are aligned vertically or horizontally without any offset. This creates clean lines and a contemporary aesthetic that works well in minimalist or industrial-style bathrooms.
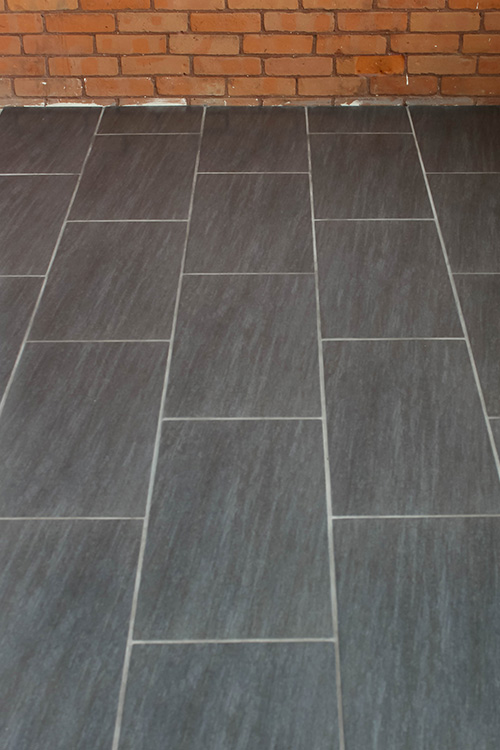
4. Brick Pattern: Also known as the running bond pattern, the brick pattern involves offsetting each row of tiles by half the length of the tile. This layout mimics the appearance of brickwork and adds a dynamic look to your bathroom floor.
III. Step-by-Step Guide to Achieving a Perfect Bathroom Floor Tile Layout:
1. Measure and Plan: Start by accurately measuring your bathroom floor area and determining the number of tiles required. Consider any obstacles such as toilets or vanities that may affect the layout. Use graph paper or digital design tools to create a scaled layout plan.
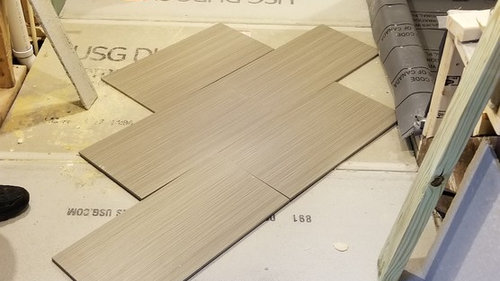
2. Dry Layout: Before applying adhesive, perform a dry layout using your 12×24 tiles to visualize how they will fit into your space. This step is crucial for ensuring proper alignment and avoiding any unwanted surprises during installation.
3. Mark Guidelines: Use a chalk line or laser level to mark reference lines on your subfloor based on your desired tile orientation and pattern. These guidelines will serve as a reference point for laying the tiles accurately.
4. Apply Adhesive: Begin by spreading a thin layer of thin-set adhesive onto a small section of the subfloor using a notched trowel. Work in small areas to Ensure that the adhesive doesn’t dry out before you can lay the tiles. Follow the manufacturer’s instructions for mixing and applying the adhesive.
5. Lay the Tiles: Starting at one corner of the room, place the first tile onto the adhesive, pressing it firmly into place. Use tile spacers to ensure consistent spacing between tiles. Continue laying tiles, following your layout plan and guidelines.
6. Cut Tiles: Use a wet saw or tile cutter to trim any tiles that need to fit around obstacles or along edges. Measure carefully and make precise cuts to achieve a clean and professional look.
7. Grout: Once all the tiles are laid and the adhesive has dried, it’s time to grout. Mix the grout according to the manufacturer’s instructions and use a grout float to apply it to the tile joints. Remove any excess grout with a damp sponge, being careful not to remove too much from the joints.
8. Seal: After the grout has dried completely, apply a grout sealer to protect it from staining or water damage. Follow the sealer manufacturer’s instructions for application and drying times.
9. Clean: Finally, thoroughly clean your newly tiled bathroom floor, removing any dust or debris left behind during installation and grouting.
10. Enjoy: Step back and admire your beautifully tiled bathroom floor! Take pride in your hard work and enjoy your new space for years to come.