Clearly, all tiling jobs are going to require some cutting and trimming of tiles so they fit well approximately borders, objects in the way, piping, wiring, window frames, electric pipes, basins and so on. These are either manufacturing gratings or stainless steel. Throughout Europe, tile flooring surfaces continues to be employed for a long time. Lots of styles of tile flooring have been used.
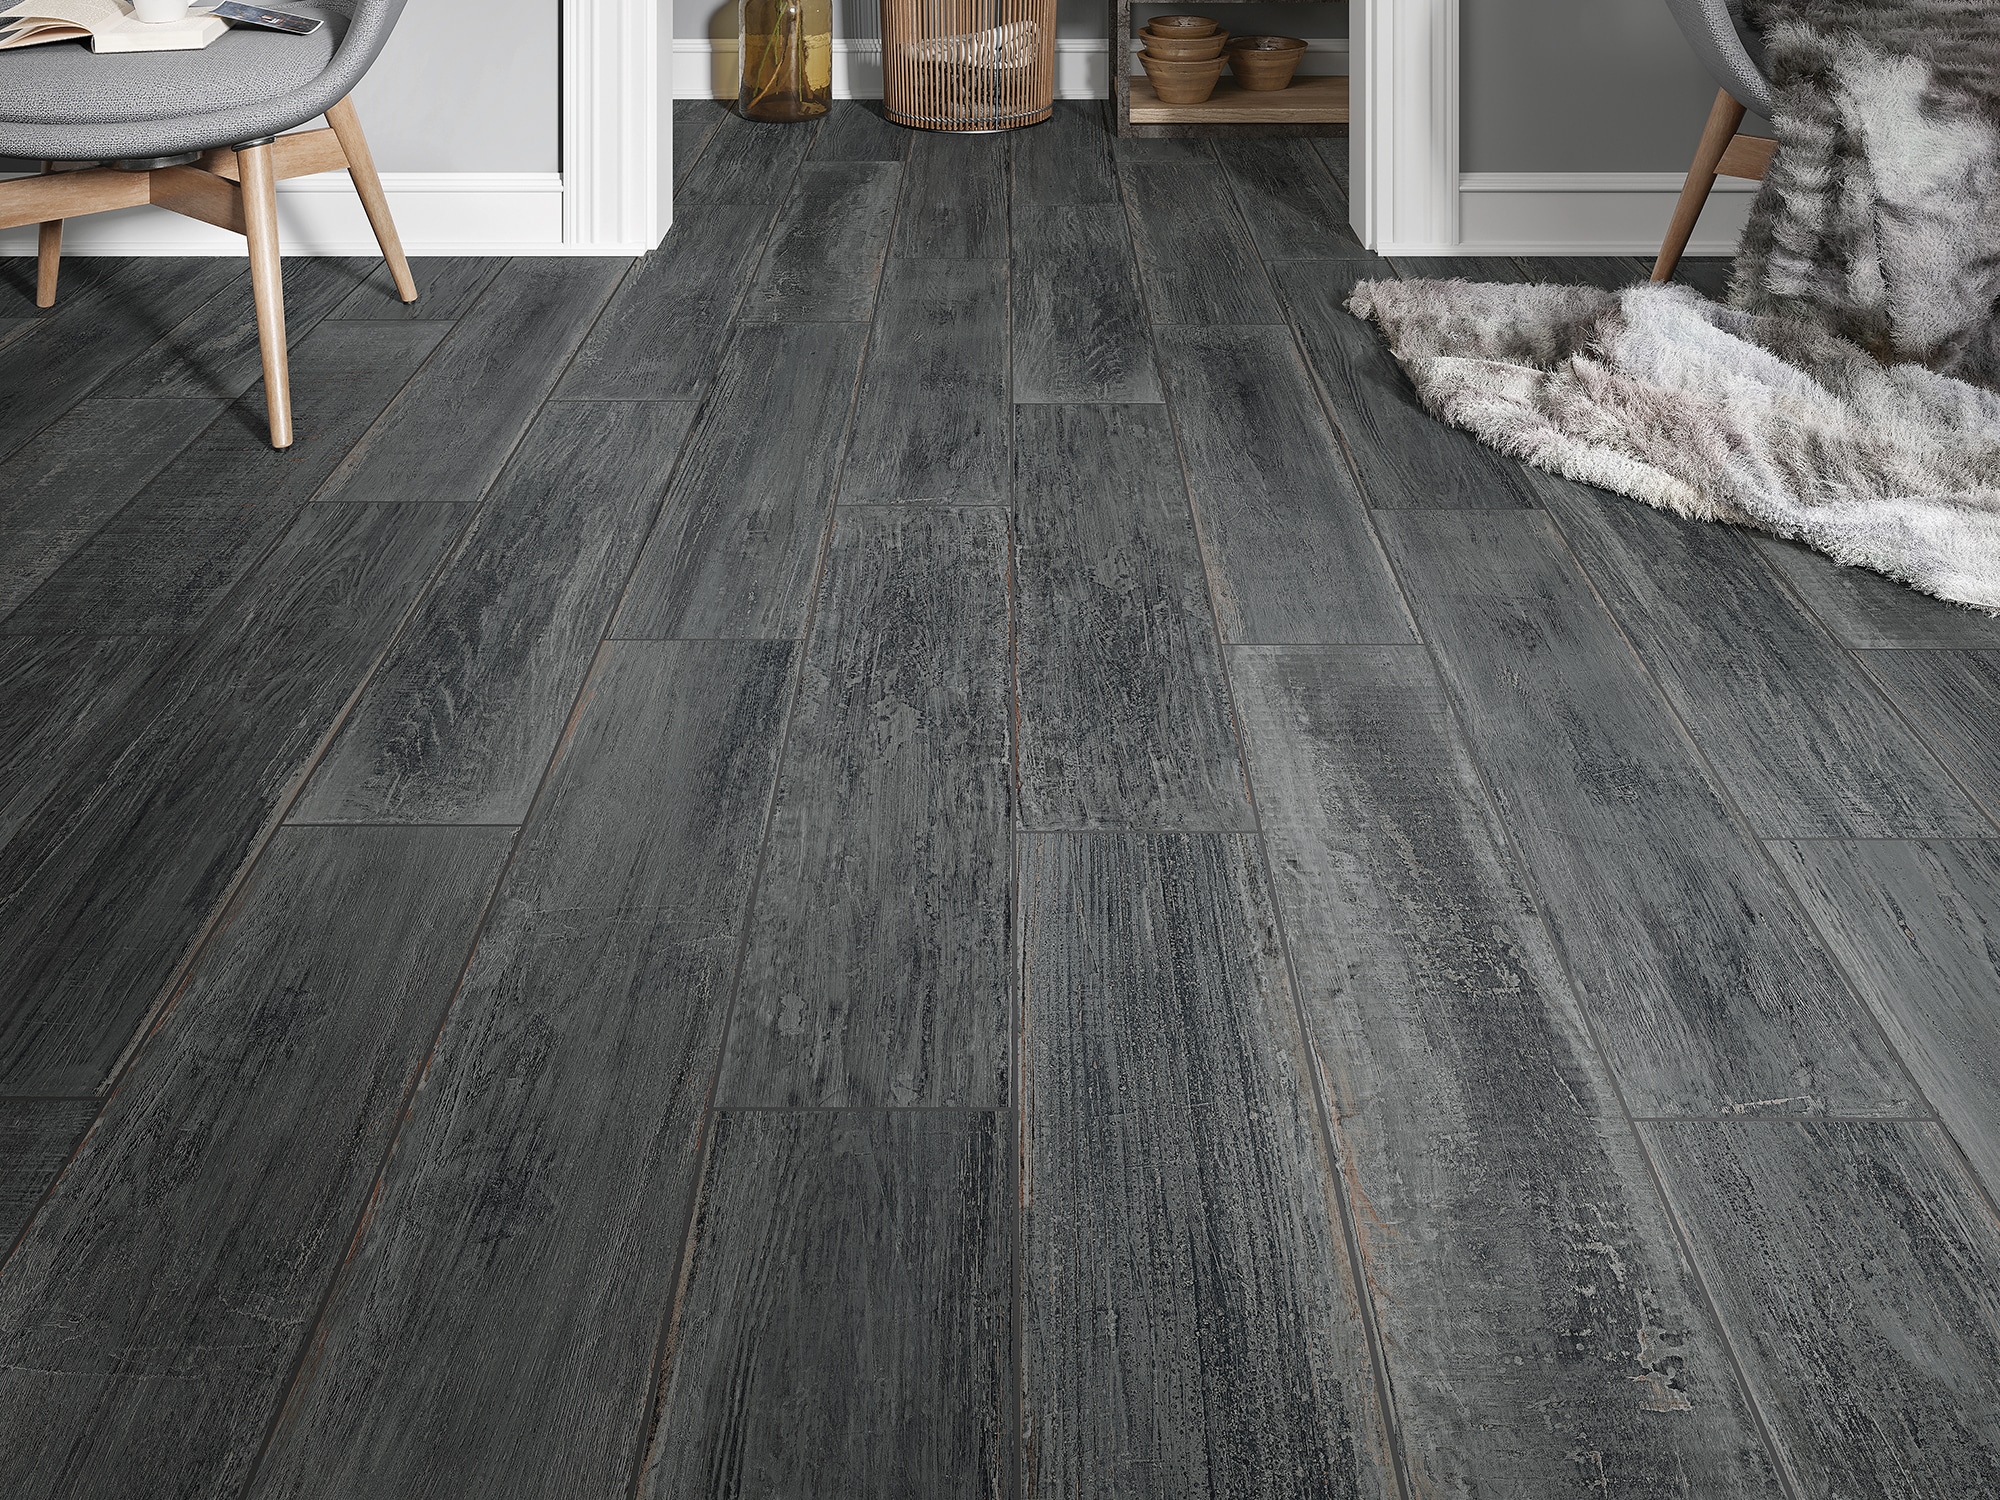
Images about Dark Grey Wood Tile Floors
They can be laid within a pattern or even arbitrarily. Ideally you should use a professional to get it done for you, exactly the same company that you buy the tiles from, may usually recommend someone if they do not carry out the program themselves. It's variety that is great, ease of upkeep and a low cost that make it a top option of conscientious homeowners and rental property supervisors.
Achim Nexus Charcoal Grey Wood 12-in x 12-in Peel and Stick Vinyl Tile Flooring (20-sq ft)

Lastly, you have got glass tiles. The part of the ceramic tile set up process includes cutting the tiles to make tips of the electronics and walls healthy. You will find it glossy or dull depending on the look you are after. That way you can cut down on the repairs and maintenance of the tile floors. Frequently found in kitchens and bathrooms, tile flooring holds up nicely to spills and it is incredibly durable.
Luxury Tiles Heritage Oak Dark Grey Wood Effect Porcelain 850 X 200mm Tile
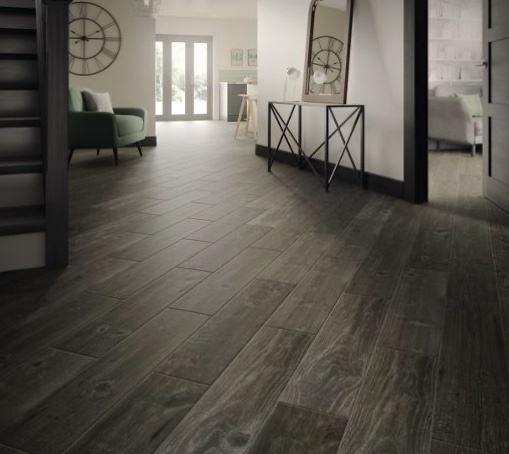
Pin on Grey wood tile flooring

Grey Wood-Look Tile u2013 Best Uses in the House – Arizona Tile
Tile That Looks Like Wood – VisualHunt
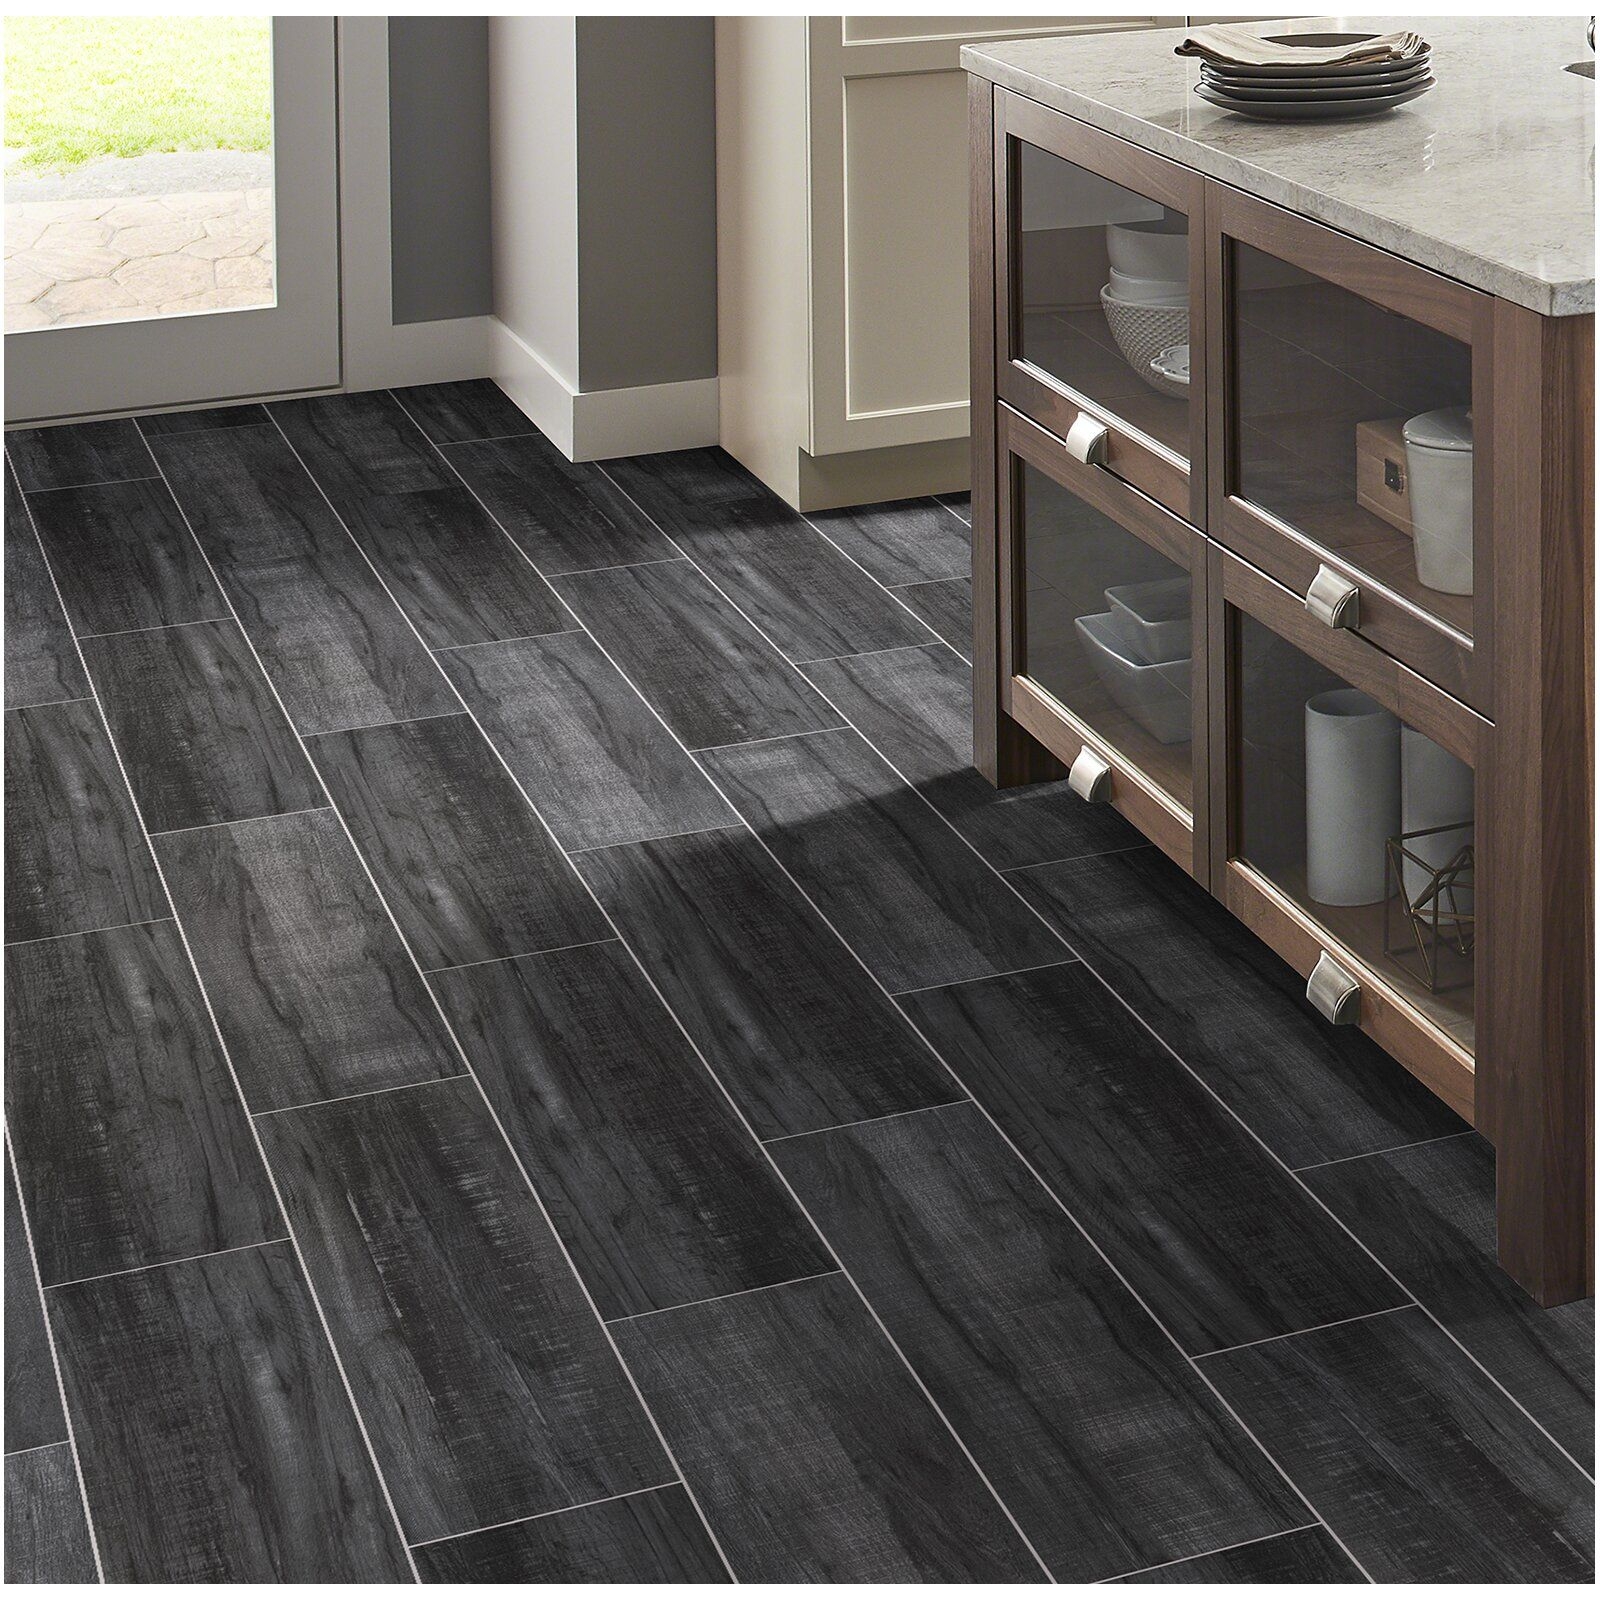
China 8*48u2032u2032 Dark Grey Wood Look Porcelain Ceramic Flooring Wall

Dark Grey Wood Look Glazed Cement Porcelain Floor Tiles

8×48 Palio Grey Wood Tile

Parker Dark Grey Gloss Wood Effect Floor Tile

Image result for distressed antique white wood look ceramic

V1-T1-5 grey wood look porcelain tile –

Inwood – BV Tile and Stone
Grey Wood Effect Tiles Shop, 57% OFF www.ingeniovirtual.com
Related Posts:
- How To Fix Slippery Tile Floors
- Raise Toilet For Tile Floor
- Austin Tx Tile Flooring
- Aqua Tile Flooring
- What Is A Good Grout Cleaner For Tile Floors
- Cleaning White Ceramic Tile Floors
- Cleaning Mexican Tile Floors
- How To Repair Cracked Grout On Tile Floor
- Porcelain Wood Tile Flooring Reviews
- White And Grey Tile Floor
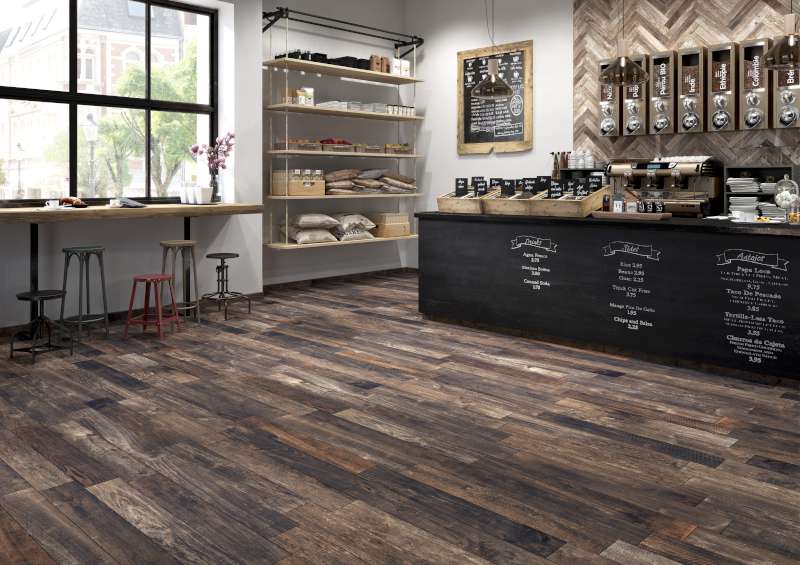
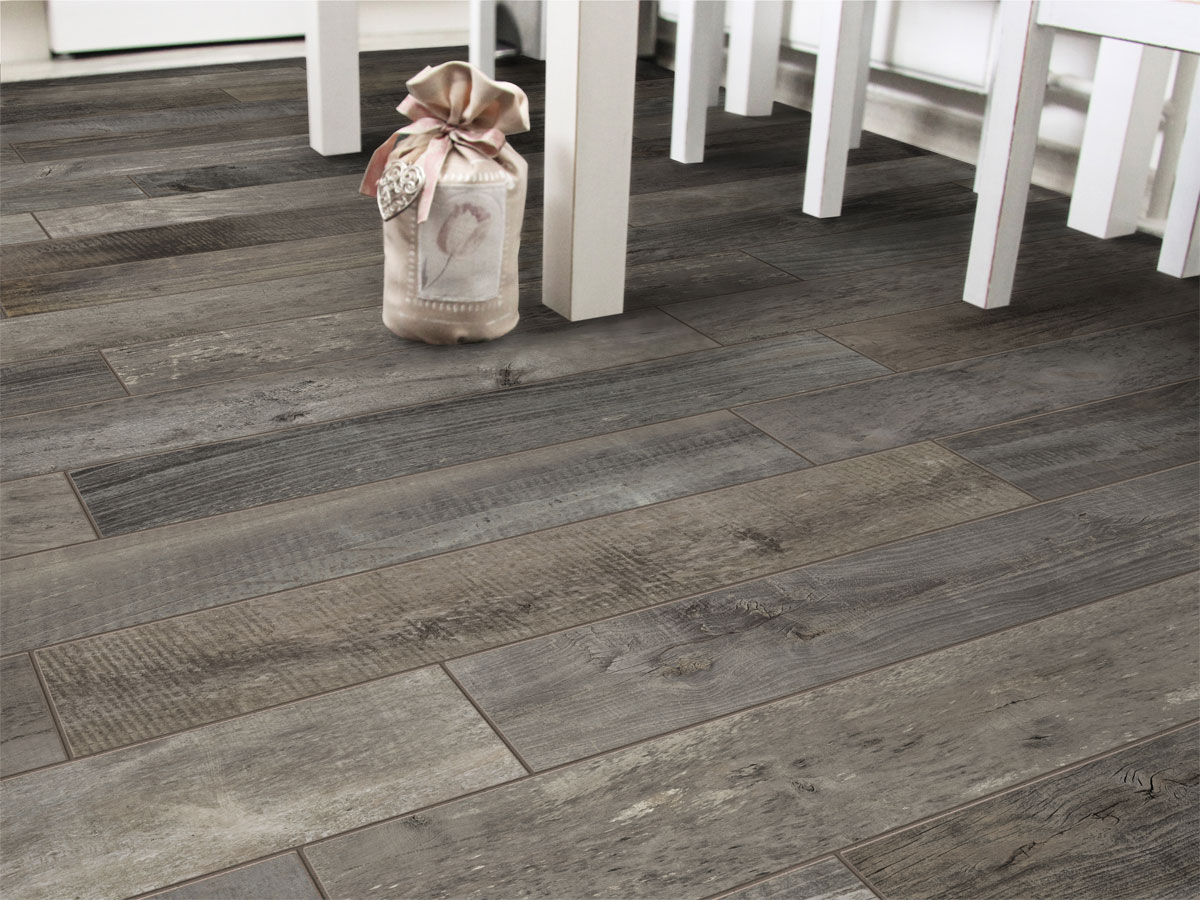
Dark Grey Wood Tile Floors: The Perfect Blend of Elegance and Durability
Introduction:
When it comes to choosing the flooring for our homes, we all seek a perfect blend of elegance, durability, and functionality. It’s no wonder that dark grey wood tile floors have become an increasingly popular choice among homeowners. With their unique combination of natural beauty and practicality, these floors offer a timeless aesthetic that can transform any space into a sophisticated haven. In this article, we will delve into the world of dark grey wood tile floors, exploring their benefits, installation process, maintenance tips, and frequently asked questions.
Benefits of Dark Grey Wood Tile Floors:
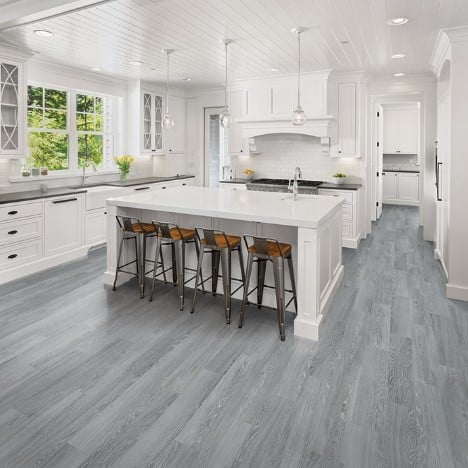
1. Aesthetics: Dark grey wood tile floors exude a sense of sophistication and elegance that is hard to match. The rich tones and intricate textures mimic the beauty of natural hardwood flooring while adding a contemporary twist. Whether you have a modern or traditional interior design theme, these floors can seamlessly complement your style.
2. Durability: Unlike traditional hardwood flooring, dark grey wood tile floors are exceptionally durable. Made from porcelain or ceramic materials, they are resistant to scratches, stains, fading, and moisture damage. This makes them ideal for high-traffic areas such as kitchens, bathrooms, and entryways.
3. Versatility: Dark grey wood tile floors come in a variety of sizes and patterns, allowing you to create unique designs that suit your personal taste. From herringbone to chevron patterns or straight lay installations, the possibilities are endless. You can also experiment with different grout colors to enhance the overall look.
4. Easy Maintenance: One of the biggest advantages of dark grey wood tile floors is their low maintenance requirements. Unlike real hardwood flooring that needs regular sanding and refinishing, these tiles only require simple cleaning routines such as sweeping or vacuuming followed by mopping with a gentle cleaner. This saves you time and effort in the long run.
Installation Process:
Installing dark grey wood tile floors can be a complex task, but with the right tools and knowledge, it can be accomplished successfully. Here is a step-by-step guide to help you through the process:
1. Preparation: Begin by removing any existing flooring and ensuring that the subfloor is clean, dry, and level. If necessary, use a self-leveling compound to correct any unevenness.
2. Layout: Plan the layout of your tiles, considering factors such as the direction of natural light and the shape of the room. Dry-fit the tiles without adhesive to visualize the final result and make any necessary adjustments.
3. Adhesive Application: Apply a thin layer of tile adhesive to a small area using a notched trowel. Start from the center of the room and work your way outwards. Make sure to follow the manufacturer’s instructions regarding drying time and open time.
4. Tile Installation: Carefully place each tile on top of the adhesive, pressing firmly to ensure good adhesion. Use spacers to maintain consistent grout lines and adjust as needed. Repeat this process until all tiles are installed.
5. Grouting: After allowing sufficient time for the adhesive to dry, remove the spacers and prepare the grout according to the manufacturer’s instructions. Apply the grout using a rubber float, making sure to fill all joints completely.
6. Cleaning: Once the grout has slightly dried but is still workable, use a damp sponge to remove excess grout from the tile surfaces. Rinse the sponge frequently and continue Cleaning until the tiles are free of grout residue. Allow the grout to fully cure before walking on the floor or applying any sealant.
7. Sealing (optional): If desired, you can apply a sealant to protect your dark grey wood tile floors from stains and moisture. Follow the manufacturer’s instructions for application and drying time.
8. Finishing touches: Once the sealant is dry, replace any baseboards or trim that were removed during the installation process. Clean the floor thoroughly to remove any remaining debris and enjoy your newly installed dark grey wood tile floors!
The installation process for dark grey wood tile floors involves several steps:
1. Preparation: Remove any existing flooring and ensure that the subfloor is clean, dry, and level. Use a self-leveling compound if needed to correct any unevenness.
2. Layout: Plan the layout of the tiles, considering factors such as natural light and room shape. Dry-fit the tiles without adhesive to visualize the final result and make any necessary adjustments.
3. Adhesive Application: Apply a thin layer of tile adhesive to a small area using a notched trowel. Start from the center of the room and work your way outwards, following the manufacturer’s instructions for drying time and open time.
4. Tile Installation: Carefully place each tile on top of the adhesive, pressing firmly for good adhesion. Use spacers to maintain consistent grout lines and adjust as needed. Repeat this process until all tiles are installed.
5. Grouting: After allowing sufficient time for the adhesive to dry, remove the spacers and prepare the grout according to the manufacturer’s instructions. Apply the grout using a rubber float, ensuring all joints are completely filled.
6. Cleaning: Once the grout has slightly dried but is still workable, use a damp sponge to remove excess grout from the tile surfaces. Rinse the sponge frequently and continue cleaning until the tiles are free of grout residue. Allow the grout to fully cure before walking on the floor or applying any sealant.
7. Sealing (optional): If desired, apply a sealant to protect the dark grey wood tile floors from stains and moisture. Follow the manufacturer’s instructions for application and drying time.
8. Finishing touches: Once the sealant is dry, replace any baseboards or trim that were removed during installation. Clean the floor thoroughly to remove any remaining debris, and enjoy your newly installed dark grey wood tile floors!