In the event that the basement of yours allows moisture into the area, it will likely ruin any floor your select. What will you would like to make use of this particular room of the home of yours for. Leaks which come about once a heavy rain, for example, suggest that there's something wrong with the waterproofing. Many basement flooring suggestions take into consideration the many forms of materials to be utilized for installation.
Images about DIY Basement Floor Leveling
The great thing is the fact that there are many choices about how you can have a gorgeous, well worth it flooring. The kind of flooring you pick out for your basement will depend on personal preference and prospective weather factors. Basement flooring has multiple types out in the industry, making the choice rather hard.
Self-Leveling Concrete Can Save Both Time and Money – Concrete Decor

Quoted as being "the just indoor waterproofing process which completely seals any basement floors forever, however deteriorated" or wet seems a great, simple system that costs a couple of 100 bucks instead of thousands for extensive hand work, pipes and heels. With some form of carpeting, you can turn a basement into an excellent movie theater room.
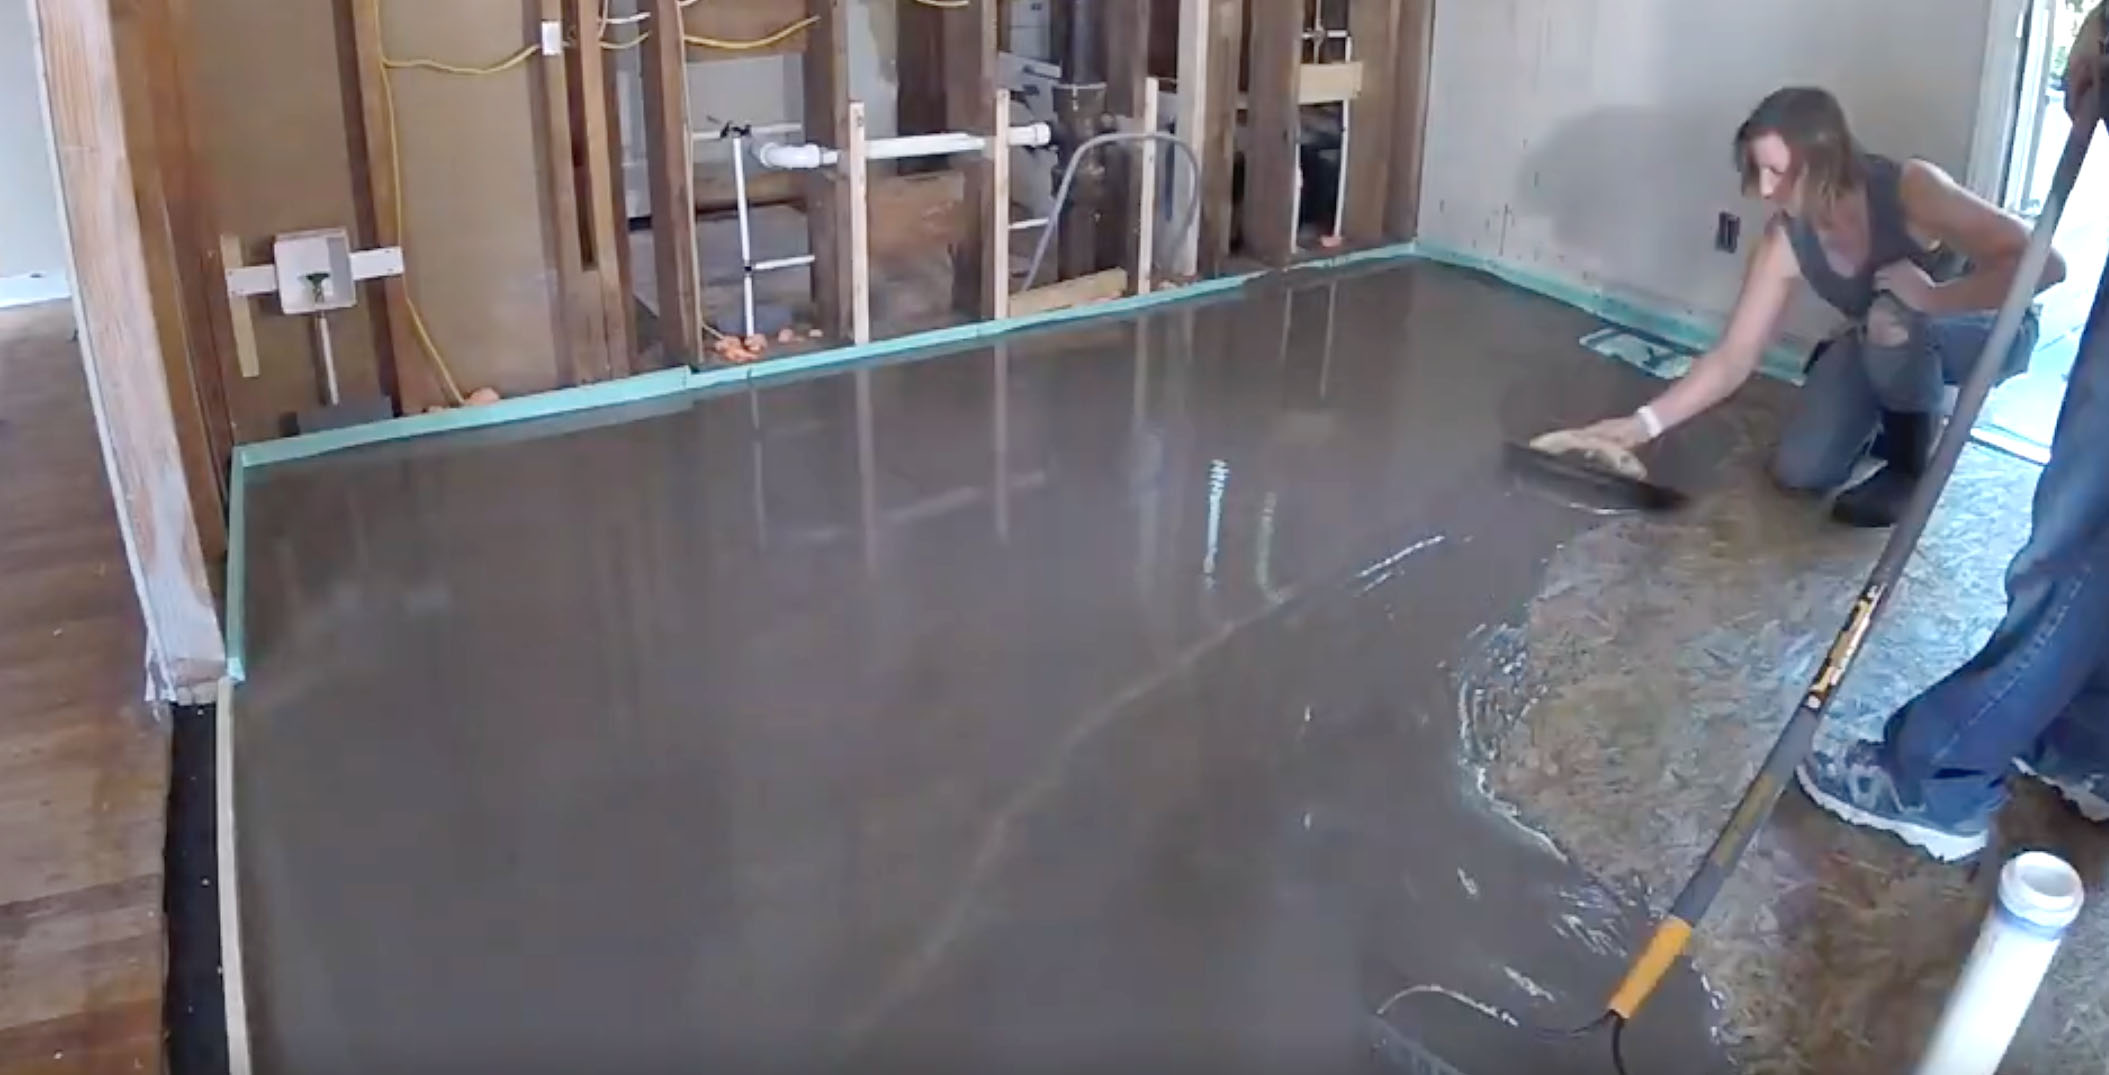
DIY self leveling concrete Honey Built Home

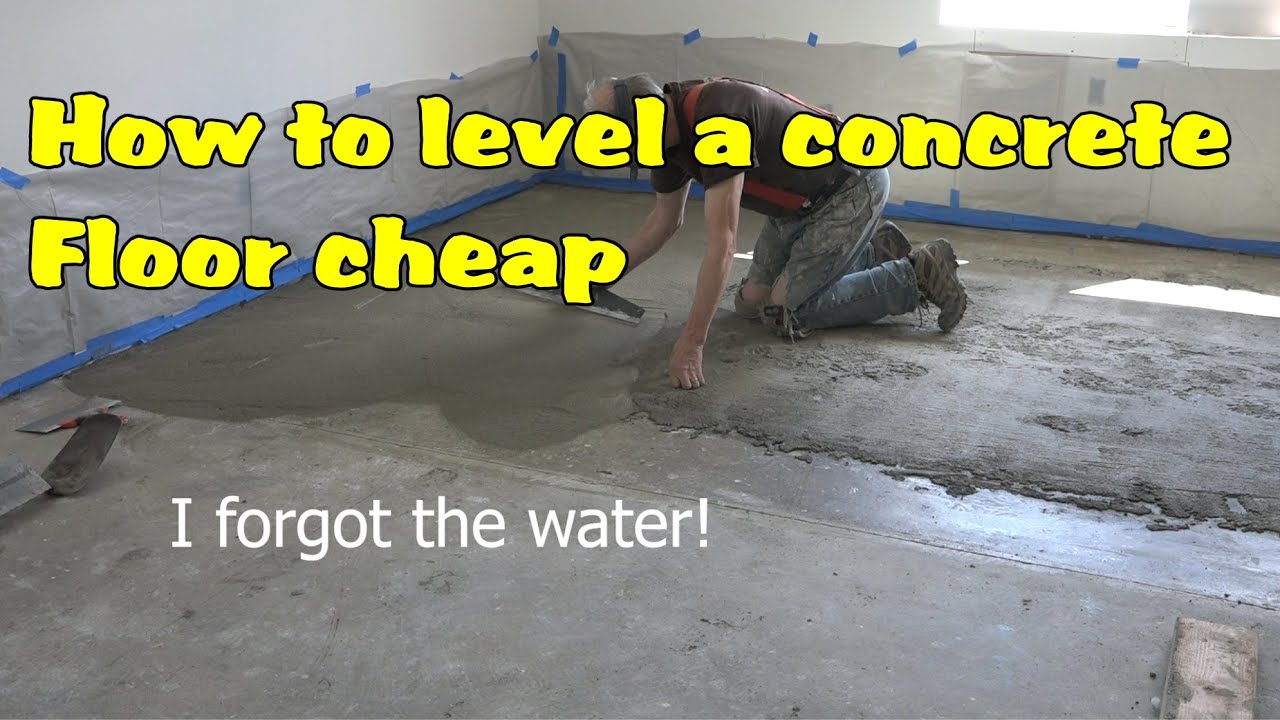
How to level a concrete floor cheap
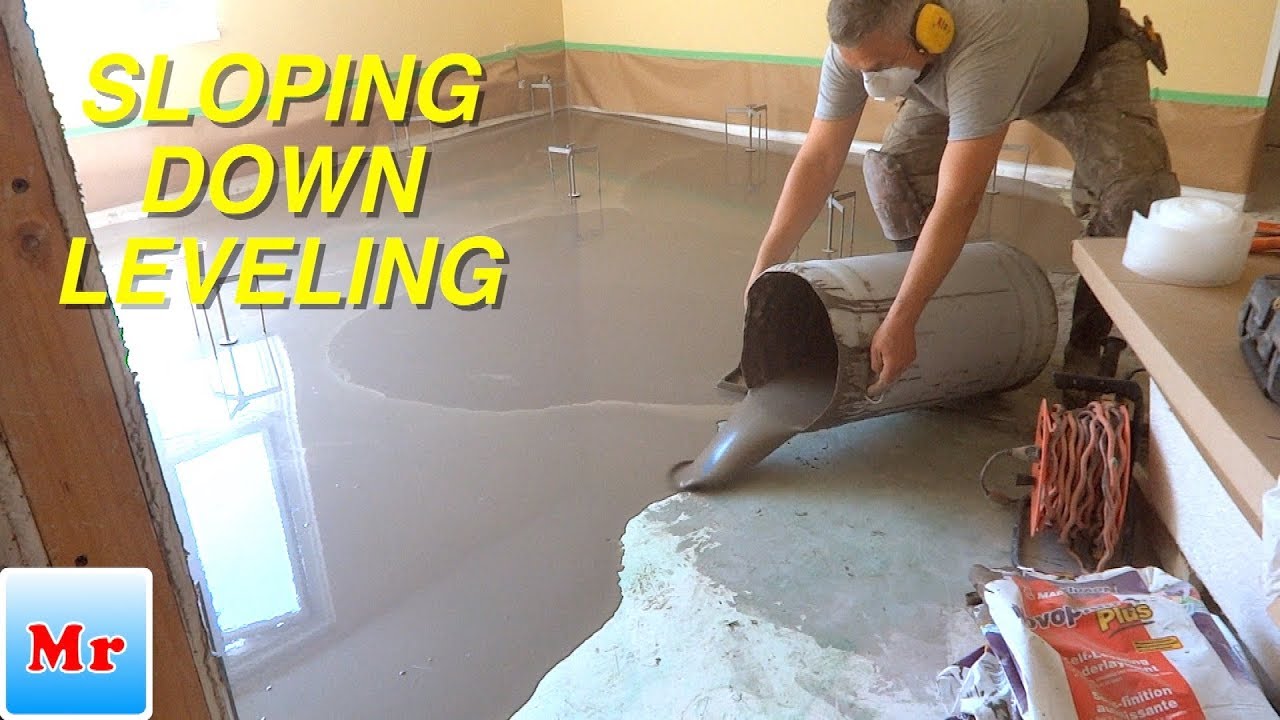
How to Make a Concrete Subfloor Leveling with Sloping Down Side DIY MrYoucandoityourself
Tips u0026 Tricks to Self-Level a Floor at Millieu0027s Remodel – Pretty
Qu0026A of the Week: “Whatu0027s the Best Way to Level An Old, Wonky
How to level a concrete floor that slopes (Must read)
Using Self Levelling Cement In My Basement-DIY-Levelling A Concrete Floor

How to Level a Floor – This Old House
/cdn.vox-cdn.com/uploads/chorus_image/image/69419339/iStock_1312655868.0.jpg)
Qu0026A of the Week: “Whatu0027s the Best Way to Level An Old, Wonky
Self-Leveling Concrete: Preparing for Installation [Tips]
How to Level a Concrete Floor DIY Concrete Floor Leveling

How to Self Level Bathroom Floors Part 2Adding Leveler Over Concrete — by Home Repair Tutor

Related Posts:
- How To Clean Basement Floor After Sewer Backup
- Seal Basement Floor Wall Joint
- Epoxy Basement Floor Paint Colors
- Best Flooring For Concrete Slab Basement
- Basement Floor Seepage Solutions
- Basement Floor Stain Colors
- Hospital Basement Floor Plan
- Damp Basement Flooring Options
- Hole In Basement Floor Water
- How To Get Rid Of Mold In Basement Floor
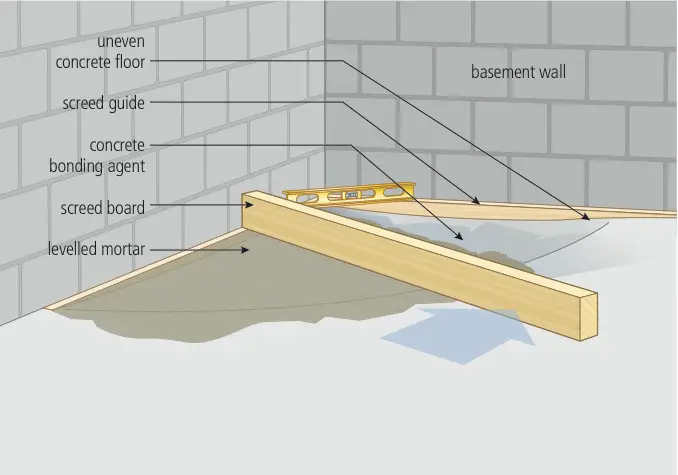
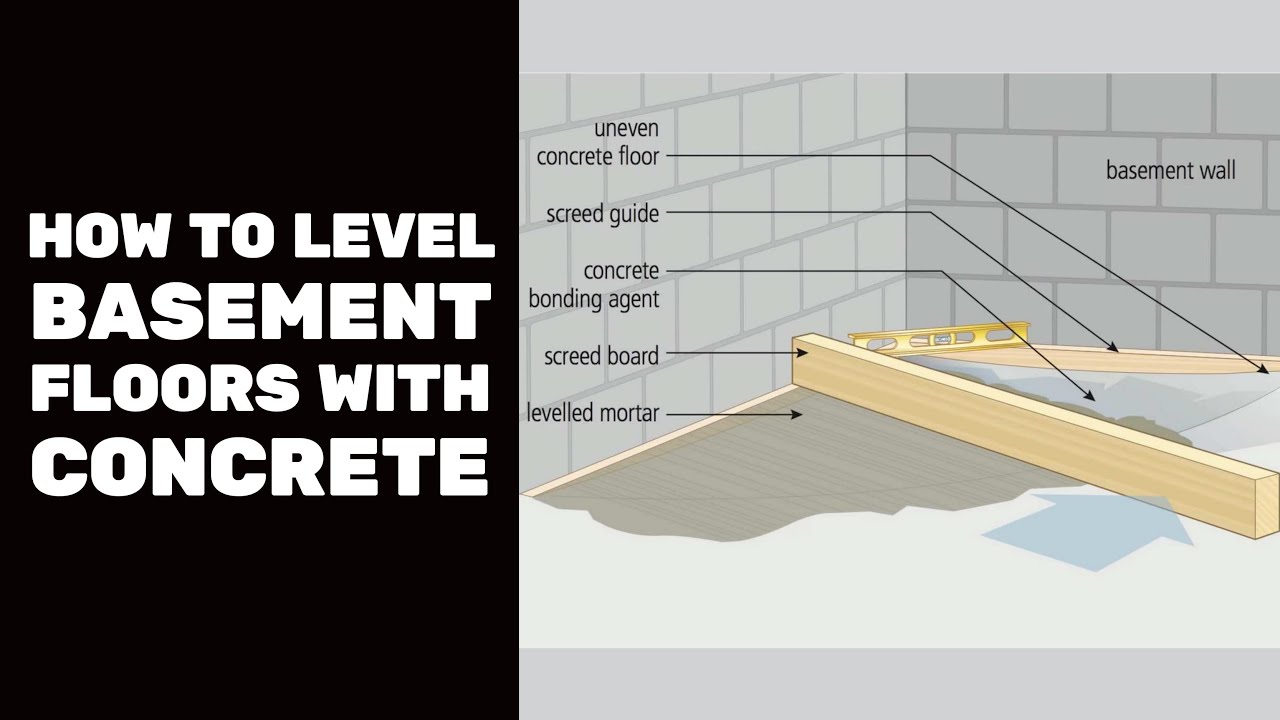
DIY Basement Floor Leveling
When renovating a home, one of the most important steps is making sure that the floor is level. This is especially important for basement floors, as they can often have uneven surfaces due to settling or other issues. Fortunately, there are some simple steps you can take to even out your basement floor and make it level without hiring a professional. Here’s what you need to know about DIY basement floor leveling.
Preparing for DIY Basement Floor Leveling
Before you begin working on leveling your basement floor, it’s important to properly prepare. First, make sure the room is clear of any furniture or debris. You’ll also want to cover any electrical outlets with tape or plastic so they don’t get wet while you’re working. Once everything is cleared out, you can begin prepping the area for leveling.
Start by assessing the overall condition of the floor. Look for signs of settling or cracking in the foundation and check for areas that are uneven or show signs of water damage. If your basement floor has severe damage, it may be best to consult a professional before beginning any DIY efforts. Otherwise, you can move forward with the next step: cleaning and repairing the surface of the floor.
Clean and Repair Your Basement Floor
The first step in preparing your basement floor for leveling is to clean and repair any damaged areas. Start by removing any dirt, dust, or debris from the surface using a broom and dustpan. Then use a vacuum cleaner to remove any remaining particles that may be stuck in cracks or crevices. Once this is done, use an epoxy filler to repair any cracks or holes in the floor that need fixing. Allow the epoxy to dry completely before proceeding with the next step: applying self-leveling compound to even out your basement floor.
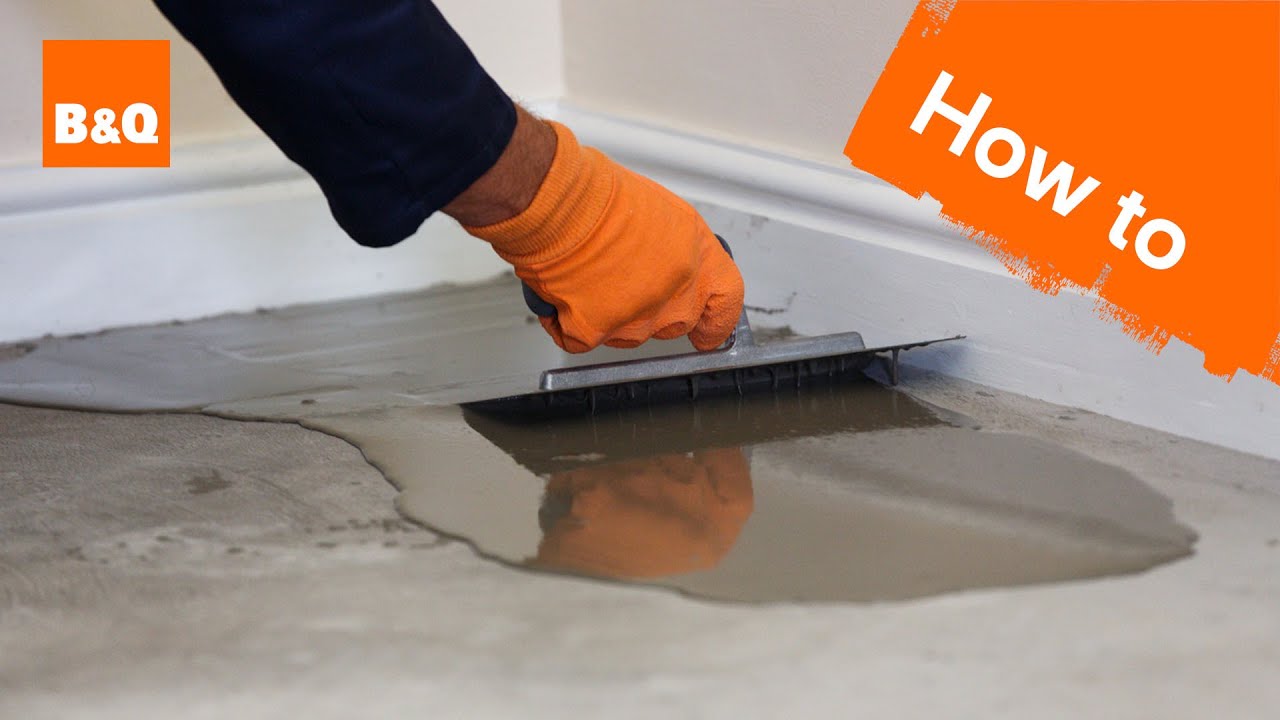
Applying Self-Leveling Compound
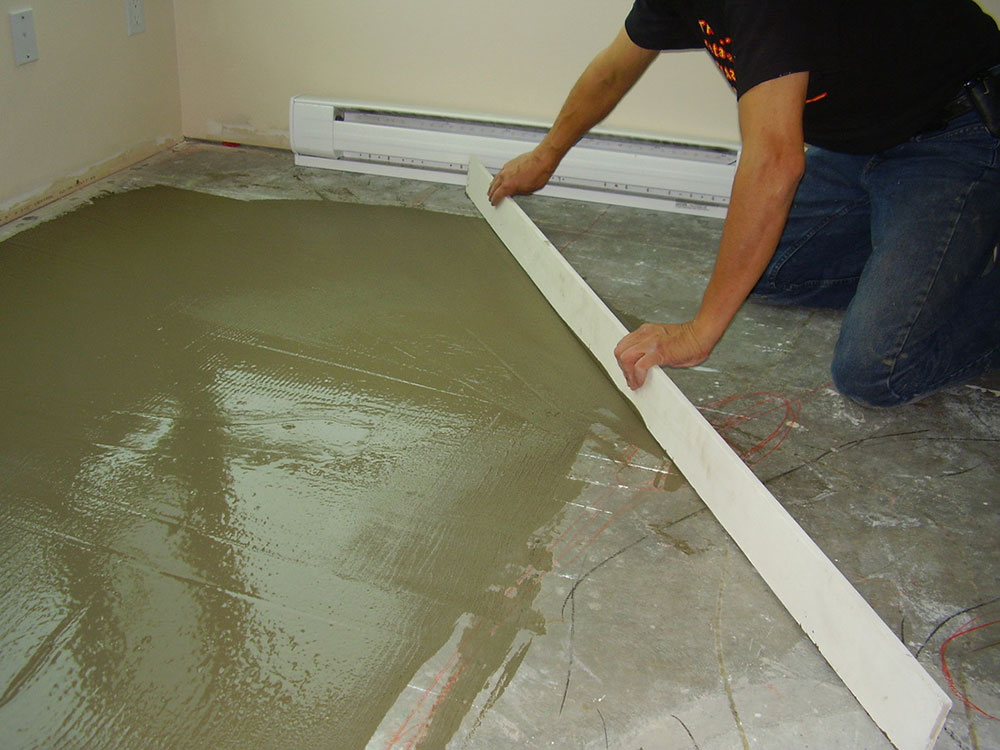
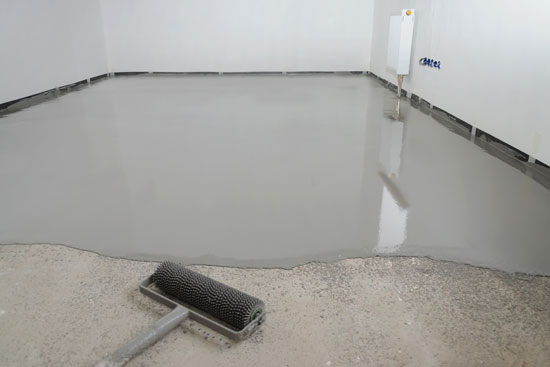
Once all repairs have been made and the surface has been thoroughly cleaned, you can begin applying self-leveling compound. This material will fill in any low spots on your basement floor and help create an even surface. Start by mixing up enough self-leveling compound according to manufacturer’s instructions and then spread it over the entire surface evenly with a trowel or squeegee. Allow it to dry completely before proceeding with the next step: laying down tiles or other finishes on top of the level surface.
Laying Down Tiles or Finishes
Now that your basement floor is level, you can lay down tiles or other finishing materials such as carpet, vinyl, or hardwood floors on top of it. Start by measuring out your room accurately so you know how much material will be needed for each section of your basement floor. Then cut each piece of material to size and lay it down carefully over the leveled area, taking care not to disturb the self-leveling compound while doing so. Once everything is laid down correctly, let it dry completely before using your newly leveled and finished basement space!
FAQs on DIY Basement Floor Leveling
Q: What tools do I need for DIY basement floor leveling?
A: To level your basement floor yourself, you’ll need A broom and dustpan, vacuum cleaner, epoxy filler, trowel or squeegee, self-leveling compound, measuring tape, and any finishing materials you plan to use on top of the leveled surface.
Q: How long does it take to level a basement floor?
A: The amount of time it takes to level a basement floor will vary depending on the size of the space and the extent of damage that needs to be repaired. In general, it should take between one and two days to complete the entire process.
What materials do you need for basement floor leveling?
1. Leveling compound2. Polyethylene sheeting
3. Tape measure
4. Level
5. Caulking gun
6. Trowel
7. Masonry sealer
8. Grout bag
9. Concrete drill with masonry bit
10. Wheelbarrow and shovels
11. Sealant and grout for joints and edges
12. Respirator (optional)
13. Protective gloves, goggles, and clothing (optional)
What type of flooring is best for basement floor leveling?
The best type of flooring for basement floor leveling is an epoxy-coated concrete. This type of flooring is waterproof, durable, and can be easily leveled using self-leveling compounds. It is also easy to clean and maintain. Other options include vinyl tiles, laminate, and tile.What kind of material is best for basement floor leveling?
The best material for basement floor leveling is a self-leveling concrete. This type of concrete is designed to fill in low spots and level out uneven surfaces quickly and easily. It also provides a durable, waterproof surface that is suitable for foot traffic and other activities.What are the benefits of basement floor leveling?
1. Improved Structural Stability: Leveling a basement floor can help to ensure that the foundation is structurally sound and stable. This is especially important for homes with basements. By leveling the floor, you can help prevent potential structural damage from uneven settling or shifting of the home’s foundation.2. Increased Comfort: Uneven floors can create an uncomfortable walking surface in your basement, making it difficult to use the space for anything other than storage. Leveling a basement floor can make it much more comfortable to walk on, allowing you to use the space for activities like exercising or entertaining guests.
3. Reduced Risk of Damage: Unlevel floors can lead to plumbing leaks, drainage issues, and other water damage. By leveling your basement floor, you can reduce the risk of these costly problems occurring in the future.
4. Increased Resale Value: Leveling a basement floor is an easy way to instantly increase the value of your home if you plan on selling it in the future. Prospective buyers are often more willing to pay more for a home with a level and functional basement, so taking care of this task now could be beneficial in the long run.