The wood floors care specialist will evaluate the floors of yours to determine exactly what's required subsequently clean and wax the floors to be restored them to the beauty, shine and all-natural warmth associated with wood floors. This particular combination gives us a sturdy floor material which is fortunate to withstand particularly heavy human site traffic. For starters you've to choose which style you'd like.
Images about DIY Engineered Wood Flooring Installation
/cdn.vox-cdn.com/uploads/chorus_asset/file/19494255/wood_floors_toutxlbanner.jpg)
Made up of a few layers of laminate information, vinyl wood flooring wood-like look remains affordable, answering the demand for inexpensive hardwood flooring covering information which is available in an assortment of colors, finishes and simulated timber specie finishes at practical, down-to-earth costs which are reasonable under any present budget limitations. This is where living green comes into play.
How To Install Click Lock Engineered Hardwood Flooring
Scratches will be sanded out using fine to moderate sand paper although it is suggested that any tarnished floorboards be replaced because, depending just how deeply the stain has entered the wood, you might be required to sand quite difficult to get the stain away and this could suggest that section of flooring will not look exactly the same as the others.
How to Install an Engineered Hardwood Floor
How To Lay Engineered Wood Flooring A DIY Guide For Everyone

How To Install Click Lock Engineered Hardwood Flooring
How To Install Click Lock Engineered Hardwood Flooring
Engineered Hardwood Floor Installation: Part 1
How to Install an Engineered Hardwood Floor
DIY Wood Flooring Installation Guide – Wood and Beyond Blog

DIY Reclaimed Floor Installation Guide Olde Wood Ltd.
How To Install Engineered Hardwood Flooring Clearance, 52% OFF

A Hardwood Floor Installation Guide for Both Engineered and Non
Flooring Engineered wood floors, Wood floors wide plank

Floating Wood Floor: Install One in 8 Steps – This Old House
:no_upscale()/cdn.vox-cdn.com/uploads/chorus_asset/file/19493784/howto_tilefloor_04.jpg)
Related Posts:
- Linoleum Wood Flooring Plank
- How To Install Wood Floor Over Tile
- Do I Need Underlay For Solid Wood Flooring
- Light Gray Engineered Wood Flooring
- Dark Wood Flooring For Bathrooms
- Polish Parquet Wood Flooring
- Interior Wood Floor Stain Colors
- DIY Wood Floor Cleaner Recipe
- Dark Wood Floor Boards
- Johnson Wood Floor Wax
Title: DIY Engineered Wood Flooring Installation: A Comprehensive Guide for Beginners
Introduction:
Engineered wood flooring offers a beautiful and durable option for homeowners looking to enhance their interiors. While hiring professionals for installation might seem like the easiest route, a DIY approach can be both rewarding and cost-effective. In this article, we will guide you through the detailed steps of installing engineered wood flooring yourself, ensuring that your project is successful and hassle-free.
I. Assessing the Space:
Before embarking on your DIY engineered wood flooring installation journey, it is crucial to accurately measure and evaluate the space you plan to cover. This step will help you determine the amount of flooring material required and enable you to plan accordingly.
Start by measuring the length and width of each room where you intend to lay the engineered wood flooring. Multiply these measurements together to calculate the square footage needed. Keep in mind that it is advisable to purchase an additional 10% of flooring material to account for any mistakes or future repairs.
FAQs:
1. Can I install engineered wood flooring in any room?
Yes, engineered wood flooring can be installed in most rooms, including living areas, bedrooms, hallways, and even basements. However, it is not recommended for bathrooms or areas with excessive moisture.
2. How long does it take to acclimate engineered wood flooring before installation?
Engineered wood flooring needs to acclimate to its new environment for at least 48 hours before installation. This allows the material to adjust to the temperature and humidity levels of your space.
II. Preparing the Subfloor:
A proper subfloor preparation is vital for a successful engineered wood flooring installation. Follow these steps to ensure a smooth and stable foundation:
1. Clean the subfloor: Remove any existing flooring materials, such as carpet or vinyl, and thoroughly clean the subfloor surface. Ensure there are no debris, dust, or protruding nails that could affect the installation process.
2. Level the subfloor: Inspect the subfloor for any unevenness or imperfections. Address any high spots by sanding them down and fill in low areas with a self-leveling compound. A level subfloor will prevent your engineered wood flooring from warping or becoming damaged over time.
FAQs:
1. Can I install engineered wood flooring over a concrete subfloor?
Yes, engineered wood flooring can be installed over a concrete subfloor, provided it is dry and level. It is essential to use a moisture barrier to protect the wood from moisture seeping up through the concrete.
2. Do I need an underlayment for engineered wood flooring?
While not always necessary, an underlayment can provide additional cushioning, sound insulation, and moisture protection. Check the manufacturer’s recommendations to determine if an underlayment is required for your specific type of engineered wood flooring.
III. Installing the Engineered Wood Flooring:
Now that you have prepared the space and subfloor, it’s time to start installing your engineered wood flooring. Follow these steps carefully:
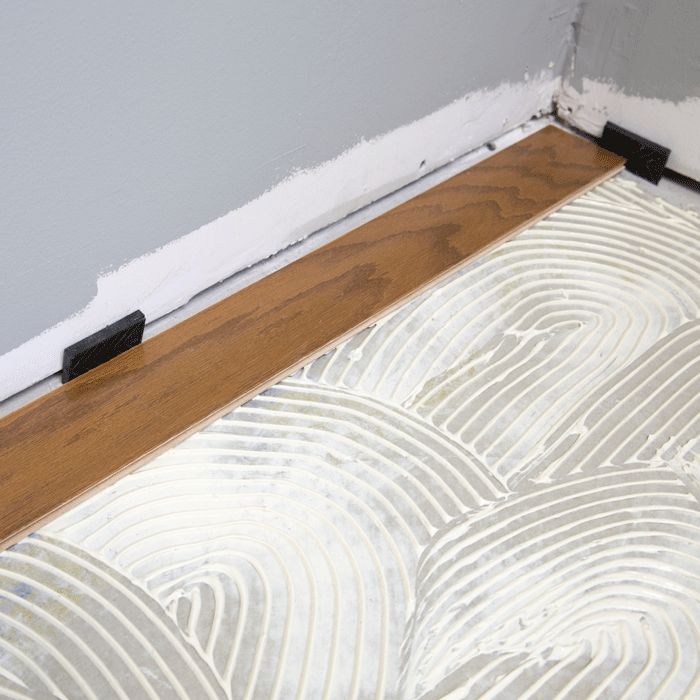
1. Lay the vapor barrier: If installing over concrete, lay down a moisture barrier to prevent any moisture from affecting your wood flooring. Overlap each row of vapor barrier by several inches and secure with tape.
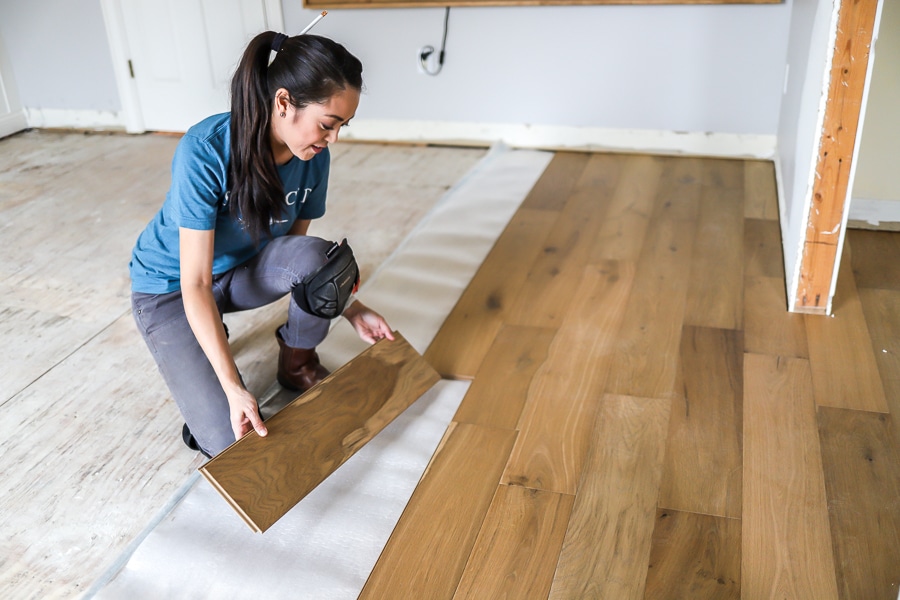
2. Begin laying the first row: Start in a corner of the room, working from left to right. Place spacers along each wall to create an expansion gap that allows for natural movement of the wood. Lay the first board with its groove facing the wall.
3. Connect The next board: Lay the second board, connecting its tongue into the groove of the first board. Use a tapping block and mallet to ensure a tight fit. Continue this process for the entire first row.
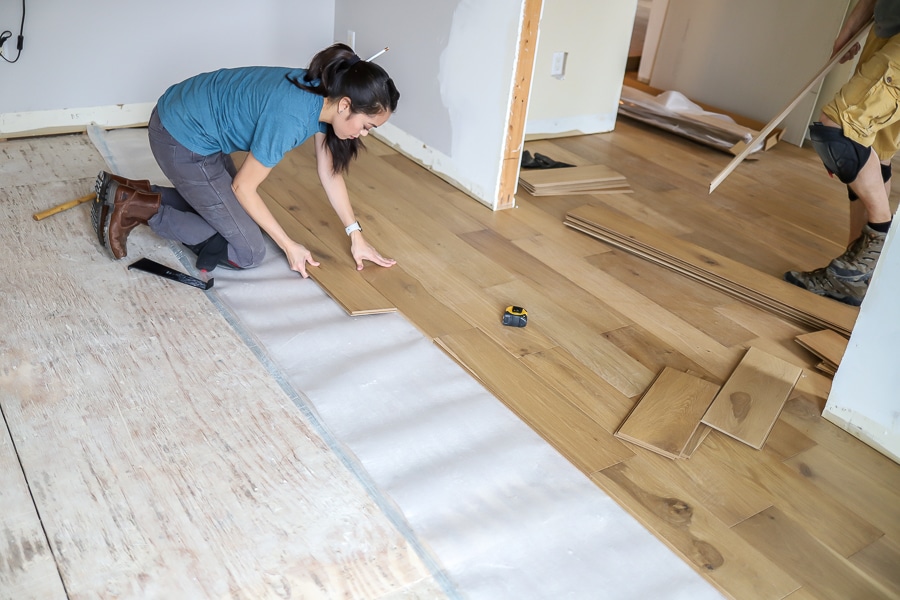
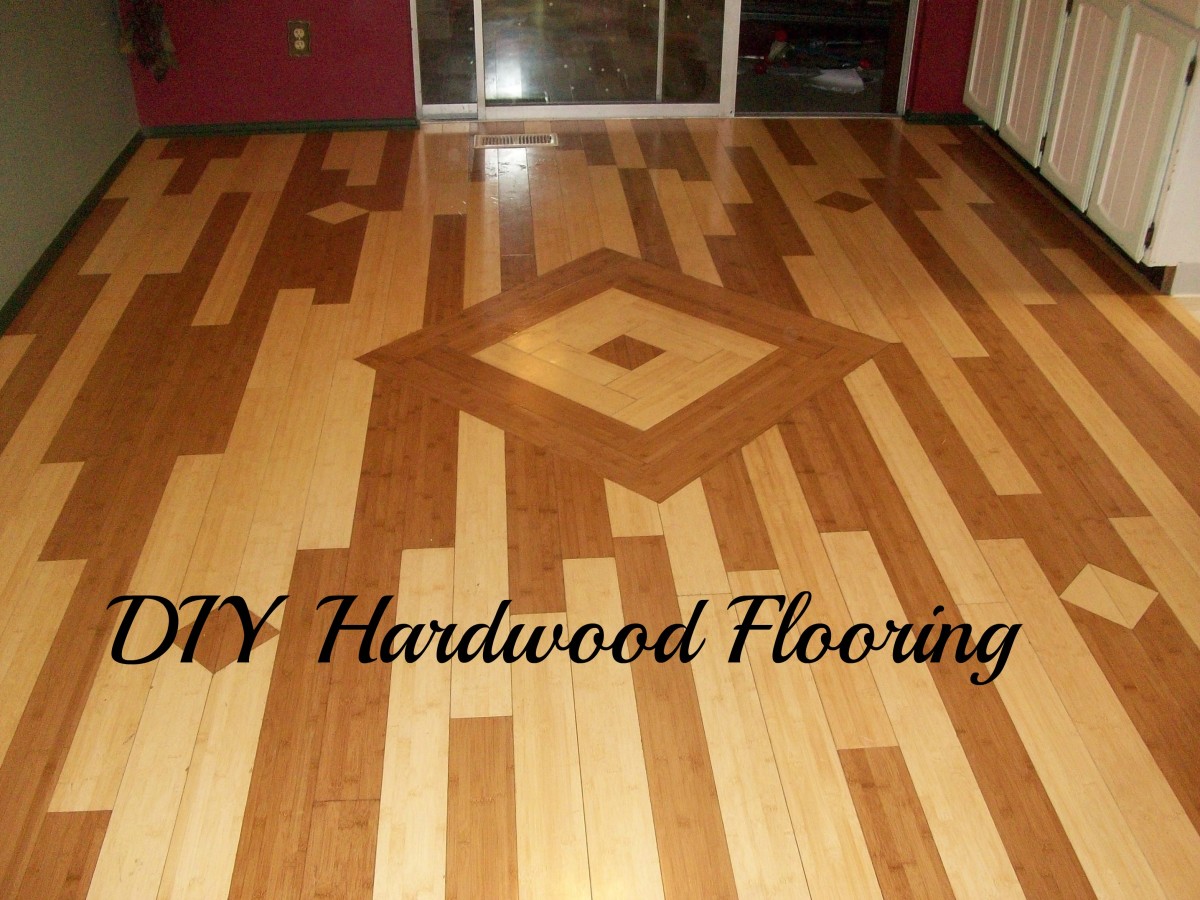
4. Cut and stagger boards: Measure and cut the last board of each row to fit. Stagger the end joints of each row by at least 6 inches to create a more stable and visually appealing installation.
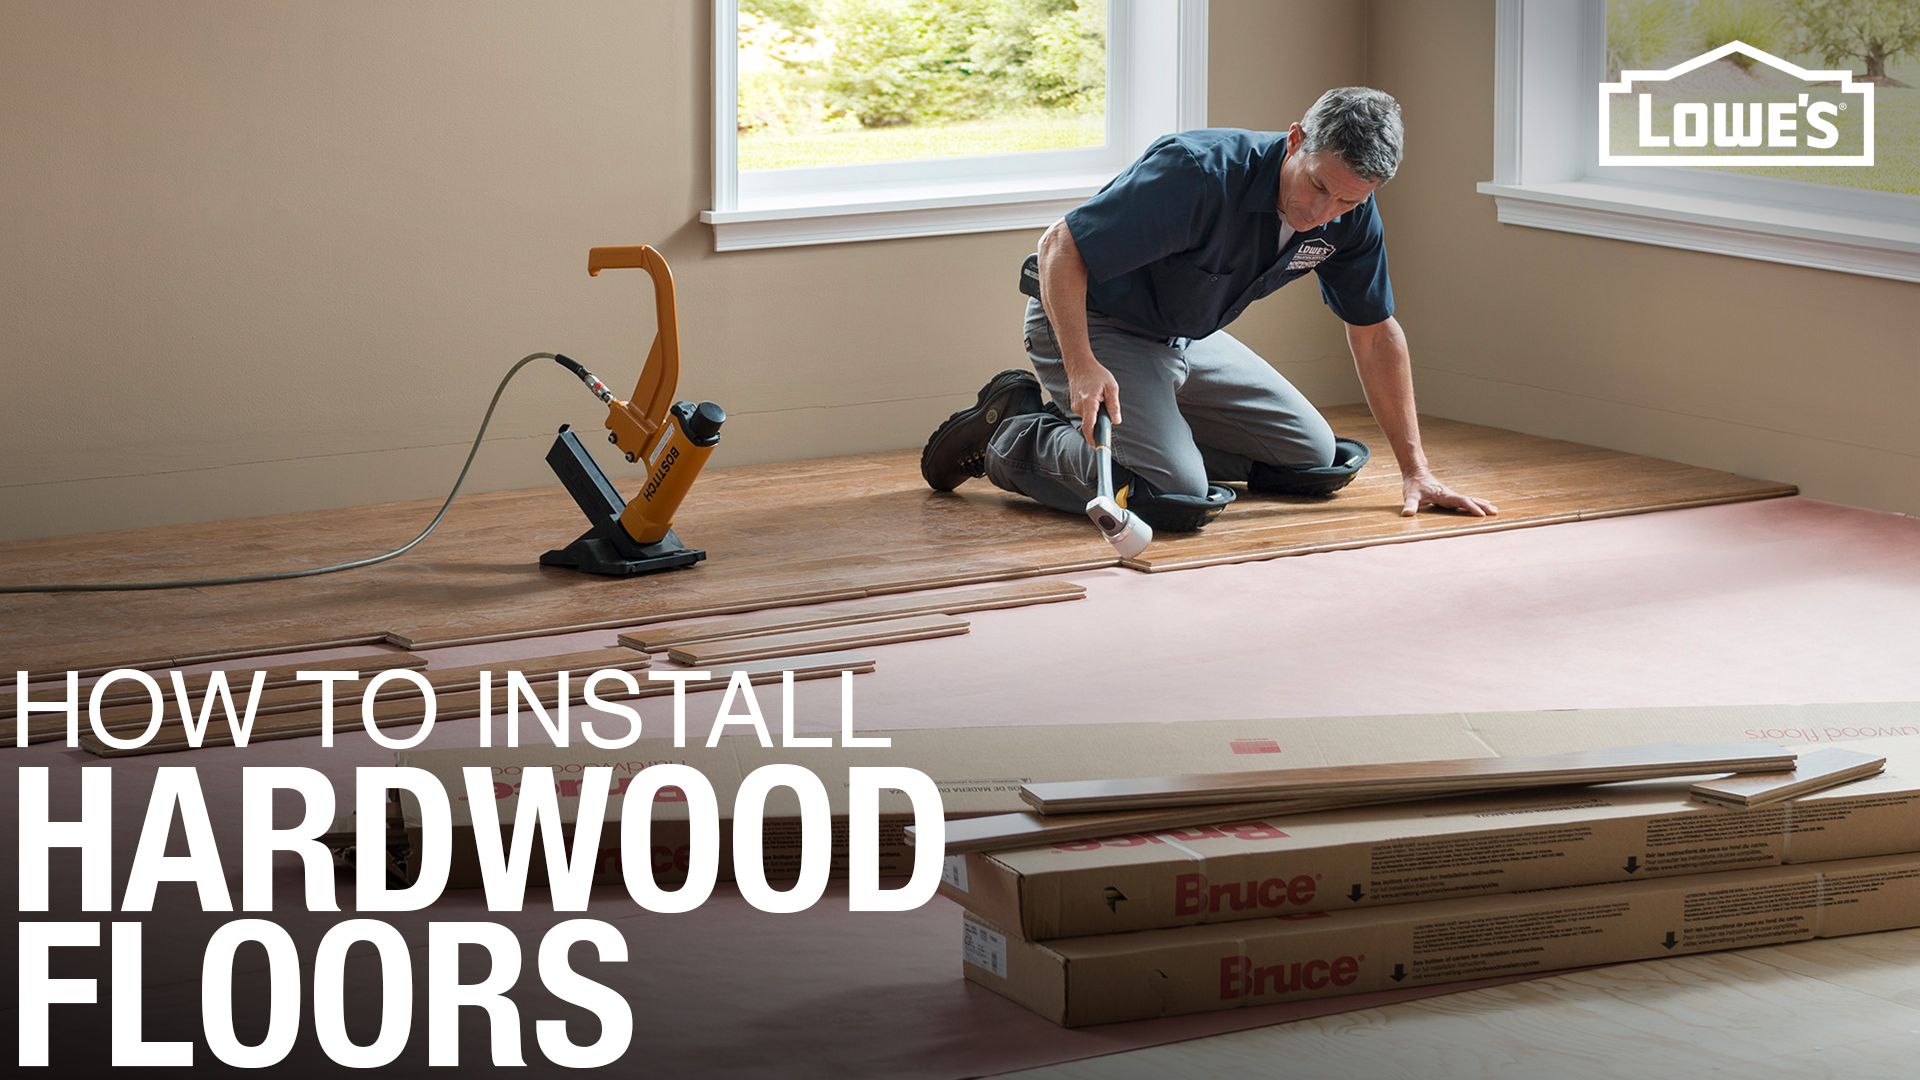
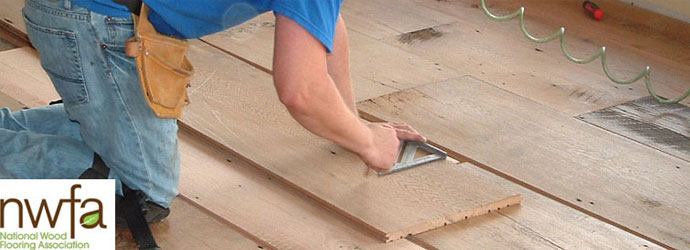
5. Nail or glue down the boards: Depending on the type of engineered wood flooring you have, you may need to either nail or glue down the boards. Follow the manufacturer’s instructions for proper installation methods.
6. Repeat for subsequent rows: Continue installing additional rows of engineered wood flooring, making sure to maintain the expansion gap along each wall. Use spacers as needed to ensure uniform spacing between boards.
7. Trim excess flooring: Once all the boards are installed, trim any excess flooring using a circular saw or jigsaw. Be careful not to damage the walls or baseboards while cutting.
8. Install baseboards and transition strips: Install baseboards along the walls to cover the expansion gap and provide a finished look. If transitioning to another type of flooring (e.g., carpet or tile), install transition strips to create a smooth transition between different surfaces.
9. Clean up: Remove any debris, dust, or adhesive residue from the newly installed engineered wood flooring. Sweep or vacuum thoroughly and use a damp mop with a mild cleaning solution suitable for hardwood floors.
By following these steps carefully, you can successfully install engineered wood flooring in any room of your home. Remember to consult with professionals or manufacturers for specific instructions and recommendations for your particular type of flooring.