Epoxy will protect and extend the life of concrete when used over the prior concrete flooring. They are for sale in colors which are different and combos as well as the software of theirs hinges only on the budget and the area to be closed.
Images about DIY Marble Epoxy Flooring
It has been utilized for years on industrial floors due to its toughness, durability, and resistance to motor oil, grease, and other chemicals that ruin regular paint. Epoxy can be used to level out trouble areas and make certain as well as area. You are able to put up epoxy flooring in places like a finished basement, the storage area of yours or maybe the outside deck of yours.
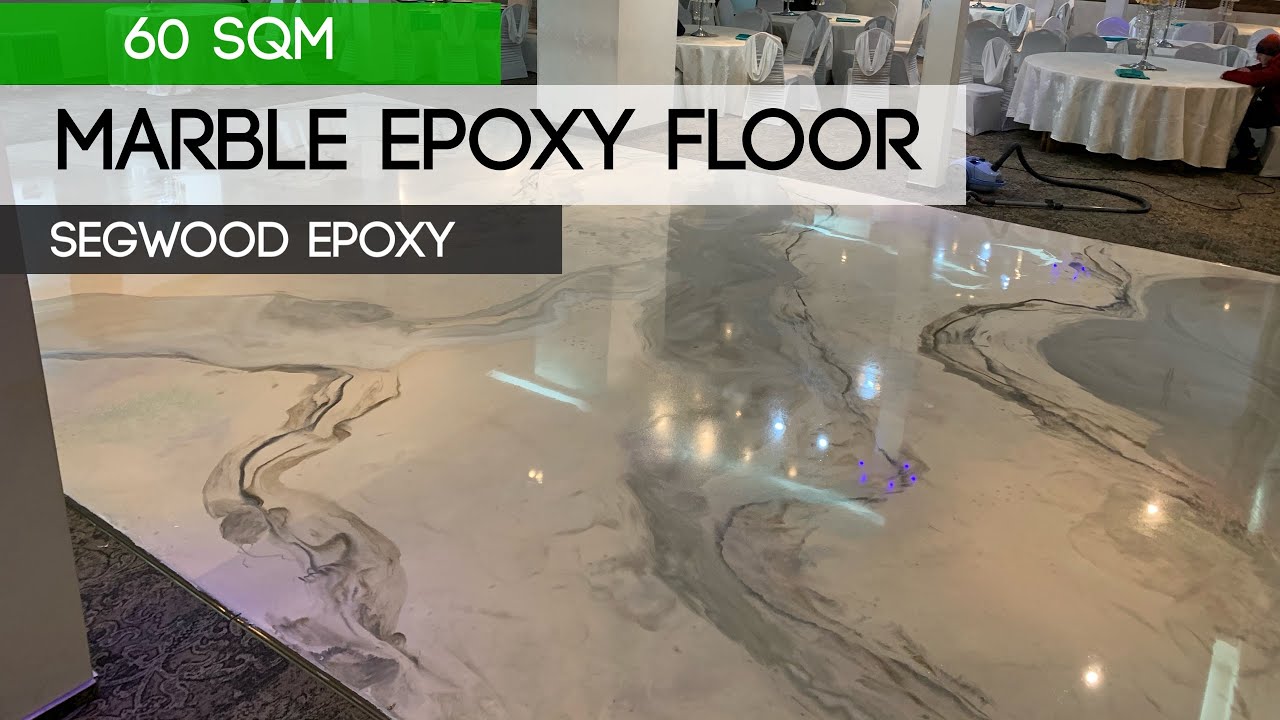
Epoxy marble floor 60sqm – SEGWOOD Style
Besides the durability of epoxy flooring, it's fortunate to withstand damage that is actually caused by various chemic strategies. Whether you would like your garage to seem even more attractive or maybe your studio to look more inviting, you're likely to find the color you want to make some floor stand out or perhaps delicately blend in with the majority of the decor.
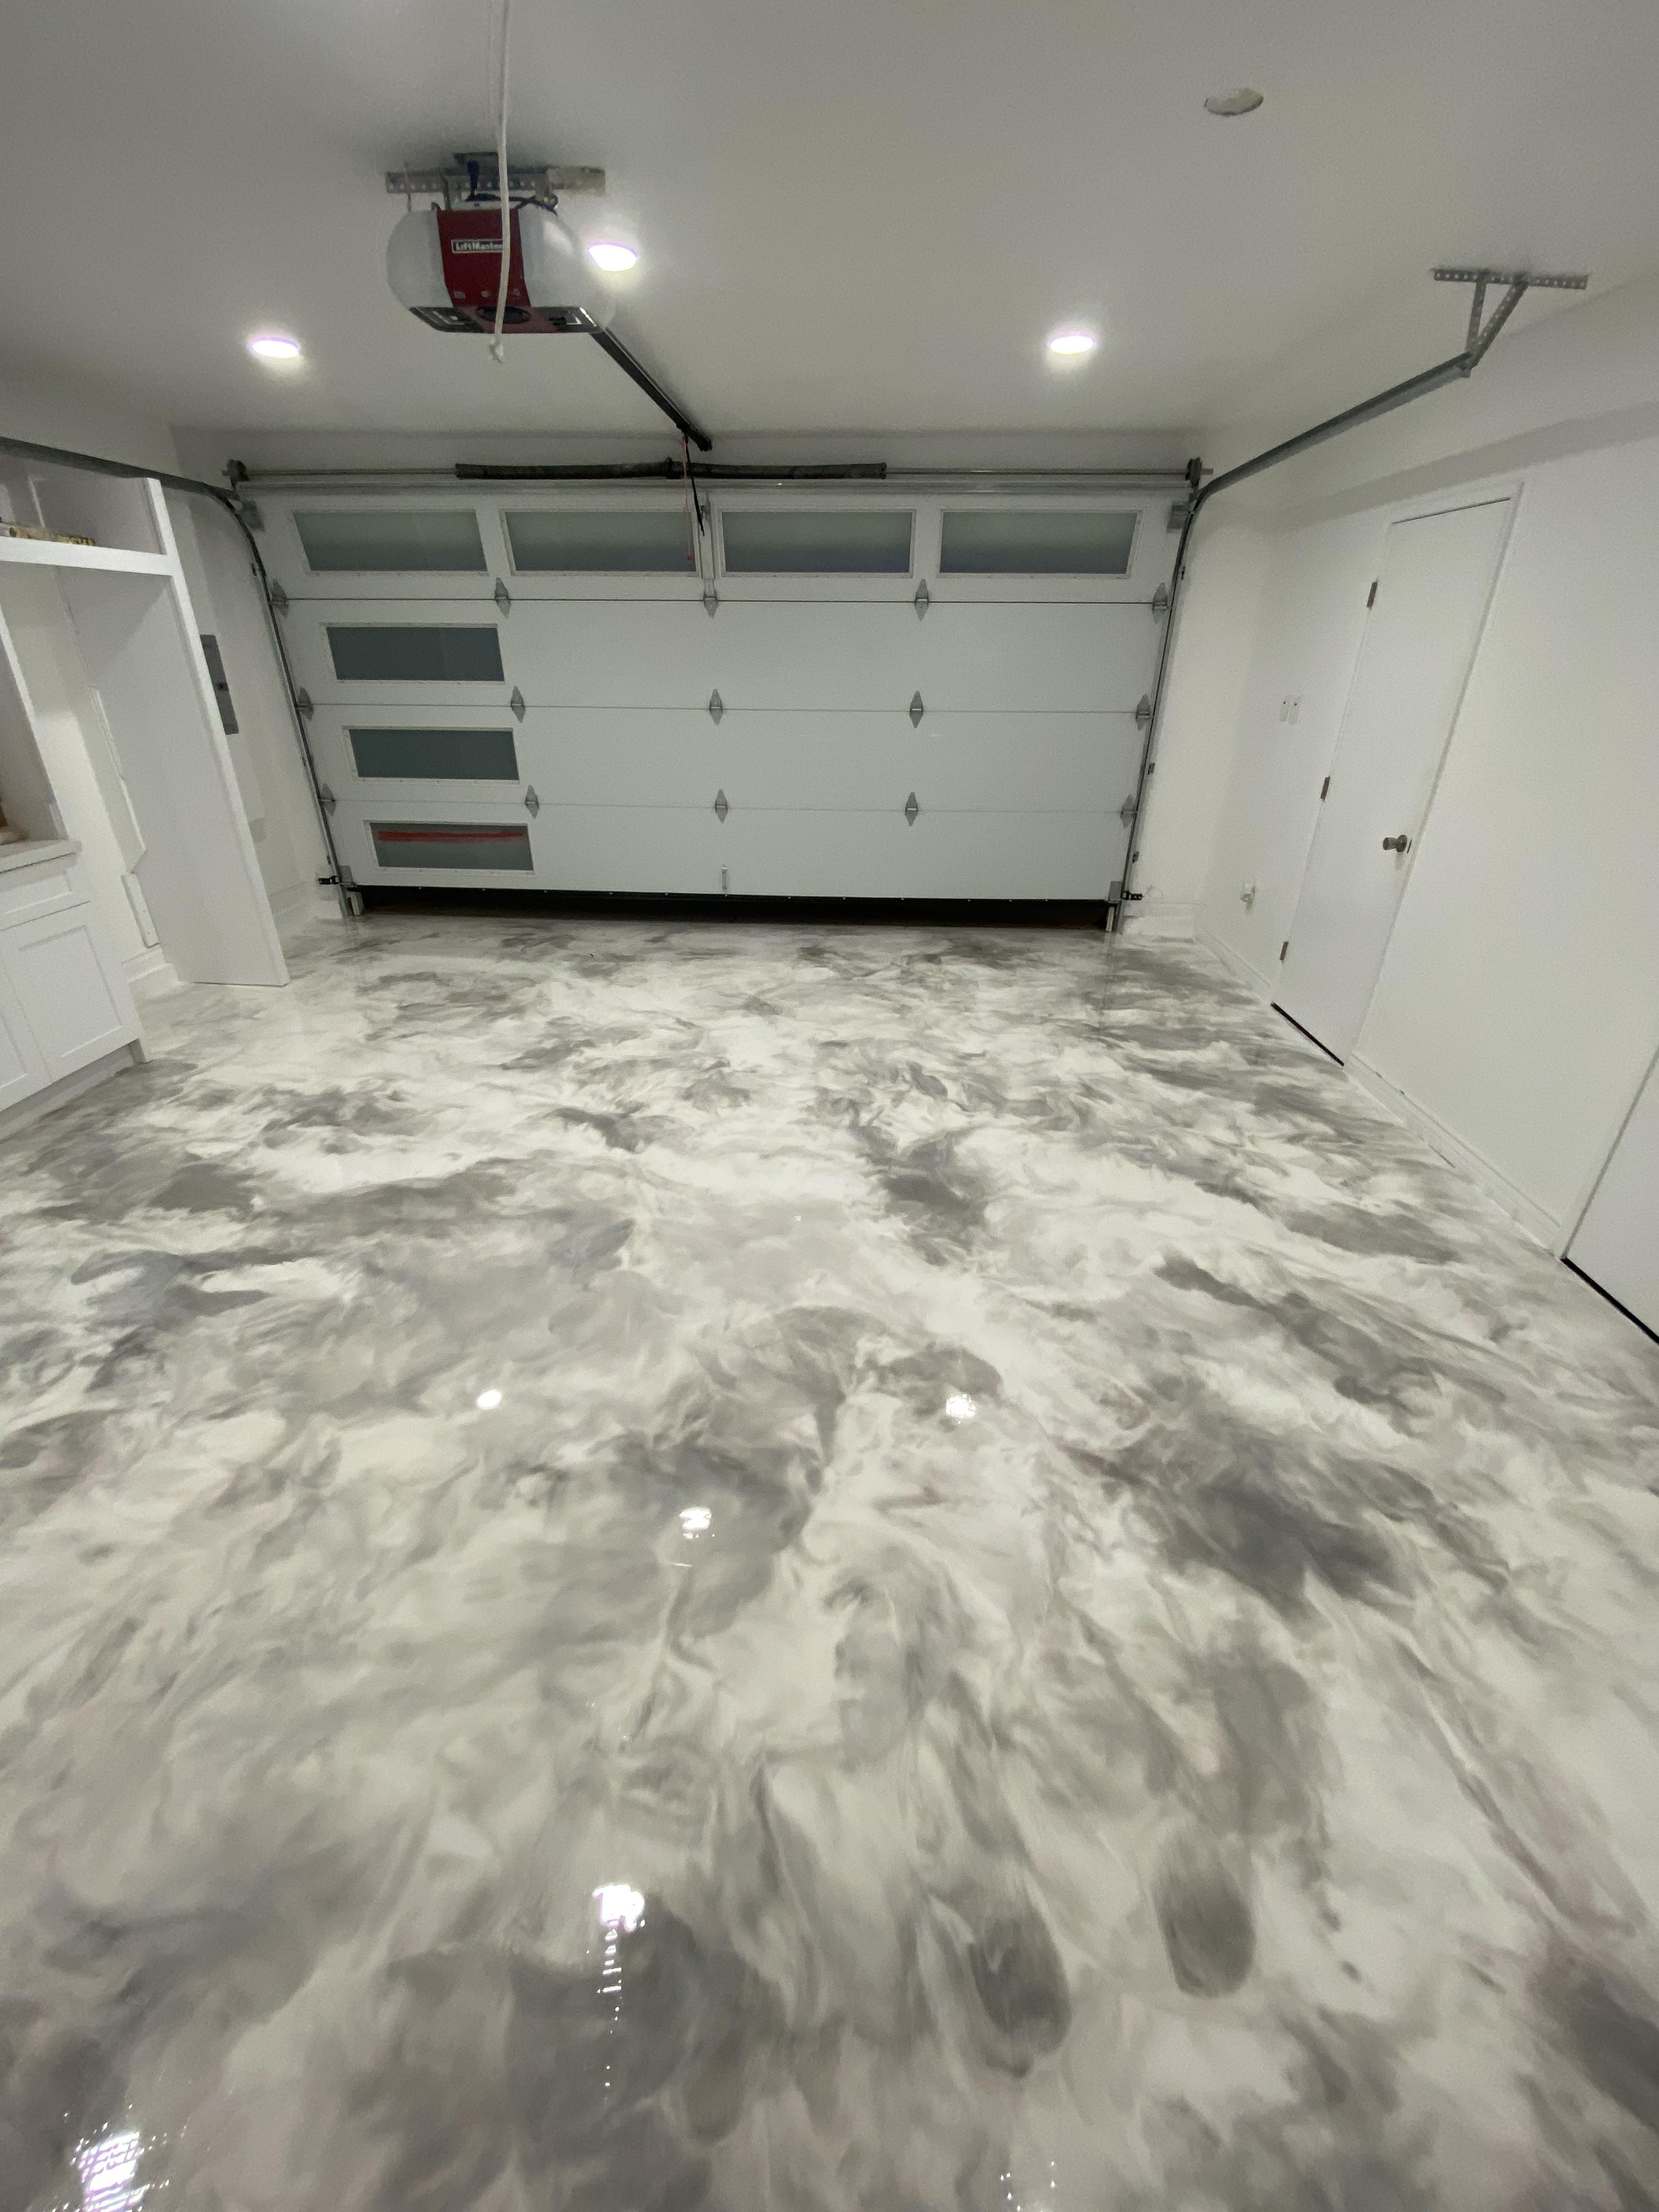
Metallic Marble Epoxy Floor – Metallic Floors Installed Nationwide

An epoxy covering is able to extend the life of the floor of yours, and also achieve an excellent look. Epoxy floor coloring can actually cover these spots and make the room look as a showroom. Epoxy is also good for outside spaces! You won´t need to be concerned about toxicity problems, epoxy is definitely risk free. Both parts of the paint has to be mixed together, and also you have to become meticulous and exercise extreme caution when using it.
Florring Art! – Metallic Marble Epoxy Flooring
Metallic Marble Epoxy Floor – Metallic Floors Installed Nationwide

Creative Metallic Epoxy Installation – Metallic Epoxy Floor
Epoxy Flooring Ideas to Extend the Life of Your Floors
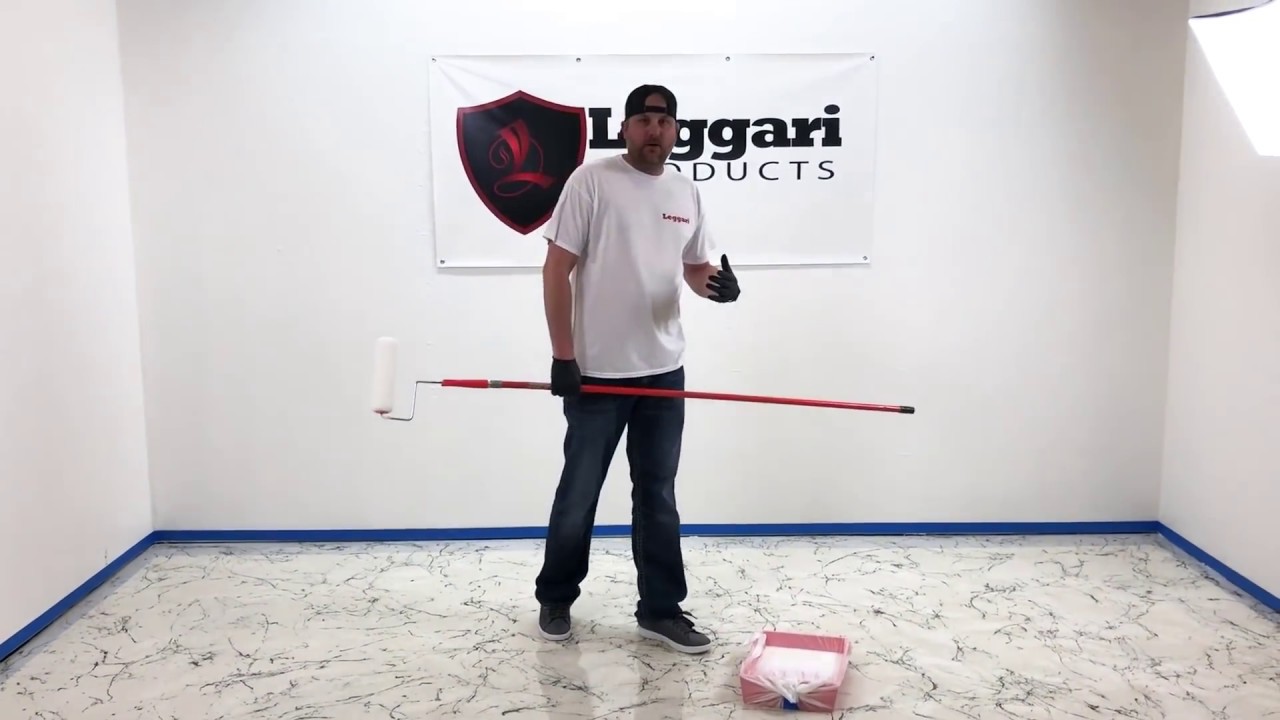
White u0026 Black Marble Epoxy Floor Step-By-Step
The Pros and Cons of Epoxy Floors in Your House – Advance

Metallic Epoxy Floor Coatings Q u0026 A Dreamcoat Flooring Phoenix

DIY: Homeowner Installs Designer Metallic Epoxy Floor Coating
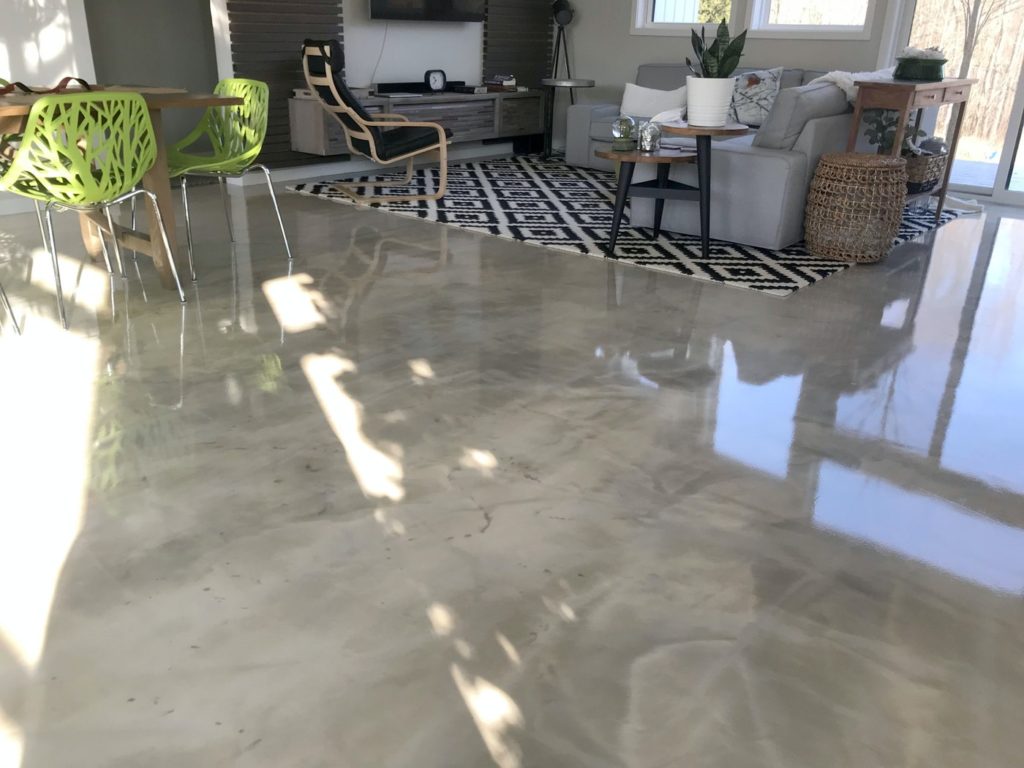
Metallic Epoxy Marble Pearl – Diamond Kote Decorative Concrete

Liquid Marble Metallic Epoxy System – Life Specialty Coatings

SYDNEY EPOXY FLOORS – Specialized in preparation and application

Related Posts:
- Benjamin Moore Epoxy Floor Paint
- Epoxyshield Basement Floor Coating Colors
- Rustoleum Epoxy Floor Coating Kit
- Epoxy Floor Leveling Products
- Custom Epoxy Garage Floor
- Epoxy Flooring Colorado Springs
- Glass Cast Floor Epoxy
- Epoxy Flooring Cost Per Sq Ft
- Roll On Epoxy Flooring
- How Much To Epoxy My Garage Floor
DIY Marble Epoxy Flooring: Transform Your Space with Elegance and Durability
Introduction:
When it comes to enhancing the beauty and durability of your floors, marble epoxy flooring is a fantastic option that can elevate any space. This DIY project allows you to create the look of luxurious marble without the hefty price tag. In this article, we will guide you through the process of creating your own stunning marble epoxy floors, from preparation to application. Get ready to transform your space into a masterpiece that exudes elegance and charm.
I. Understanding Marble Epoxy Flooring:
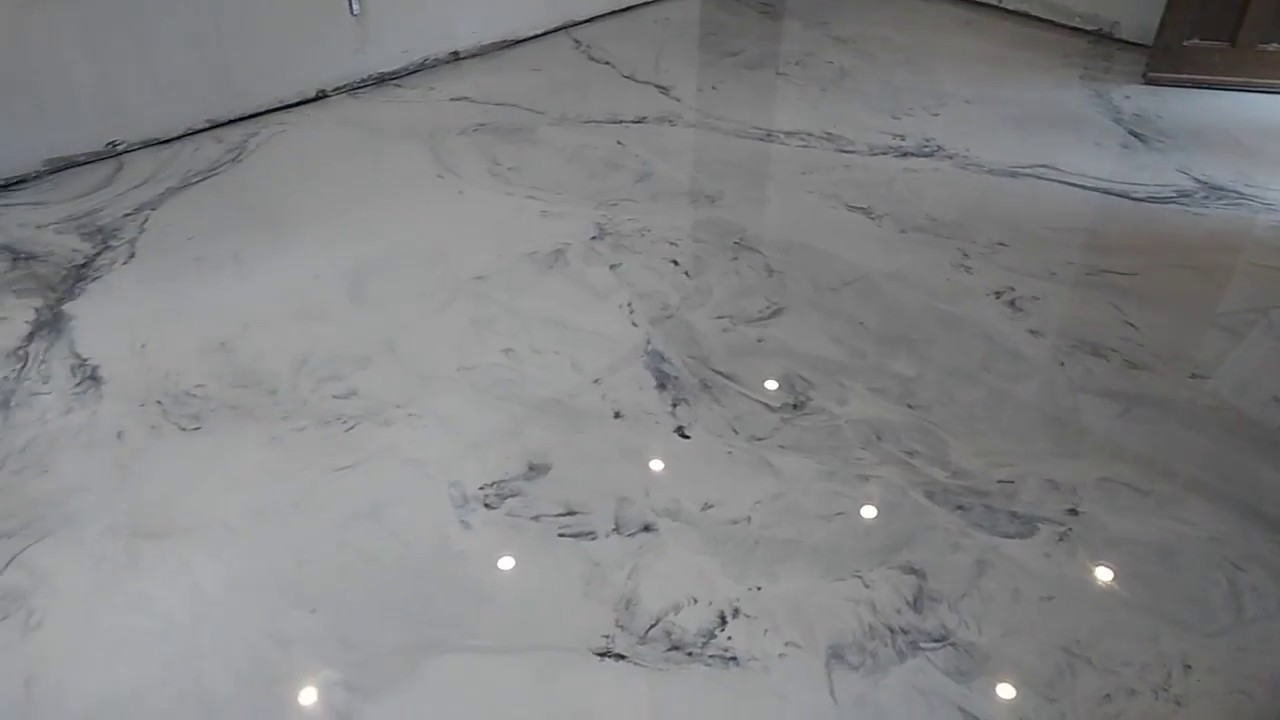
Marble epoxy flooring is a type of decorative coating that combines the strength of epoxy resin with the timeless beauty of marble patterns. This unique flooring solution provides a high-gloss finish that mimics natural marble, creating a visually stunning effect. It is commonly used in residential and commercial spaces, such as kitchens, bathrooms, living rooms, and even offices.
FAQs:
1. What are the benefits of marble epoxy flooring?
Marble epoxy flooring offers numerous benefits, including exceptional durability, easy maintenance, resistance to stains and chemicals, and its ability to transform any space with its elegant appearance.
2. How long does marble epoxy flooring last?
When properly installed and maintained, marble epoxy flooring can last for many years. Its longevity depends on factors such as foot traffic, maintenance routine, and environmental conditions.
3. Is it suitable for outdoor use?
While marble epoxy flooring is primarily designed for indoor use, there are specialized outdoor epoxy systems available that can withstand exposure to UV rays and harsh weather conditions.
II. Preparing Your Space:
Before diving into the application process, it is crucial to prepare your space adequately. Here’s a step-by-step guide on how to get your area ready for a successful DIY marble epoxy flooring project:
1. Clear the Area:
Start by removing all furniture, appliances, and any other objects from the room. This will provide you with an obstacle-free space to work in.
2. Clean and Repair the Floor:
Thoroughly clean the floor using a broom, vacuum, or mop to remove any dirt, dust, or debris. Next, inspect the surface for any cracks, holes, or imperfections. Fill these areas with an epoxy filler and level them using a putty knife. Allow the filler to dry completely before proceeding.
3. Sand the Floor:
To ensure proper adhesion of the epoxy coating, lightly sand the entire floor surface. This will help remove any existing coatings, roughen up the surface, and promote better bonding.
FAQs:
1. Can I apply marble epoxy flooring over existing tiles?
Yes, marble epoxy flooring can be applied over various surfaces, including tiles. However, it is essential to ensure that the existing surface is clean, level, and free from any loose tiles or grout.
2. Do I need to remove baseboards before applying the epoxy coating?
It is not necessary to remove baseboards unless you prefer a seamless look without any visible edges. If you decide to keep them in place, protect them from epoxy drips using painter’s tape.
III. Applying Primer and Base Coat:
The next step in creating your DIY marble epoxy flooring masterpiece is applying a primer and base coat. These layers are crucial for promoting adhesion and providing a solid foundation for the decorative topcoat.
1. Prepare the Primer:
Mix the epoxy primer according to the manufacturer’s instructions. Use a clean bucket and stir thoroughly until both components are well blended.
2 . Apply the Primer:
Using a roller or brush, apply a thin and even layer of epoxy primer to the entire floor surface. Make sure to cover all areas, including corners and edges. Allow the primer to dry completely according to the manufacturer’s instructions.
3. Mix and Apply the Base Coat:
Mix the epoxy base coat in a clean bucket following the manufacturer’s instructions. Stir well until both components are thoroughly combined. Apply a consistent and even layer of base coat using a roller or brush. Work in small sections to ensure proper coverage and avoid drips or pooling. Allow the base coat to dry completely before proceeding.
FAQs:
1. How long does the primer and base coat take to dry?
The drying time for the primer and base coat can vary depending on factors such as temperature, humidity, and ventilation. It is best to refer to the manufacturer’s instructions for specific drying times.
2. Can I apply multiple layers of base coat?
In most cases, one layer of base coat is sufficient for marble epoxy flooring. However, if you desire a thicker or more opaque finish, you can apply multiple layers, allowing each layer to dry completely before adding another.
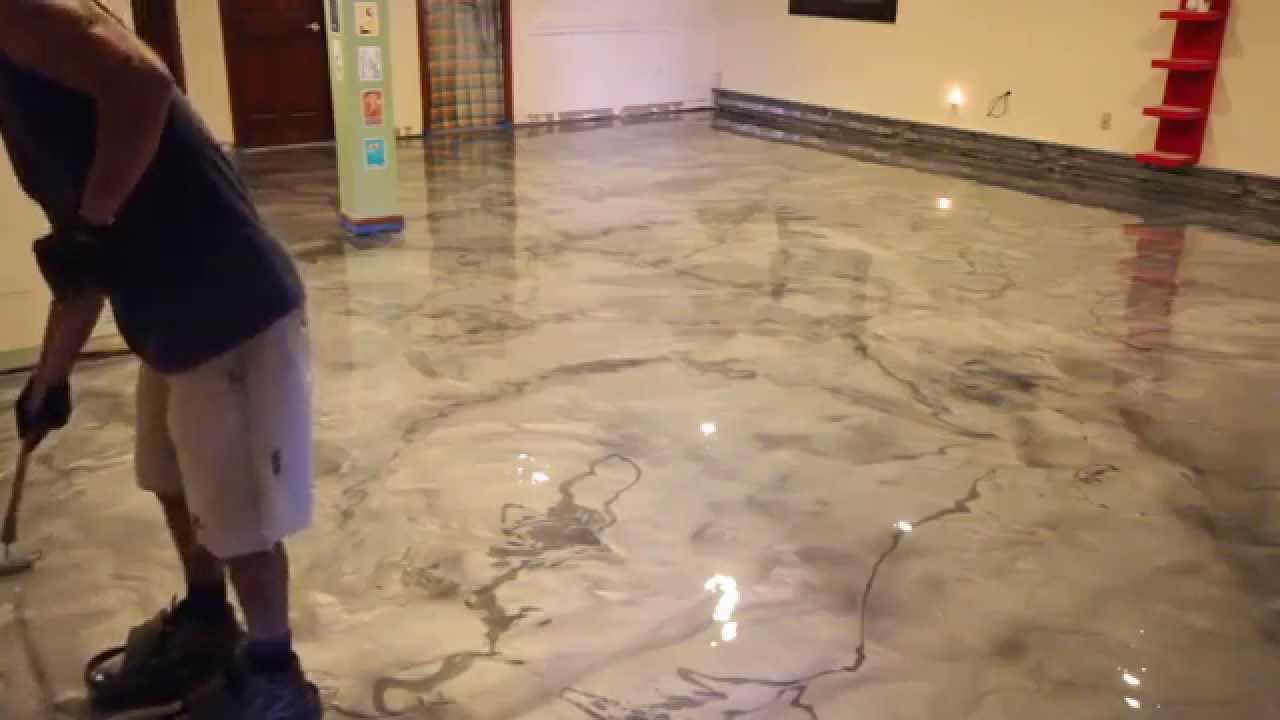
IV. Creating the Marble Effect:
Now comes the exciting part – creating the stunning marble effect on your epoxy flooring. Follow these steps to achieve a realistic and eye-catching marble appearance:
1. Prepare the Metallic Epoxy:
Mix the metallic epoxy according to the manufacturer’s instructions. This type of epoxy contains metallic pigments that will give your flooring its characteristic veined marble look.
2. Apply the Metallic Epoxy:
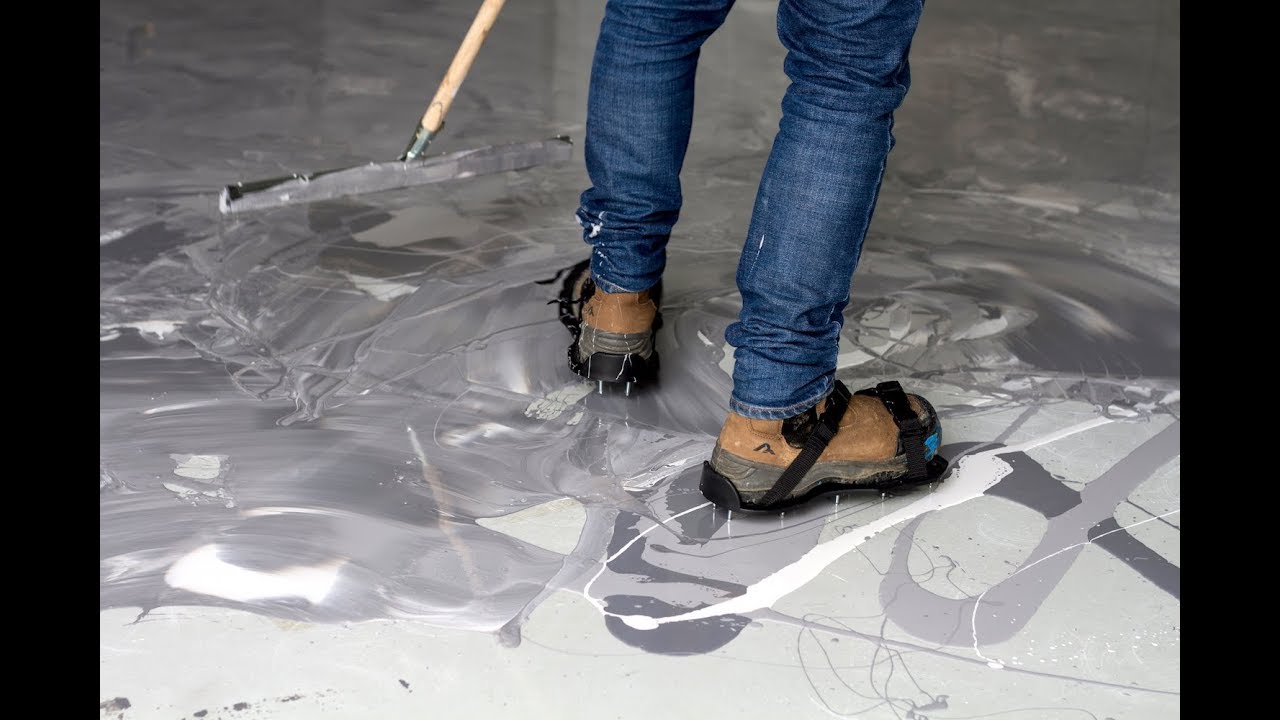
Using a roller or brush, apply the metallic epoxy in random patterns across the floor surface. Make sure to overlap the lines to create a seamless and natural appearance. Use a small paintbrush to add more intricate veins or details if desired. Work in small sections to maintain control and avoid drying before blending.
3. Blend and Feather the Metallic Epoxy:
Once the metallic epoxy is applied, use a feathering technique with a clean roller or brush to blend and soften the lines. This will create a more natural and organic marble effect. Keep blending until you achieve your desired look.
FAQs:
1. Can I mix different metallic epoxy colors for a custom marble effect?
Yes, you can mix different metallic epoxy colors to create a custom marble effect. Experiment with different combinations and ratios to achieve your desired look.
2. How long do I have to work with the metallic epoxy before it dries?
The working time for metallic epoxy can vary depending on factors such as temperature and humidity. It is best to work in small sections and blend as you go to prevent premature drying.