While deciding an appropriate pattern you ought to in addition think about the way of life span of the floor material, the appearance of its as well as the potential of its to match with the theme of the room. Bathroom flooring must be different from the flooring utilized in living areas, bedrooms as well as that of the kitchen area. You simply have to remove the sticker and place down the flooring on the floor.
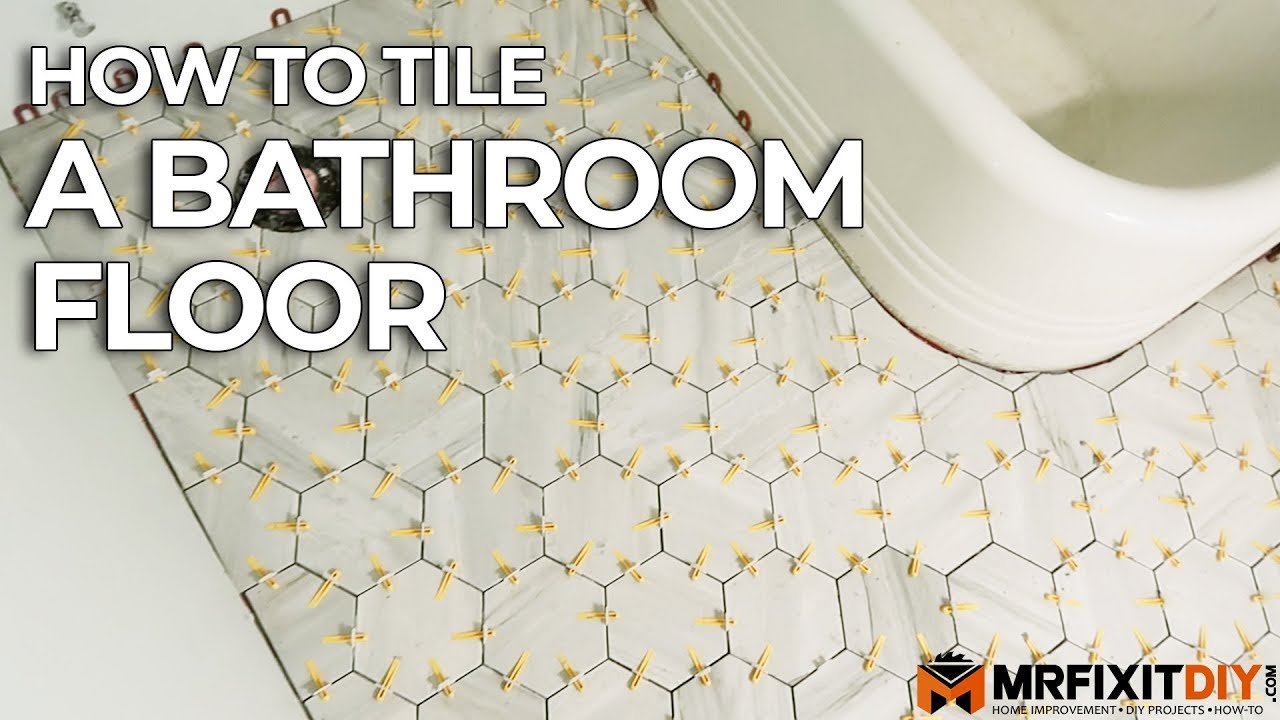
Images about DIY Retile Bathroom Floor
Add it this the germs as well as bacteria that you get in a bathroom and also you can realize why the flooring takes more of a beating than some other rooms. Ceramic tiles are actually manufactured in an amazing array of styles that are different, sizes and designs, too, which makes it a snap to obtain the look that's right for you. It is likewise important to look for bathroom flooring as a larger photo.
How to Lay a Tile Floor HGTV

Everybody loves a nicely decorated bathroom and what great method of doing it than by making use of mosaic bathroom floor flooring? These tiles could be cut into any shape or placed in patters like swirls, waves, circles, triangles etc. When you need a stylish bath room, think about natural stone tiles for the floors. Stone tiles are long lasting however expensive.
How To Update Your Bathroom Floor Tiles – 6 DIY ideas

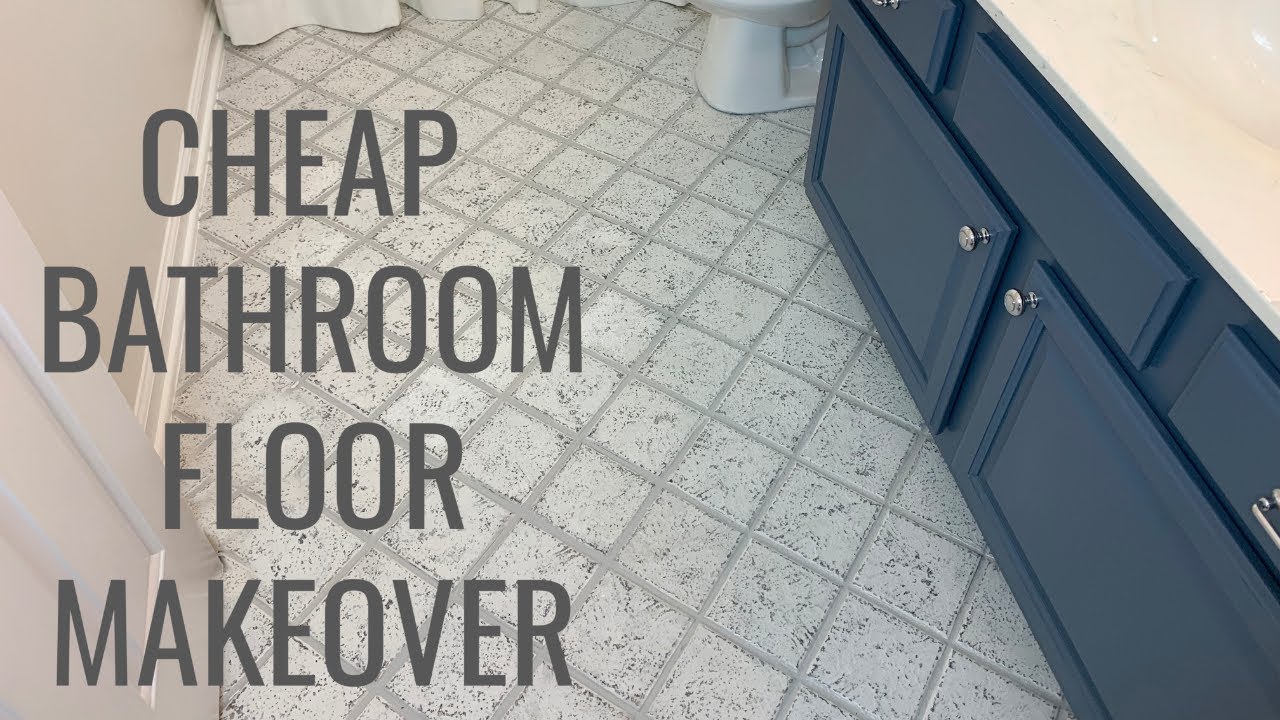
Cheap Bathroom Floor Makeover Easy DIY
DIY Painted Bathroom Floor

How to Lay Tile: Install a Ceramic Tile Floor In the Bathroom (DIY)

How To Tile a Bathroom Floor The Home Depot

How to Tile a Bathroom Floor with Wickes

How to Tile Floors u0026 Walls – Sincerely, Sara D. Home Decor u0026 DIY
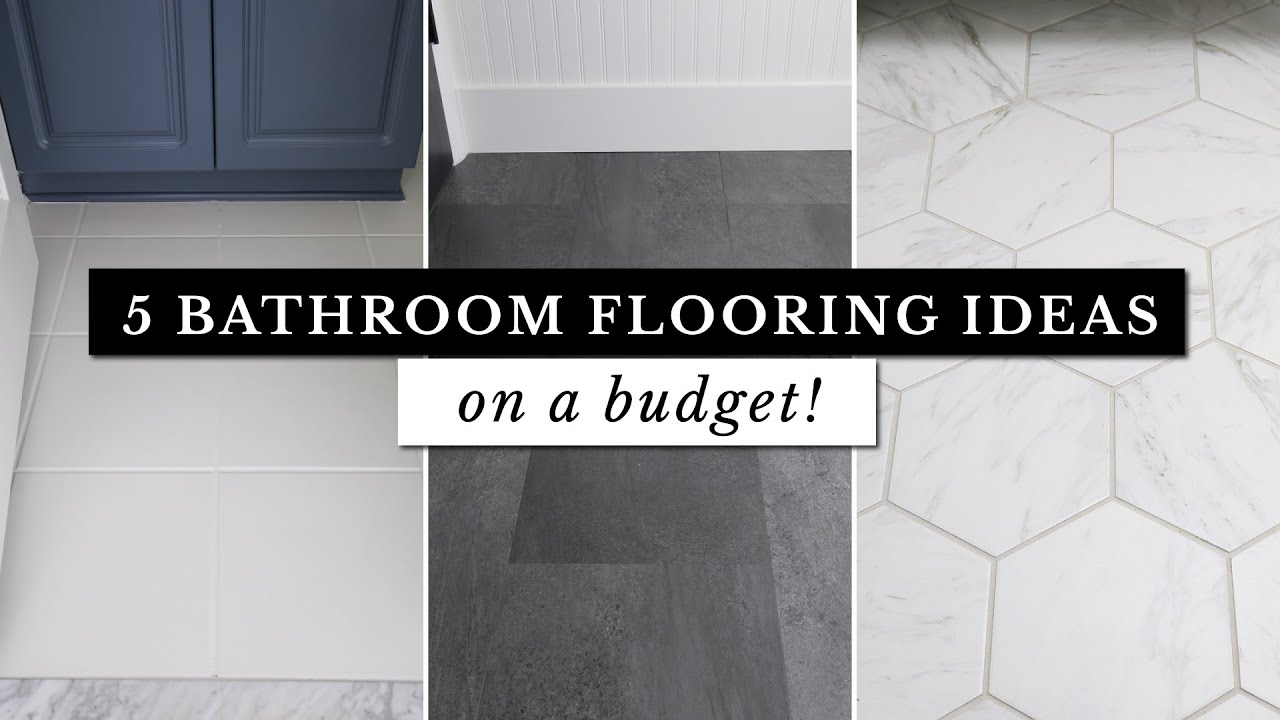
5 Bathroom Flooring Ideas on a Budget!
Hallway Bathroom Update: DIY Flooring Upgrade – THE BALLER ON A

4 Inexpensive Bathroom Flooring Ideas
/budget-bathroom-flooring-refresh-ideas-326828_porcelain_tile-8959414ed56e4ca3a018896d984f52eb.jpg)
How to Paint Bathroom Tile Floors
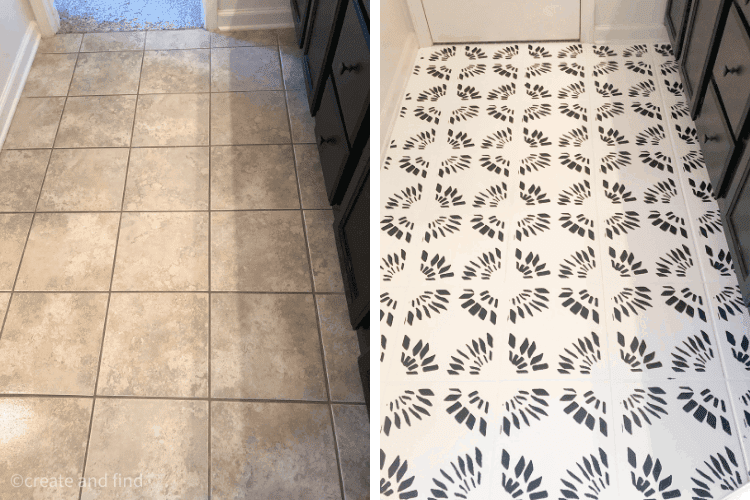
Easy DIY: Painting Bathroom Tile Stencils u2013 Royal Design Studio

Related Posts:
- Anti Slip Tiles Bathroom Floor
- How To Cover Tile Floor In Bathroom
- White Corner Bathroom Floor Cabinet
- Bathroom Floor Edging
- Flooded Bathroom Floor
- Bathroom Floor Plans With Laundry
- Bathroom Ideas Grey Floor
- Design My Own Bathroom Floor Plans
- Bathroom Floor Drain Clogged
- Porcelain Tile Bathroom Floor Ideas
How to Retile Your Bathroom Floor – A Step-by-Step DIY Guide
If you’re looking for a way to revamp the look of your bathroom, retiling the floor is a great option. Not only will it make your bathroom look more stylish, but it can also increase the value of your home. With a few tools and some patience, you can easily retile your bathroom floor to give it a beautiful, updated look. This guide will go through each step of the process so that you can confidently start and finish your project with ease.
Tools and Materials Needed
Before beginning any project such as retiling a bathroom floor, it’s important to make sure you have all the necessary tools and materials on hand. The items you’ll need for this project include:
• Tile
• Grout
• Thinset mortar
• Trowel
• Caulk gun
• Caulk
• Spacers
• Measuring tape
• Utility knife
• Bucket
• Tile saw or wet saw (optional)
• Mixing paddle or drill with mixing attachment (optional)
• Rubber grout float (optional)
Preparing the Floor for Tile Installation
The first step in retiling your bathroom floor is to prepare the area for installation. Start by removing any existing tile or other flooring that is on the surface. Use a utility knife to pry up any tiles that may be stuck down with adhesive. Once all the old tiles are removed, use a scrub brush and warm, soapy water to clean up any remnants of adhesive or dirt that remain on the surface. Allow the area to dry completely before moving on to the next step.
Installing Tile Backerboard
Once you have a clean and dry surface, it’s time to install tile backerboard. This is an important step as backerboard provides stability and structure for your new tile installation. It also helps ensure that moisture won’t seep through the tiles into the subfloor below. To install backerboard, cut it into smaller pieces if needed and then attach it using screws or nails. You may need to use a jigsaw or circular saw if you need to cut around corners or other obstacles in your bathroom space. Make sure all seams between boards are tightly sealed with thinset mortar before moving on to the next step.
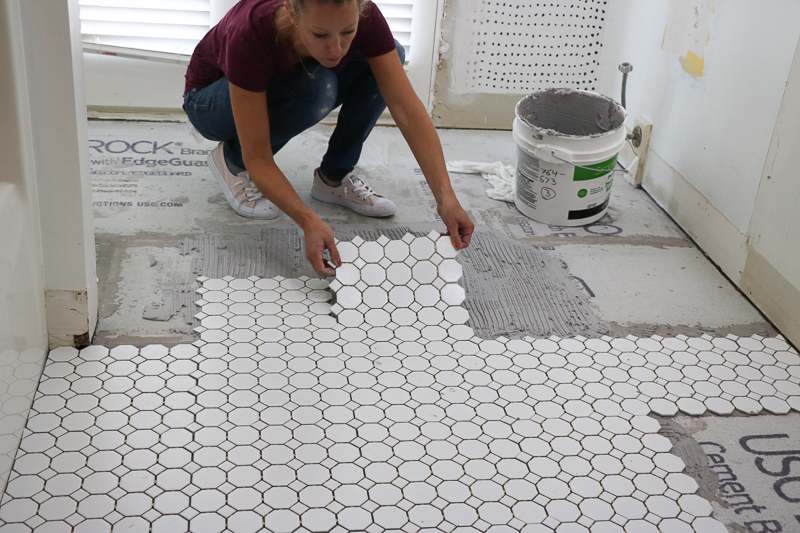
Laying Out and Installing Tile
Once your backerboard is installed, it’s time to lay out your tile pattern. Start by measuring out an equal grid pattern onto your backerboard using chalk lines as a guide for laying out each row of tile. Once you have a pattern in mind, begin installing your tile one row at a time, starting from one side of the room and working your way across towards the other side. Make sure each row of tiles are aligned properly with each other before continuing onto the next one. If you need to cut any pieces of tile for edges or corners, use either a tile saw or wet saw depending on what type of material you are using. After all The tiles are installed, use tile spacers to make sure each tile is evenly spaced apart.
Applying Grout and Caulk
Now it’s time to apply the grout and caulk. Start by mixing up a batch of grout according to the manufacturer’s instructions and then use a rubber grout float to spread it across the entire surface of the tiles. Once the grout has been applied, take a damp sponge and wipe away any excess. Let the grout dry completely before applying the caulk. To apply caulk, cut the end of the tube at a 45-degree angle and then insert it into a caulk gun. Then run the caulk along all of the edges and corners of your newly tiled floor.
Finishing Up Your Project
Once you’ve finished applying grout and caulk, let everything dry completely before walking on your newly retiled bathroom floor. Depending on what type of tile you used, you may also need to seal it after installation for added protection against stains or water damage. Be sure to follow any special instructions that may come with your tile in order to get maximum protection for your new bathroom floor. Congratulations, you’ve successfully installed a new tiled bathroom floor!
What tools are needed to retile a bathroom floor?
-Tile spacers-Tile saw/wet saw
-Notched trowel
-Tile adhesive
-Grout and grout float
-Sponge
-Bucket
-Rubber mallet
-Protective eyewear
-Caulk gun
-Screws or nails for attaching the backerboard
-Jigsaw or circular saw for cutting the backerboard (if needed)
-Chalk line for laying out tile pattern
-Grout sealer (if needed)