For tile to become successful, it requires rigid assistance, with almost no tolerance for motion. You likewise need to be mindful about not working with specific products. On the contrary, it's tough to remove allergens from the carpet pad. They fully transform an area into one that's spacious and modern. You are able to arrange them to form a picture or you can count on the colors to create a figure.
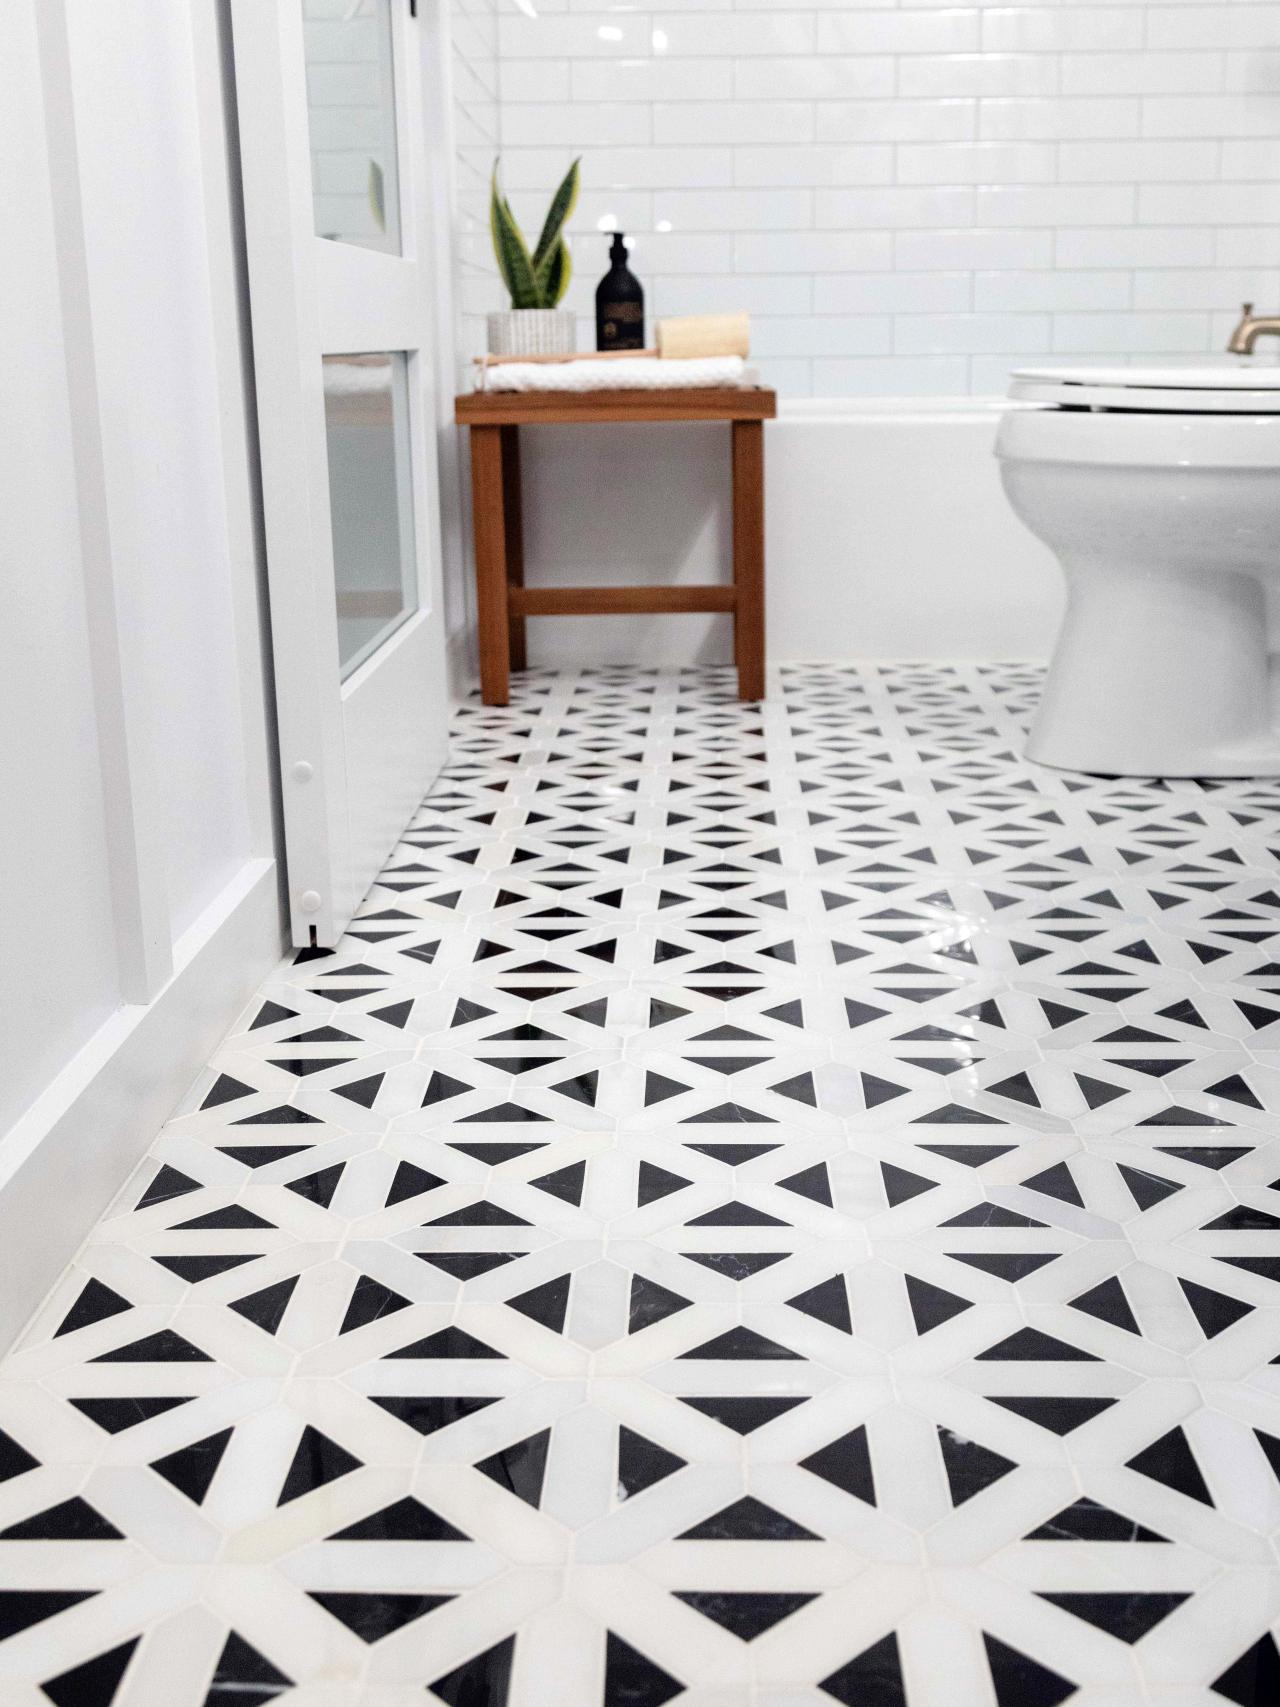
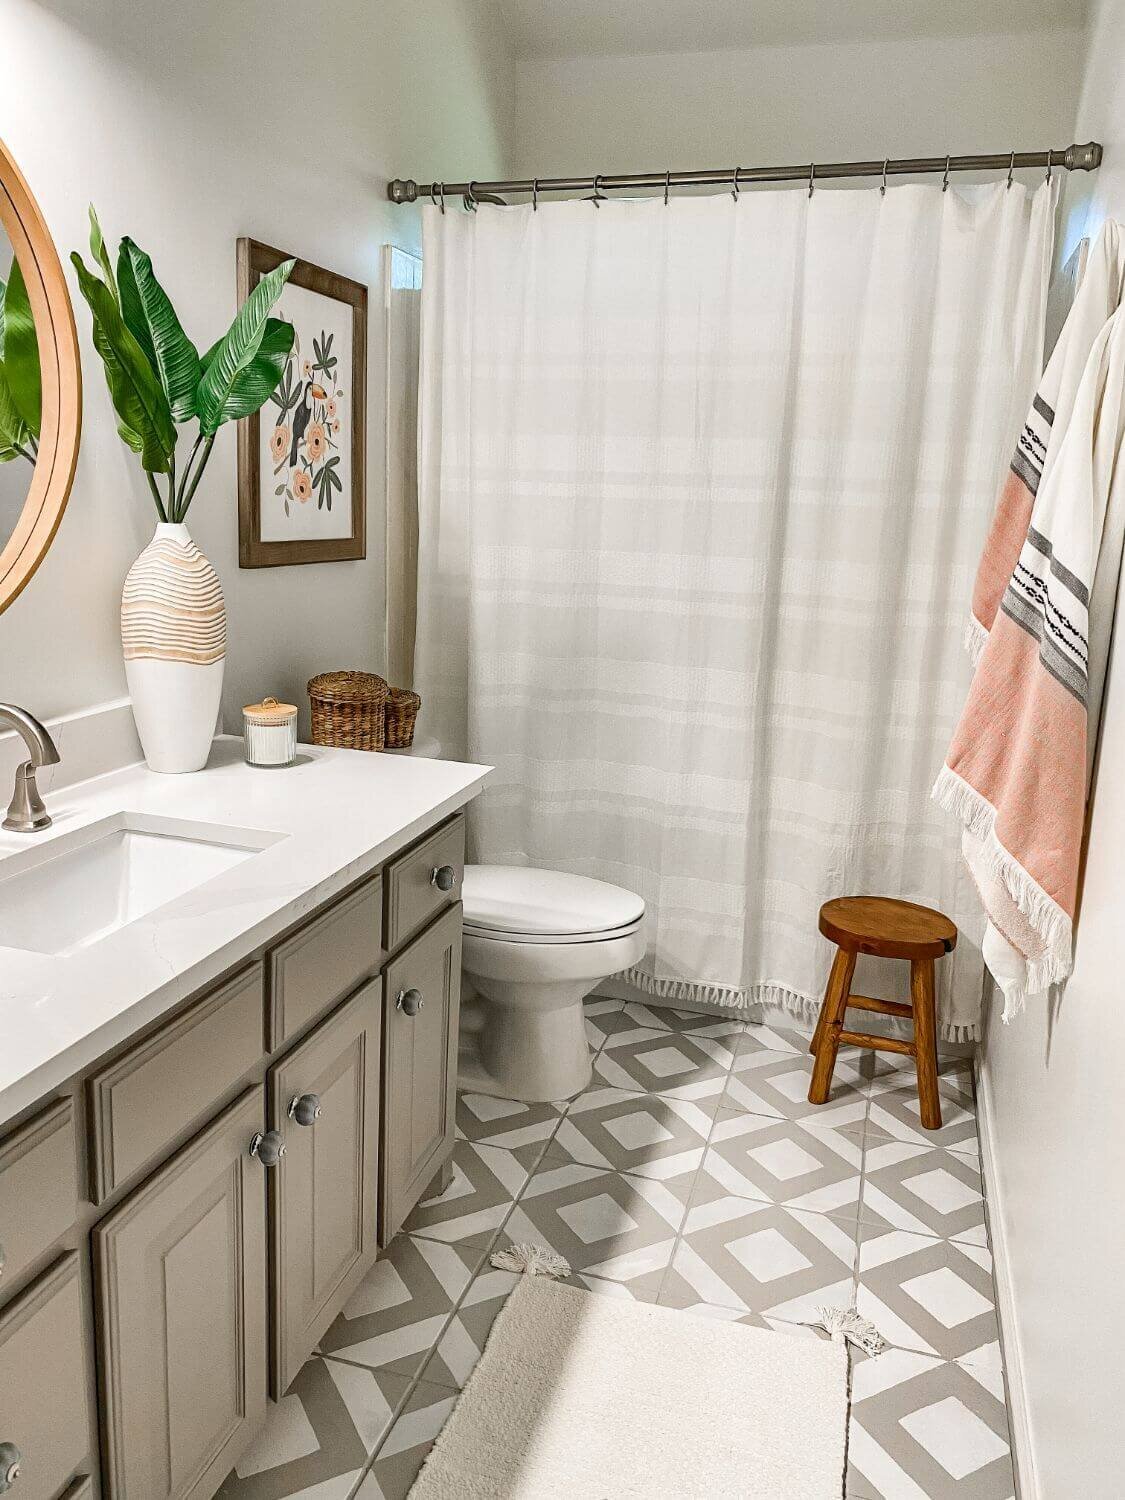
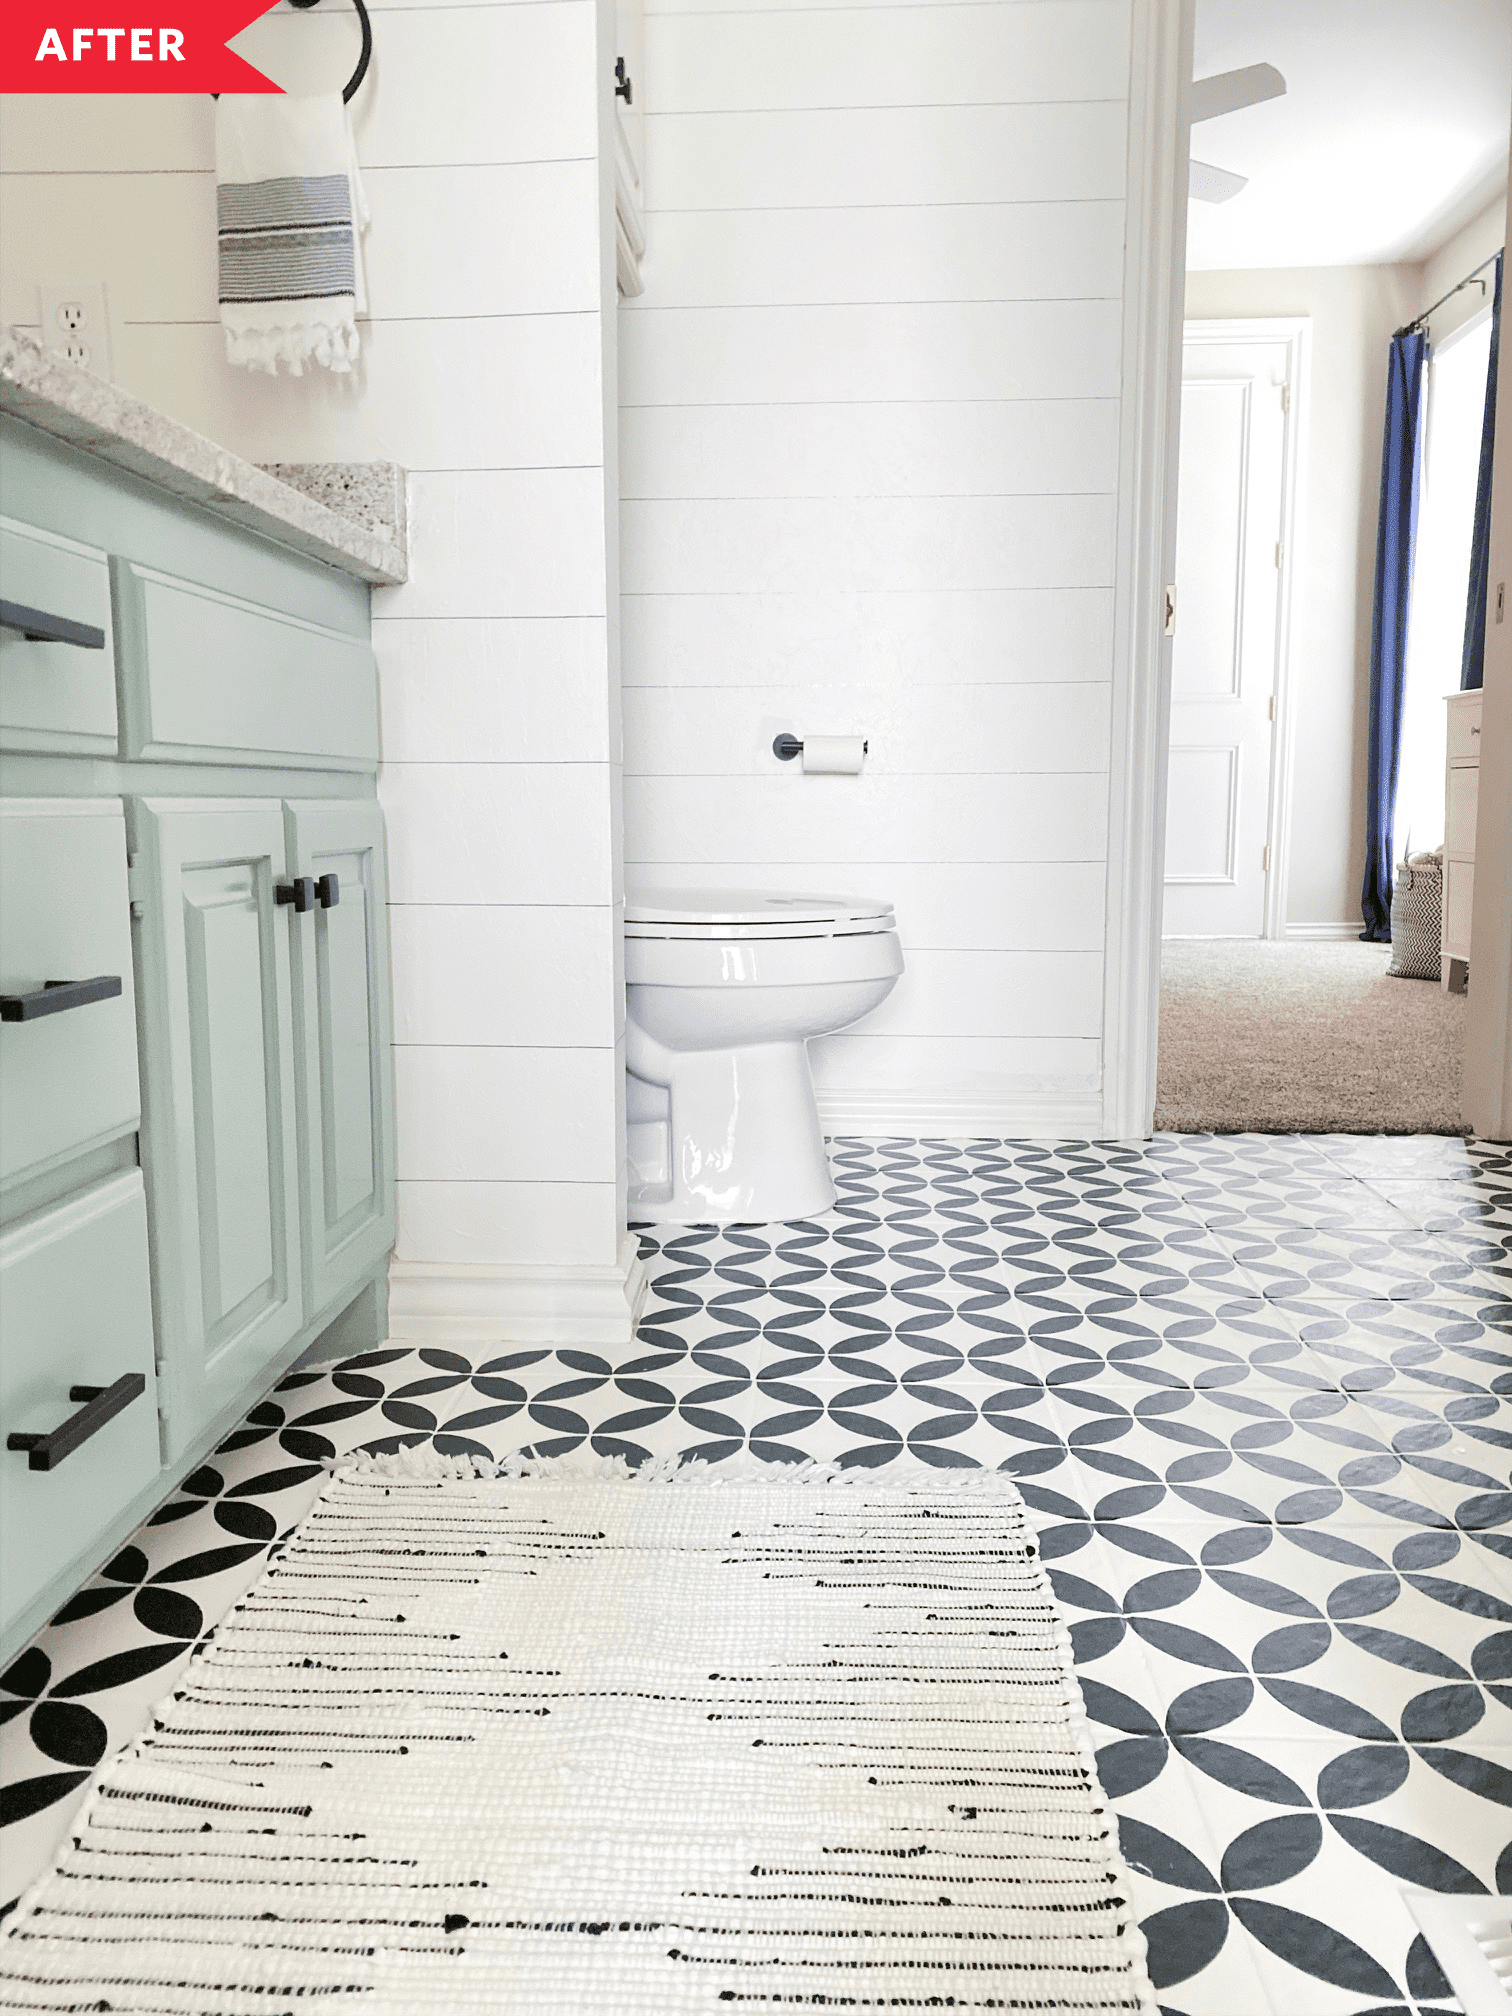
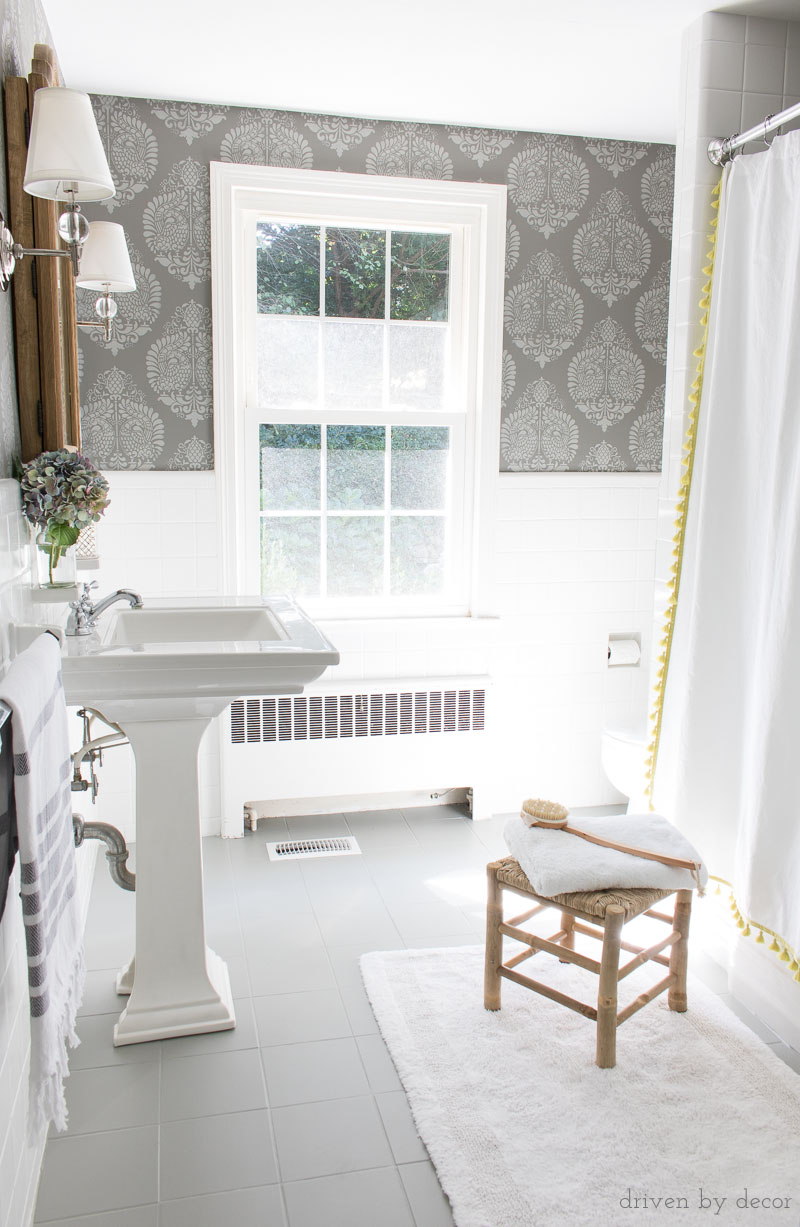
Images about Do It Yourself Tile Floor Bathroom
Ceramic tile flooring isn't inexpensive! But, this shouldn't be your primary consideration when preparing to remodel the kitchen floor of yours or perhaps bathroom floor. If you want to opt for ceramic tile flooring in all the rooms of your home you are bringing a degree of consistency to the home. Make sure that each floor tile is even with the next.
How To Update Your Bathroom Floor Tiles – 6 DIY ideas

Tiles however are a lot easier to set up but garage tile floors does come with the very own pros of its advantages and disadvantages as we shall see going ahead. And then, wipe the thin excess off the tiles and hang on a minimum of twenty four hours for these people to establish. Mosaic tile flooring is among the most loved designs because of the high level of creativity you are able to utilize in having them in the home of yours.
How to Lay a Tile Floor HGTV

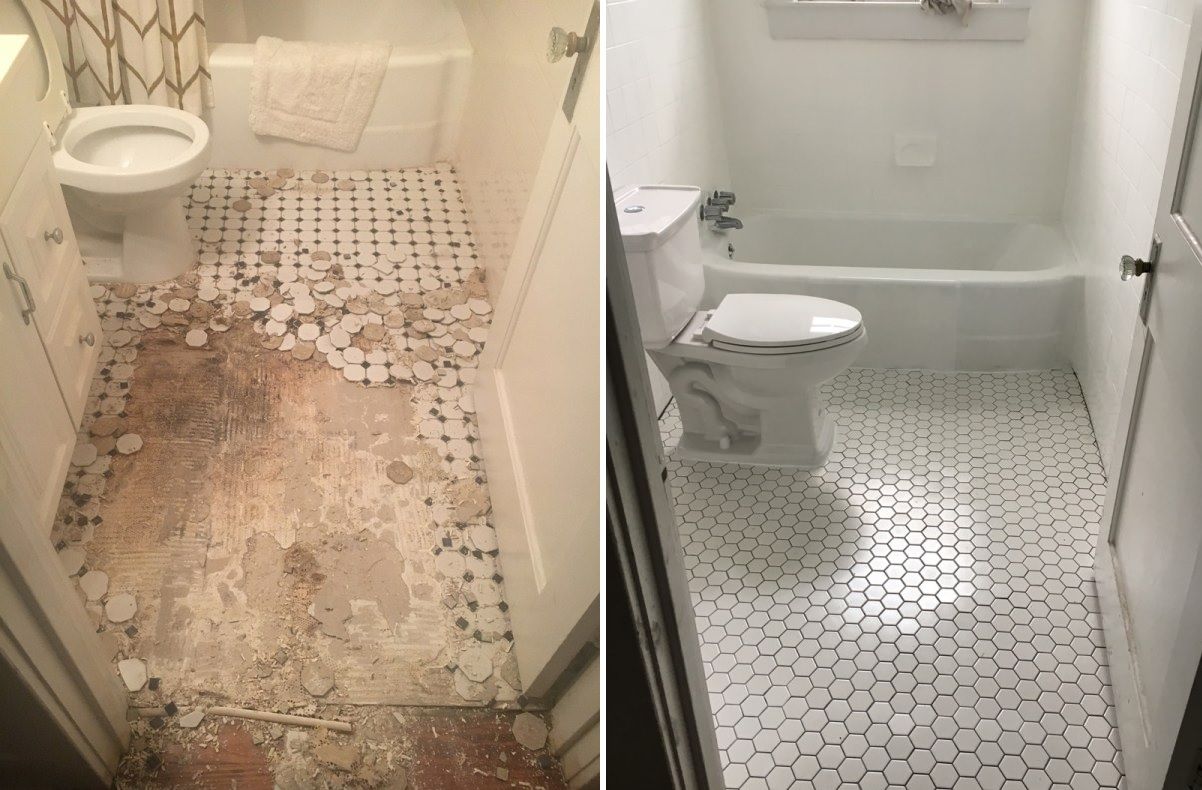
How To Tile A Bathroom Floor (For Beginners!) – Making Manzanita
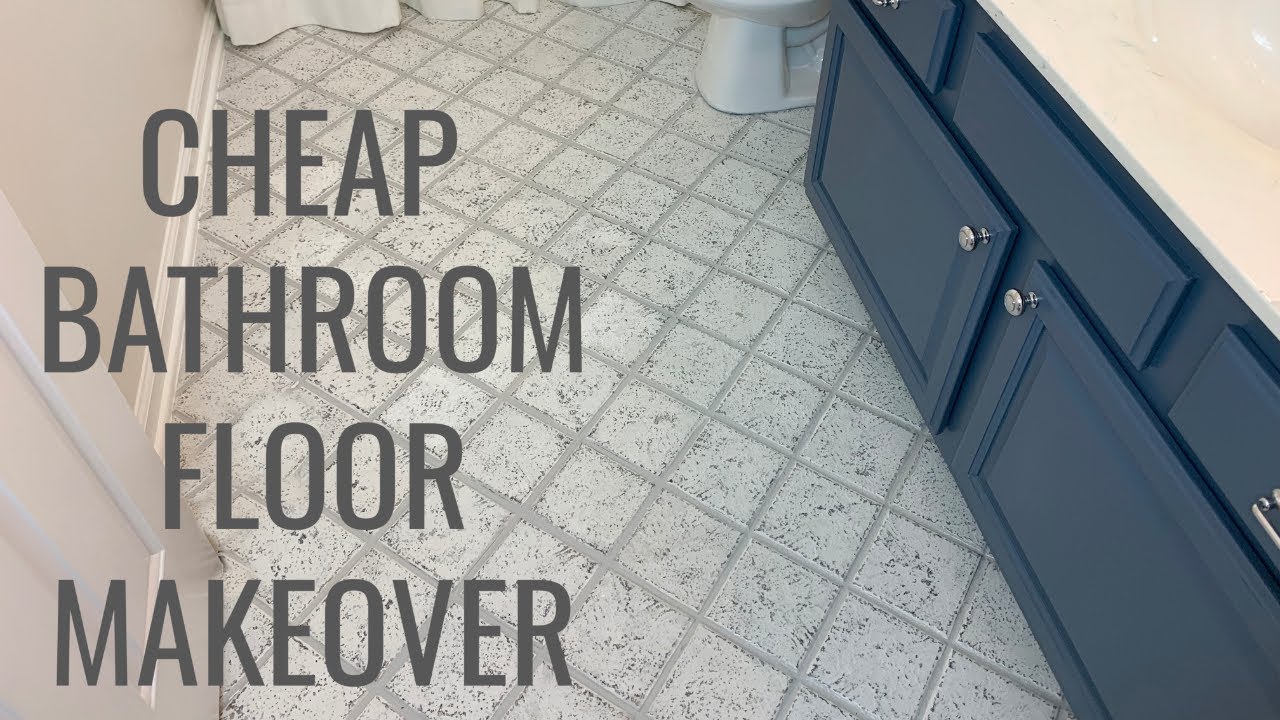
Cheap Bathroom Floor Makeover Easy DIY
How To Tile a Bathroom Floor The Home Depot

How To DIY a Custom Tile Floor Architectural Digest
How to Lay a Tile Floor HGTV
4 Inexpensive Bathroom Flooring Ideas
/budget-bathroom-flooring-refresh-ideas-326828_porcelain_tile-8959414ed56e4ca3a018896d984f52eb.jpg)
DIY: How to Paint Ceramic Floor Tile u2014 Farmhouse Living
How to Paint a Tile Floor Apartment Therapy
How to Tile a Small Bathroom Floor DIY Bath Remodel

How to Lay Tile: Install a Ceramic Tile Floor In the Bathroom (DIY)

How I Painted Our Bathroomu0027s Ceramic Tile Floors: A Simple (and
Related Posts:
- How To Scrub Tile Floors
- Cleaning Dirty Tile Floors
- How To Do Tile Flooring In Bathroom
- How To Replace Tile Floor With New Tile
- How To Clean Grimy Tile Floors
- Tile Floor Mop Solution
- Prevent Slippery Tile Floors
- Shower Drain Leak Tile Floor
- White Wood Look Tile Flooring
- Best Way To Clean Up Dog Hair On Tile Floors
Do It Yourself Tile Floor Bathroom: A Comprehensive Guide
Introduction:
When it comes to renovating your bathroom, one of the most impactful changes you can make is to install new tile flooring. Not only does it enhance the overall aesthetic appeal, but it also adds durability and functionality to the space. While hiring professionals for this task is an option, doing it yourself can be a rewarding and cost-effective project. In this comprehensive guide, we will walk you through each step of the process, providing detailed instructions, tips, and FAQs to ensure a successful DIY tile floor installation in your bathroom.
1. Planning and Preparation:
Before diving into any DIY project, proper planning and preparation are crucial. Begin by measuring the dimensions of your bathroom floor to determine the amount of tile you will need. Consider factors such as tile size, layout pattern, and any additional materials required for the installation process.
FAQs:
Q1: Can I install tile over my existing bathroom floor?
A1: It is generally recommended to remove the existing flooring before installing new tiles. This ensures a smoother and more even surface for your new tiles.
Q2: How do I choose the right tile size for my bathroom?
A2: The choice of tile size depends on various factors such as the size of your bathroom, personal preference, and design aesthetics. Larger tiles can create an illusion of a bigger space, while smaller tiles offer more intricate patterns.
2. Gathering Materials and Tools:
Once you have determined the necessary quantity of tiles, gather all the required materials and tools. This includes tiles, adhesive or mortar, grout, spacers, trowel, notched trowel, tile cutter or wet saw, sponge or cloth for cleaning, and a level.
FAQs:
Q1: What type of adhesive should I use?
A1: The type of adhesive will depend on the type of tiles you are using. Ceramic or porcelain tiles usually require thin-set mortar, while vinyl or peel-and-stick tiles may come with their own adhesive.
Q2: Do I need to use spacers between the tiles?
A2: Yes, using spacers is essential to ensure even spacing between the tiles, creating a professional-looking finish. The size of the spacers will depend on your desired grout line width.
3. Surface Preparation:
Before installing the new tiles, it is crucial to prepare the surface properly. Start by removing any existing flooring and thoroughly clean the subfloor. Ensure it is level and free from any debris or moisture that could affect the tile adhesion.
FAQs:
Q1: How do I level my subfloor?
A1: If you find any uneven areas on your subfloor, you can use a self-leveling compound to create a smooth and level surface. Follow the manufacturer’s instructions for application.
Q2: Can I install tiles directly on plywood subfloor?
A2: It is generally not recommended to install tiles directly on plywood as it may not provide adequate support and can lead to tile cracking over time. It is best to use cement backer board or an uncoupling membrane for better stability.
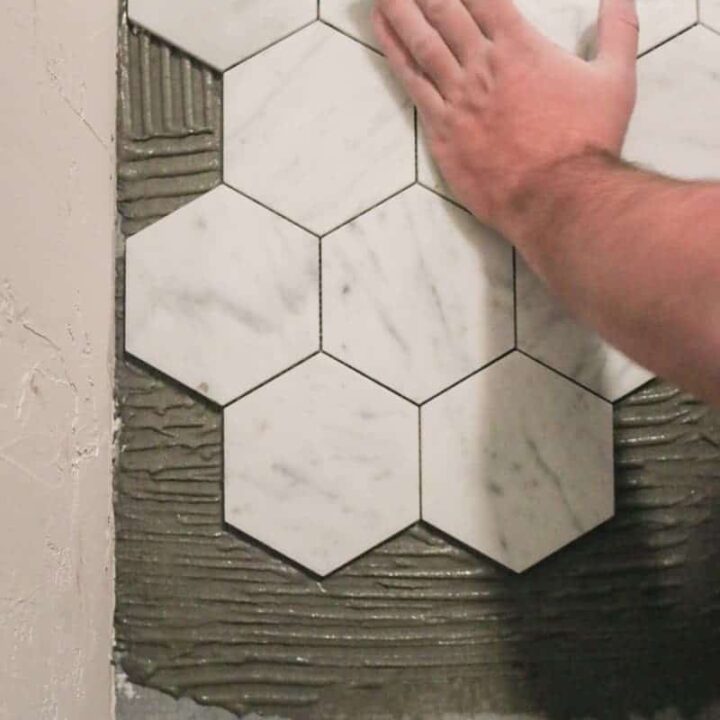
4. Tile Installation:
Now comes the exciting part – actually installing the tiles onto your bathroom floor. Begin by spreading a layer of adhesive or mortar onto a small area of the subfloor using a trowel. Then, using the notched side of the trowel, create ridges in the adhesive to ensure proper adhesion.
Carefully place each Tile onto the adhesive, pressing them firmly and evenly into place. Use spacers to maintain consistent spacing between the tiles. Continue this process, working in small sections at a time, until all tiles are laid.
FAQs:
Q1: How do I cut tiles to fit around edges or fixtures?
A1: To cut tiles to fit around edges or fixtures, use a tile cutter or wet saw. Measure and mark the tile where it needs to be cut, then carefully score the surface of the tile with the cutter. Apply pressure along the scored line to break the tile along the desired cut.
Q2: How long should I wait before grouting?
A2: It is recommended to wait at least 24 hours for the adhesive or mortar to fully set before grouting. Follow the manufacturer’s instructions for specific drying times.
5. Grouting and Finishing:
Once the adhesive has dried, it’s time to grout your bathroom floor. Mix the grout according to the manufacturer’s instructions, then apply it to the spaces between the tiles using a grout float. Work in small sections, wiping away excess grout with a damp sponge or cloth as you go.
After grouting, allow it to dry for about 48 hours before sealing with a grout sealer. This will help protect against stains and moisture damage. Finally, clean any remaining residue from the tiles and enjoy your newly tiled bathroom floor!
FAQs:
Q1: How do I prevent grout haze on my tiles?
A1: To prevent grout haze on your tiles, make sure to thoroughly clean the grout off the surface of the tiles before it dries. Use a damp sponge or cloth and wipe in a circular motion.
Q2: How often should I reseal the grout?
A2: It is recommended to reseal the grout every 6-12 months to maintain its durability and appearance. However, follow the specific instructions provided by the grout sealer manufacturer for best results.
By following these steps and guidelines, you can successfully install tile on your bathroom floor and achieve a beautiful and durable result. Remember to always consult with professionals or manufacturers for specific instructions and recommendations based on your unique situation.