Seek out professional experienced advice when choosing a hardwood floor wax and cleaner designed to protect as well as beautify the actual hardwood material installed before application of any such substance. To sweep the floor at least one time a week is actually the greatest thing that could be done except of course when there are especial occasions that require proper cleaning.
Images about Engineered Hardwood Flooring Installation Concrete

You are going to have to pay close attention to your dog's comings and goings as well as the nail length of his and whether or not he needs to be groomed. Hardwood floor refinishing pros could sand and spot wood floors to achieve a huge selection of looks, from cherry to mahogany and past. All-natural pertains to wood that has just been supplied with a distinct, protective finish as a way for the organic color to be valued.
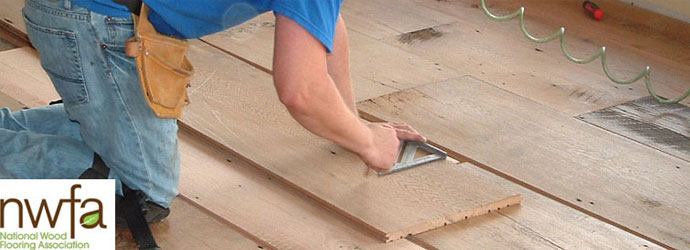
Guide: How to Install Hardwoods on a Concrete Subfloor
Your nailed down floor probably isn't going to be quite as good as the one installed by a professional. Use area rugs which are large under big furniture, and prevent pads underneath furniture legs, because these will shift when sat upon or brushed up against. I know this might seem a bit of strange though it's one thing really worth checking because hardwood flooring is a huge investment and also you want to learn the durability of the finish.
Installing Engineered Hardwood on Concrete – Twenty u0026 Oak

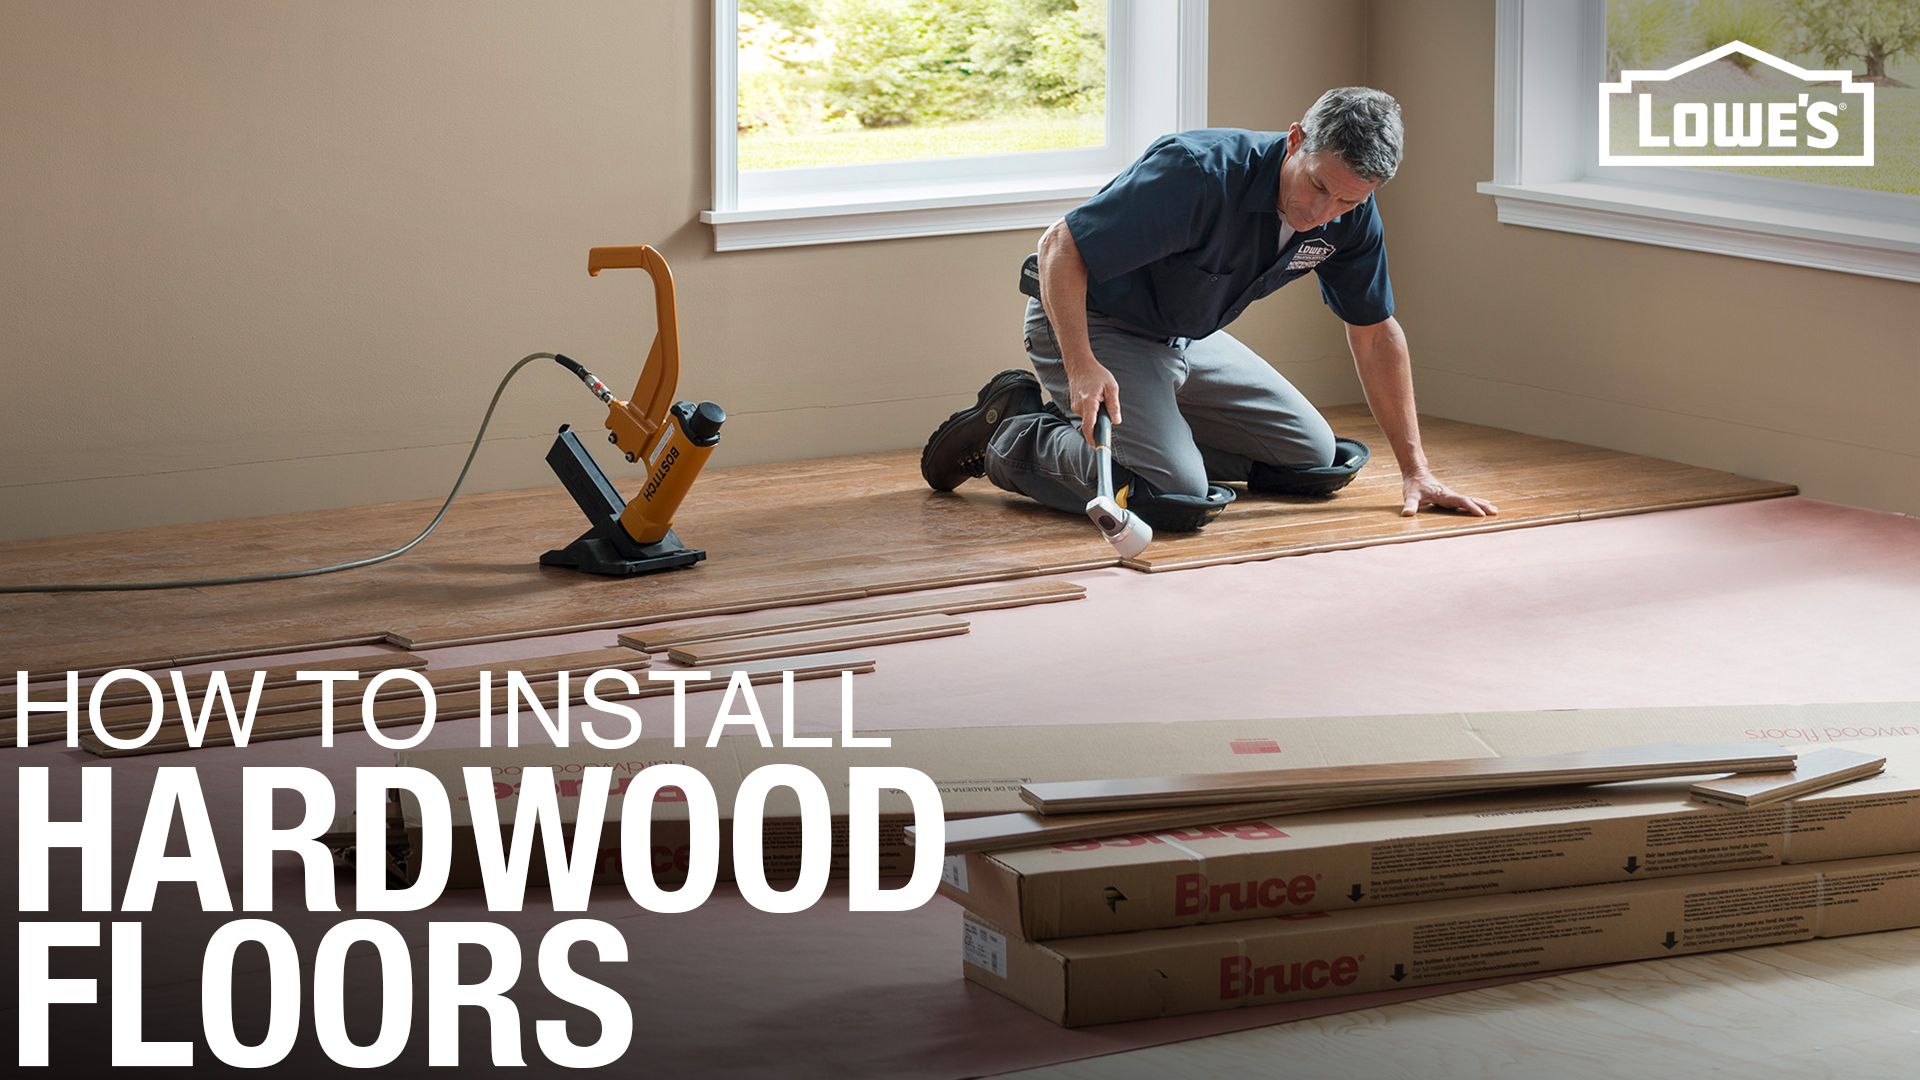
How to Install an Engineered Hardwood Floor
Prepping Concrete Slabs for Hardwood Floor Installation City

Installing a Hardwood Floor Over a Concrete Slab – American
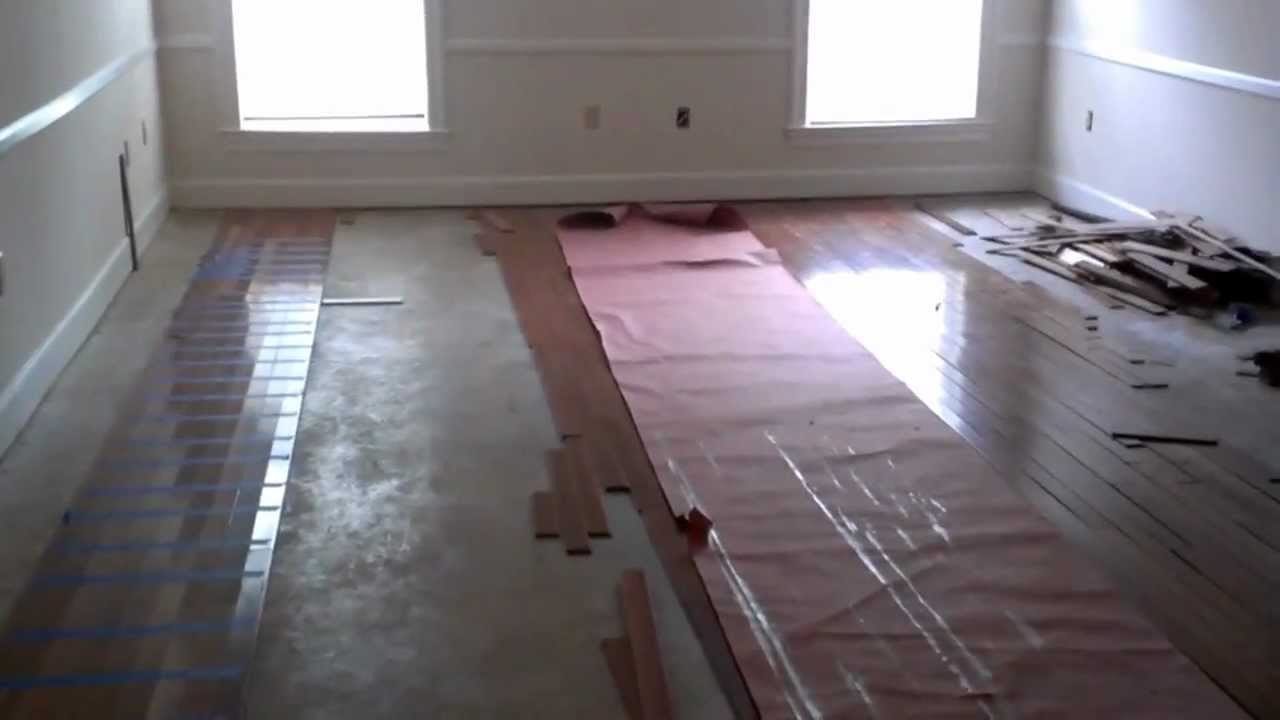
hardwood floors over concrete floors DIY
How To Install Engineered Hardwood Over Concrete – Flooring
How to Install an Engineered Hardwood Floor
How To Install Click Lock Engineered Hardwood Flooring
How to install engineered hardwood flooring without professionals
Hardwood Floors over Concrete
Flooring Flooring, Installing hardwood floors, Diy hardwood floors

Floating Engineered Hardwood Floor and Laminate Installation How To Mryoucandoityourself
Related Posts:
- Hardwood Floor Cleaning Pads
- Hardwood Floor Stains Pictures
- Shark Hardwood Floor Cleaner Concentrate
- Bruce Hickory Hardwood Flooring Reviews
- Install Hardwood Floor Without Nail Gun
- Best Engineered Hardwood Flooring Manufacturer
- Lehigh Valley Hardwood Flooring Reviews
- Hardwood Floor Medallions Wholesale
- Manufactured Hardwood Flooring Cleaning
- Types Of Hardwood Flooring Reviews
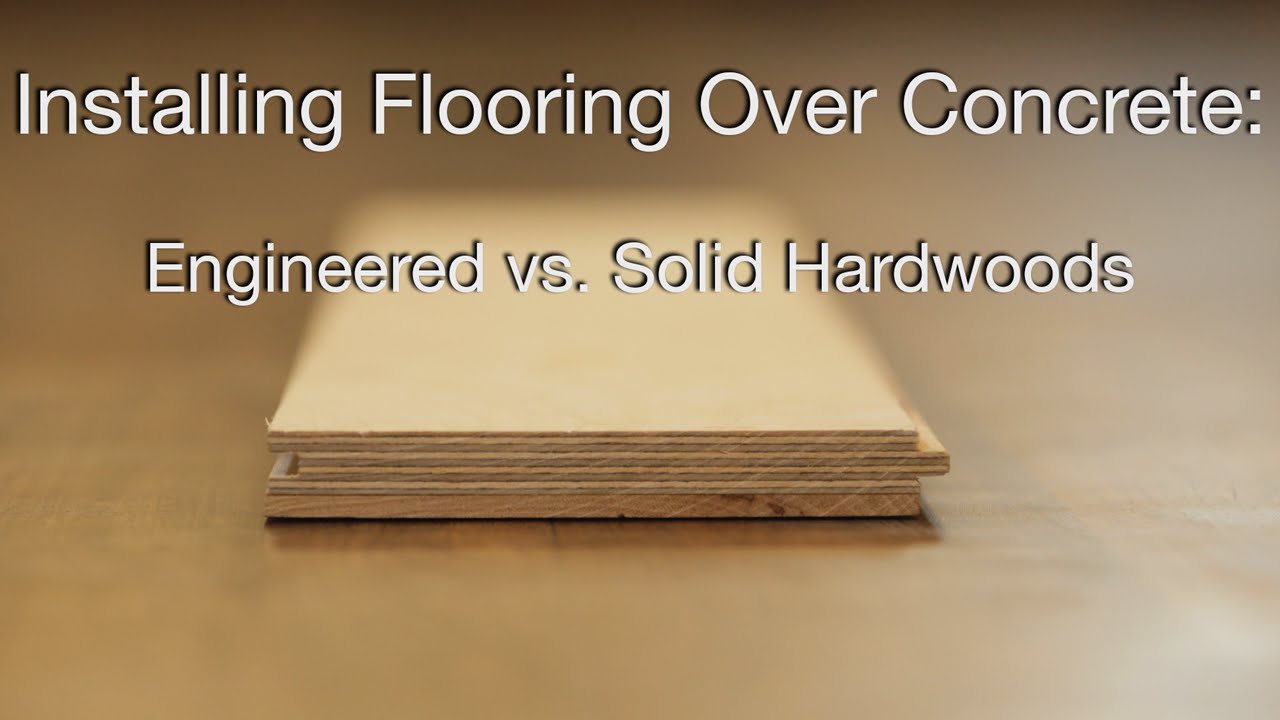
Engineered Hardwood Flooring Installation on Concrete: A Comprehensive Guide
Engineered hardwood flooring is a popular choice for many homeowners because of its durability and timeless beauty. But when it comes to installing engineered hardwood on concrete, there are a few things you should know. This comprehensive guide will help you understand the key factors involved in installing engineered hardwood flooring on concrete, and provide you with the answers to some of the most frequently asked questions about this process.
Preparation for Installation
Before you start the installation process, it’s important to do some preparation. First, make sure that the concrete is even and level; any bumps or dips in the surface can cause problems with the installation. It’s also important to check for moisture in the concrete; if it’s too wet, it can cause mold growth and other issues. If necessary, use a moisture meter to check for moisture levels before proceeding.
Once you know that the surface is ready, you’ll need to prepare the area for installation. This includes laying down a vapor barrier or underlayment to protect the flooring from moisture damage and provide an extra cushioning layer. Next, apply adhesive glue or mastic to secure the flooring in place. Finally, use a level to make sure that everything is even and level before you begin laying down your pieces of engineered hardwood flooring.
Installation Techniques
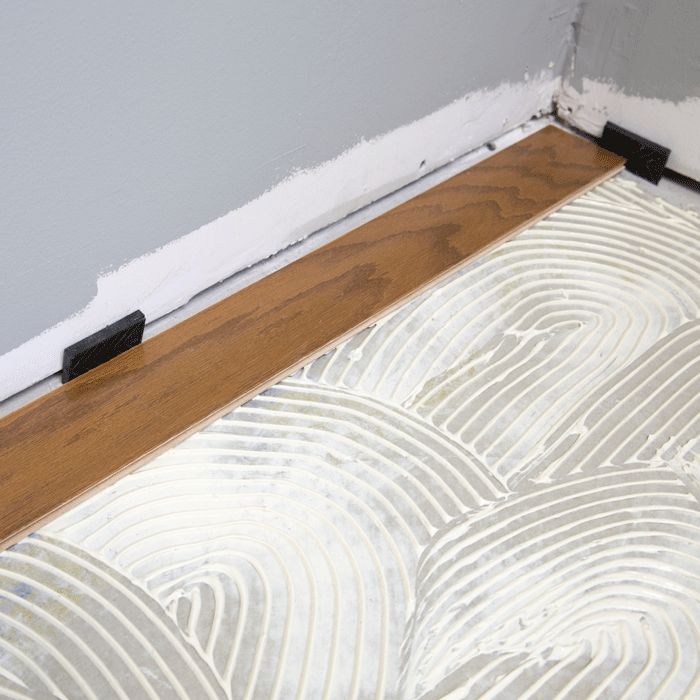
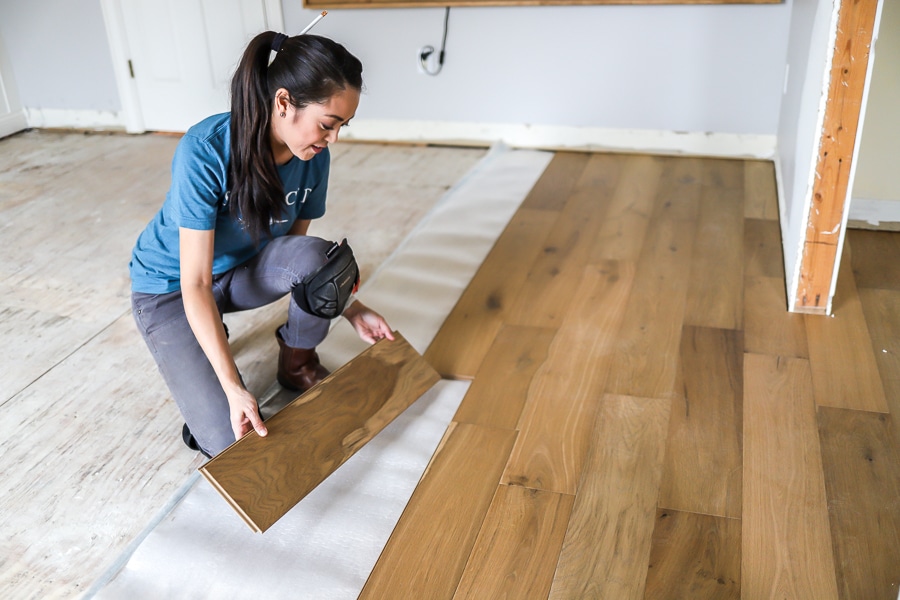
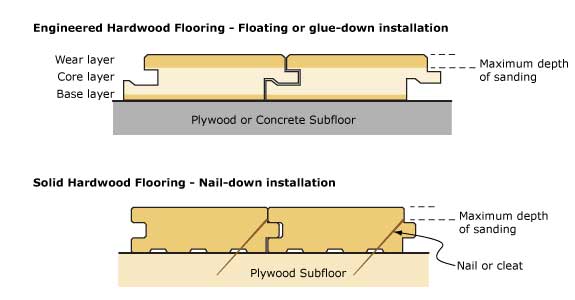
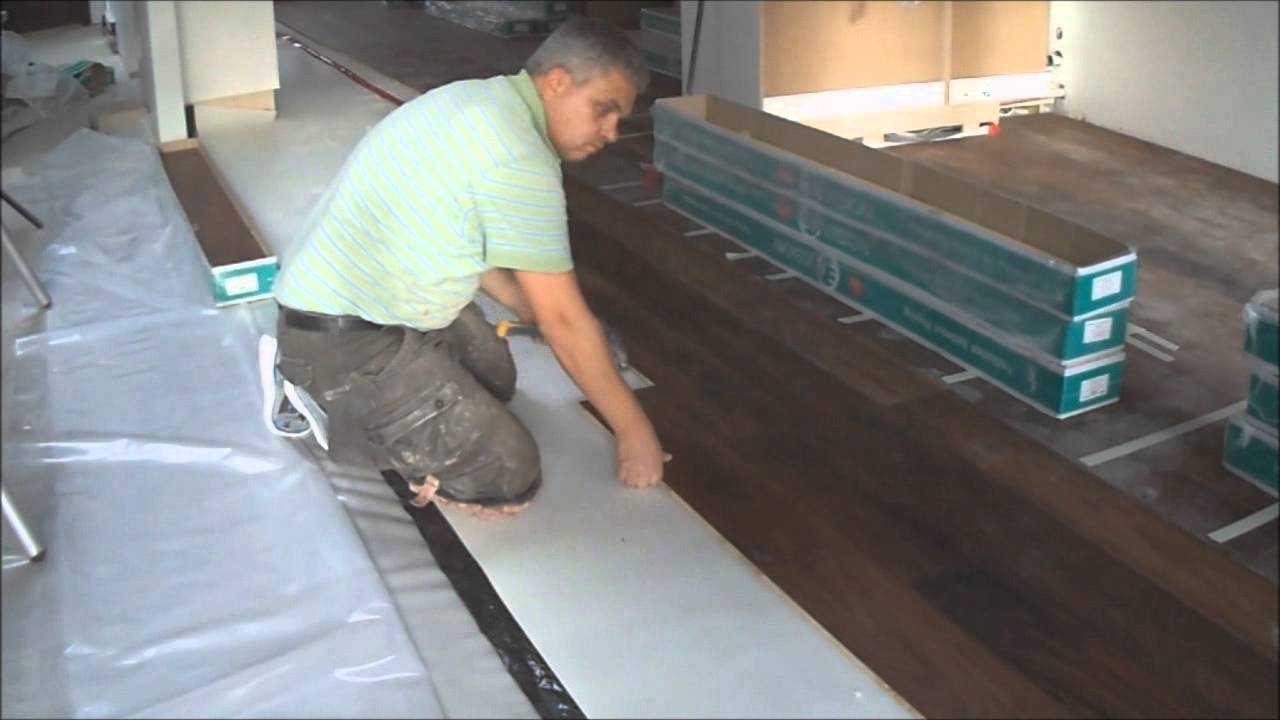
When installing engineered hardwood on concrete, there are two main techniques that can be used: floating and glue-down installation. With floating installation, pieces of engineered hardwood are connected together using special clips or locking systems. They are then laid on top of a foam pad or underlayment without being glued down. This type of installation is relatively simple and can be done by an experienced DIYer.
The other option is glue-down installation, where pieces of engineered hardwood are glued directly onto the concrete using an adhesive glue or mastic. This method is more secure and ensures that your flooring won’t move or shift over time. However, it does require more skill and expertise than floating installation, so it’s best left to professionals who have experience with this type of installation.
Finishing Touches
Once your engineered hardwood flooring has been installed, there are a few finishing touches that need to be taken care of before you can enjoy your new flooring. Start by trimming off any excess wood around the edges with a saw or hand saw. Then vacuum up any dust or debris that may have been created during installation and wipe down the surface with a damp cloth to remove any dirt or grime that may have been left behind. Finally, apply a protective sealant or finish to protect your new engineered hardwood floors from damage and wear over time.
FAQs About Engineered Hardwood Flooring Installation on Concrete
Q: What type of adhesive should I use for gluing my engineered hardwood flooring onto concrete?
A: The type of adhesive you use will depend on several factors such as what type of finish your floor has and what type of subfloor it will be installed on top of (concrete vs another material). Generally speaking though, most Installers prefer to use a high-quality urethane-based adhesive for glue-down installations. This type of adhesive is designed to provide excellent bond strength and flexibility, while still allowing for easy removal down the line if needed.
Installing engineered hardwood on concrete is a popular choice for many homeowners, as it provides a durable and stylish flooring option that can last for years. However, proper installation techniques should be followed to ensure that your new flooring looks great and performs optimally. In this guide, we’ll cover everything you need to know about installing engineered hardwood on concrete, including preparation tips, installation techniques, and finishing touches.


Preparation


Before you can begin installing engineered hardwood flooring on concrete, there are a few steps you’ll need to take to prepare the subfloor or foundati What type of subfloor is best for installing engineered hardwood flooring on concrete? The best type of subfloor for installing engineered hardwood flooring on concrete is a plywood subfloor. Plywood subfloors provide a stable surface for the hardwood flooring to be installed on top of. Additionally, plywood prevents moisture from seeping up from the concrete, which can cause warping and other damage to the wood. For best results, it’s important to make sure the plywood is completely level and free of any imperfections.on. First, you’ll need to remove any existing baseboards or trim around the perimeter of the room. Then, use a hammer and chisel to remove any nails or screws that may have been used to attach the baseboards or trim. Next, sweep and vacuum the concrete subfloor to remove any dust, dirt, debris, or other particles that could interfere with the installation process. Finally, use a damp cloth to remove any stains or discoloration on the concrete surface before installing your engineered hardwood flooring.


Installation Process


Once you’ve prepared the subfloor and removed any existing baseboards or trim, it’s time to begin installing your engineered hardwood flooring. There are two main installation methods: floating installation and glue-down installation. Floating installation is the most popular choice for DIYers because it requires minimal skill and tools. This method involves laying pieces of engineered hardwood on top of a foam underlayment that is attached to the concrete with double-sided tape. The pieces are then connected together using tongue-and-groove connections and held in place with a tackless strip around the perimeter of the room. This method is quick and easy, making it ideal for DIYers.