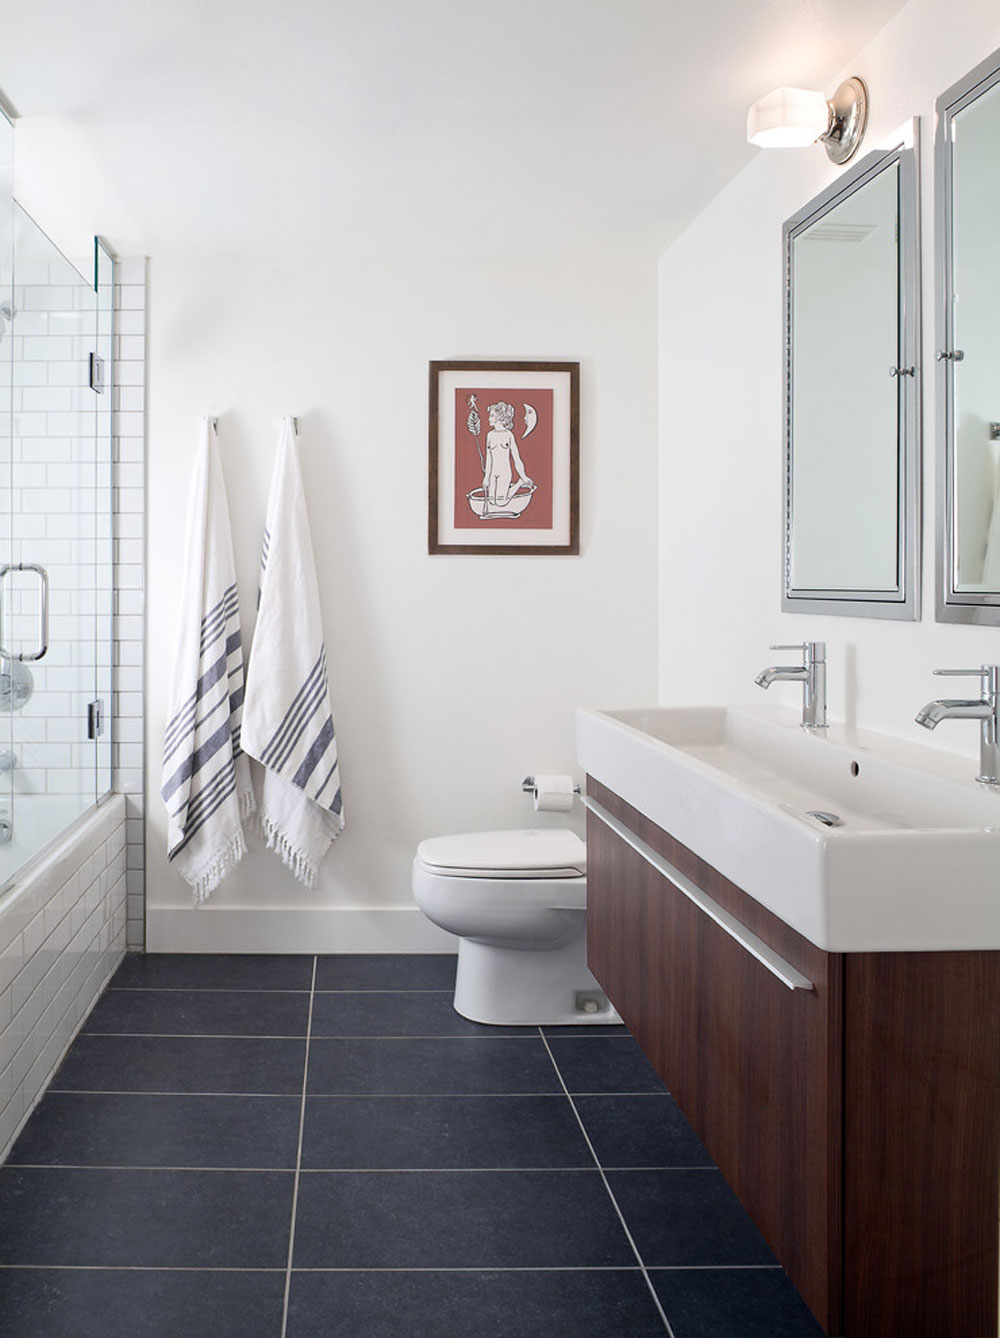
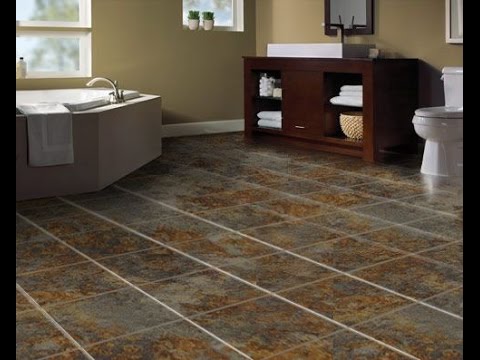
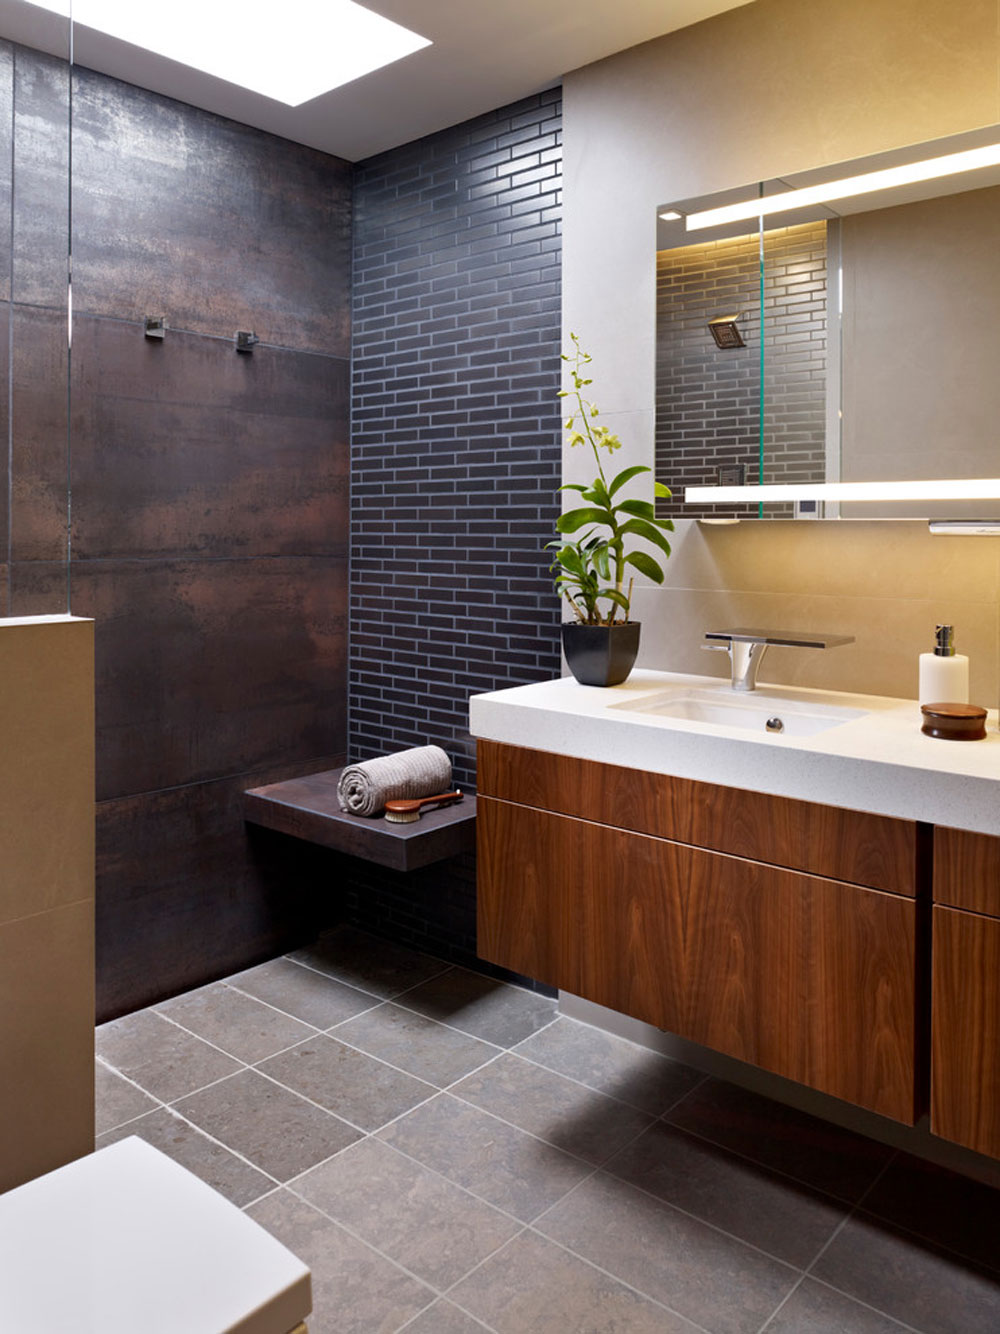
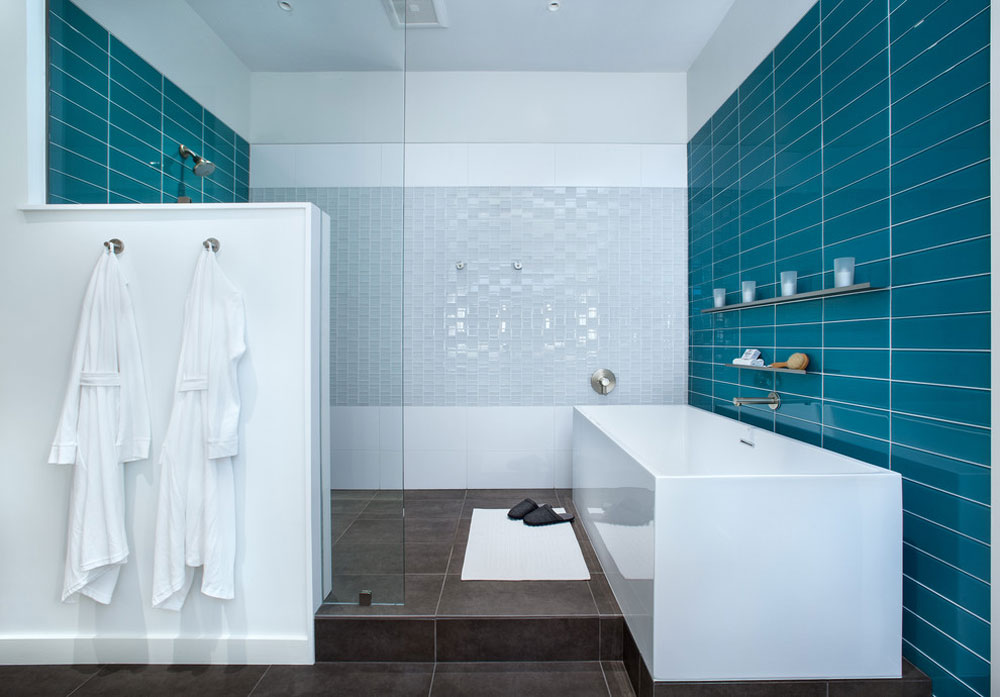
For an impressive style, use white colored tiles and combine it with chrome fittings and fixtures. Bathrooms that are way too damp can result in mould and germs to spread, so keeping the floor completely clean is particularly important here, and it is a lot easier with bathroom tiles. You are able to go in for basic solid hues in addition to minimalist, chrome fixtures to give your bathroom a modern look.
Images about Floating Bathroom Floor Tiles
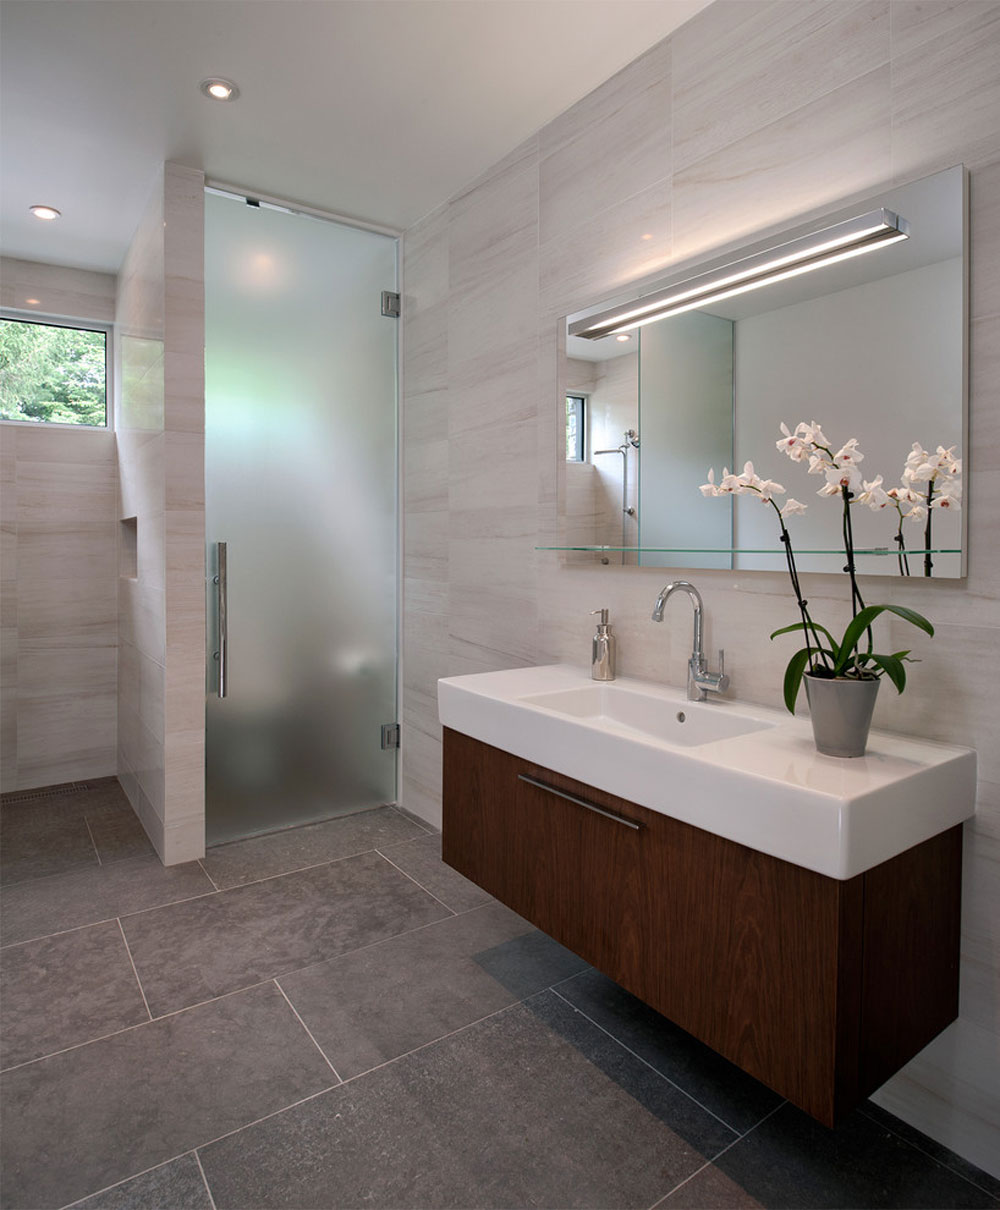
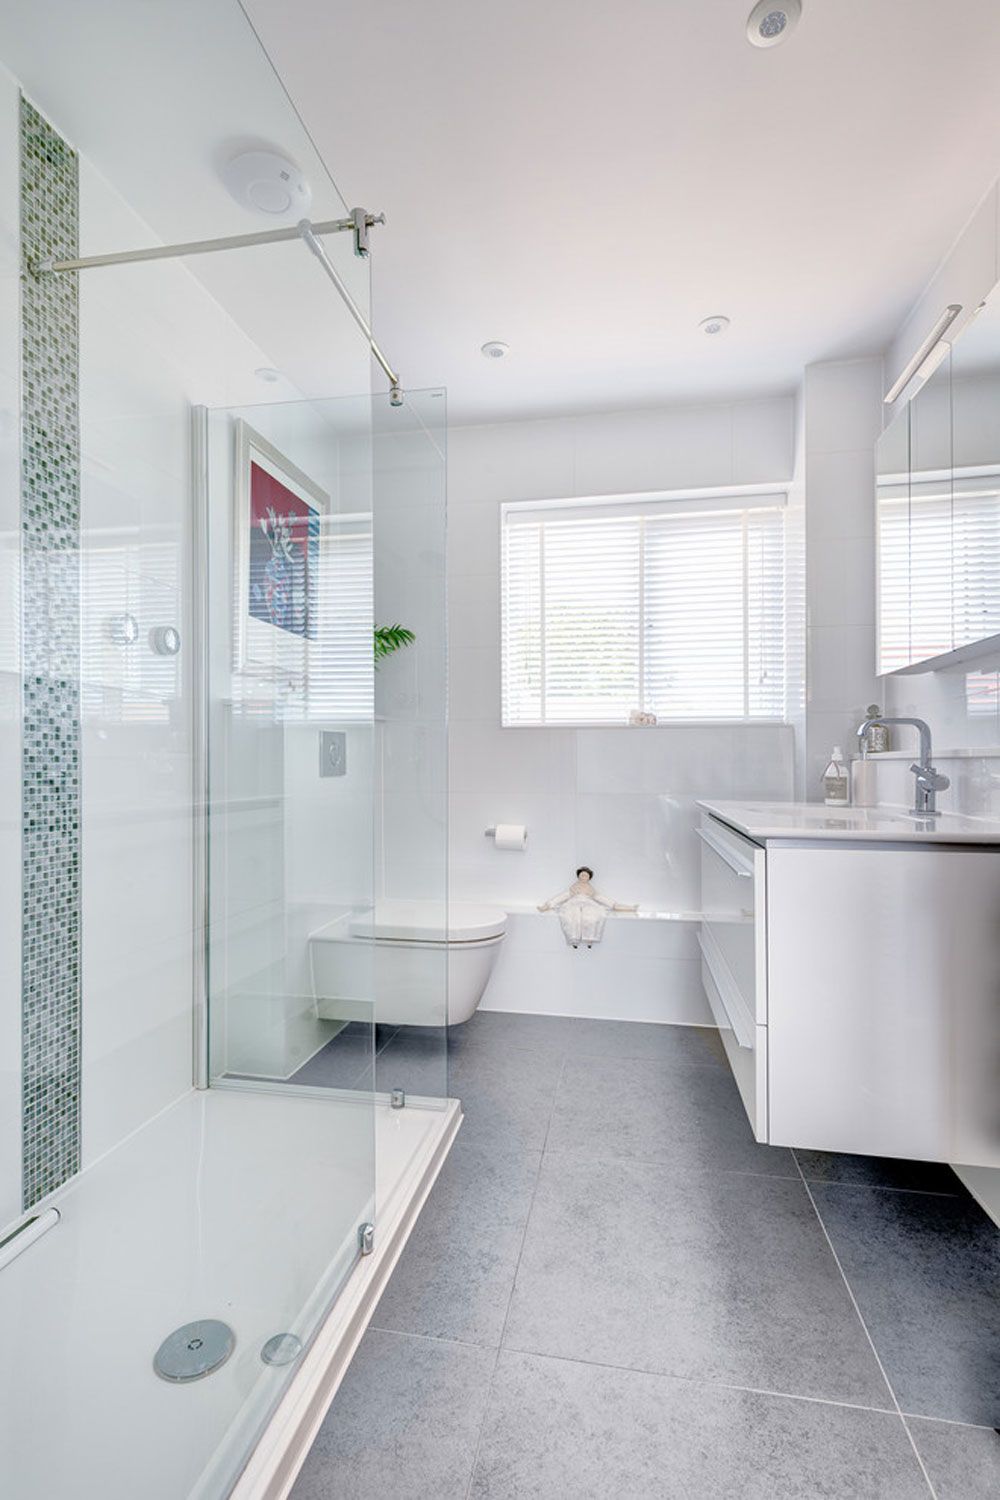
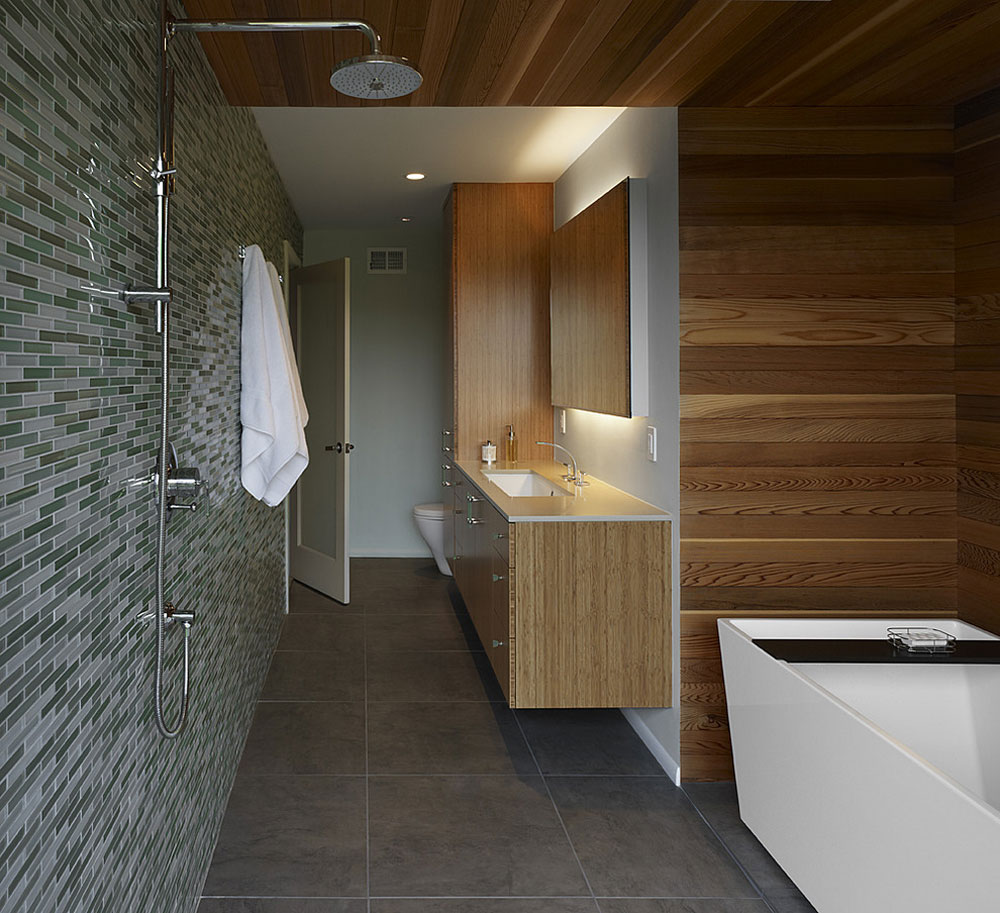
to be able to prolong the life of the floor of yours it has to be fitted by an expert who's experienced in adding the sort of floor you are using. These tiles are actually made of different substances like glass, metal, marble, pebbles etc. Choose tiles which merge well with the ambiance in your bath room. renovating or Designing a bathroom is a lot of work. You are able to also pick tiles with prints on them.
LVT Flooring Over Existing Tile the Easy Way – Vinyl Floor
colors which are Bright as peach and yellowish are fun, they make the bathroom feel cozier and in addition they go well with a more country looking bathroom decor. There are lots of designs & colors to check out to the market. Ceramic tiles are most likely the most popular type of flooring alternative for the bathroom's floor design.
Dotfloor Vinyl Planks Flooring Tiles 30.88 sq.ft SPC Floor Plank Interlocking Floating Planks Glue Free Wood Grain with IXPE Underlay 4.5mm for Home

The floating tile floor and why it is better than the old-school
The floating tile floor and why it is better than the old-school
Shaw® Montay 12″ x 24.01″ Floating Luxury Vinyl Tile Flooring

Floating Tile Floors
Best Flooring for Bathrooms
/top-bathroom-flooring-options-1821353-08-10a210908a09459cb96b9313f1d7fde0.jpg)
The floating tile floor and why it is better than the old-school
The floating tile floor and why it is better than the old-school
The floating tile floor and why it is better than the old-school
The Best Flooring Options for Bathrooms – This Old House

Floating Vinyl Tile at Lowes.com

Dotfloor Vinyl Planks Flooring Tiles 30.88 sq.ft SPC Floor Plank Interlocking Floating Planks Glue Free Wood Grain with IXPE Underlay 4.5mm for Home
Related Posts:
- Vacuum Bathroom Floor
- 3m Scotch Brite Bathroom Floor Cleaner Refill Pads
- Dark Wood Tile Floor Bathroom
- Bathroom Floor Tiles Texture
- Ada Bathroom Flooring
- Honed Marble Tile For Bathroom Floor
- Concrete Bathroom Floor Paint
- Marble Bathroom Floor Pros Cons
- Quickest Way To Get Hair Off Bathroom Floor
- Black Hex Tile Bathroom Floor
Floating Bathroom Floor Tiles: The Perfect Solution for Style and Durability
Introduction:
When it comes to renovating or designing a bathroom, one of the most important decisions you’ll make is choosing the right flooring. With so many options available, it can be overwhelming to find the perfect balance between style, durability, and ease of installation. That’s where floating bathroom floor tiles come in. In this article, we’ll explore what exactly floating bathroom floor tiles are, their benefits, installation process, maintenance tips, and frequently asked questions to help you make an informed decision for your bathroom renovation project.
I. What are Floating Bathroom Floor Tiles?
Floating bathroom floor tiles are a type of flooring installation method that allows the tiles to “float” above the subfloor rather than being directly adhered or nailed down. This innovative installation technique involves interlocking the tiles together and allowing them to rest on top of an underlayment or padding material. Unlike traditional tile installations that require mortar or adhesive, floating tiles offer a hassle-free and efficient way to achieve a beautiful and functional bathroom floor.
II. Benefits of Floating Bathroom Floor Tiles:
1. Easy Installation:
One of the primary advantages of floating bathroom floor tiles is their ease of installation. Unlike traditional tile installations that can be time-consuming and require professional expertise, floating tiles can often be installed as a do-it-yourself project. The interlocking system eliminates the need for messy adhesives or grout, making it a beginner-friendly option.
2. Versatile Design Options:
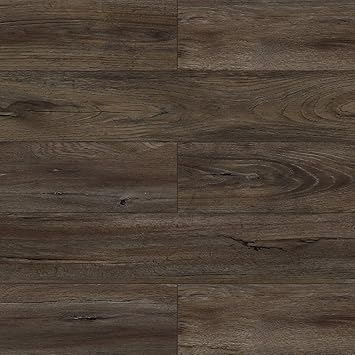
Floating bathroom floor tiles come in a wide range of designs, colors, and textures. Whether you prefer the timeless elegance of marble or the rustic charm of wood-look tiles, there is a design to suit every aesthetic preference. Additionally, these tiles can be easily replaced or rearranged if you ever decide to change your bathroom’s look in the future.
3. Enhanced Durability:
Floating bathroom floor tiles are known for their durability and longevity. The interlocking system creates a stable and secure flooring surface that can withstand heavy foot traffic, moisture, and temperature fluctuations. Additionally, most floating tiles are resistant to stains, scratches, and fading, making them an ideal choice for bathrooms.
4. Moisture Resistance:
Bathrooms are prone to high levels of moisture due to showers, baths, and sinks. Traditional tile installations may require additional waterproofing measures to prevent water damage. However, floating bathroom floor tiles often have built-in moisture barriers or come with underlayment materials that provide superior water resistance. This feature ensures the longevity of your bathroom floors and minimizes the risk of mold or mildew growth.
III. Installation Process:
1. Preparing the Subfloor:
Before installing floating bathroom floor tiles, it is essential to prepare the subfloor properly. Ensure that the subfloor is clean, level, and free from any debris or imperfections. If necessary, use a leveling compound to even out any uneven areas.
2. Choosing the Underlayment:
Selecting the right underlayment is crucial for a successful floating tile installation in your bathroom. The underlayment acts as a cushioning layer between the subfloor and the tiles, providing additional stability, sound absorption, and moisture resistance. Common types of underlayment for floating tiles include cork, rubber, or foam materials.
3. Installing the Underlayment:
Follow the manufacturer’s instructions to install the chosen underlayment material on top of the prepared subfloor. Ensure that the underlayment seams are tightly Joined together to prevent any moisture from seeping through. Use adhesive or staples to secure the underlayment to the subfloor, following the recommended spacing guidelines.
4. Acclimating the Tiles:
Before installing the floating bathroom floor tiles, allow them to acclimate to the room’s temperature and humidity for at least 48 hours. This step ensures that the tiles will not expand or contract after installation, preventing any potential issues in the future.
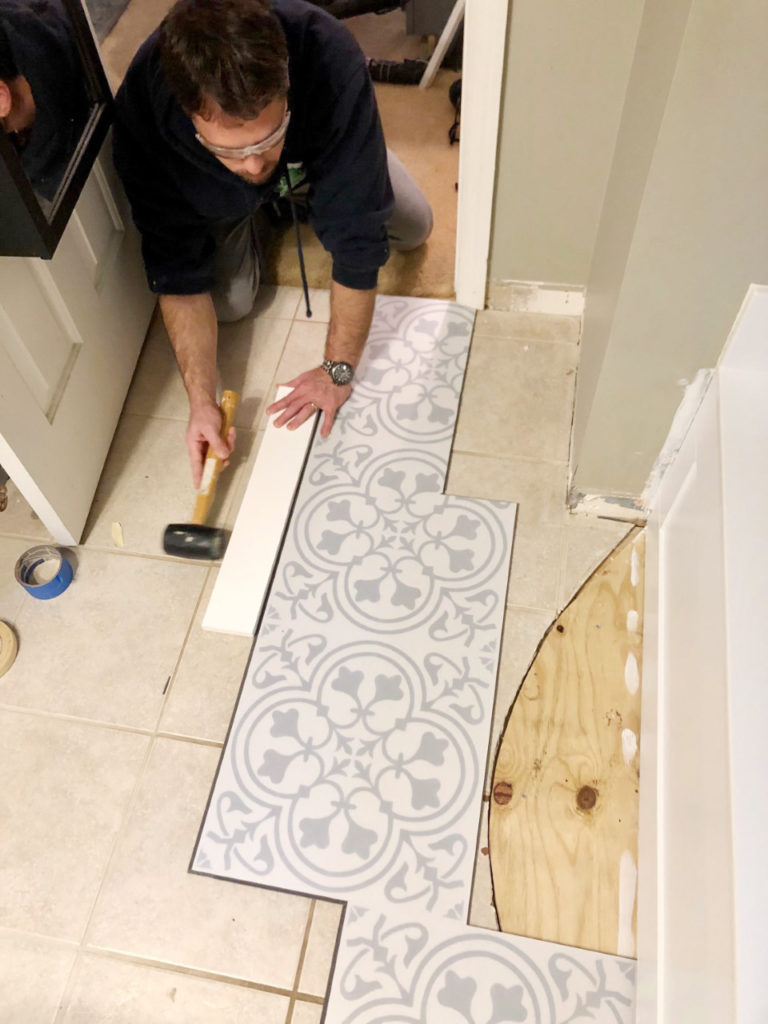
5. Installing the Tiles:
Begin by laying out a reference line using a chalk line or a straight edge. This line will serve as a guide for your tile installation. Start in one corner of the room and lay the first tile along the reference line, ensuring it is securely locked with the interlocking system. Continue placing tiles row by row, using spacers to maintain consistent grout lines.
6. Cutting Tiles:
When you reach areas that require cuts, such as around fixtures or along walls, use a tile cutter or wet saw to achieve precise cuts. Measure carefully and make small adjustments as needed to ensure a perfect fit.
7. Finishing Touches:
Once all tiles are installed, remove any spacers and clean off any excess adhesive or grout from the surface of the tiles. Allow the adhesive or grout to dry according to manufacturer instructions before walking on or applying any weight to the tiles.
In conclusion, floating bathroom floor tiles offer ease of installation, versatile design options, enhanced durability, and moisture resistance. By following the proper installation process and taking necessary precautions, you can achieve a beautiful and long-lasting tiled bathroom floor.