Utilize bathroom tile ideas to help you have that particular bathroom that you are able to enjoy each day. These're just some very nice bathroom floor tiles suggestions. While laminate has a lot of the choices men and women are actually looking for, such as durability, ease of set up and cost, it's not immune for water damage.
Images about Floor Prep For Tile Bathroom
You need to make sure that the floor you chose is properly installed and will not begin to lift of warp. Each one has the own special of its and gives your bathroom a fairly easy, natural and elegant look. These tiles are available in solid, earthy colors and a few even have prints on them. Made from clay which is fired as well as formed at highly high temperatures, porcelain is actually ideal for bathrooms.
Best Way to Prep Your Floor for Tile Installation u2013 The Good Guys

Vinyl as well as laminate tiles are also a terrific choice since they are affordable and easy to maintain. This will give them a smooth and shiny appearance and helps to protect the tiles from deterioration. This will provide the bathroom of yours a contemporary feel. Vinyl tiles usually are coated with enhanced urethane or even urethane. They are not hard to keep as well as stays hot while in winter.
How to Prep and Tile a Floor – At Charlotteu0027s House
How to Tile a Bathroom Floor with Wickes

Preparing the Bathroom Floor for Tiling – Blog – homeandawaywithlisa
How To Tile a Shower – Floor Tile Installation u0026 Prep #1
How to Prepare a Subfloor for Tile Installation
3 Shower-Pan Choices for a Solid Tile Floor Installation – Fine

How to Prep Subfloor for Tile Installation – YouTube

How to Prepare a Subfloor for Tile Installation
Prepping a Bathroom Floor for Tile JLC Online

How to Install Ceramic Tile Flooring in 9 Steps – This Old House
:no_upscale()/cdn.vox-cdn.com/uploads/chorus_asset/file/19496978/howto_tile_01.jpg)
How to Lay Tile: Install a Ceramic Tile Floor In the Bathroom (DIY)
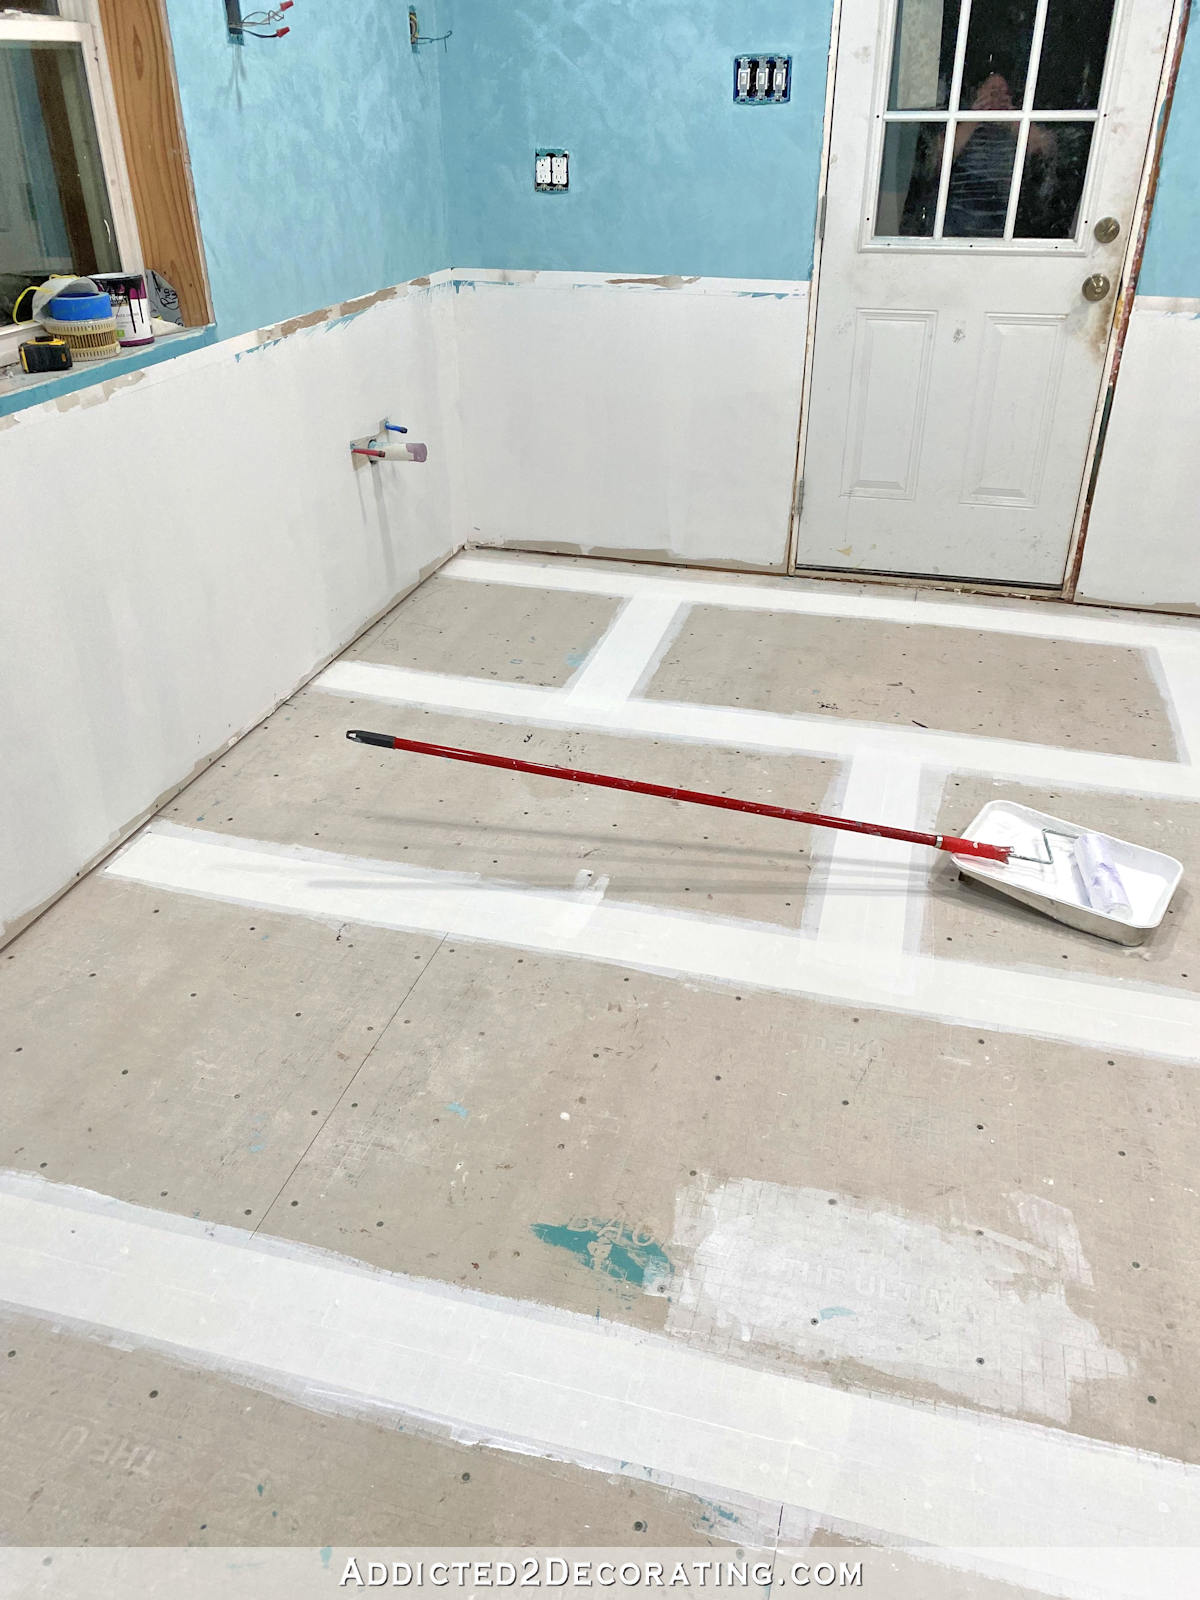
Bathroom Progress – Floor Tile Prep, Accent Tile Selection, and
Related Posts:
- Stamped Concrete Bathroom Floor
- Dark Gray Bathroom Floor Tile
- Modern Bathroom Floor Tile Ideas
- Cost To Install Heated Bathroom Floor
- Bathroom Floor Screed Mix
- Bottle Cap Bathroom Floor
- Bathroom Floor Standing Units
- Ceramic Tile Patterns For Bathroom Floors
- Jack N Jill Bathroom Floor Plans
- Unusual Bathroom Flooring
Floor Prep for Tile Bathroom: A Comprehensive Guide to Preparing the Perfect Surface
Tile is a great choice for any bathroom floors, as it provides a durable and attractive surface. But in order to get the most out of your tile floor, you need to make sure you have properly prepared the surface before laying down the tiles. This guide will walk you through all the steps necessary to ensure proper floor prep for your tile bathroom.
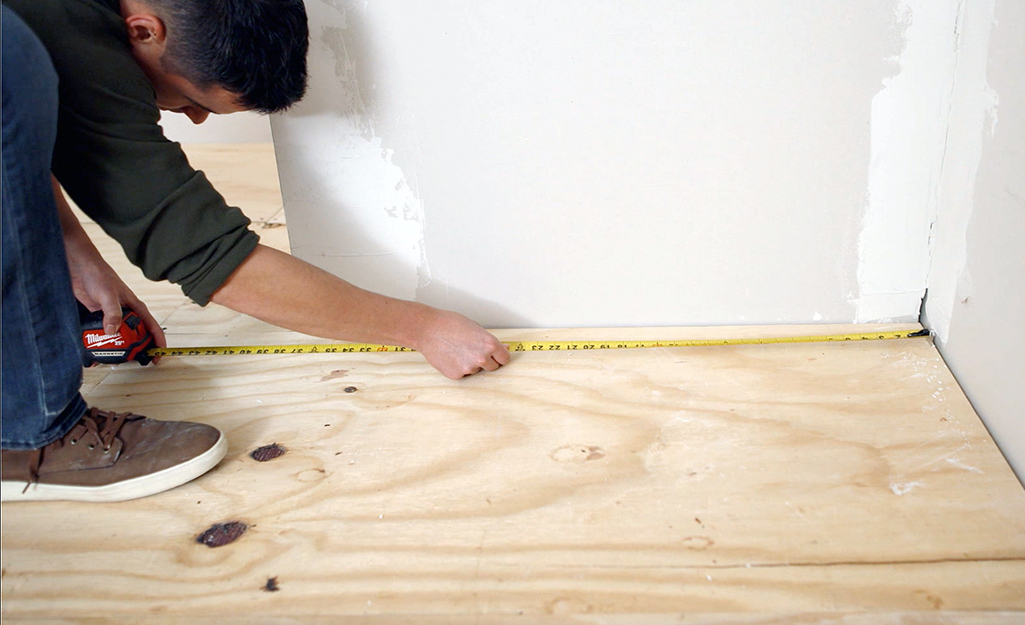
Assess Your Floor’s Current State
Before beginning any type of floor prep, it’s important to assess your current floor’s condition. Inspect it closely and look for any damages, such as chipped or cracked tiles, loose mortar or grout joints, or other signs of wear and tear. Make sure to note these issues so that you can plan accordingly when it comes time to repair them. You’ll also want to make sure the surface is completely dry before starting any work.
Remove Old Flooring
If your existing flooring is made up of materials other than tile (such as vinyl or carpet), then you’ll need to remove it first before proceeding with floor prep. There are several methods for doing this, but some of the most common include using a razor blade or heat gun to loosen adhesive, scraping away old layers with a putty knife or flathead screwdriver, and using a special adhesive remover product. Whichever method you choose, be sure to wear safety goggles and gloves while working.
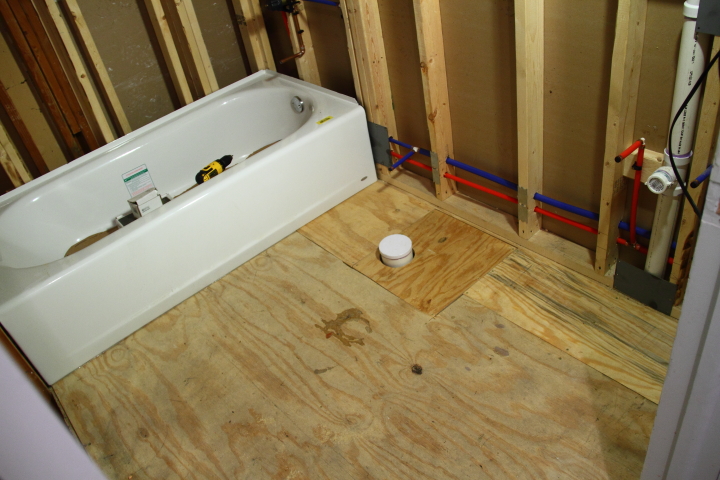
Clean and Repair Subfloor
Once you’ve removed the old flooring, it’s time to clean and repair the subfloor beneath it. Begin by sweeping away any dirt or debris that may have accumulated over time. Then use a damp cloth or mop to wipe away any remaining dust or dirt particles. Finally, use a putty knife or spackle knife to fill in any cracks or gaps in the subfloor that may be present.
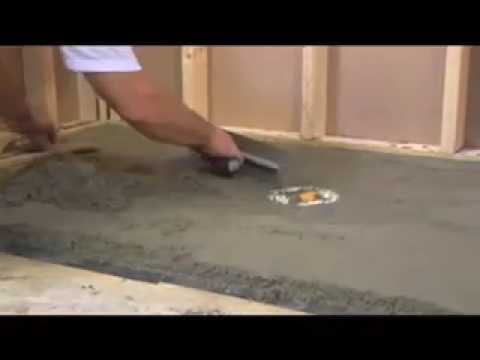
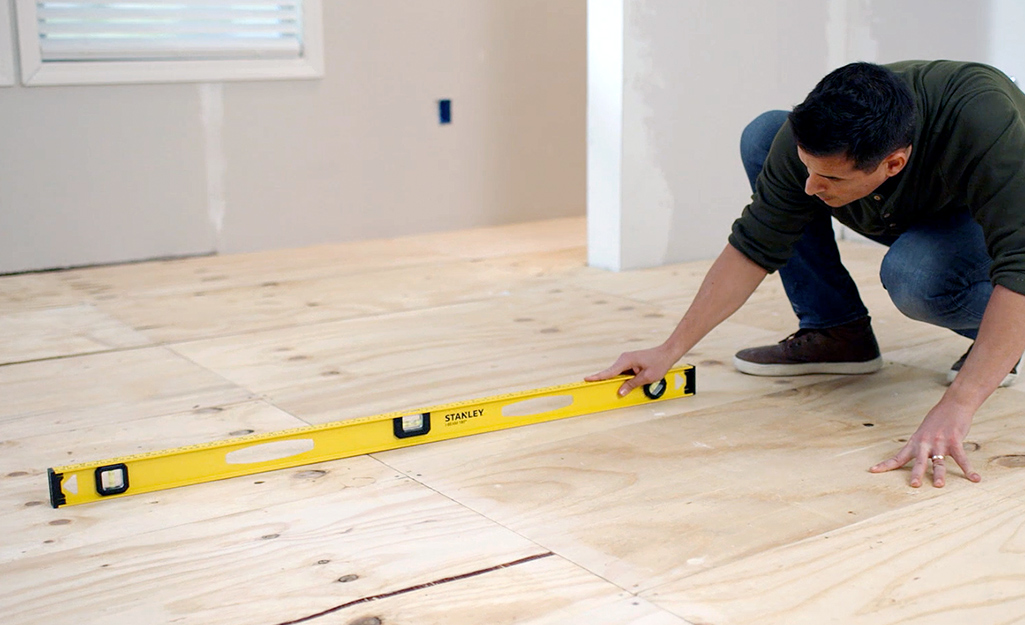
Apply Primer and Leveler
To ensure a smooth surface before laying down tiles, you’ll need to apply an appropriate primer as well as a leveler across the entire subfloor area. Primers help create a stronger bond between new tiles and their substrate while levelers help even out any imperfections in the subfloor. Be sure to follow all manufacturer instructions when applying these products so that they are applied correctly and evenly across the entire area.
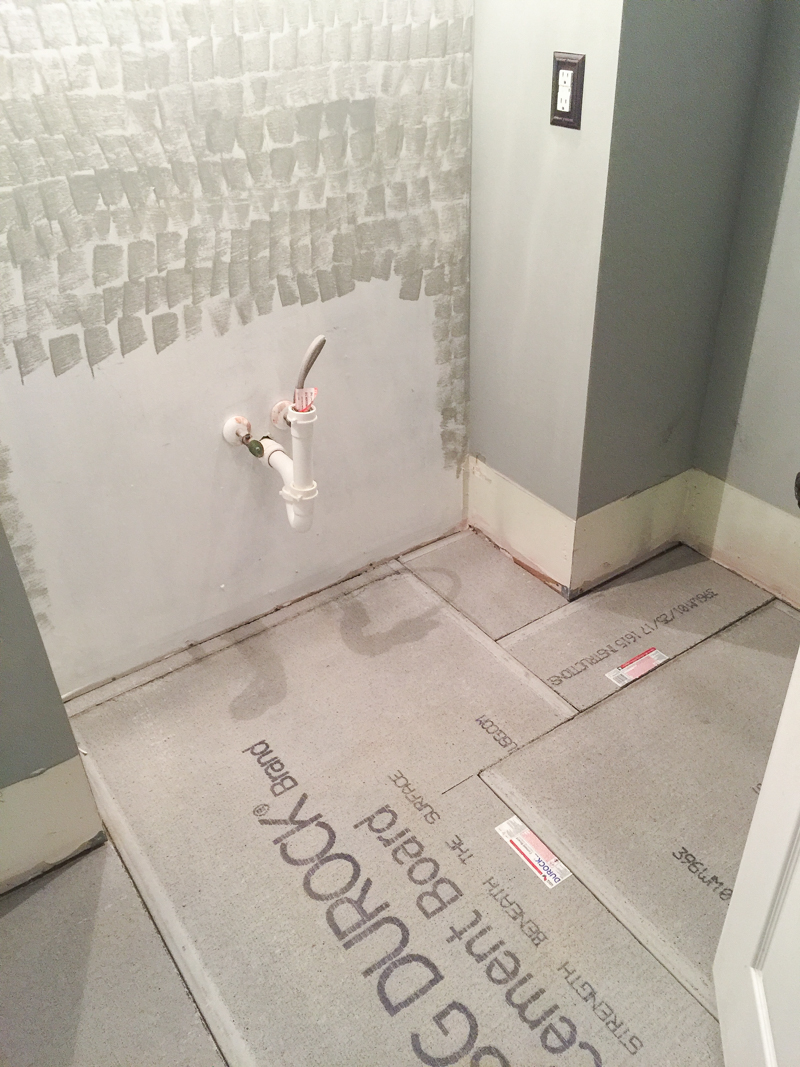
Lay Down Tile Backer Board
Tile backer board is an important part of preparing your floor for tile installation because it helps create an even surface on which tiles can be installed securely and properly. Tile backer boards come in various sizes and thicknesses, so be sure to select one that is appropriate for your particular job. Most boards are secured with screws or nails into the underlying subfloor, but some can also be adhered directly onto the existing surface using an adhesive product.
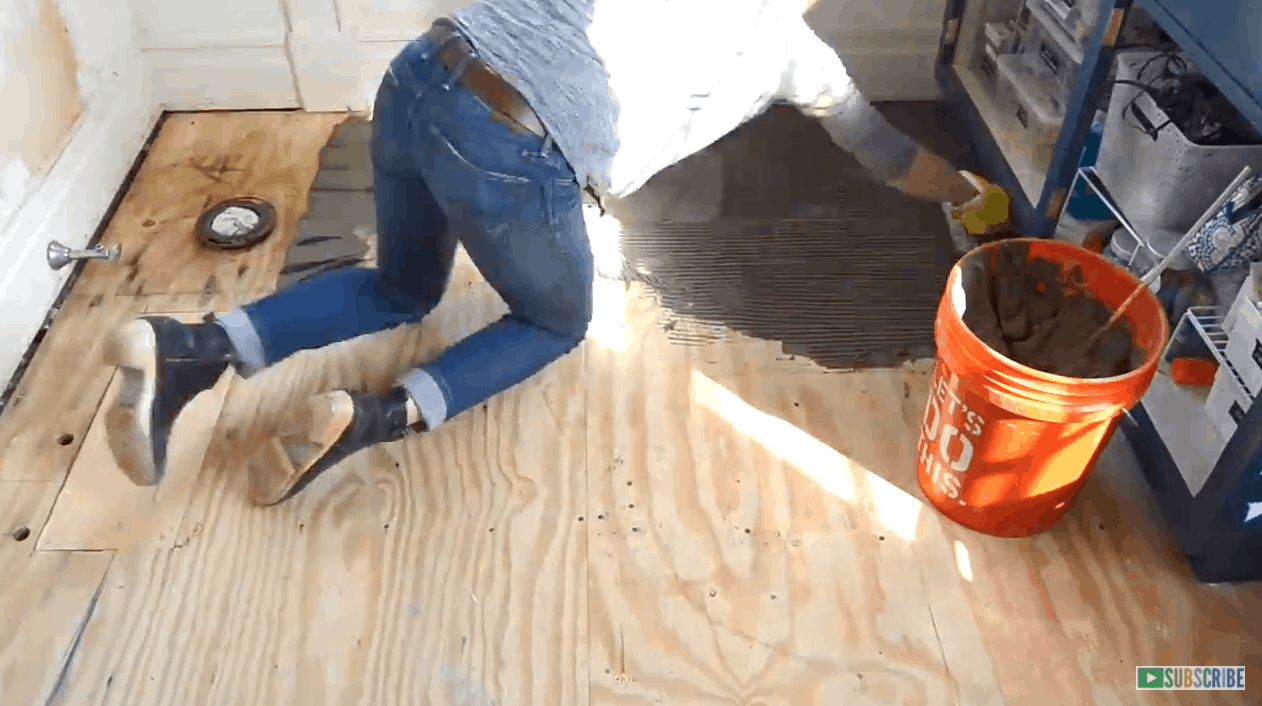
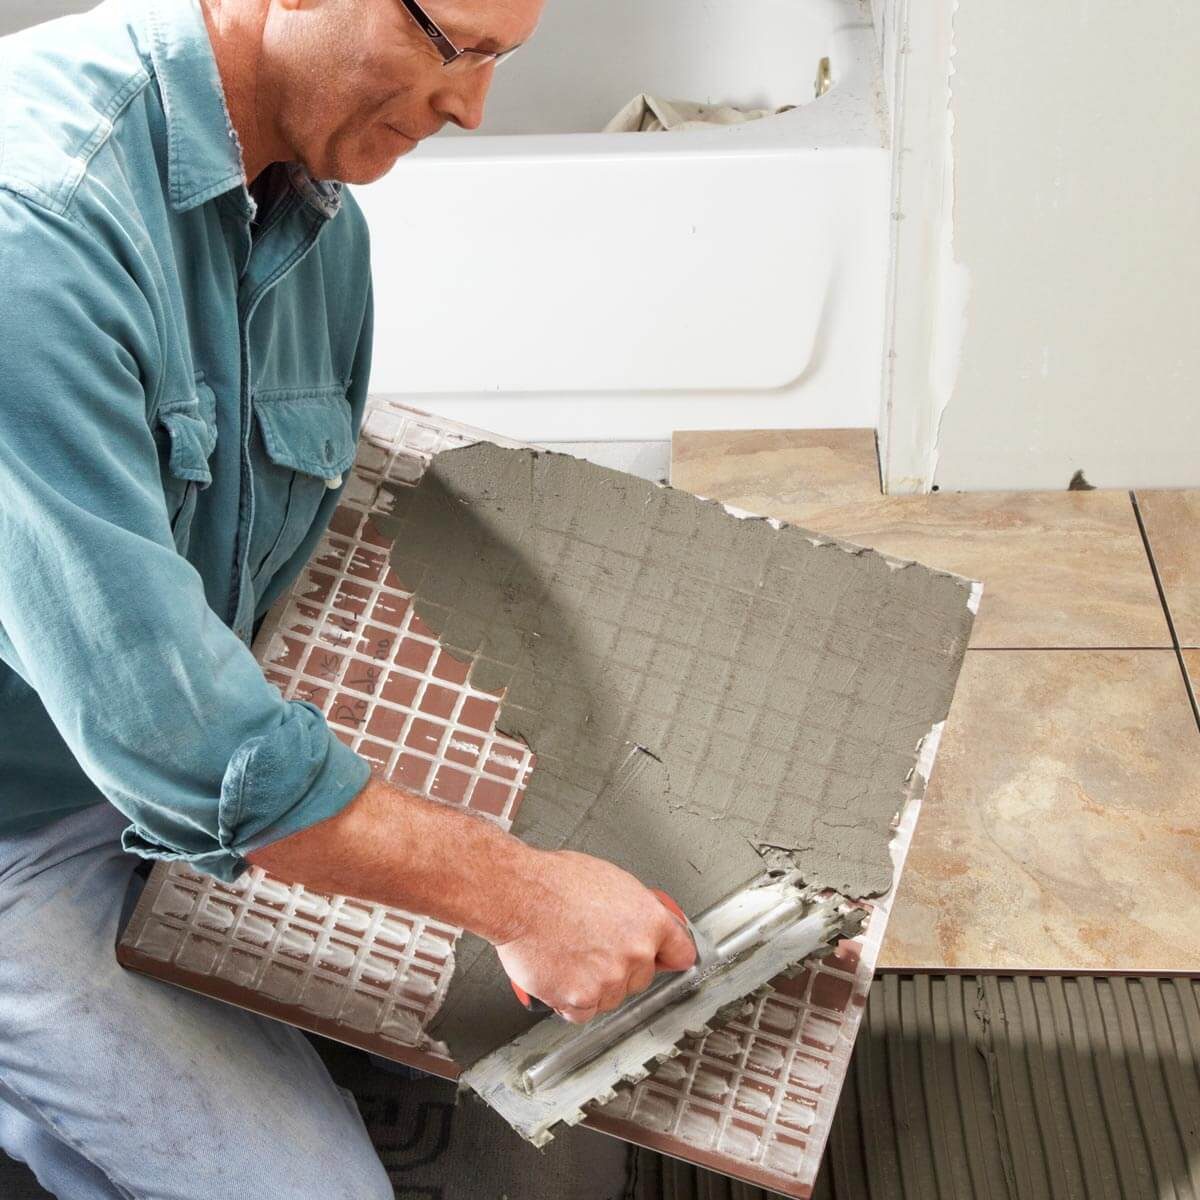
Install Tiles
After all of your floor preparation steps have been completed, you’re finally ready to lay down your new tiles! Start by making sure you have all of the necessary tools and materials on hand including trowels, spacers, grout, sealant and tile adhesive. Then begin laying down each tile one at a time in whatever pattern you desire (such As a grid pattern or a staggered pattern). Be sure to use spacers between each tile to ensure that they are all spaced evenly and that the grout lines are uniform. Once all of the tiles have been laid, use a trowel to spread the grout across the entire area. Allow the grout to dry for several hours before applying sealant. Finally, sit back and admire your beautiful new floor!