Vinyl is amazingly water -resistant. It is really affordable, which is one great reason why you need to think about buying cheap vinyl flooring for your homes. This underlayment provides additional comfort to the foot, thus making the inexpensive vinyl flooring suitable to your aspect of your house whether it is the bathroom, kitchen area, and even your bedroom.
Images about How Do You Remove Vinyl Flooring
Luxury flooring can be cleaned very easily. The resistance of theirs to stain as well as moisture makes them a great prospect for installing in these kinds of areas as the downstairs room, kitchen or maybe the bathroom. Excess water can get through the seams and cracks, which can destroy glue bonds that keep the vinyl ceramic tiles to the starting flooring. Plus, you are able to paint all of the lines that your sports need on them with no worries.
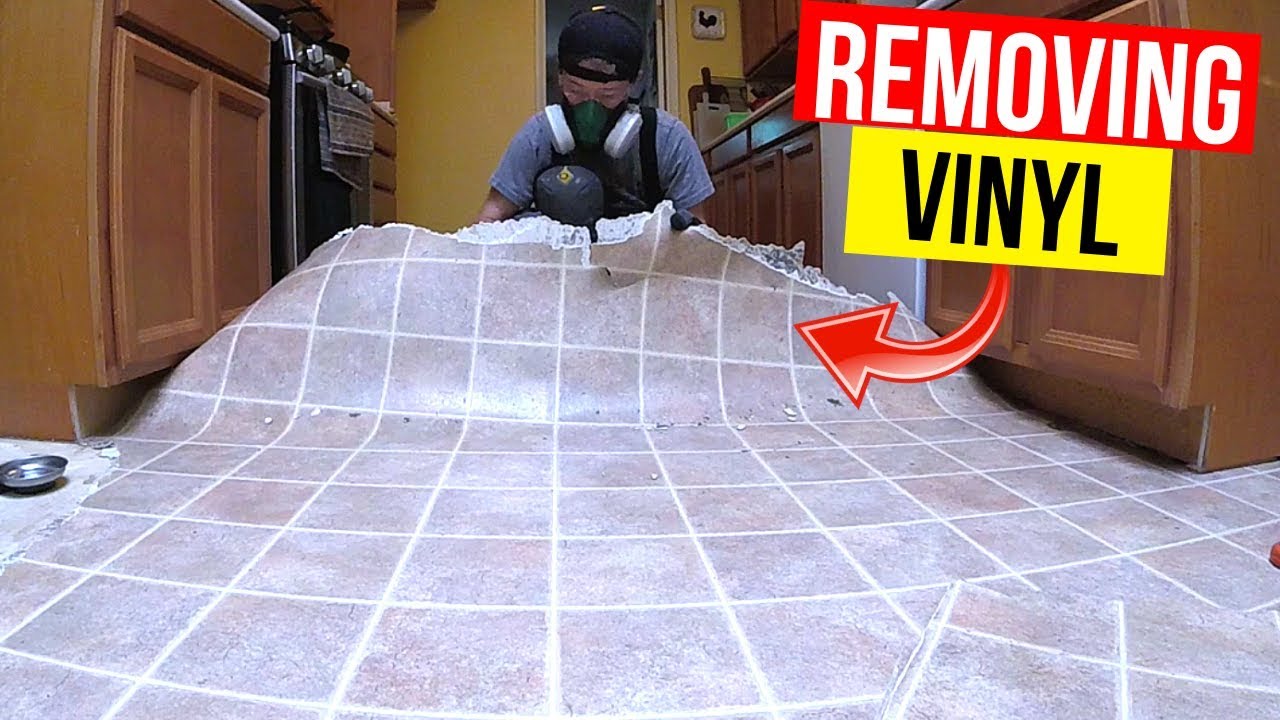
How to Remove Vinyl Flooring
:max_bytes(150000):strip_icc()/Remove-Vinyl-Use-Sharp-Tool-for-Hard-Glued-Areas-56a49e3f3df78cf772834b16.JPG)
If you will be interested reducing your chances of causing heavy dents or damage to a floor brought about by furniture, then we'd advise using padding under the legs of all of the furniture within the room where the vinyl is now being laid. It's critical to question the sales person regarding the thickness of the use covering in case you're looking for the top overall performance.
How to Remove Vinyl Flooring
What You Should Know about Removing Old Linoleum or Vinyl

How to Remove Vinyl Flooring
How to Remove Vinyl Tiles u0026 Adhesive From Wood Flooring : Flooring Help

Removing Vinyl Flooring Clearance, 56% OFF www.ingeniovirtual.com
How to Remove Vinyl Flooring – Twenty u0026 Oak
How to Remove Vinyl Flooring Removing vinyl flooring, Vinyl

Vinyl Flooring: Removal Made Easy (DIY)
How To Remove Glue From Vinyl Flooring

How To Remove Vinyl Flooring
How to Remove Vinyl Flooring
/Remove-Vinyl-Use-Prybar-on-Easy-Glued-Areas-56a49e3e5f9b58b7d0d7ddce.JPG)
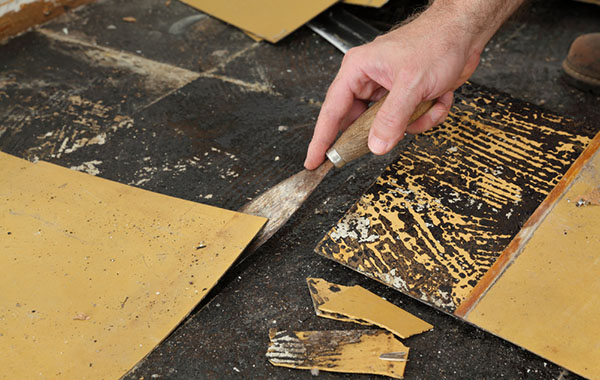
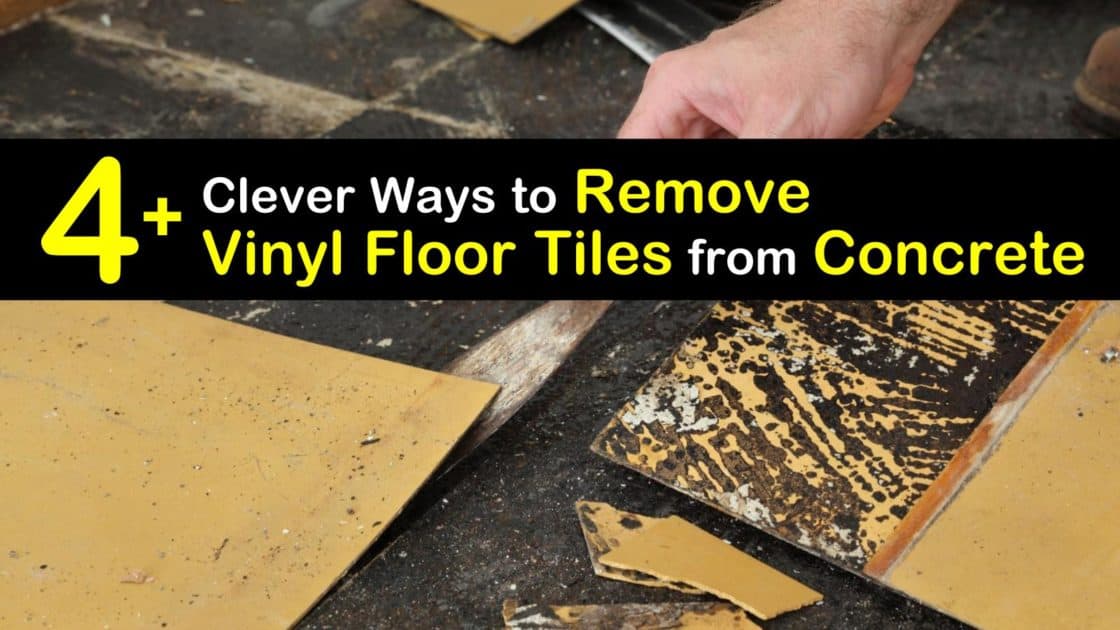
4+ Clever Ways to Remove Vinyl Floor Tiles from Concrete
Related Posts:
- Brazilian Ipe Vinyl Flooring
- Discontinued Armstrong Vinyl Flooring
- Mannington Adura Vinyl Flooring Reviews
- Wood Effect Vinyl Flooring Roll
- Vinyl Floor Cover Strips
- Custom Vinyl Flooring
- Vinyl Floor Treatment
- Plain Grey Vinyl Flooring
- Interior Design Vinyl Flooring
- Crystal Vinyl Flooring
How to Remove Vinyl Flooring
Removing vinyl flooring can be a difficult, time-consuming task. The process of removing vinyl flooring from your home can be complicated, but with the right tools and knowledge, you can do it yourself. This article will provide you with step-by-step instructions on how to remove vinyl flooring and tips on how to make the process easier.
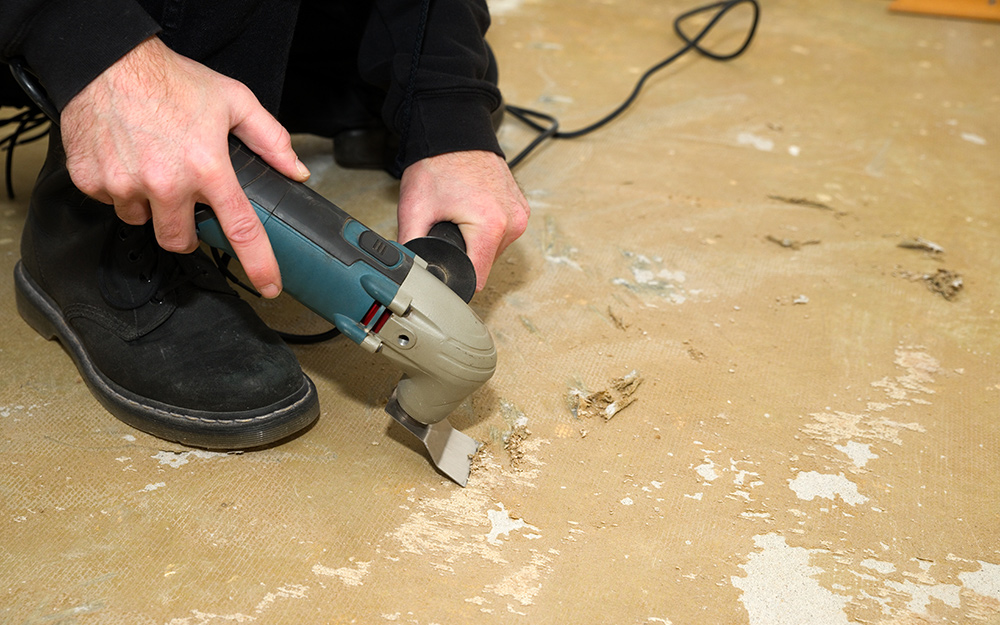
Gather the Necessary Supplies
Before you begin the process of removing vinyl flooring, it’s important to gather all the necessary supplies. You’ll need:
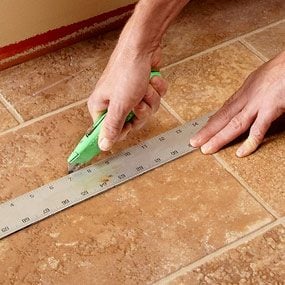
– A utility knife
– A putty knife
– A scraper
– A pry bar
– Safety goggles or glasses
– Work gloves
– A dust mask
– Knee pads (optional)
Once you have all your tools gathered, you’re ready to start removing your vinyl flooring.
Preparing Your Room for Removal
Before you start removing your vinyl flooring, you should remove any furniture or other items from the room that might get in your way. It’s also important to make sure that the room is well ventilated, as there may be some fumes from the adhesive used on the vinyl flooring. Once these steps are taken care of, you can begin removing your vinyl flooring.
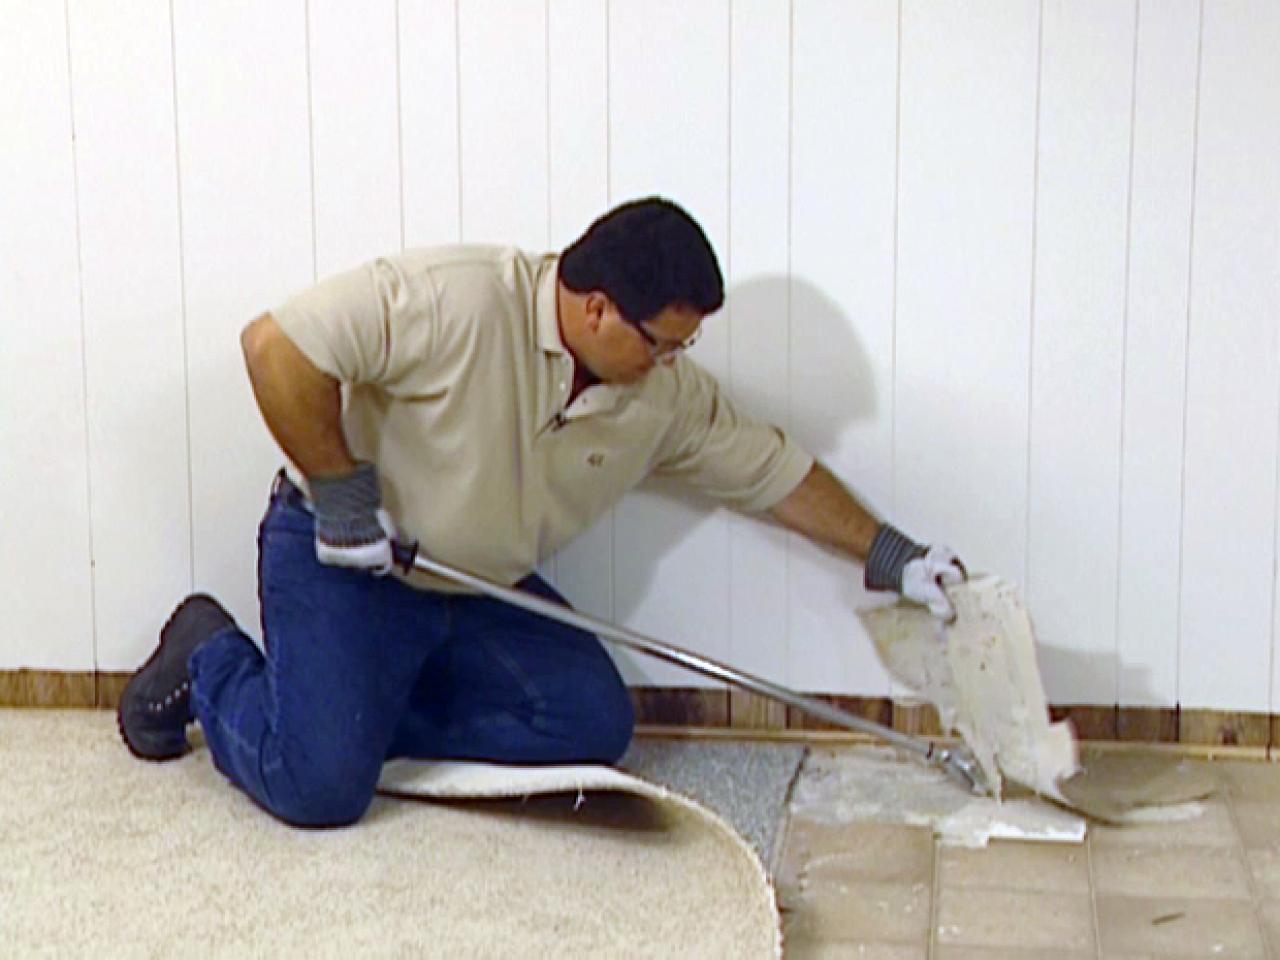
Removing the Vinyl Flooring
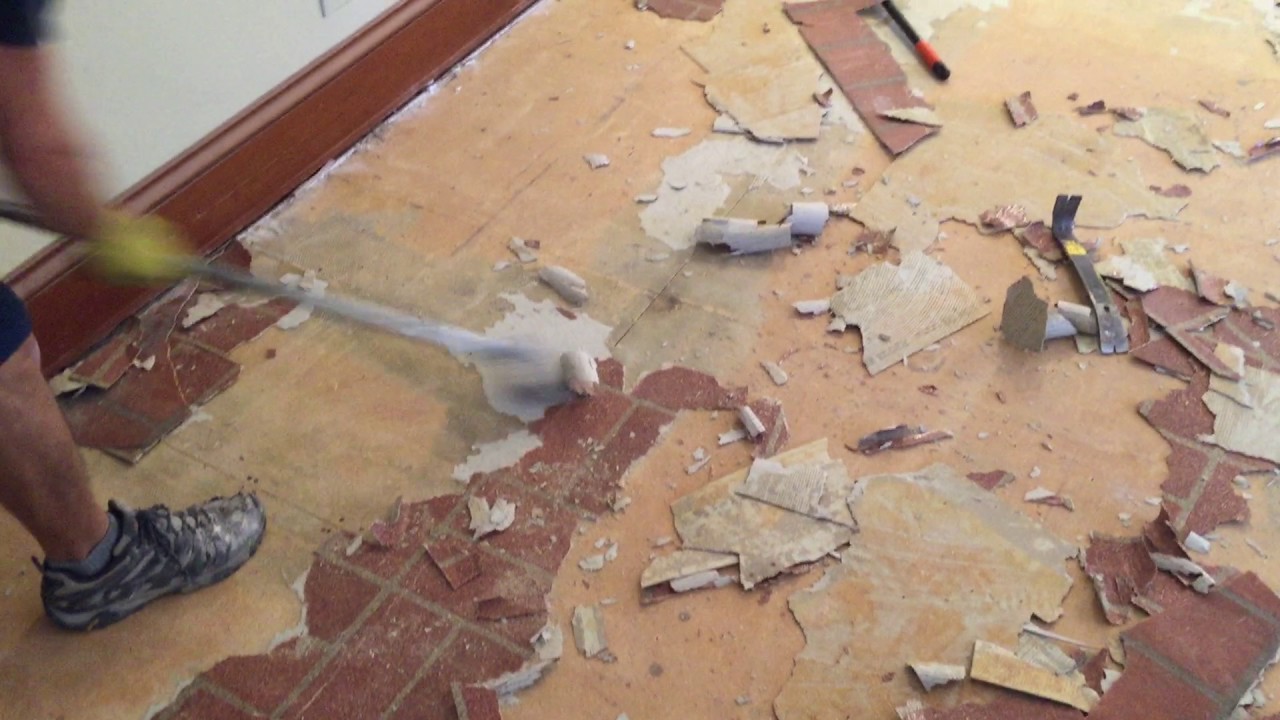
The first step in removing your vinyl flooring is to use a utility knife to cut away any excess pieces of vinyl that are sticking out beyond the edges of the room. Next, use a putty knife or a scraper to remove any adhesive that may still be present on the surface of the vinyl. Once all of this is done, it’s time to move onto using a pry bar to loosen up any sections of vinyl that may be stuck down. You should start at one corner and work your way around until all of the sections are loose and can be easily removed from the subfloor. Once all of this is done, it’s time to dispose of your old vinyl flooring and prepare for installation of new flooring.
Cleaning Up After Removal
Once all of your old vinyl flooring has been removed, it’s important to clean up any remaining debris from the removal process. Use a vacuum cleaner to get rid of any dust or dirt that may have been left behind by the removal process. You may also need to use an adhesive remover if there are any stubborn pieces left behind on the subfloor. Finally, if there are any holes in the subfloor caused by nails or screws used during installation, these should be filled in with wood filler before new flooring is installed.
FAQs About Removing Vinyl Flooring
Q: What type of tools do I need for removing vinyl flooring?
A: You will need a utility knife, putty knife or scraper, pry bar, safety goggles or glasses, work gloves, dust mask (optional), and knee pads (optional).
Q: Do I need to prepare my room before I start removing my vinyl flooring?
A: Yes! It’s Important to make sure that the room is well ventilated and that any furniture or other items are removed from the room before you start.
Q: What should I do with any leftover debris after removing my vinyl flooring?
A: Use a vacuum cleaner to get rid of any dust or dirt that may have been left behind. If there are any stubborn pieces of adhesive left behind, you may need to use an adhesive remover. Finally, if there are any holes in the subfloor caused by nails or screws used during installation, these should be filled in with wood filler before new flooring is installed.
What tools are needed to remove vinyl flooring?
1. Floor scraper2. Utility knife
3. Heavy-duty putty knife
4. Heat gun or steamer
5. Safety goggles and dust mask
6. Hammer and chisel
7. Vacuum cleaner
8. Needle-nose pliers
9. Adhesive remover
10. Prying bar
11. Knee pads (optional)