Reclaimed wood is typically graded several times at sawing, after kiln-drying, after milling and finally during packaging to make sure that you get the grade you purchased. Not too long ago, the sole choice you had was the old-fashioned solid wood tongue as well as groove strips in oak or maple. You won't need to contend with the mess and clean up that complements a wood flooring installation.
Images about How To Install An Engineered Wood Floor
/cdn.vox-cdn.com/uploads/chorus_asset/file/19494392/floor_5.jpg)
The wood look comes from a thin veneer of the selected wood, which is pressed upon a few levels of substrate. You will additionally save the money you would have spent on supplies as well as accessories that are necessary for the set up. If the flooring is porous, like hardwoods, it's a fort for harboring bacteria as well as germs. The tough, used, lived in appearance won't show the scratches as well as marks a result of everyday usage.
How To Install Click Lock Engineered Hardwood Flooring

Choosing the best real wood flooring is critical if you would like to get the foremost durability and longevity for your money. These gains inspire numerous homeowners to make use of laminate wood flooring while renovating the houses of theirs. Today, wood flooring has been done in special and custom designs like borders, medallions, hand-distressing, painting, mixed media, stain and exotic wood.
Which Method Should I Use to Install My Engineered Wood Floor

How To Install Engineered Hardwood Flooring
How to Lay Engineered Wood Floors – This Old House
/cdn.vox-cdn.com/uploads/chorus_asset/file/19494255/wood_floors_toutxlbanner.jpg)
How to Install an Engineered Hardwood Floor
Installing Engineered Hardwood on Concrete – Twenty u0026 Oak

How To Install Click Lock Engineered Hardwood Flooring
Engineered Hardwood Floor Installation: Part 1
How To Install Nail Down Engineered Wood Flooring Outlet, 53% OFF

Engineered Hardwood Flooring Installation: Tips and Common

Hardwood Floor Installation [8 Top Questions Answered]

How To Install Engineered Hardwood Flooring Sale, 50% OFF www

How To Lay Engineered Wood Flooring A DIY Guide For Everyone

Related Posts:
- Wood Floor Planks Separating
- Engineered Wood Flooring Vs Wood Flooring
- Wood Floor Kitchen Vs Tile
- How To Put Down Snap Together Wood Flooring
- Best Wood Floor Cleaner Polish
- Engineered Wood Flooring Advantages
- Wood Floor Modern Kitchen
- Wood Flooring Reducer Trim
- Homes With Wood Flooring Pictures
- Do You Need Underlay For Solid Wood Flooring
How To Install An Engineered Wood Floor
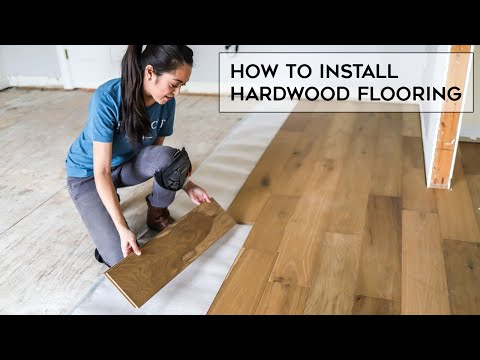
Engineered wood flooring is a great way to update the look of a room, adding style and sophistication. Installing engineered wood flooring is not as difficult as it sounds. With the right tools and materials and a few easy steps, you can have a beautiful new floor in no time.
Tools and Materials Needed for Installation
Before starting your project, it is important to gather all the necessary tools and materials first. This will make the installation process much easier and quicker. Some of the basic tools and materials needed for installing engineered wood flooring include:
– Hammer
– Nails
– Padding
– Tape measure
– Saw
– Sandpaper
– Underlayment
– Adhesive
– Transition moldings
– Engineered wood planks
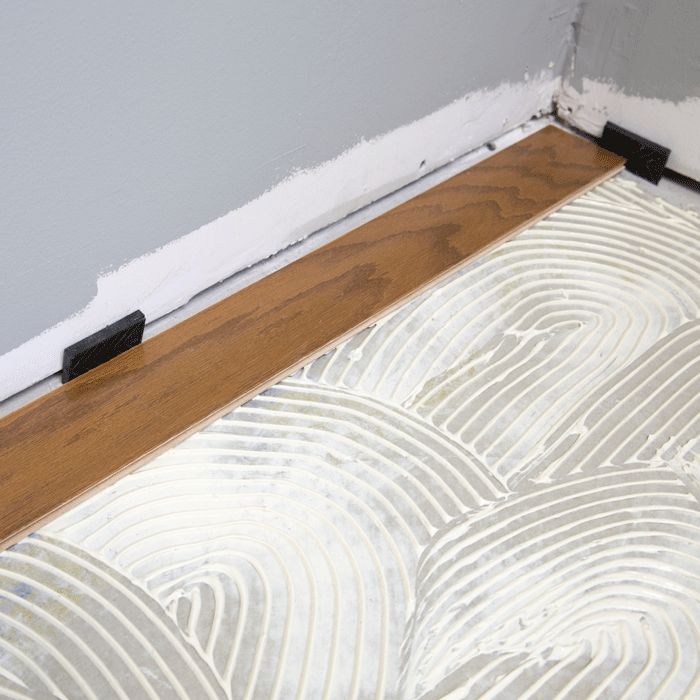
Preparing The Subfloor For Installation
The next step is to prepare the subfloor for installation. This includes making sure the subfloor is even, clean, and free of any debris or dirt that could interfere with the installation process. It is important to use sandpaper to smooth out any rough spots before installing the engineered wood planks. You should also check for any signs of moisture, such as water stains or mold, and take care of these issues before proceeding with the installation. Additionally, make sure that any doors or windows are properly sealed so that no cold air can seep in beneath the new flooring.
Installing The Underlayment And Padding
Once you have prepared the subfloor, you can begin installing the underlayment and padding. Underlayment is a thin layer of material that helps protect against moisture and provide insulation from sound. Padding also provides cushioning for comfort underfoot. It is important to lay both underlayment and padding in one continuous sheet so that there are no gaps or seams between them. Be sure to cut around any obstacles such as doorways or staircases using a knife or razor blade.
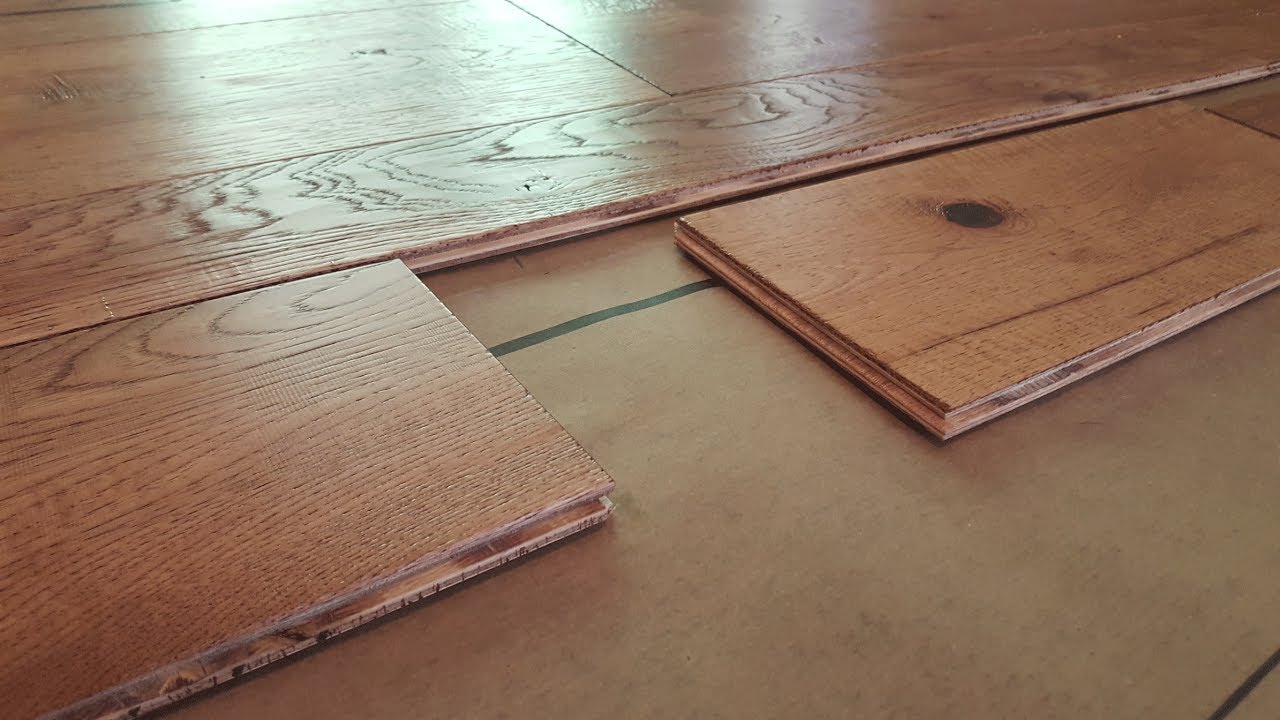
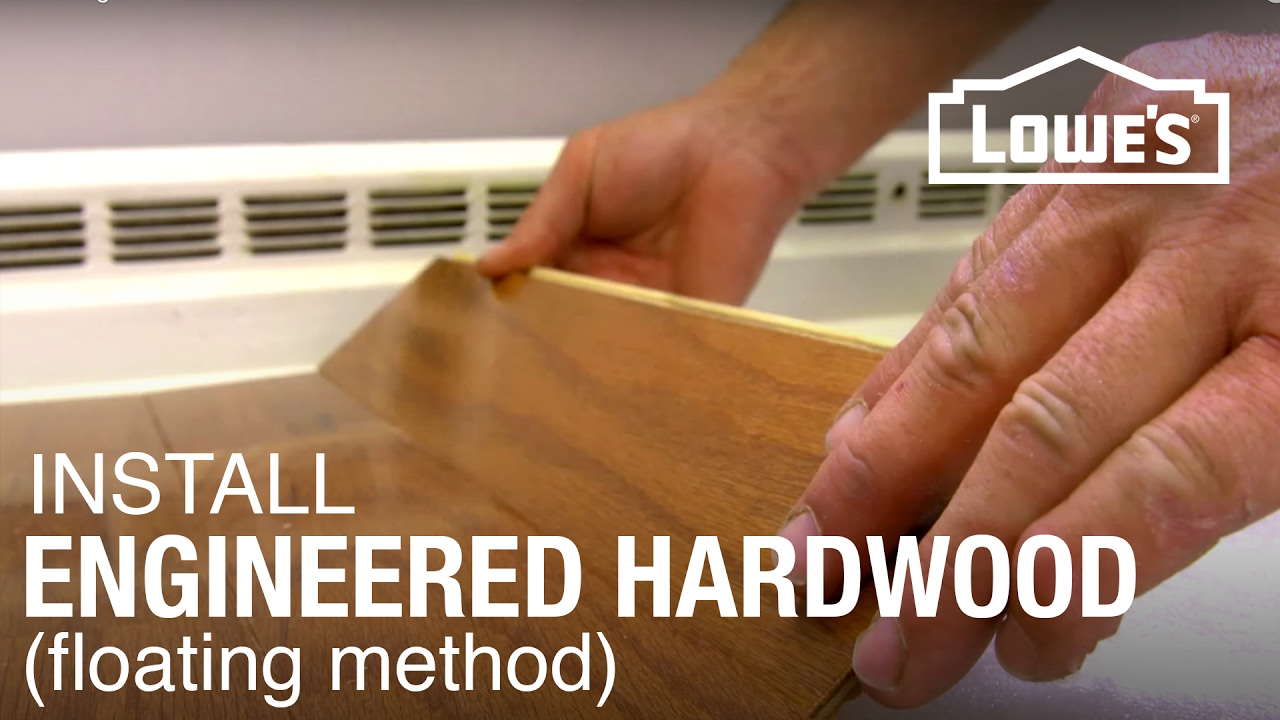
Laying The Engineered Wood Planks
Now it’s time to begin laying down your engineered wood planks. Start by laying out a row of planks in one direction along one wall, making sure they are evenly spaced with a gap between each board of approximately 1/4 inch. Secure each plank into place using adhesive and nails along the edges, making sure to drive them in at an angle so they won’t pop out later on. Continue this process until you have finished laying down all of your planks in rows across the room.
Fitting Around Obstacles And Installing The Transition Moldings
When it comes time to fit around obstacles such as doorways or stairs, you may need to use a jigsaw to cut your engineered wood planks into smaller pieces that will fit properly around these areas. Once you have finished fitting your planks into place, use transition moldings to bridge any gaps between different floors such as carpets or hardwood floors. These moldings Also provide a finished look to the flooring installation.
Finishing Touches
Once you have completed the installation of your engineered wood flooring, you can add the final touches. Use a vacuum or broom to clean up any dust or debris that may have accumulated during the installation process. You can also use a damp cloth to wipe down the planks and remove any excess adhesive or dirt that may be present. Finally, you can apply a coat of polyurethane finish to help protect your new engineered wood flooring and make it shine.