You need to think about the extended cost effectiveness of ceramic floors instead of any other flooring. Nevertheless, because of the complicated, non repeating patterns of marble floors tiles, small amounts of earth on natural stone floor tiles like marble do not show. But tile is nearly indestructible, and surprisingly cost effective. It is really important to put the mats really smartly. Another flooring option to take into consideration is tile.
Images about How To Install Underlayment For Tile Floor
Since marble is not the hardest of organic stones, it wouldn't thrive as a floor covering in certain, extremely high traffic areas, nevertheless, they are wonderful floor tiling for regular residential as well as light industrial uses, and marble can hold up facial. Additional use polished granite on their counter tops that become really popular to the stage they are almost requirement in customized kitchen.
The Best Tile Underlayment Options and How to Use Them – Bob Vila

Porcelain can be utilized to imitate the finish or overall look of some other types for example bricks as well as stone so for several interior designers, it is a really adaptable content in terminology of design. Later or sooner you will come to spots where flooring should be cut. With tiles having a lot of different textures, designs & colors, the possibilities can also be endless for tile flooring suggestions.
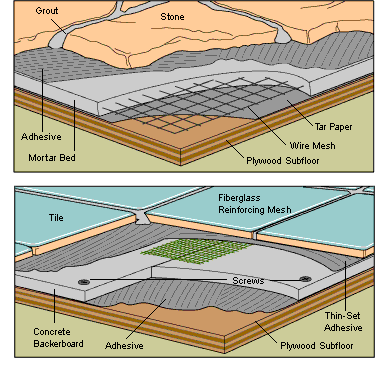
Subfloors and Underlayment for Ceramic Tile Floors
/best-subfloors-to-use-for-laying-tile-1822586-hero-efcfac9422ab457da5d2cbc7f7361df7.jpg)
Prep a Subfloor for Tile – Fine Homebuilding

How to Prepare a Subfloor for Tile Installation
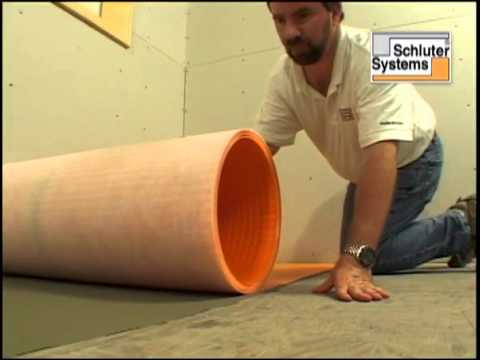
Tile Underlayment – Schluter Ditra
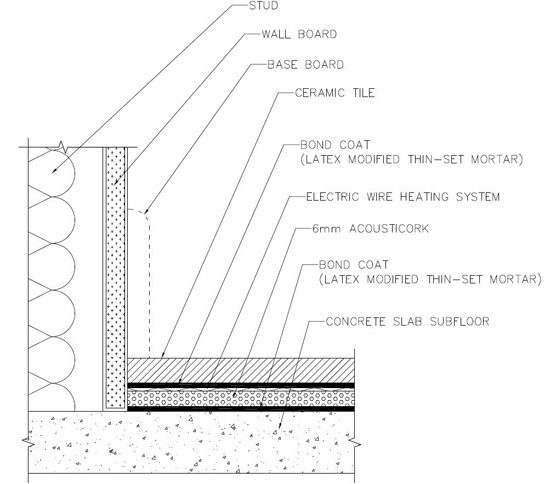
Cork Tile Floor I Installation Instructions I Underlayment
Cement Board Installation u2014 Cabinet Painting – Kitchen Remodeling
Preparing Subfloor for Tile The Home Depot – YouTube

Subfloors and Underlayment for Ceramic Tile Floors
:max_bytes(150000):strip_icc()/best-subfloors-to-use-for-laying-tile-1822586-02-631a13bfdb954ff5a1f80ff1690500f0.jpg)
Installing Cement Board Underlayment
How to Install Underlayment for Tile Floors

The Best Tile Underlayment Options and How to Use Them – Bob Vila

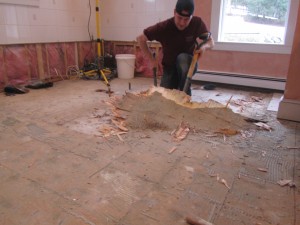
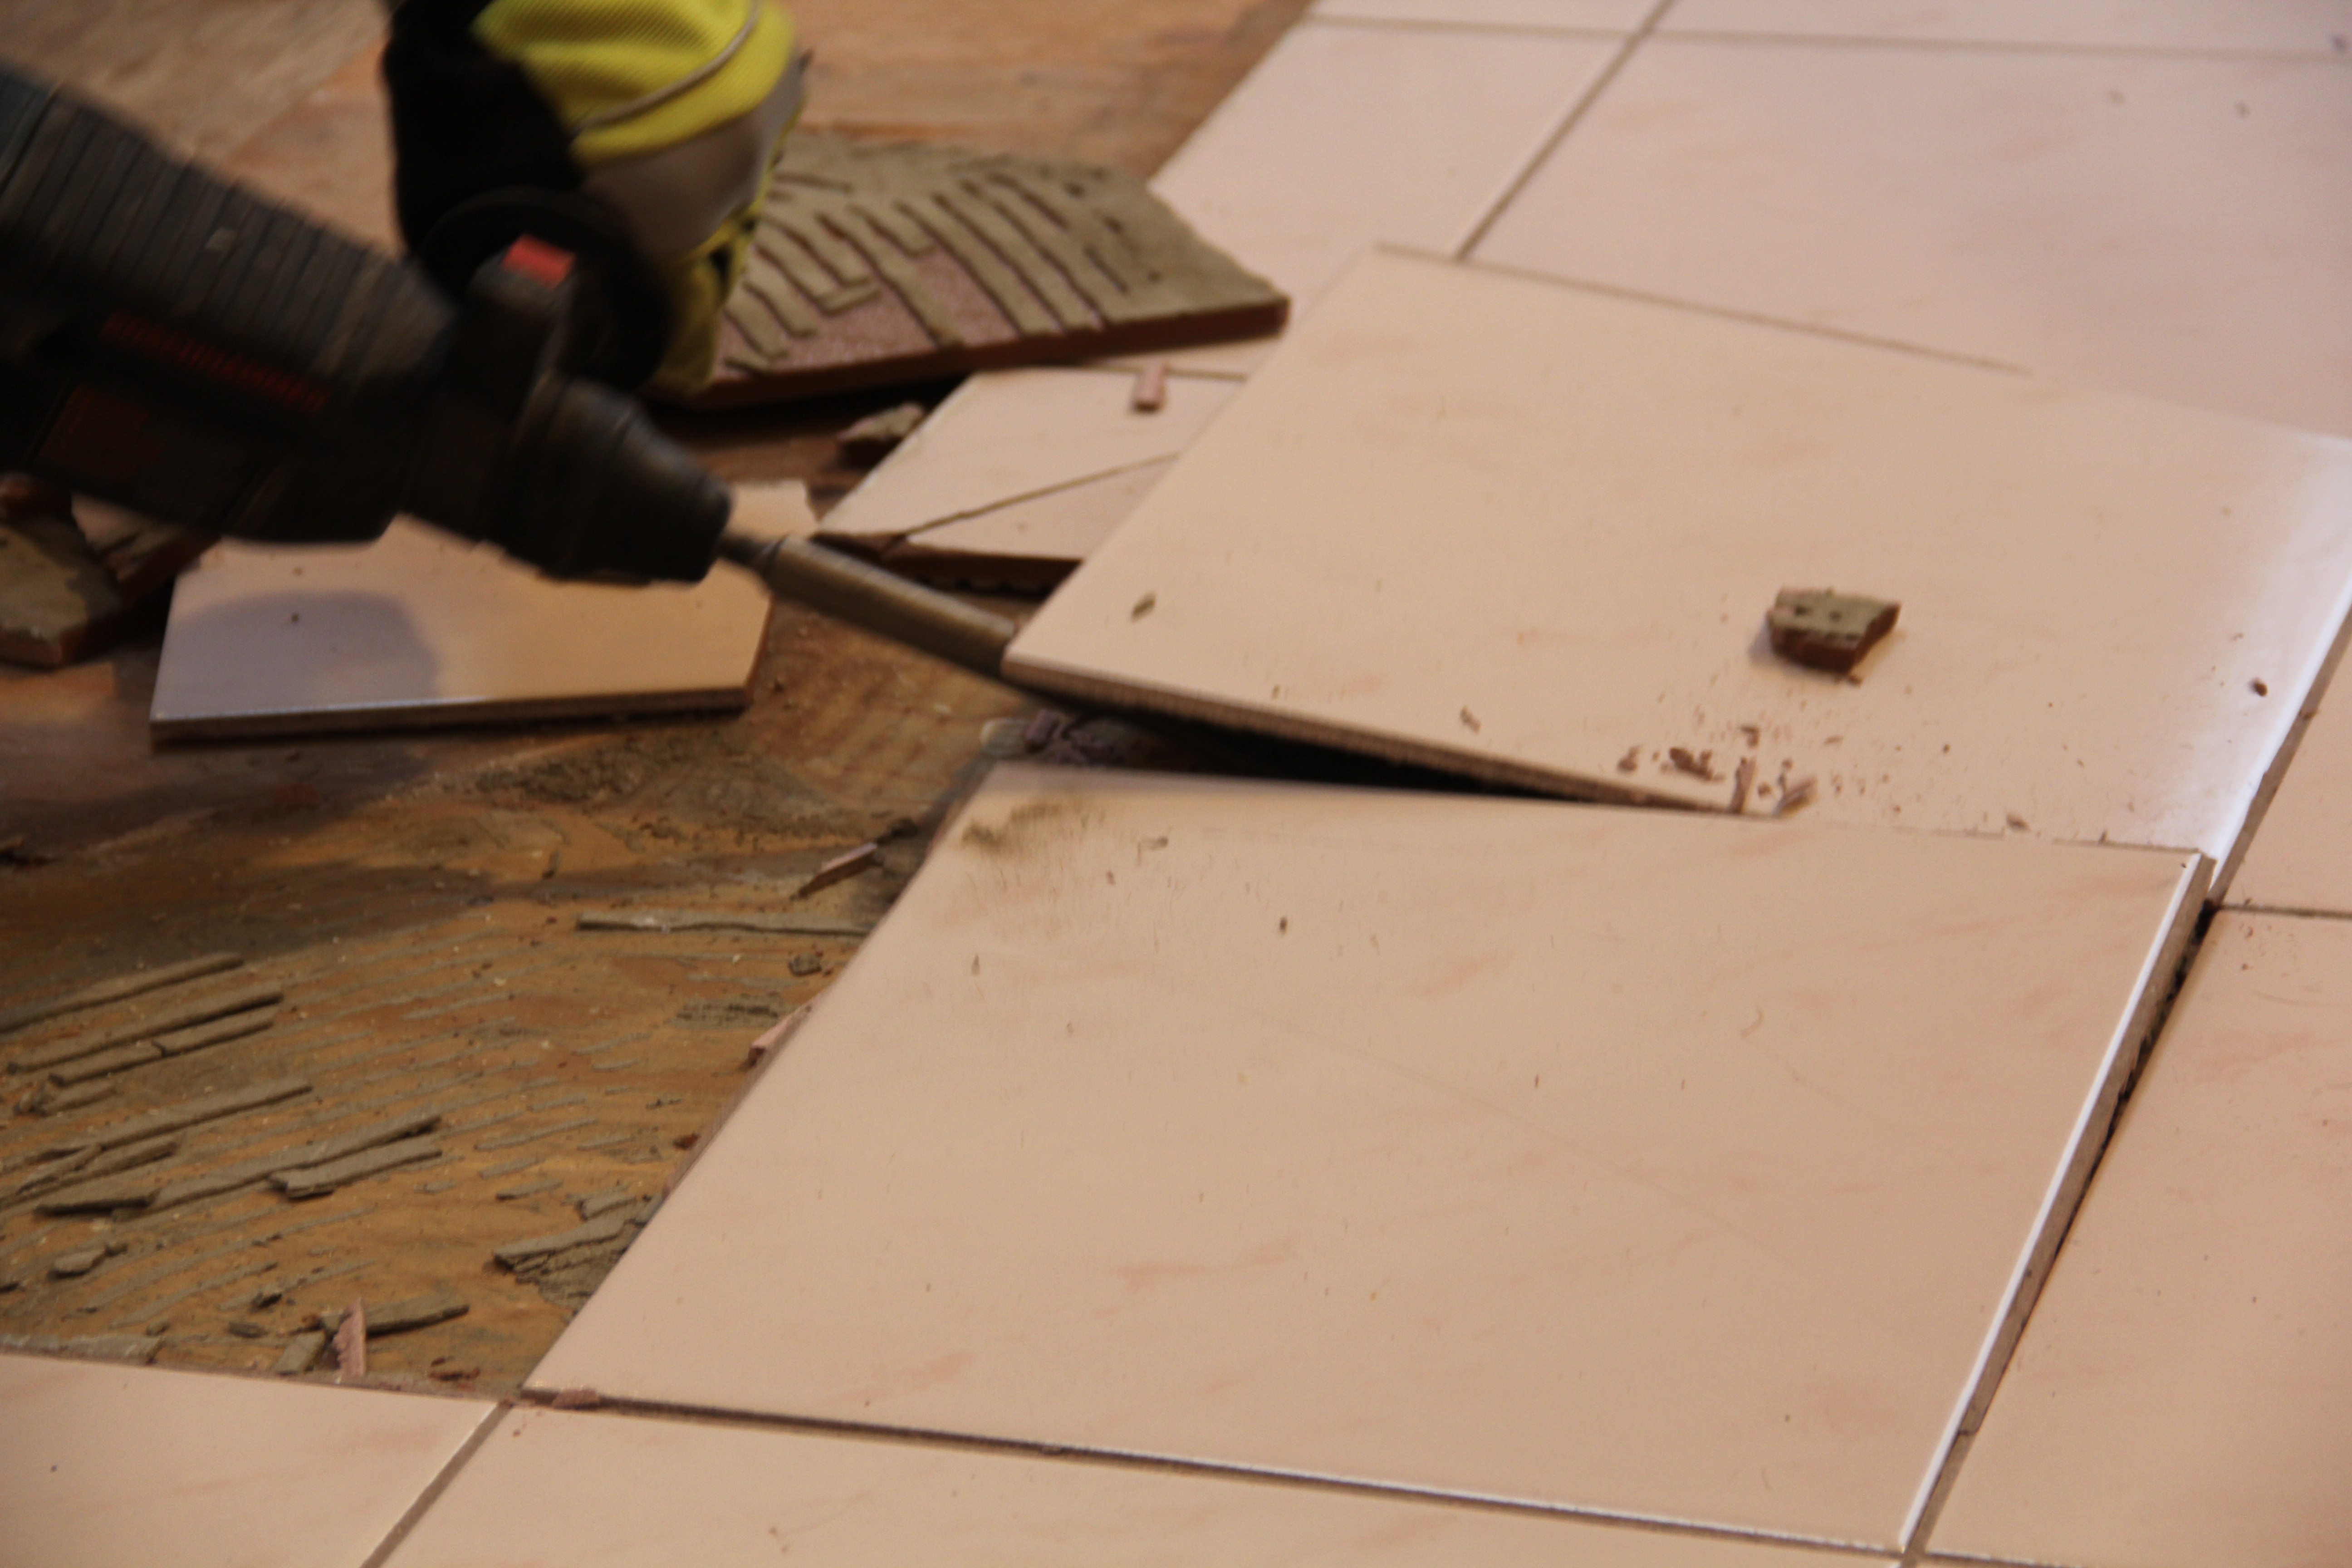
How To Remove A Tile Floor and Underlayment
Related Posts:
- Dollhouse Tile Flooring
- Click Luxury Vinyl Tile Flooring
- Grip Strip Tile Flooring
- Care Of Saltillo Tile Floors
- Chair Leg Glides For Tile Floors
- How To Keep Rugs From Sliding On Tile Floors
- Heated Ceramic Tile Flooring
- Tile Floor Design App
- How To Install Tile Floor That Looks Like Wood
- Earth Tile Flooring
Title: A Comprehensive Guide on How to Install Underlayment for Tile Floor
Introduction:
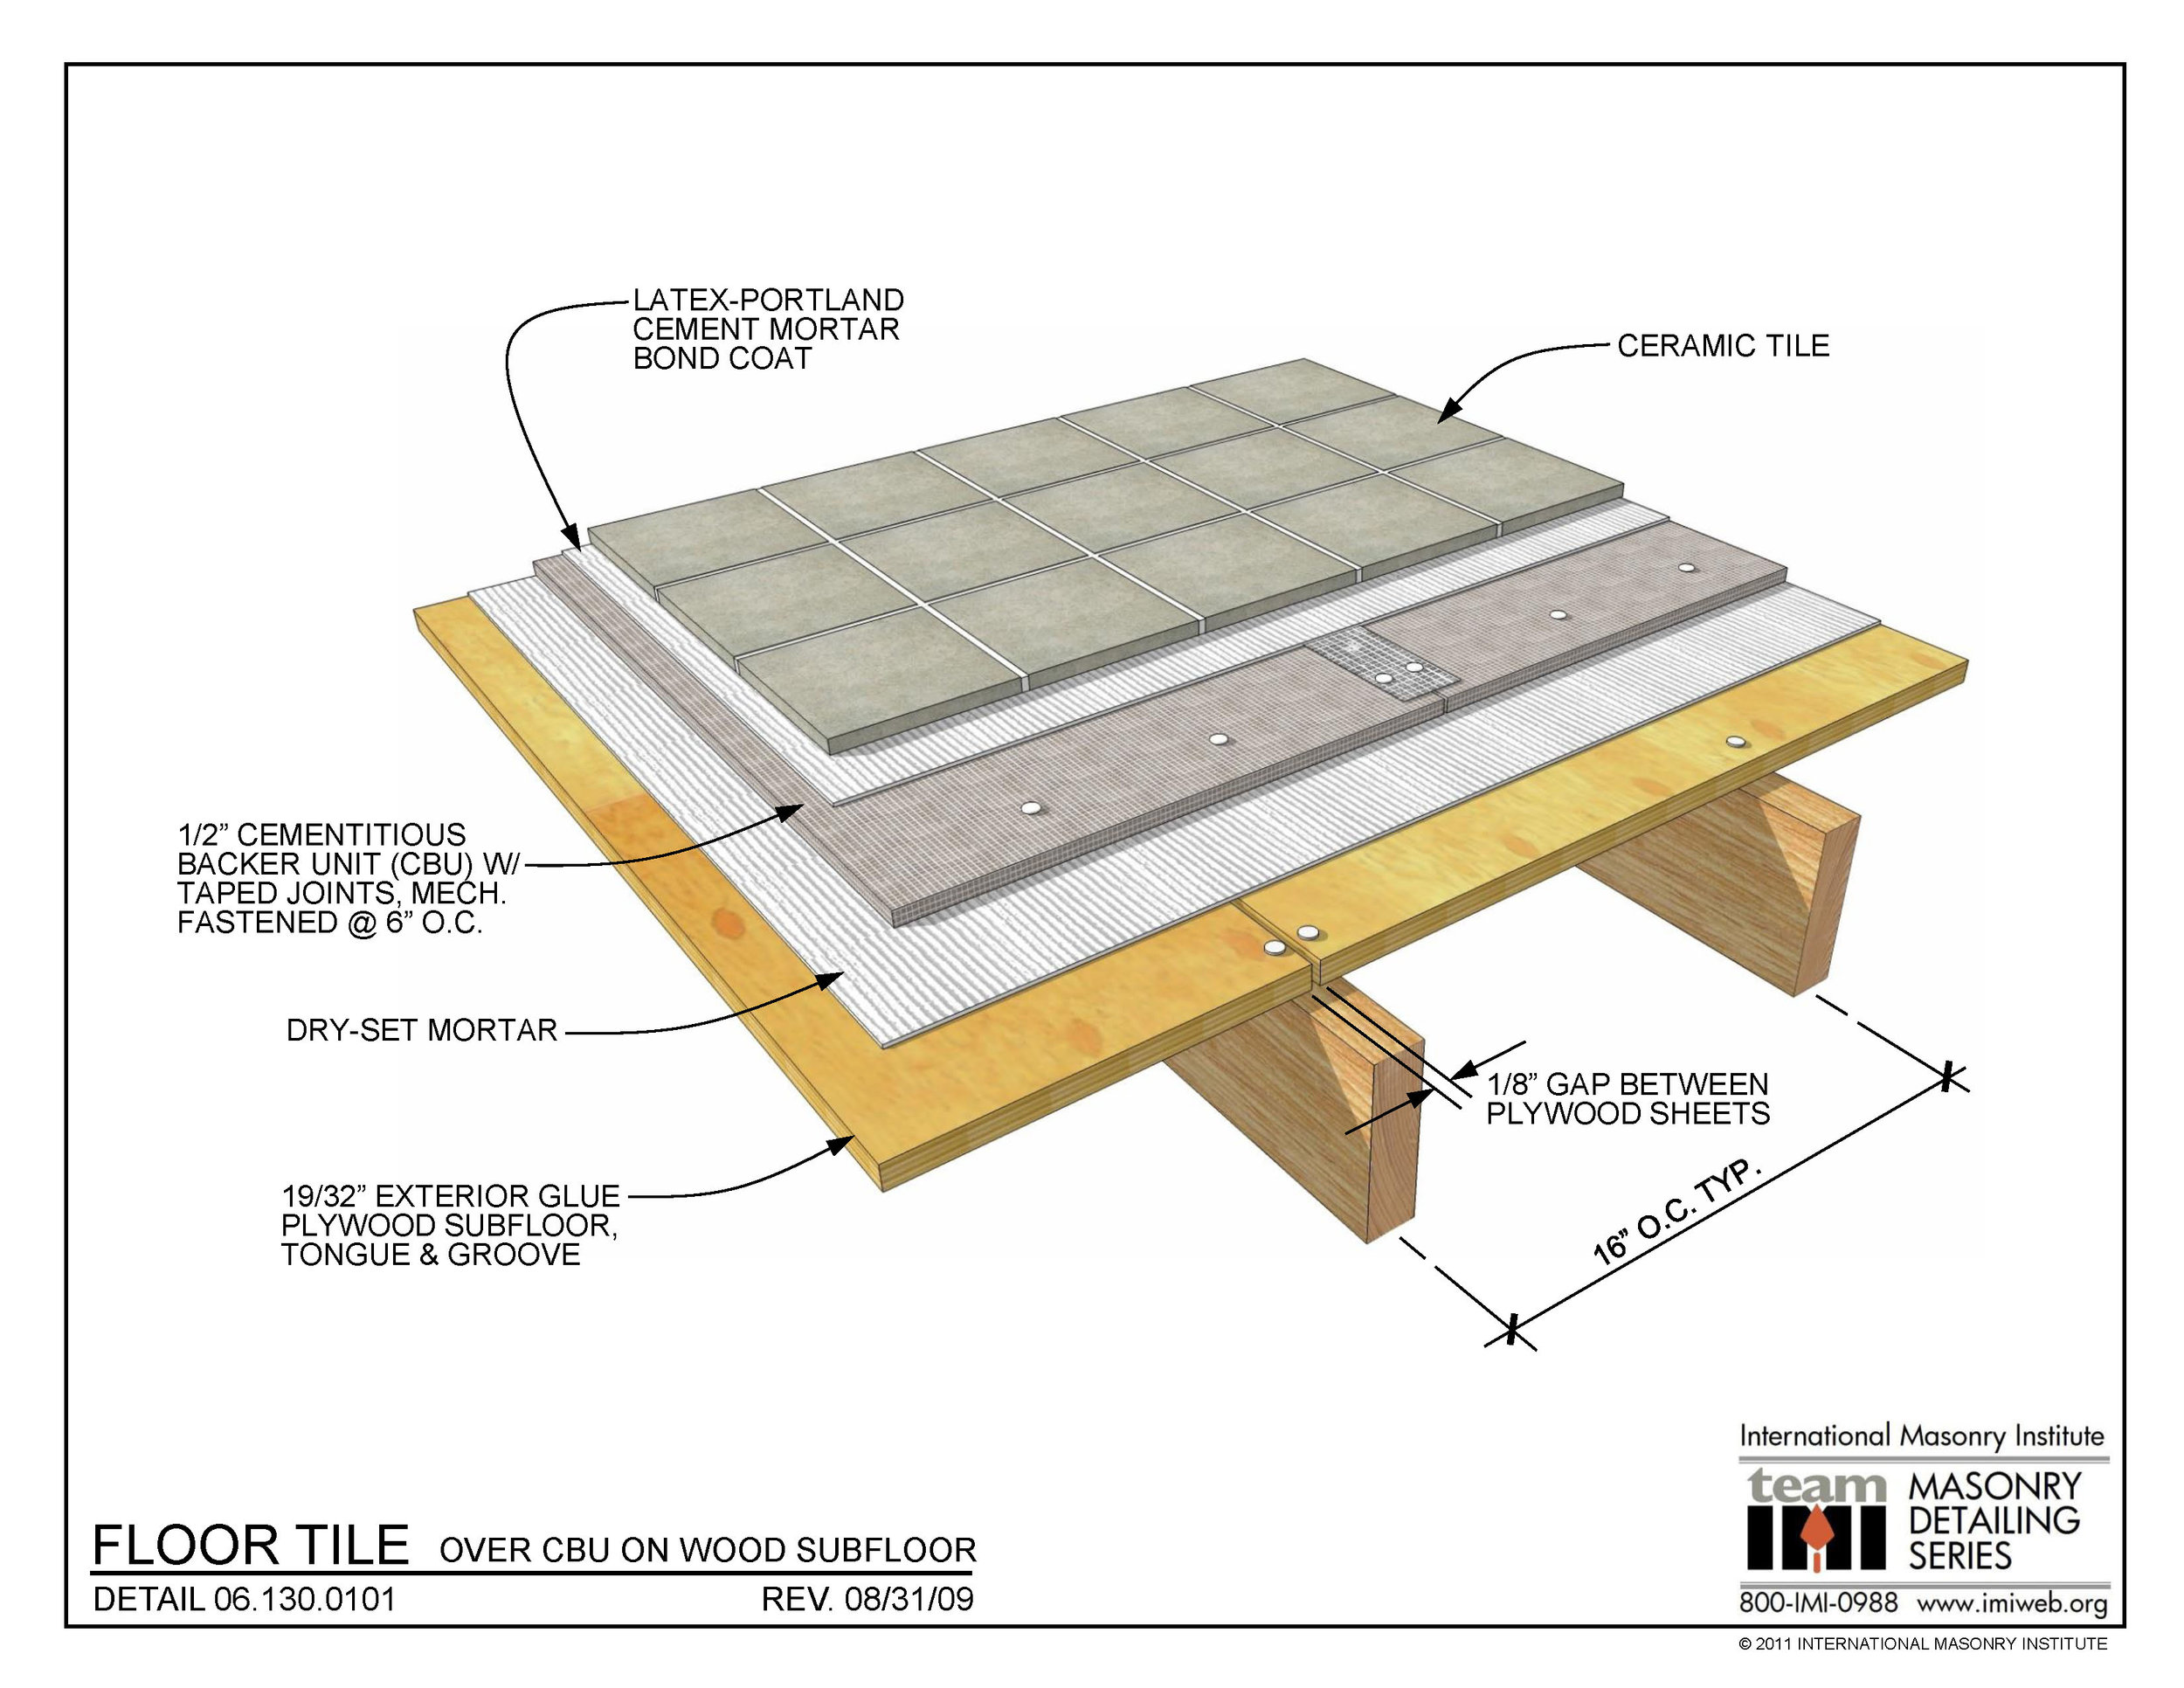
Installing underlayment is a crucial step in ensuring the durability and stability of your tile floor. Acting as a buffer between the subfloor and the tiles, underlayment provides support, moisture resistance, and sound insulation. In this article, we will guide you through the step-by-step process of installing underlayment for a perfect tile floor that will withstand the test of time.
I. Understanding Underlayment:
Before diving into the installation process, let’s first understand what underlayment is and why it is essential for your tile floor.
Underlayment refers to a thin layer of material placed between the subfloor and the tiles. It helps create a smooth and stable surface for tile installation while also providing additional benefits such as moisture protection and noise reduction. Underlayment materials can vary, including cement board, plywood, or specialized membranes.
II. Preparing the Subfloor:
1. Clearing the area: Begin by removing any existing flooring materials, such as carpet or vinyl, from the designated area. Ensure that the subfloor is clean and free from debris.
2. Inspecting for damage: Thoroughly inspect the subfloor for any signs of damage, such as rot or water stains. Address these issues before proceeding with underlayment installation to prevent future problems.
3. Leveling the subfloor: Use a leveling compound if necessary to fix any unevenness in the subfloor. This step is crucial to ensure a flat surface for proper underlayment installation.
III. Choosing the Right Underlayment Material:
The choice of underlayment material depends on factors like the type of tile being installed, moisture levels in your area, and structural requirements. Here are some common types of underlayment materials:
1. Cement Board: Ideal for areas with high moisture levels or heavy traffic, cement board offers excellent stability and moisture resistance. It comes in varying thicknesses, so select one suitable for your specific needs.
2. Plywood: Plywood is a versatile option that works well in most tile installations. Opt for exterior-grade plywood with a thickness of at least 3/8″ to ensure adequate support.
3. Membranes: For areas prone to moisture, such as bathrooms or kitchens, consider using specialized waterproofing membranes. These membranes provide an added layer of protection against water damage.
IV. Installing Underlayment:
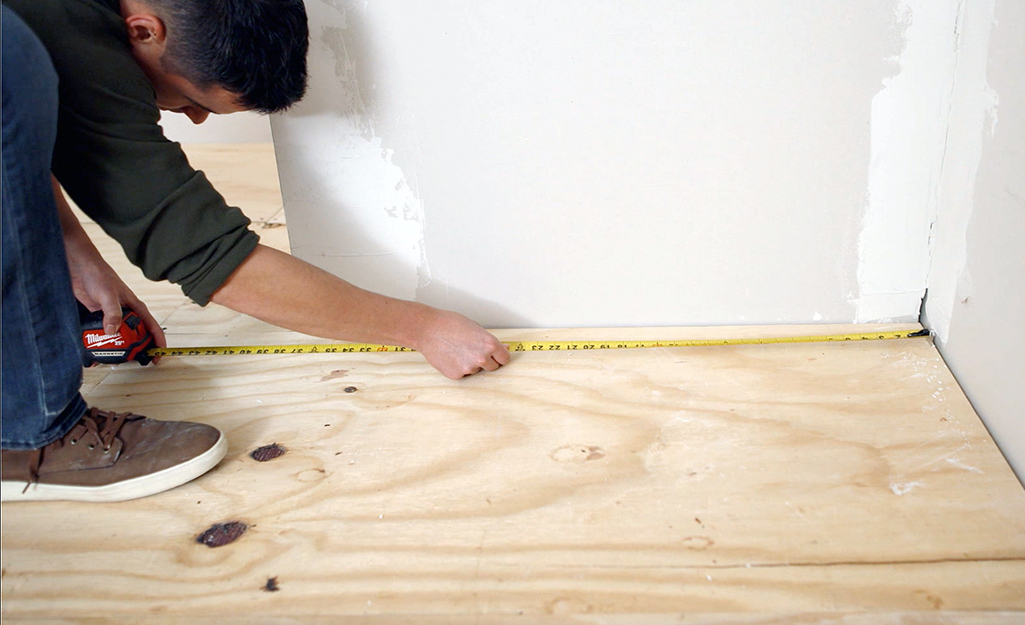
1. Measuring and cutting the underlayment: Measure the dimensions of the room and transfer them onto the underlayment material. Use a circular saw or jigsaw to cut the material into appropriately sized sections.
2. Dry fitting: Before securing the underlayment, dry fit the pieces on the subfloor to ensure a proper fit and make any necessary adjustments.
3. Attaching the underlayment: Depending on the type of underlayment chosen, follow the manufacturer’s instructions for attaching it to the subfloor. For cement board, use corrosion-resistant screws or nails, while plywood may require adhesive or staples.
4. Ensuring proper spacing: Leave a 1/8-inch gap between each piece of underlayment to allow for expansion due to temperature changes.
V. Frequently Asked Questions:
1. Do I need underlayment for all types of tile floors?
While not mandatory for every tile floor installation, underlayment is highly recommended as it provides stability and longevity to your tile floor. It is especially crucial for Areas with high moisture levels or heavy traffic. It helps to prevent cracking and shifting of the tiles over time.
2. Can I install tile directly on top of plywood without underlayment?
While it is possible to install tile directly on plywood, it is not recommended. Plywood has a tendency to expand and contract with changes in temperature and humidity, which can lead to cracks in the tile. Underlayment provides an extra layer of stability and helps to prevent this issue.
3. How do I choose the right thickness for underlayment?
The thickness of underlayment depends on the specific needs of your tile installation. For most applications, a minimum thickness of 1/4 inch is recommended. However, if you have uneven subfloors or are installing larger tiles, you may need a thicker underlayment for added support.
4. Can I reuse underlayment from a previous tile installation?
It is generally not recommended to reuse underlayment from a previous tile installation. The underlayment may have been damaged during the removal process or may not be suitable for your new tile installation. It is best to use new underlayment to ensure a proper and stable foundation for your tiles.
5. Do I need to seal the underlayment before installing tiles?
In most cases, there is no need to seal the underlayment before installing tiles. However, if you are using cement board as your underlayment material, it is recommended to apply a waterproofing membrane over it before tiling in areas prone to moisture, such as bathrooms or kitchens.
6. Can I install underlayment over existing tile flooring?
It is generally not recommended to install underlayment over existing tile flooring. The added height from the underlayment can cause issues with doors, trim, and other elements in the room. It is best to remove the existing tile flooring before installing new underlayment and tiles.
Remember to always follow the manufacturer’s instructions for the specific underlayment material you are using, as different materials may have different installation requirements.