Ceramic kitchen tiles can easily still look amazing few years after you put them up, and the durability of theirs is one of their biggest appeals. Sometimes the glue used to connect the compound to the floor is non-toxic and environment-friendly. It becomes slippery with drops of juice or water. By failing to give much more consideration to the flooring options of yours and selecting the wrong flooring will insure that an otherwise outstanding kitchen will look only average, and be dated sooner.
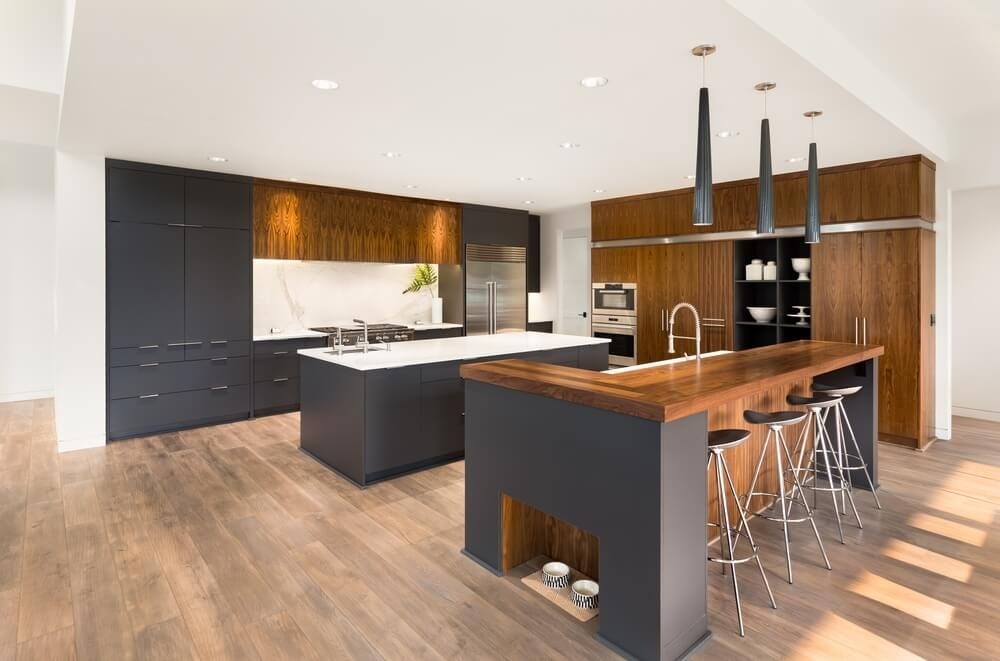
Images about How To Install Wood Flooring In Kitchen
Remodeling the home of yours is often a costly affair and around 4 percent of the whole spending budget on the average will be used up by the price of flooring materials. The very best level of the floor is moisture resistant. The kitchen floor is one of most utilized areas of any home. Take note of the budget of yours for the kitchen floor and you are able to narrow down your search for kitchen floor tiles.
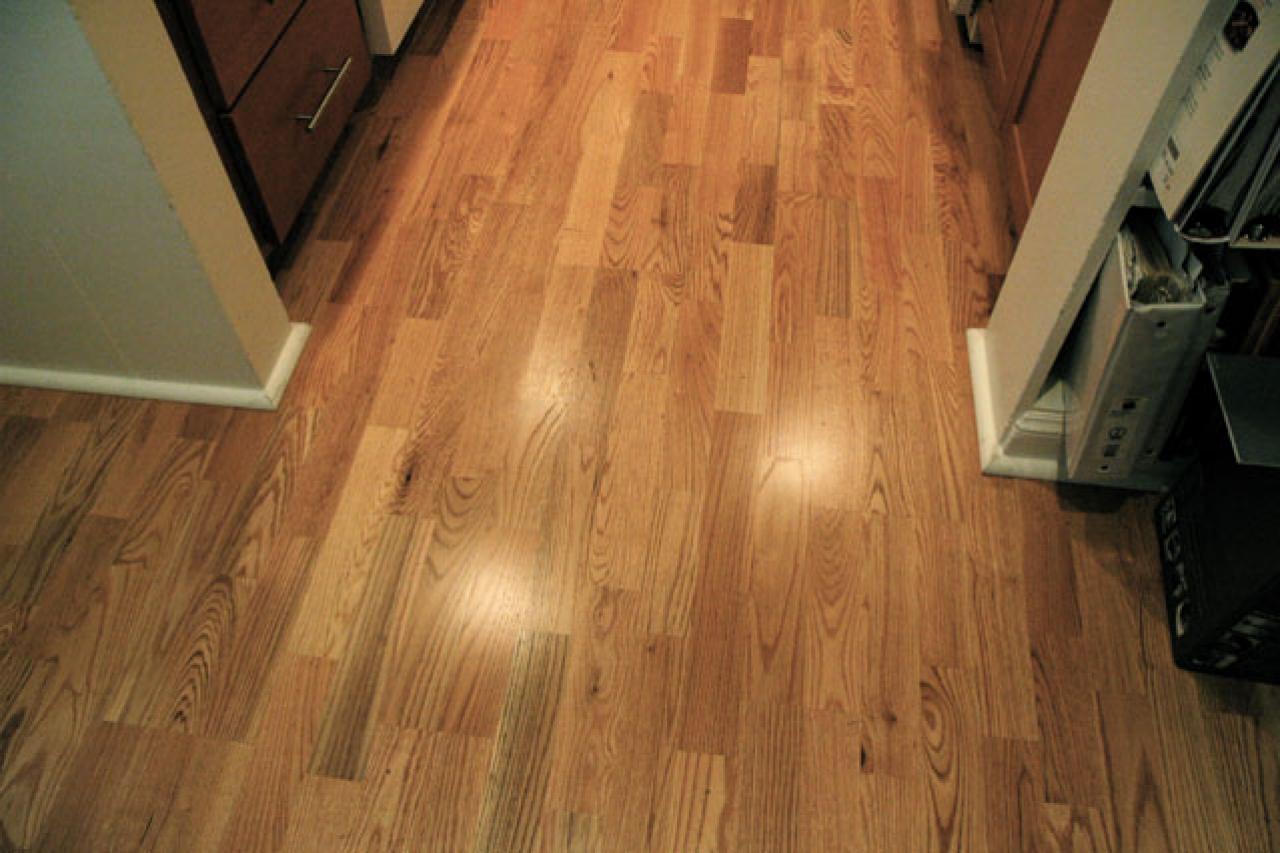
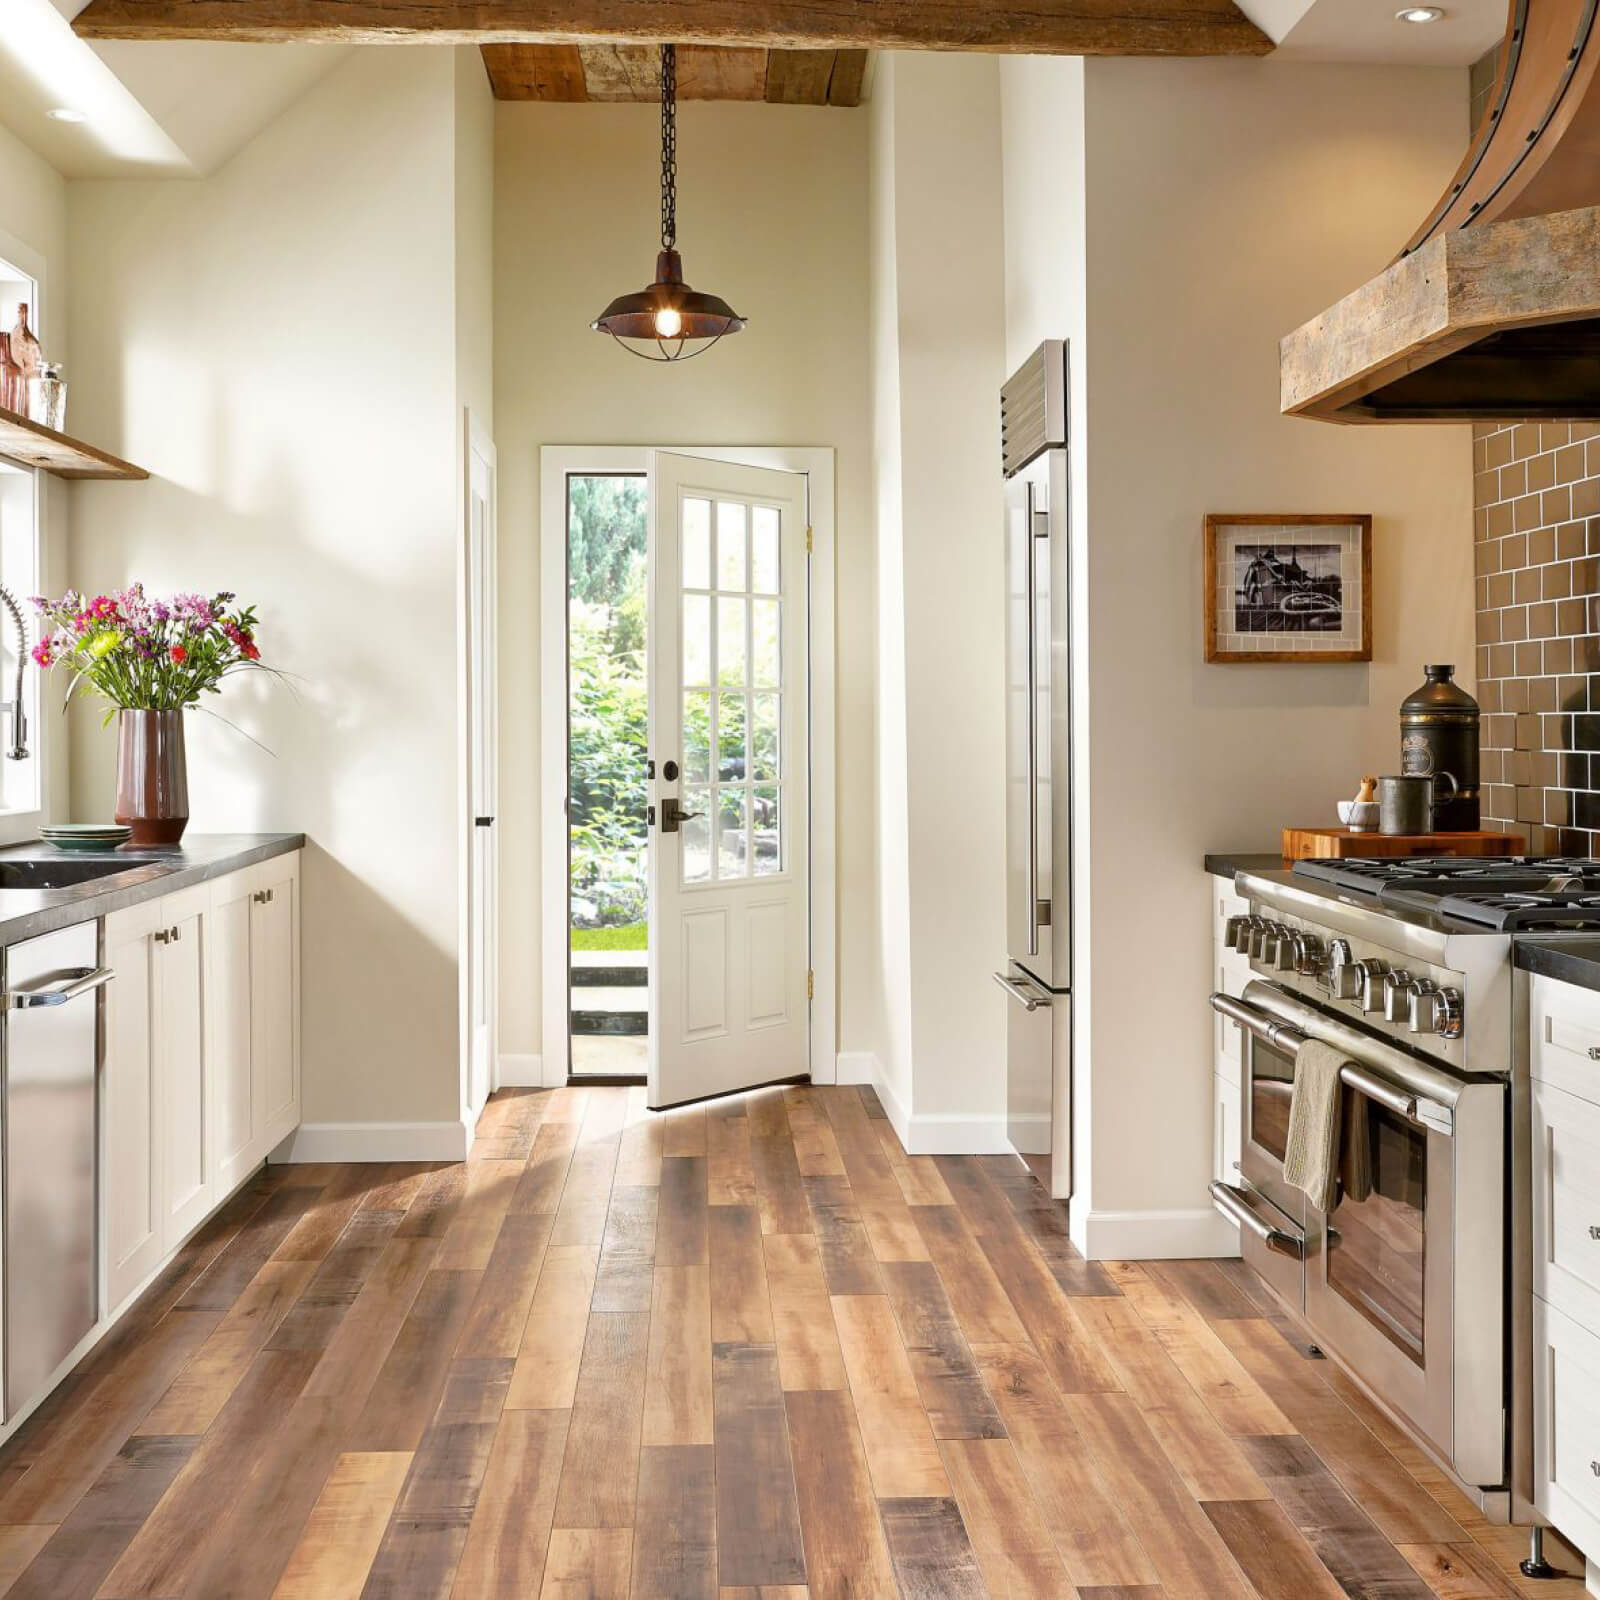
How to Install Hardwood Flooring in a Kitchen HGTV
Nowadays, lots of kitchens have eating spaces developed directly on the counter tops. Whatever sort of flooring content you pick, ensure to do a bit of research for nurturing and maintenance in order to increase its longevity and appearance. Take into account that an effective kitchen floor will significantly increase your kitchen appeal and home value so be sure you choose wisely.
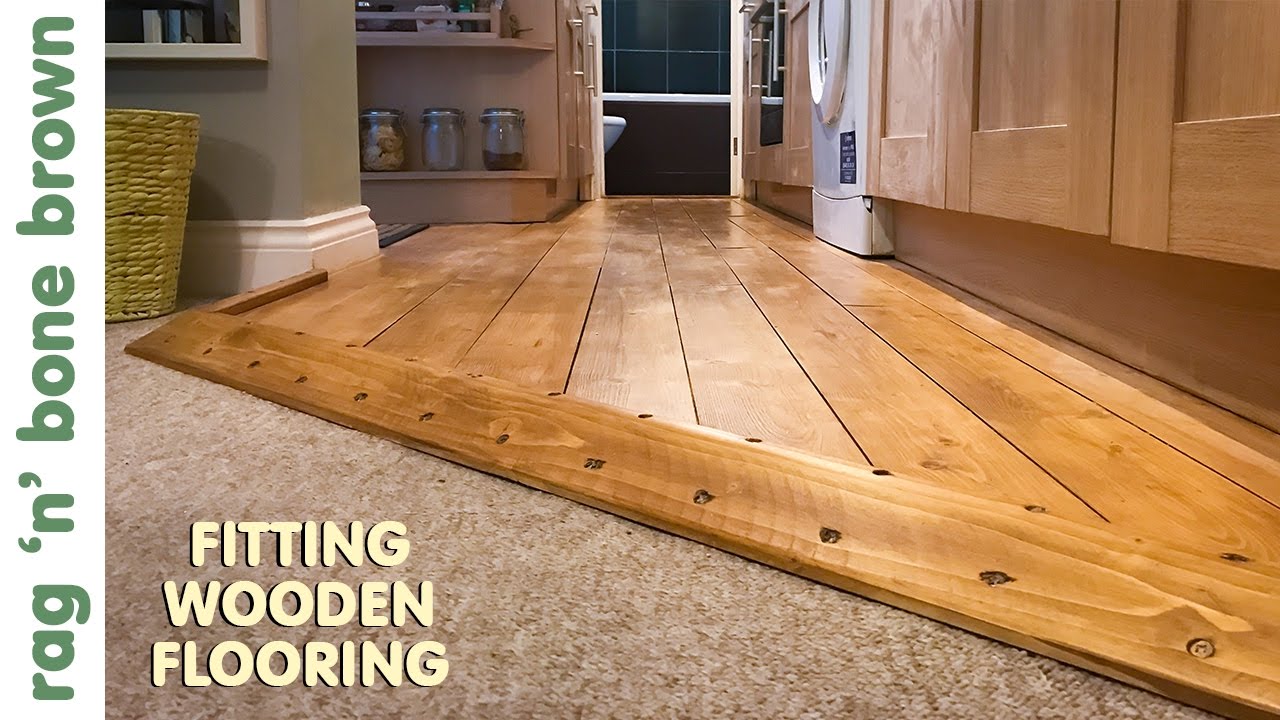
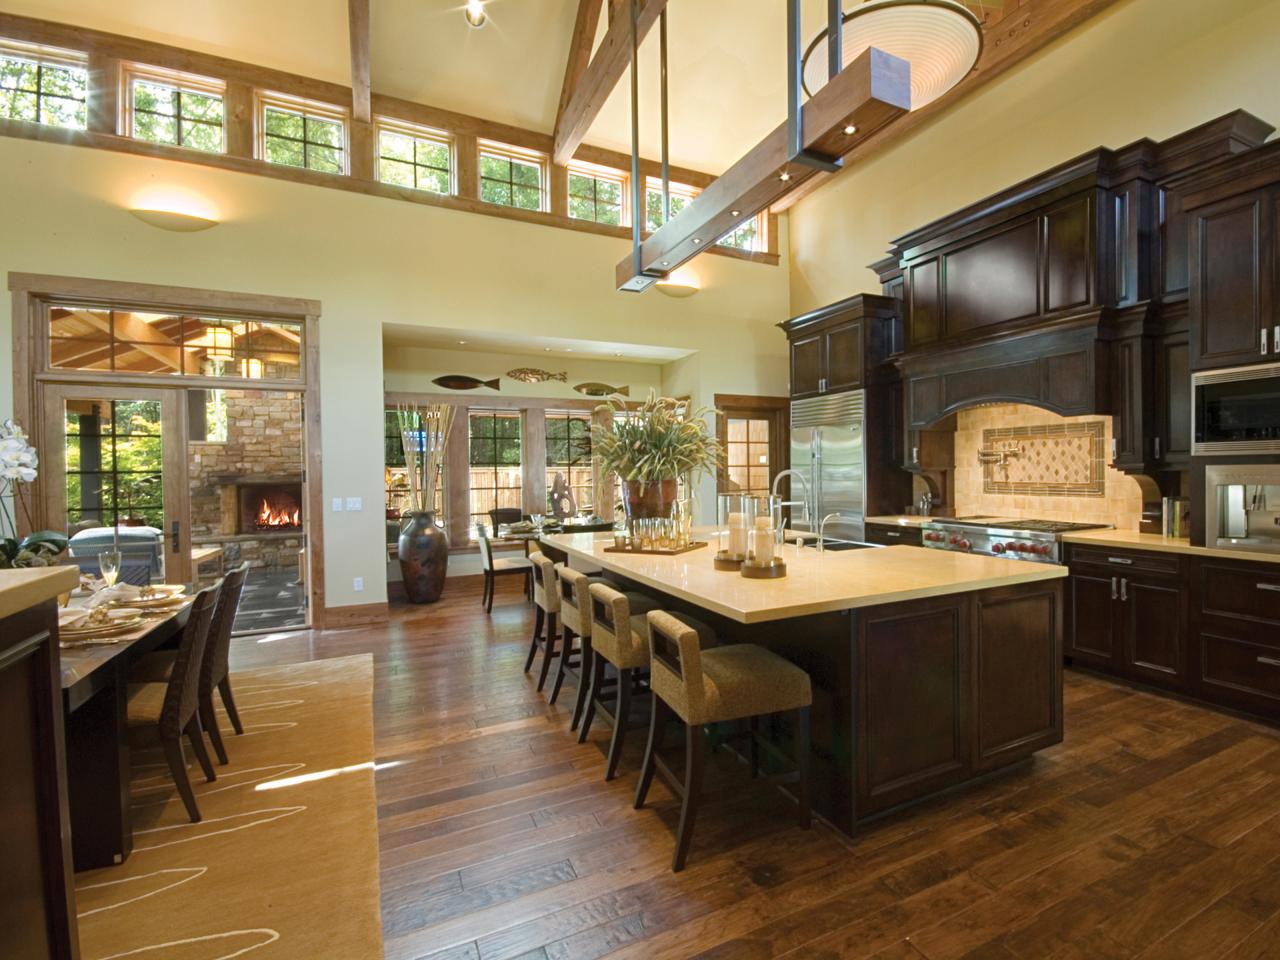
7 Tips for Wood Flooring in a Kitchen – Bob Vila

Installing Kitchen Flooring or Cabinets First? – This Old House
/cdn.vox-cdn.com/uploads/chorus_image/image/66530483/32_cabinets_styles.0.jpg)
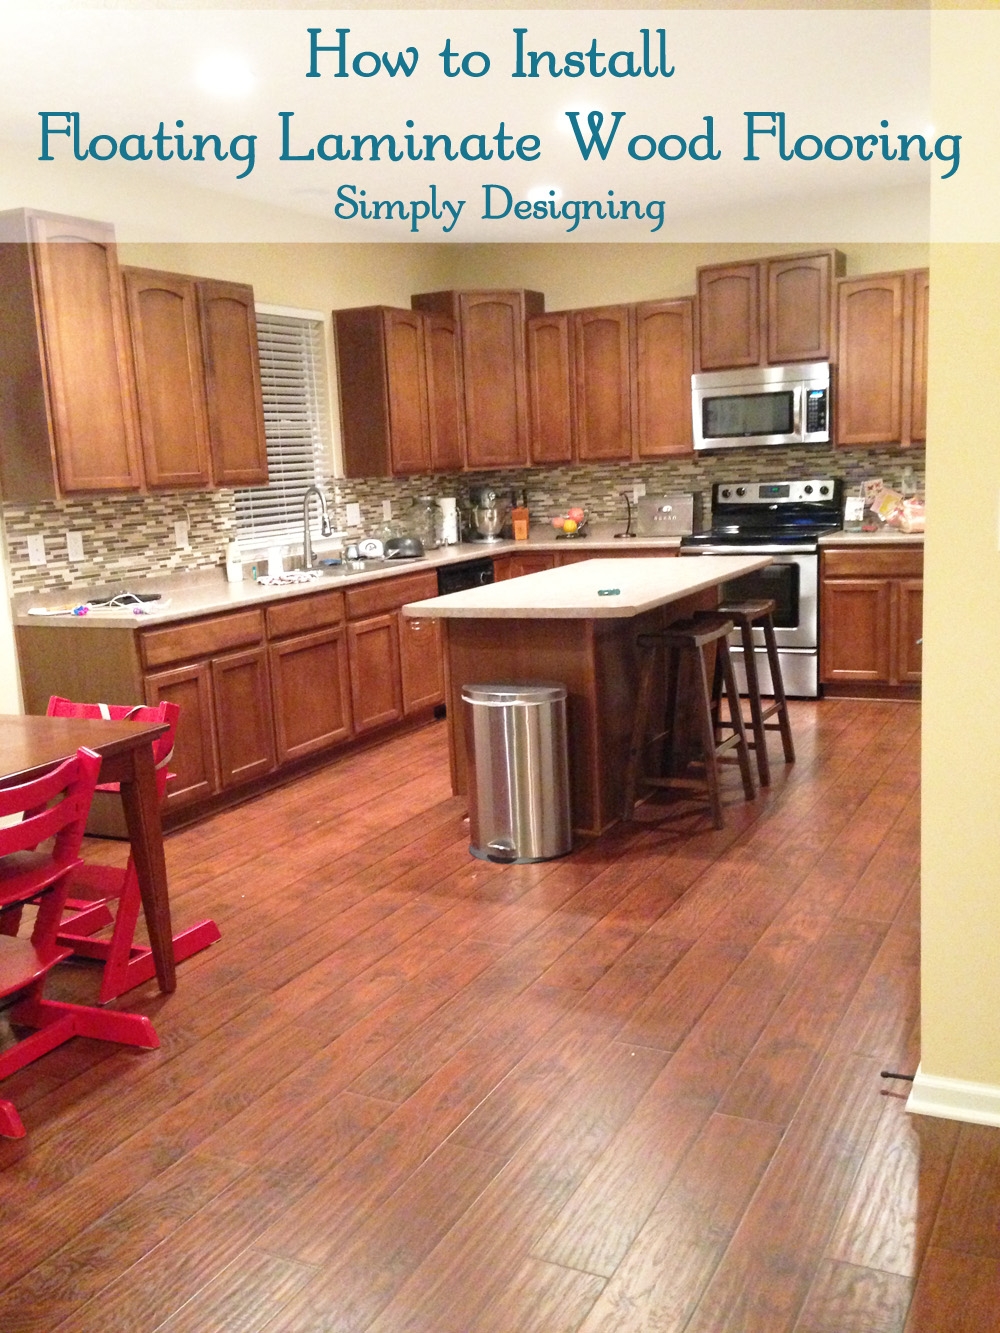
How To Install Floating Wood Laminate Flooring {Part 1}: The
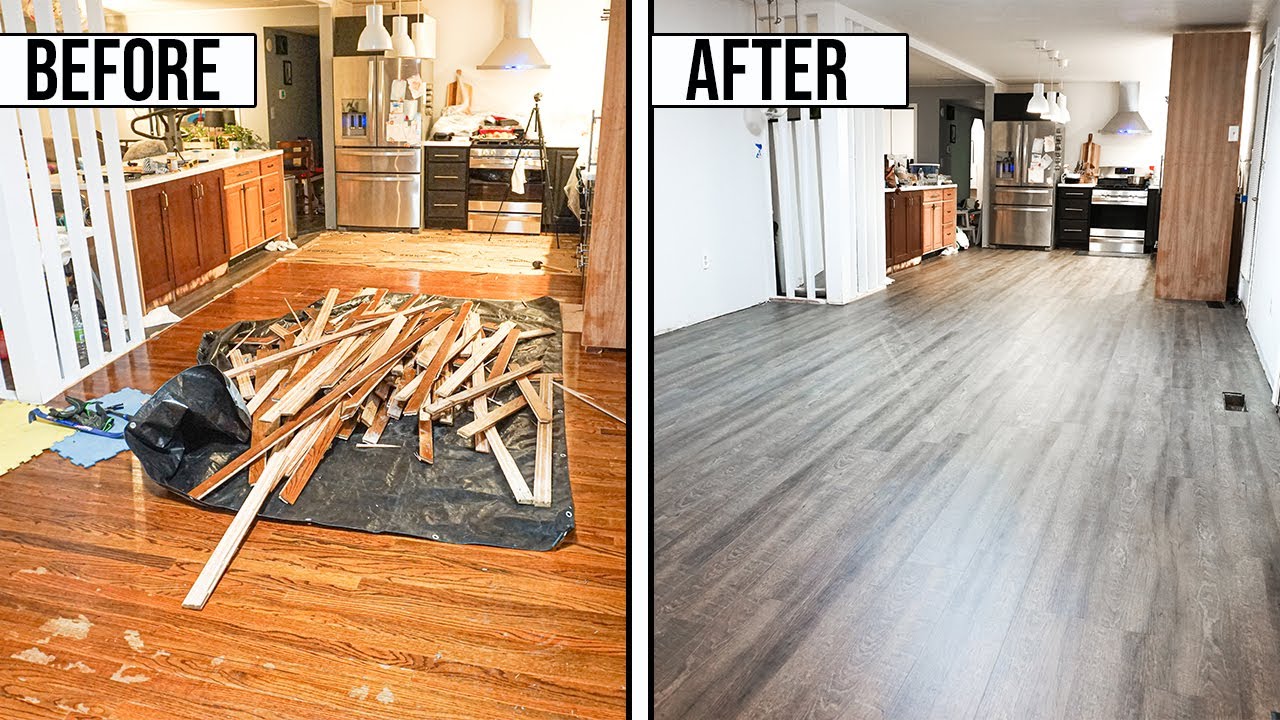
How To Install Vinyl Plank Flooring In A Kitchen And Living Room As A Beginner Home Renovation
7 Tips for Wood Flooring in a Kitchen – Bob Vila

Install Floors or Cabinets First? Kitchen Reno Tips BuildDirect

Should You Use Hardwood Floors in Kitchens and Bathrooms?
Should You Install Hardwood In Your Kitchen? in Buffalo, MN
Hardwood Flooring in the Kitchen HGTV
Solid Hardwood Flooring Installation Costs: Professional vs. DIY
/installing-hardwood-floor-170040982-582b748c5f9b58d5b17d0c58.jpg)
How To Transition Hardwood To Tile/Laminate/Linoleum – Ready To DIY
![]()
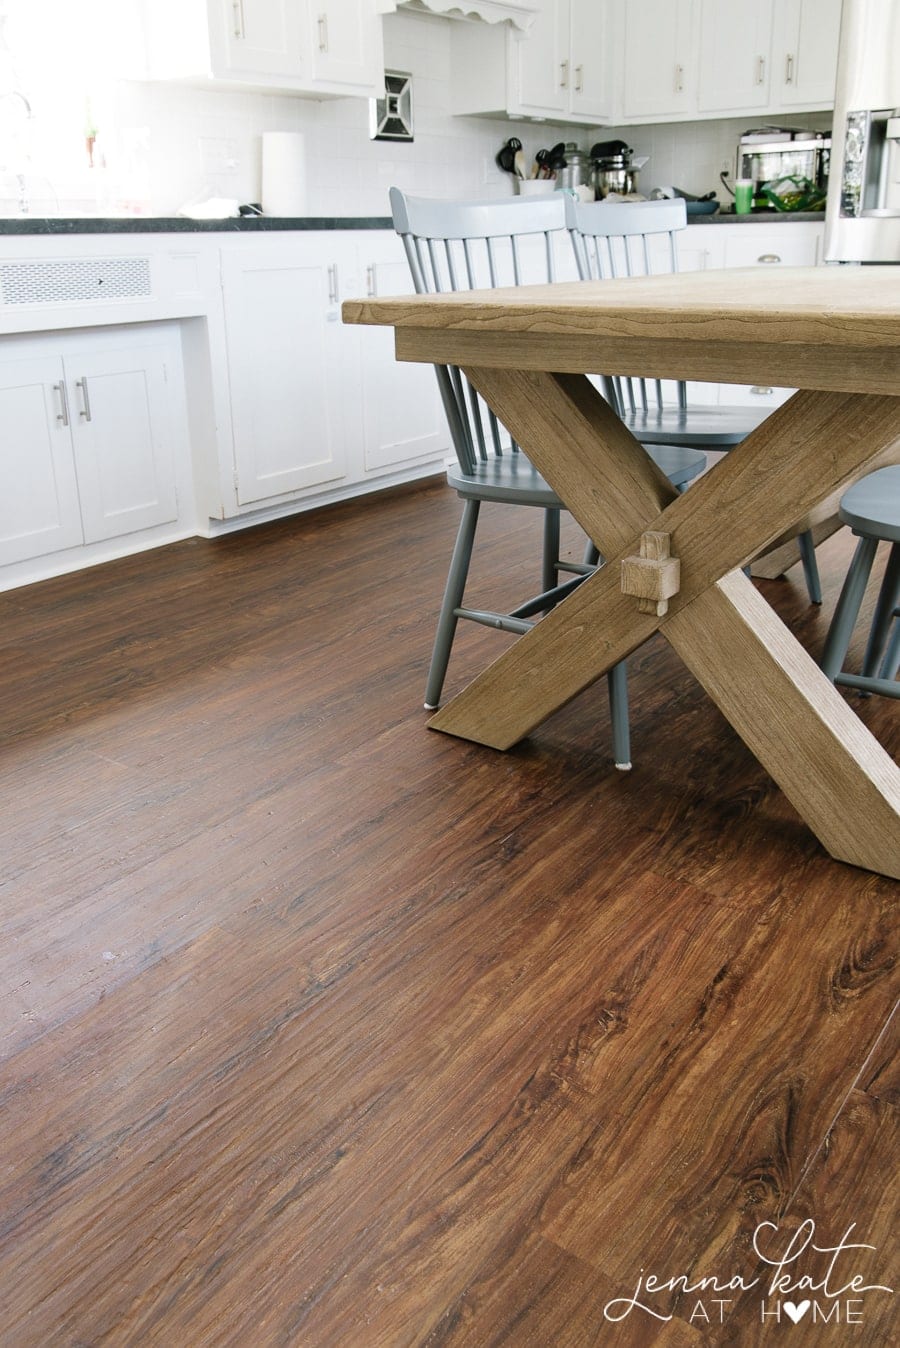
How to Install Luxury Vinyl Plank Flooring – Jenna Kate at Home
Related Posts:
- Wood Floors In Kitchen With White Cabinets
- How To Measure Kitchen Floor For Tile
- Tough Kitchen Flooring
- Kitchen Floor Solutions
- Light Kitchen Tile Floor
- Installing Vinyl Plank Flooring In Kitchen
- Non Slip Kitchen Flooring
- Ctm Kitchen Floor Tiles
- Fancy Kitchen Floor Tiles
- How To Attach Kitchen Island To Floor
How to Install Wood Flooring in the Kitchen
The kitchen is often considered the heart of the home, and installing wood flooring can add warmth and beauty to this important space. While it may seem like a daunting task, with the right tools and knowledge, you can successfully install wood flooring in your kitchen. In this article, we will guide you through the step-by-step process of installing wood flooring in your kitchen, including preparation, installation, and finishing touches.
1. Choosing the Right Wood Flooring
Before you begin the installation process, it’s crucial to select the right type of wood flooring for your kitchen. There are several factors to consider when making this decision:
a) Hardwood vs. Engineered Wood: Hardwood is a solid piece of wood throughout, while engineered wood is made up of multiple layers of real wood veneer glued together. Engineered wood is more resistant to moisture and temperature fluctuations, making it a better choice for kitchens.
b) Species and Grain: Different species of wood have different characteristics, such as hardness and color variation. Consider the overall style and aesthetic of your kitchen when choosing the species of wood. Additionally, decide whether you prefer a straight grain or a more pronounced grain pattern.
c) Finish: You can choose between prefinished or unfinished wood flooring. Prefinished flooring comes with a factory-applied finish, which eliminates the need for on-site staining and sealing. Unfinished flooring allows you to customize the finish according to your preferences.
2. Preparing the Subfloor
Before installing wood flooring in your kitchen, you need to prepare the subfloor properly. Follow these steps:
a) Remove Existing Flooring: If there is existing flooring in your kitchen, such as vinyl or laminate, remove it completely by prying it up with a crowbar or using a floor scraper.
b) Inspect and Repair Subfloor: Thoroughly inspect the subfloor for any damage or unevenness. Fix any loose or squeaky boards and fill any cracks or gaps with a suitable wood filler.
c) Clean the Subfloor: Ensure that the subfloor is clean and free of any debris or adhesive residue. Vacuum or sweep the surface, and if necessary, use a damp cloth to remove stubborn dirt.
d) Moisture Barrier: To prevent moisture-related issues, it is essential to install a moisture barrier. Lay down a plastic sheeting or moisture barrier paper over the subfloor, overlapping the seams by several inches. Secure it in place with tape.
3. Acclimating the Wood Flooring
Proper acclimation of the wood flooring is crucial to ensure its stability and longevity. Follow these steps:
a) Unpack the Flooring: Remove the wood flooring from its packaging and stack it in the room where it will be installed. Leave it for at least 48 hours to acclimate to the temperature and humidity of the space.
b) Maintain Ideal Conditions: During the acclimation period, maintain ideal conditions in the room by controlling temperature and humidity levels. This will help prevent expansion or contraction of the wood once installed.
c) Measure Moisture Content: Use a moisture meter to measure the moisture content of both the wood flooring and the subfloor. The moisture content should be within 2-4% of each other to avoid problems later on.
4. Installing Wood Flooring
Now that you have prepared both the subfloor and wood flooring, you can move on to the installation process:
a) Layout Planning: Start by planning your layout, considering The direction and arrangement of the wood planks. Choose a starting point and determine if you want to install the flooring parallel or perpendicular to the longest wall in the kitchen. Consider the overall aesthetic and flow of the space.
b) Install Underlayment: Depending on the type of wood flooring you have chosen, you may need to install an underlayment. This helps with sound insulation, moisture protection, and cushioning. Follow the manufacturer’s instructions for proper installation.
c) Begin Installation: Start laying the first row of wood flooring along one wall, leaving a 1/2-inch gap between the planks and the wall for expansion. Use a pneumatic flooring nailer or a drill with special flooring nails to secure each plank to the subfloor. Continue installing subsequent rows, making sure to stagger the end joints for a more stable and visually appealing result.
d) Trim and Cut: As you reach the edges of the kitchen or encounter obstacles like cabinets or doorways, you may need to trim or cut the wood planks accordingly. Use a miter saw or a circular saw for accurate cuts.
e) Finishing Touches: Once all the wood flooring is installed, fill any remaining gaps between planks with wood filler. Sand down any rough edges or imperfections using a floor sander or sanding block. Finally, apply your chosen finish according to the manufacturer’s instructions.
5. Caring for Wood Flooring
To maintain the beauty and longevity of your wood flooring in the kitchen, follow these care instructions:
a) Regular Cleaning: Sweep or vacuum your wood flooring regularly to remove dirt and debris that can scratch its surface. Use a damp cloth or mop with a mild wood floor cleaner for deeper cleaning.
b) Avoid Excessive Moisture: Wipe up any spills or liquid immediately to prevent moisture damage. Avoid using excessive water or wet mops when cleaning, as it can seep into the wood and cause warping or swelling.
c) Protect from Scratches: Place felt pads under furniture legs to prevent scratches. Use rugs or mats in high-traffic areas or near the sink to protect the wood flooring from wear and tear.
d) Refinishing: Over time, your wood flooring may show signs of wear. Consider refinishing it to restore its original beauty. Consult a professional for this process.
By following these steps and caring for your wood flooring properly, you can enjoy a beautiful and durable kitchen floor that adds warmth and elegance to your space.