Tiles are also really easy to keep. Many people neglect to make difference between the 2. Stay away from sleeping arms or hands on the tile you have set. Now you realize about ceramic tile floor fresher. This's because the houses which use tile flooring are definitely more appealing & durable. A hand held steam cleaner may be one of the best options.
Images about How To Layout Diagonal Tile Floor

Several of the stronger tile floors available on the market are actually the linoleum ones. You can set up a floor mat but this particular won't be very easy to clean or keep in the long run. 99 % of the most dangerous pathogens from tiled floors. A via wash of the tiles with a few warm water plus cleaner will make sure an excellent glow. Larger tiles can additionally be used in bigger spaces. Always wear safety goggles when you're using tiles.
Ceramic Tile Diagonal Kitchen Floor
Selecting for the right style will make your home appear spectacular. It can be purchased in all sorts of manufactured and all-natural looks, and a lot of different sizes. You next want to give consideration to how you will cut the tiles for corners, edges, as well as any other specific situations. Floor tile floors work for should lost for a long time in case they are cleaned on a regular schedule.
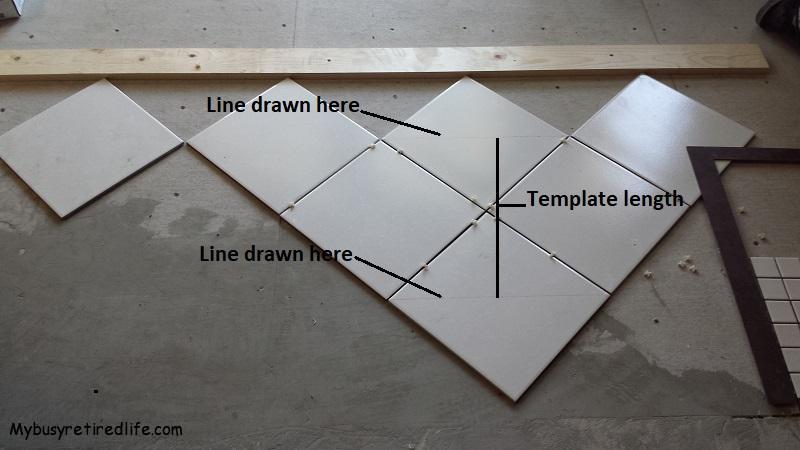
How to Template for Diagonal Tile Cuts · My Busy Retired Life
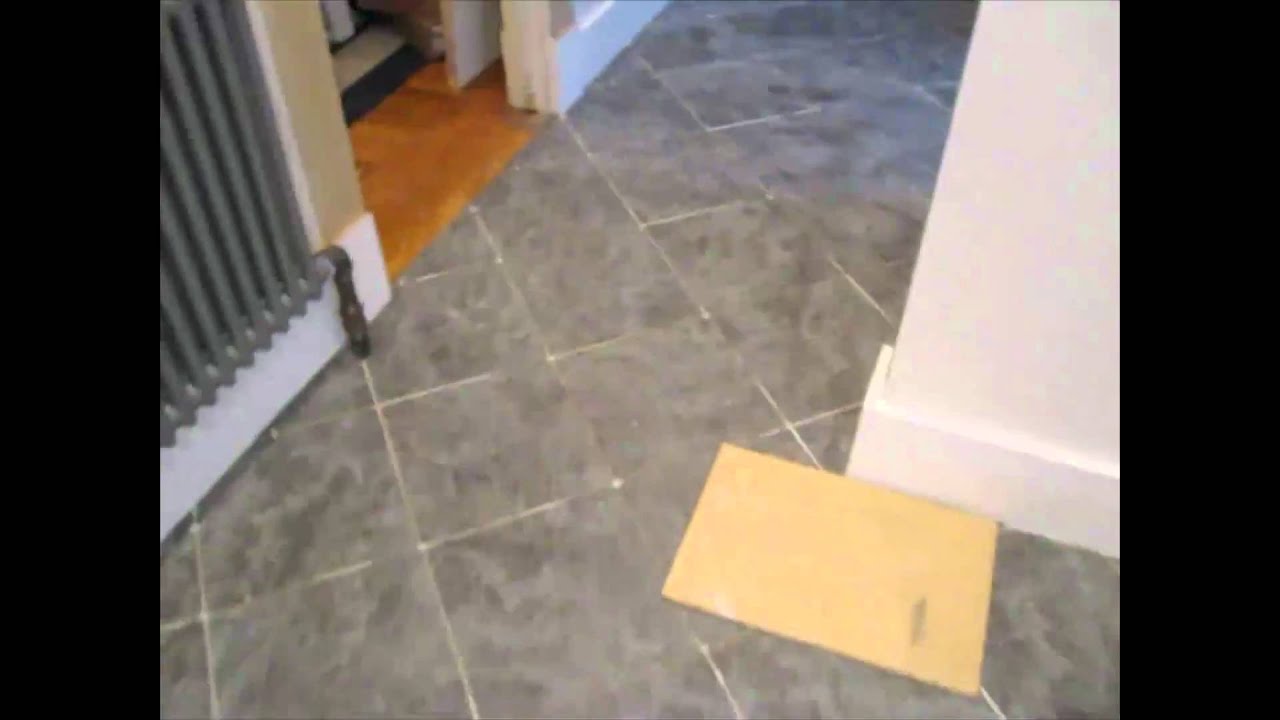
Diagonal Tile Floor Installation Roberts Tile 562-421-2526

Diagonal tile Kitchen floor rip out to finish Time lapse

How to Lay a Diagonal Floor Tile Pattern BuildDirect® Learning

How to Lay Tiles Diagonally eHow How to lay tile, Floor tile

Easy way to Measure and mark ceramic tile for diagonal and diamond pattern cuts
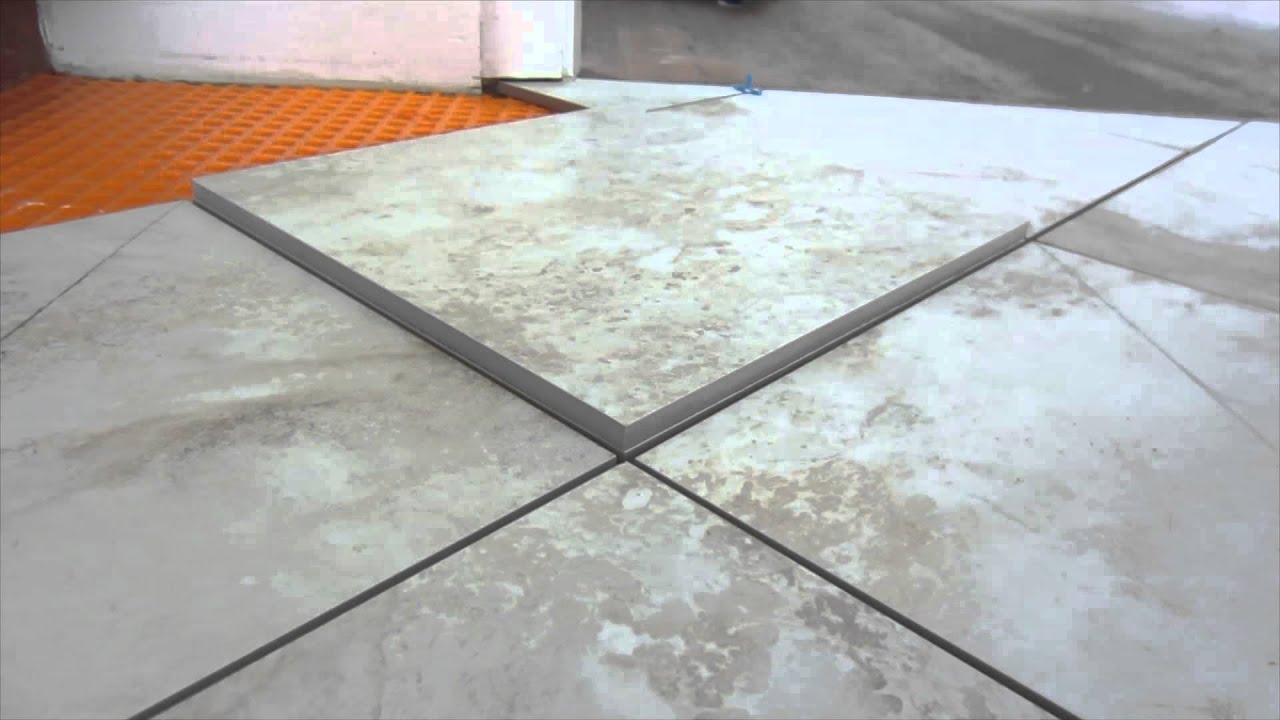
How to Lay a Diagonal Floor Tile Pattern BuildDirect® Learning

Layout for a tiling with a diagonal pattern (floor, family room
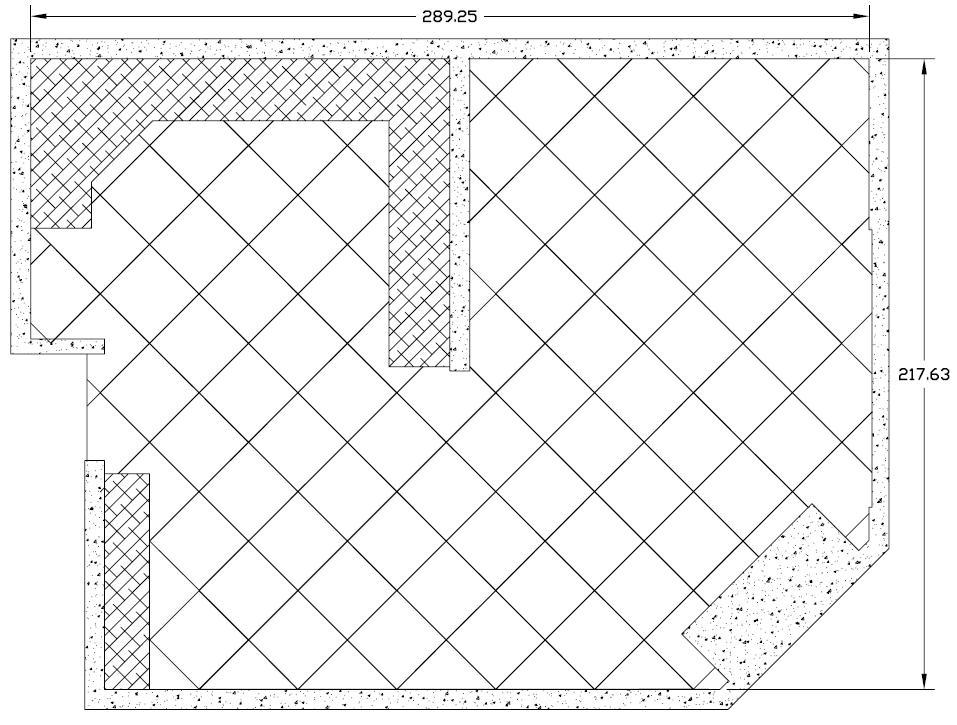
Diagonal layout of floor tile in kitchen – Ceramic Tile Advice
diagonal or straight line layout of floor tiles?
Reasons for Using Diagonal Tile Layout in Your Bathroom Floor

Improve Any Room With These 15 Easy Ceramic Floor Tile Ideas Why

Related Posts:
- How Do You Strip Wax Off A Tile Floor
- Kentile Floors Brooklyn
- Remove Tile Floor Machine
- What’s Good To Clean Tile Floors
- How To Remove Dried Grout From Tile Floor
- How To Clean Grout On Tile Floors White
- How To Replace Ceramic Tile Floor
- Long Plank Tile Flooring
- How To Clean Scuff Marks Off Tile Floors
- Diy Mosaic Tile Floor
How to Layout a Diagonal Tile Floor
A diagonal tile floor can add a touch of elegance and sophistication to any space. Whether you are renovating your bathroom, kitchen, or even your entire home, laying tiles diagonally can create a visually appealing and unique pattern. However, it requires careful planning and precise execution to achieve the desired result. In this article, we will guide you through the step-by-step process of laying a diagonal tile floor, from preparation to installation.
1. Preparing the Subfloor
Before you begin laying the tiles, it is crucial to prepare the subfloor properly. Start by removing any existing flooring, such as carpet or vinyl tiles. Ensure that the subfloor is clean, dry, and level. Use a leveling compound to fill in any cracks or depressions in the floor. This will ensure that the tiles adhere properly and prevent any future issues such as cracking or shifting.
FAQ: Do I need to remove the baseboards before installing a diagonal tile floor?
Answer: It is not necessary to remove the baseboards before laying a diagonal tile floor. However, if you prefer a seamless look or plan on replacing the baseboards, it is recommended to remove them.
2. Measuring and Marking
Proper measurement and marking are essential for achieving an accurate layout for your diagonal tile floor. Start by finding the center point of the room using a measuring tape. Mark this point with a chalk line running from one wall to another.
Next, determine the angle at which you want to lay the tiles diagonally. The most common angles are 45 degrees or 60 degrees. To find the starting point for your tiles, measure from the centerline along one of the walls at a 90-degree angle based on your chosen angle (e.g., if using a 45-degree angle, measure halfway between two chalk lines).
Once you have determined the starting point, snap another chalk line from this point to the opposite wall. This line will serve as a guide for laying the first row of tiles.
FAQ: Can I use a different angle for my diagonal tile floor?
Answer: While 45 degrees and 60 degrees are the most common angles for a diagonal tile floor, you can choose any angle that suits your aesthetic preferences. Keep in mind that using a different angle may require more precise cutting of tiles to fit the space properly.
3. Dry Fitting the Tiles
Before applying adhesive, it is essential to dry fit the tiles to ensure they fit properly and create an aesthetically pleasing pattern. Start by placing a row of tiles along the chalk line you snapped in the previous step. Make sure to leave room for grout lines between each tile.
If necessary, adjust the starting point or angle slightly to achieve an even distribution of cut tiles along the edges of the room. This will help create a balanced and visually appealing look.
Once you are satisfied with the dry fit, take note of any areas where you need to cut tiles to fit irregular spaces or fixtures. Use a tile cutter or wet saw to make precise cuts, ensuring a perfect fit.
FAQ: Do I need spacers when laying a diagonal tile floor?
Answer: Yes, it is crucial to use tile spacers when laying any type of tile floor, including diagonal layouts. Spacers help maintain consistent spacing between tiles, ensuring uniformity and allowing space for grout.
4. Applying Adhesive and Setting Tiles
After dry fitting the tiles, it’s time to apply adhesive And set the tiles in place. Start by spreading a layer of thin-set adhesive on the floor using a notched trowel. Make sure to work in small sections to prevent the adhesive from drying out before you can set the tiles.
Begin setting the tiles along the chalk line, pressing them firmly into the adhesive and twisting slightly to ensure proper adhesion. Use tile spacers to maintain consistent spacing between tiles.
Continue setting tiles in small sections, working your way across the room. Make sure to periodically check that the tiles are level and adjust as needed.
FAQ: Can I use a different type of adhesive for my diagonal tile floor?
Answer: It is recommended to use thin-set adhesive for laying a diagonal tile floor. Thin-set adhesive provides a strong bond and flexibility, which is important for accommodating any slight movement or shifting that may occur over time.
5. Grouting and Finishing
Once all the tiles are set in place and the adhesive has had time to cure according to the manufacturer’s instructions, it’s time to grout. Mix the grout according to the manufacturer’s instructions and apply it using a grout float, working it into all the spaces between tiles.
After applying the grout, wipe off any excess with a damp sponge, being careful not to remove too much grout from between the tiles. Allow the grout to cure according to the manufacturer’s instructions.
Once the grout is fully cured, apply a grout sealer according to the manufacturer’s instructions. This will help protect your grout from stains and make it easier to clean in the future.
FAQ: How long does the adhesive and grout need to cure before I can walk on my diagonal tile floor?
Answer: The curing time for adhesive and grout can vary depending on the specific products used. It is best to refer to the manufacturer’s instructions for recommended curing times. In general, adhesive may need 24-48 hours to cure, while grout may need 72 hours or more before it is fully cured and ready for foot traffic.