You are able to discover much more on basement flooring choices by going on the internet and performing an easy search. The problem most people have is really what sort of flooring is best? Here is a look at several of the more prevalent options to help you provide you with plenty of help. A lot of houses have used concrete for the basement floors of theirs as it is durable.
Images about How To Pour A Concrete Floor In Basement
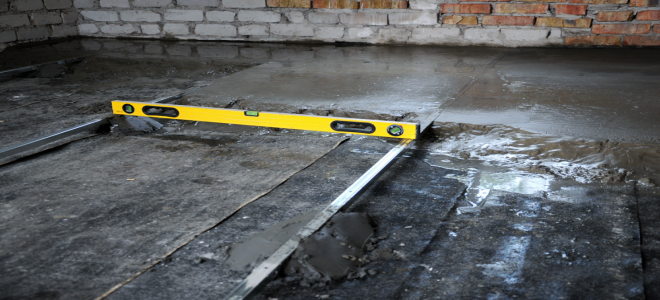
Basement flooring has come a long way and your basement no longer has to be a room to be avoided. But if you notice water droplets you are going to need to contend with this trouble prior to proceeding further. By no means take anything for granted but handle the basement flooring exercise with the seriousness it deserves. Be sure to look for moisture difficulties before installing any flooring to stay away from problems.
Pouring the Basement Slab – YouTube

Basement flooring covering is actually among the final issues you think of when finishing a downstairs room. These include layers of composite materials, various rubbers and connectible flooring units and more. This is why getting your basement tested for dampness accumulation is crucial to the correct functioning of the brand new flooring you want to have installed.
Pour Basement Concrete Slab For New Home icreatables.com

How to Pour a Concrete Floor EasyMix Concrete UK Ltd
Fixing a Concrete Basement Floor American Dry

how to pour a concrete basement floor Archives – Maple Concrete

Basement Waterproofing – Waterproofing and Floor Pour in Rehoboth
Fixing a Concrete Basement Floor American Dry
pouring basement floor 2017

How to Remodel a Dirt Basement Floor DoItYourself.com
bathroom – How do I pour concrete over basement plumbing? – Home

Construction Update: Pouring the New Basement Floor Green u0026 Main

Pouring A New Basement Concrete Floor 32u0027 x 32u0027 (New Home)

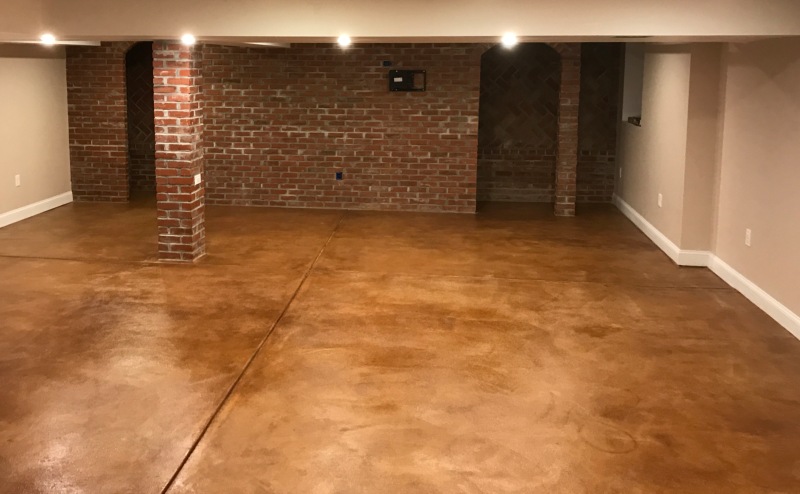
A Guide to Stained Concrete Basement Floors
Related Posts:
- How To Stop A Basement Floor From Leaking
- Epoxy Basement Floor Ideas
- How To Clean Unfinished Basement Floor
- Painting Your Basement Floor
- How To Pour A Concrete Floor In Basement
- Small Floor Plans With Basements
- Remove Paint From Concrete Floor Basement
- Best Way To Clean Basement Floor
- How To Remove Carpet Glue From Concrete Basement Floor
- Free Basement Floor Plans
How To Pour A Concrete Floor In Basement: A Step-by-Step Guide
Pouring a concrete floor in the basement of your home is a great way to add durability and value. Not only does it make the area look more attractive, but it also protects against moisture and other environmental elements. It can be intimidating to take on such a large project, but with some careful planning and preparation, you can get the job done right. This guide will walk you through each step of pouring a concrete floor in the basement, from gathering materials to sealing the surface.
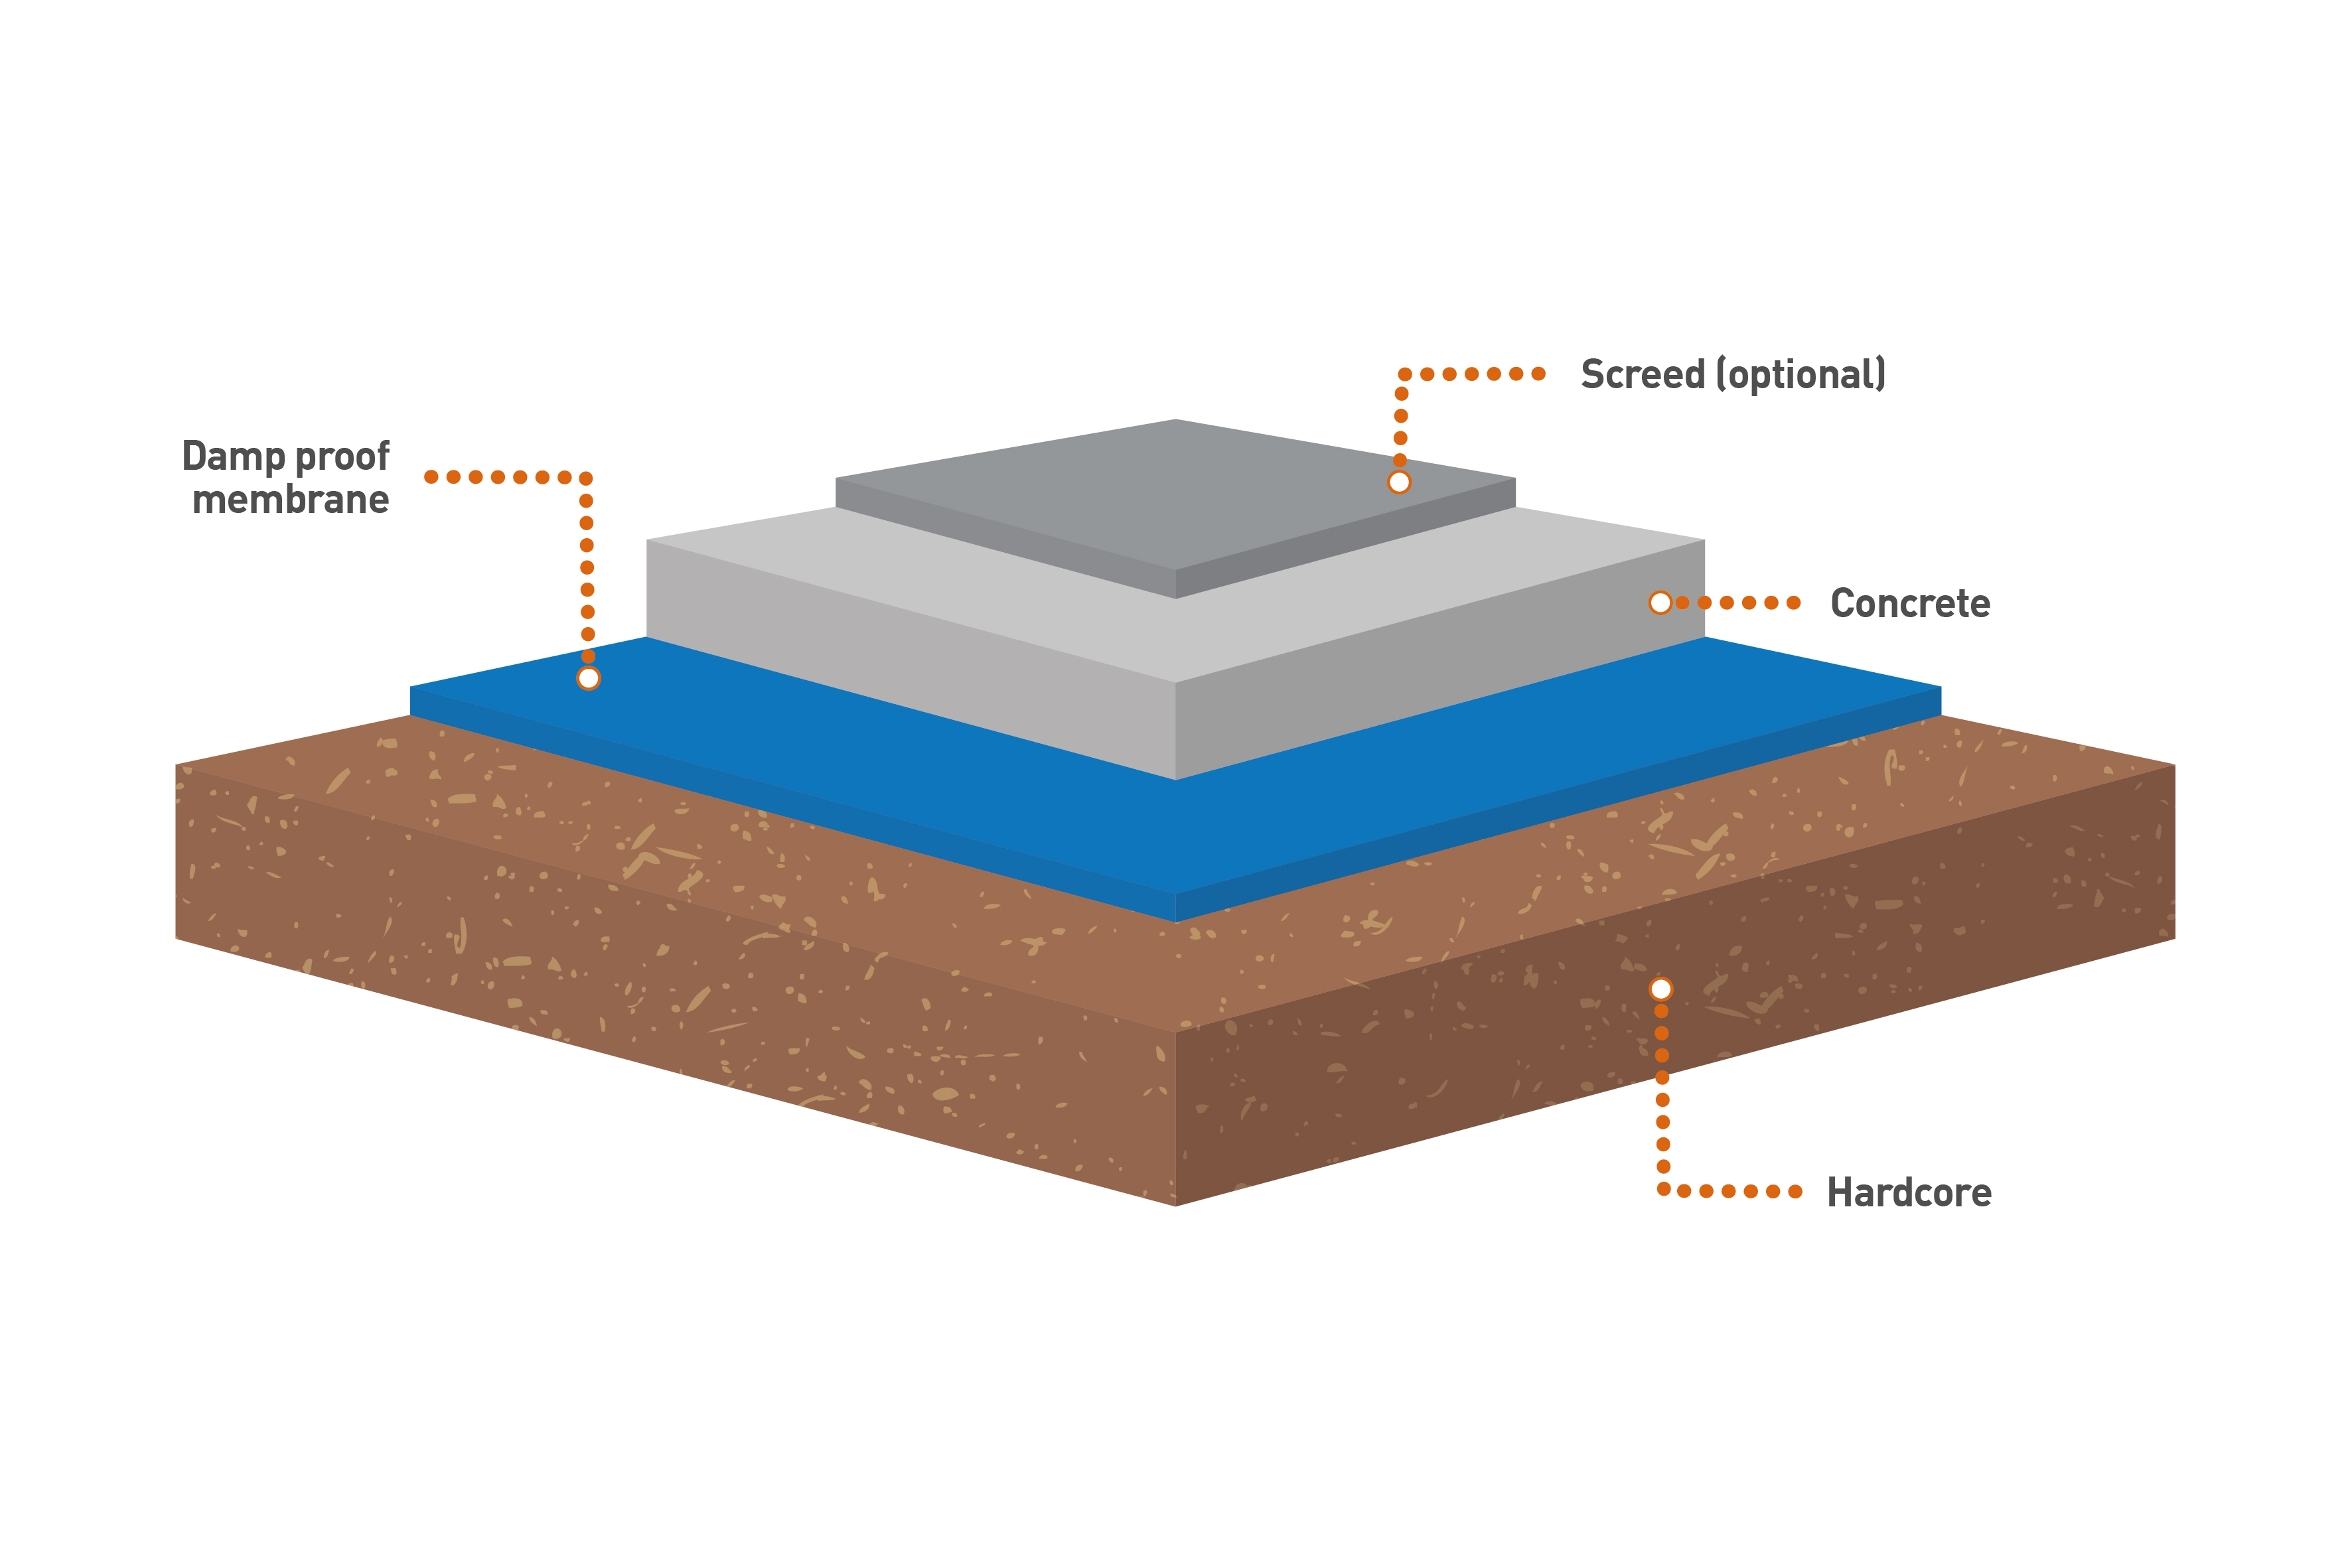
Preparing the Basement for Pouring Concrete
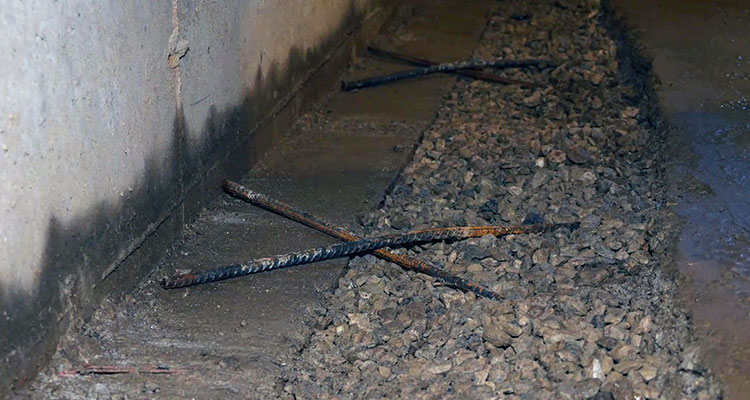
The first step in pouring a concrete floor in the basement is preparing the area for the pour. You’ll need to make sure that all existing debris is removed and that any loose soil or gravel is leveled out. If there are any pipes or wiring running through your basement, take extra care to ensure they are secure and won’t be damaged during the pour. Also, you’ll need to make sure that there is a way to access the basement after the pour has been completed – this could mean removing any stairs or ladders leading down into the area. Finally, lay down plastic sheeting over any areas that could be affected by water or debris during the pour.
Gathering Materials for Pouring Concrete
Once your basement is adequately prepared, you can begin gathering materials for the pour. First, you’ll need to purchase bags of concrete mix – depending on how large your basement is, you may need several bags. You’ll also want to purchase wheelbarrows and trowels for mixing and smoothing out the concrete. Finally, if you plan on staining or sealing your concrete floor after the pour, now would be a good time to gather those materials as well.
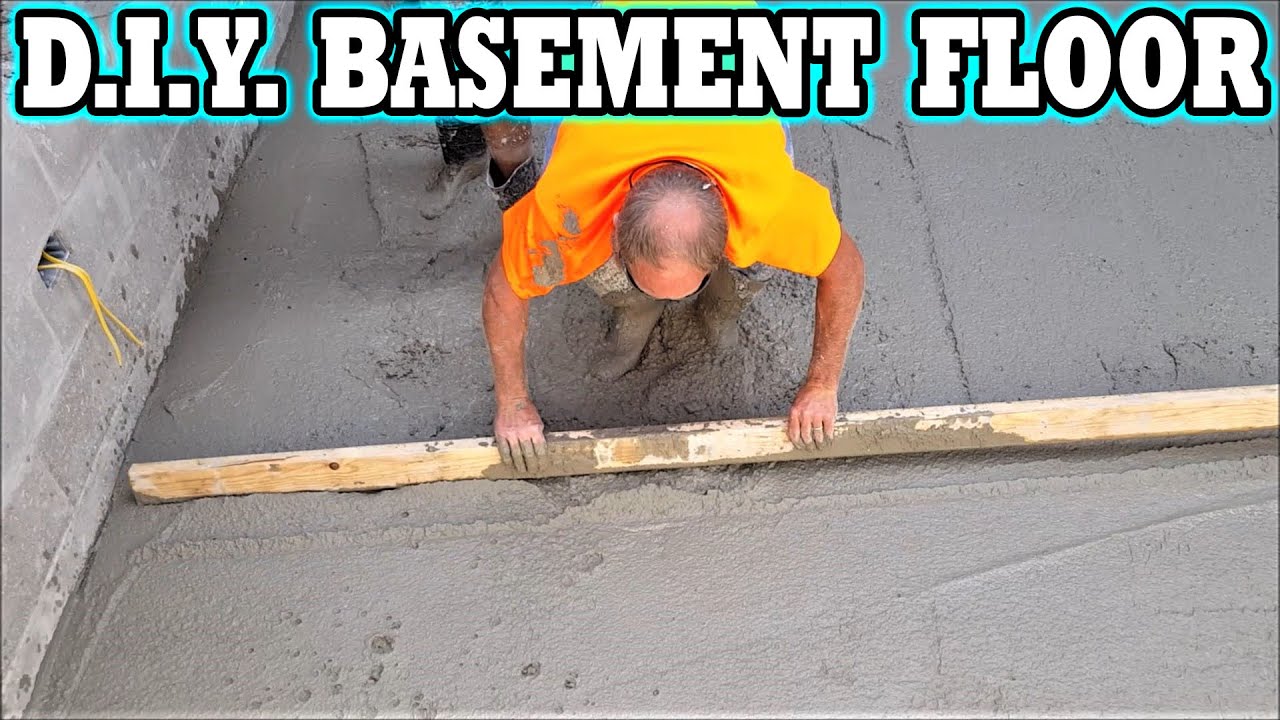
Mixing and Pouring Concrete
When you’re ready to begin pouring your concrete floor, start by mixing up enough batches of concrete mix in wheelbarrows according to the instructions on each bag. When each batch has been thoroughly mixed, carefully pour it into your prepared basement space – try not to splash it too much as this can create air bubbles in your finished floor! Once all of your batches have been poured, use a trowel or other flat tool to smooth out any bumps or divots left by your pour – be sure not to leave any rough edges or holes!
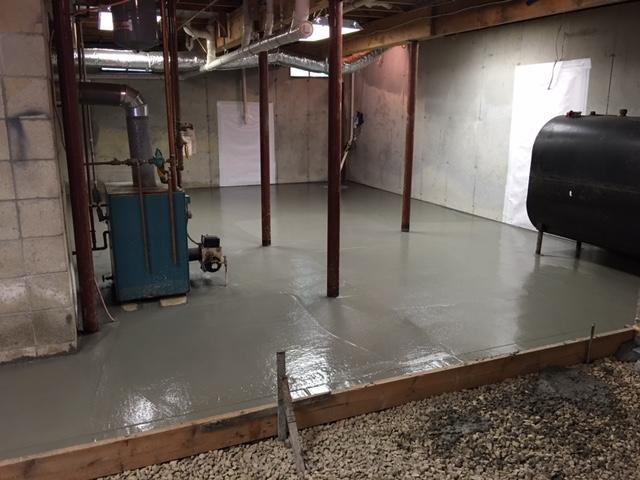
Curing Concrete Floor
After you’ve finished smoothing out your concrete floor, it’s time for the curing process. This involves keeping your newly poured concrete moist so that it cures properly – this helps ensure that it will be stronger and less likely to crack once dry. The easiest way to do this is by laying down damp burlap sacks over your freshly poured floor and leaving them for at least three days before uncovering them. This process should be repeated every few days until your concrete has fully cured – typically this takes about two weeks.
Sealing Your Concrete Floor
Once your concrete has fully cured, it’s time for sealing! Sealing helps protect against water damage and other environmental elements while also giving your new floor an attractive finish. Start by cleaning Your floor thoroughly with a vacuum and damp cloth, then use a roller or brush to apply the sealant – make sure to follow the instructions on the sealant’s packaging for best results. After your sealant has fully dried, you’re ready to enjoy your new concrete floor!
What type of concrete should I use to pour a basement floor?
The type of concrete you should use to pour a basement floor depends on several factors, including how much weight will be placed on the floor, the soil type and conditions, and the existing moisture levels. It is best to consult with a local concrete contractor to determine what type of concrete will work best for your specific project.What is the difference between regular concrete and rapid set concrete?
Regular concrete takes approximately 24-48 hours to set and become hard enough to walk on, while rapid set concrete can harden in as little as 15 minutes. Rapid set concrete is also more expensive than regular concrete, and tends to be less durable.What are the advantages and disadvantages of rapid set concrete?
Advantages:1. Rapid set concrete is typically ready to use within 30 minutes, meaning that you can complete construction projects more quickly than with traditional concrete.
2. It is highly durable and can be used in a variety of applications where quick strength is required, such as patching potholes or repairing cracks in roads.
3. It has excellent compressive strength, making it ideal for use in heavy-duty applications.
4. It has low shrinkage and offers superior water and abrasion resistance when compared to traditional concrete.
5. It requires minimal maintenance and can last for many years with proper care.
Disadvantages:
1. Rapid set concrete is more expensive than traditional concrete, and may not be cost-effective for large projects.
2. It is not suitable for use in freeze/thaw climates since it may crack in cold temperatures.
3. Poorly mixed rapid set concrete may not achieve the desired level of strength or durability, so proper mixing techniques must be used to ensure optimal results.