Wood Flooring is becoming more popular indoors all over the world. Lots of people choose a flooring material entirely based on looks. Custom designs like include strips, medallions, accents and borders are ideal for foyers or entry areas because these are formal places. Distressed or aged flooring, the distinct collections of parquet flooring, there is engineered wood flooring and strip floors as well as mosaic panels and end feed wood block floors.
Images about How To Put Wood Flooring On Walls
Avoid the hassle, costly errors and mess by getting your Austin wood floors professionally maintained by a professional nationwide business as Kiwi Services in the identical time that you've the carpets cleaned. Not all floors are created equal, and only some possess the same intended use. Furthermore, wood floors improve the importance of a house and are therefore a purchase.
How to Horizontally Install Pergo Laminate Flooring On Your Walls
Due to the point that there are a lot of wood species and finish options available, it becomes a outstanding eco-friendly selection for almost any person. On the opposite hand, the engineered flooring is made of levels of thin pieces of hardwood. You have to understand the terminology used for describing wood flooring and exactly how different specifications affect the overall performance of the flooring.
Flooring on the Wall The Home Depot

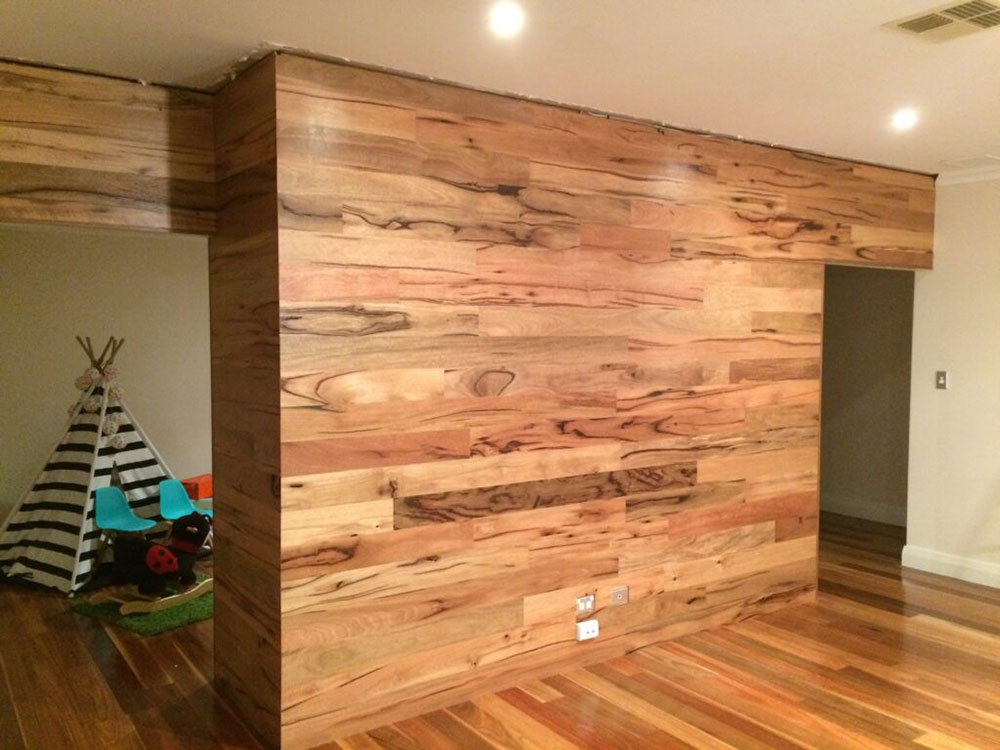
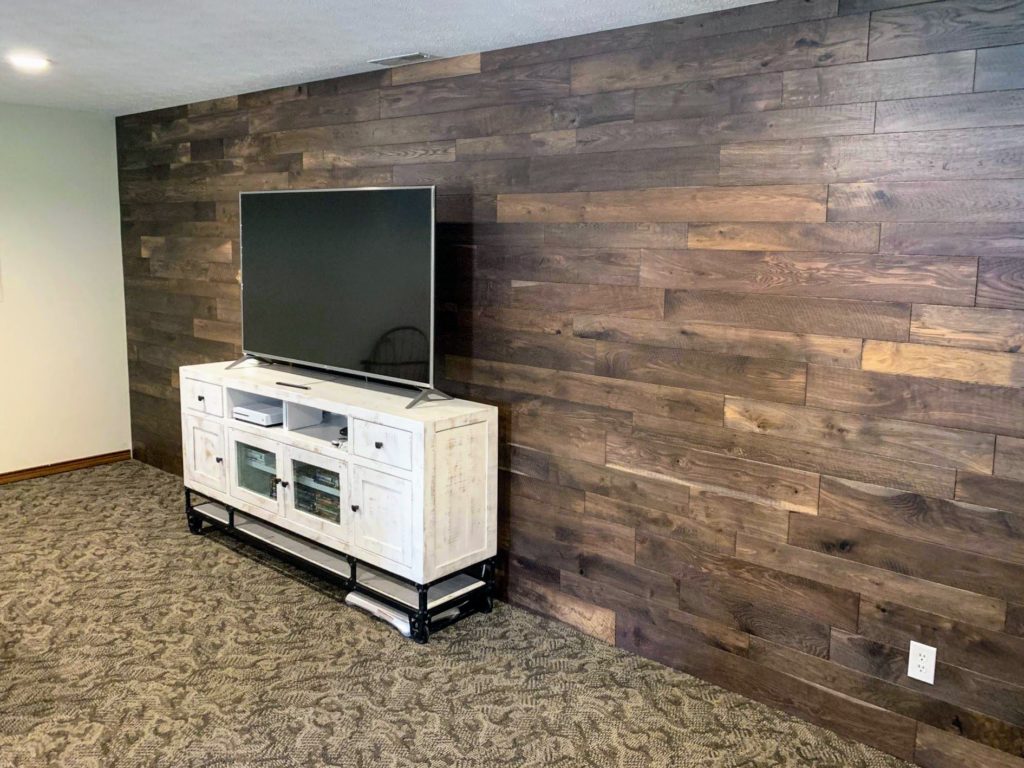
How To Install a Wood Flooring Feature Wall

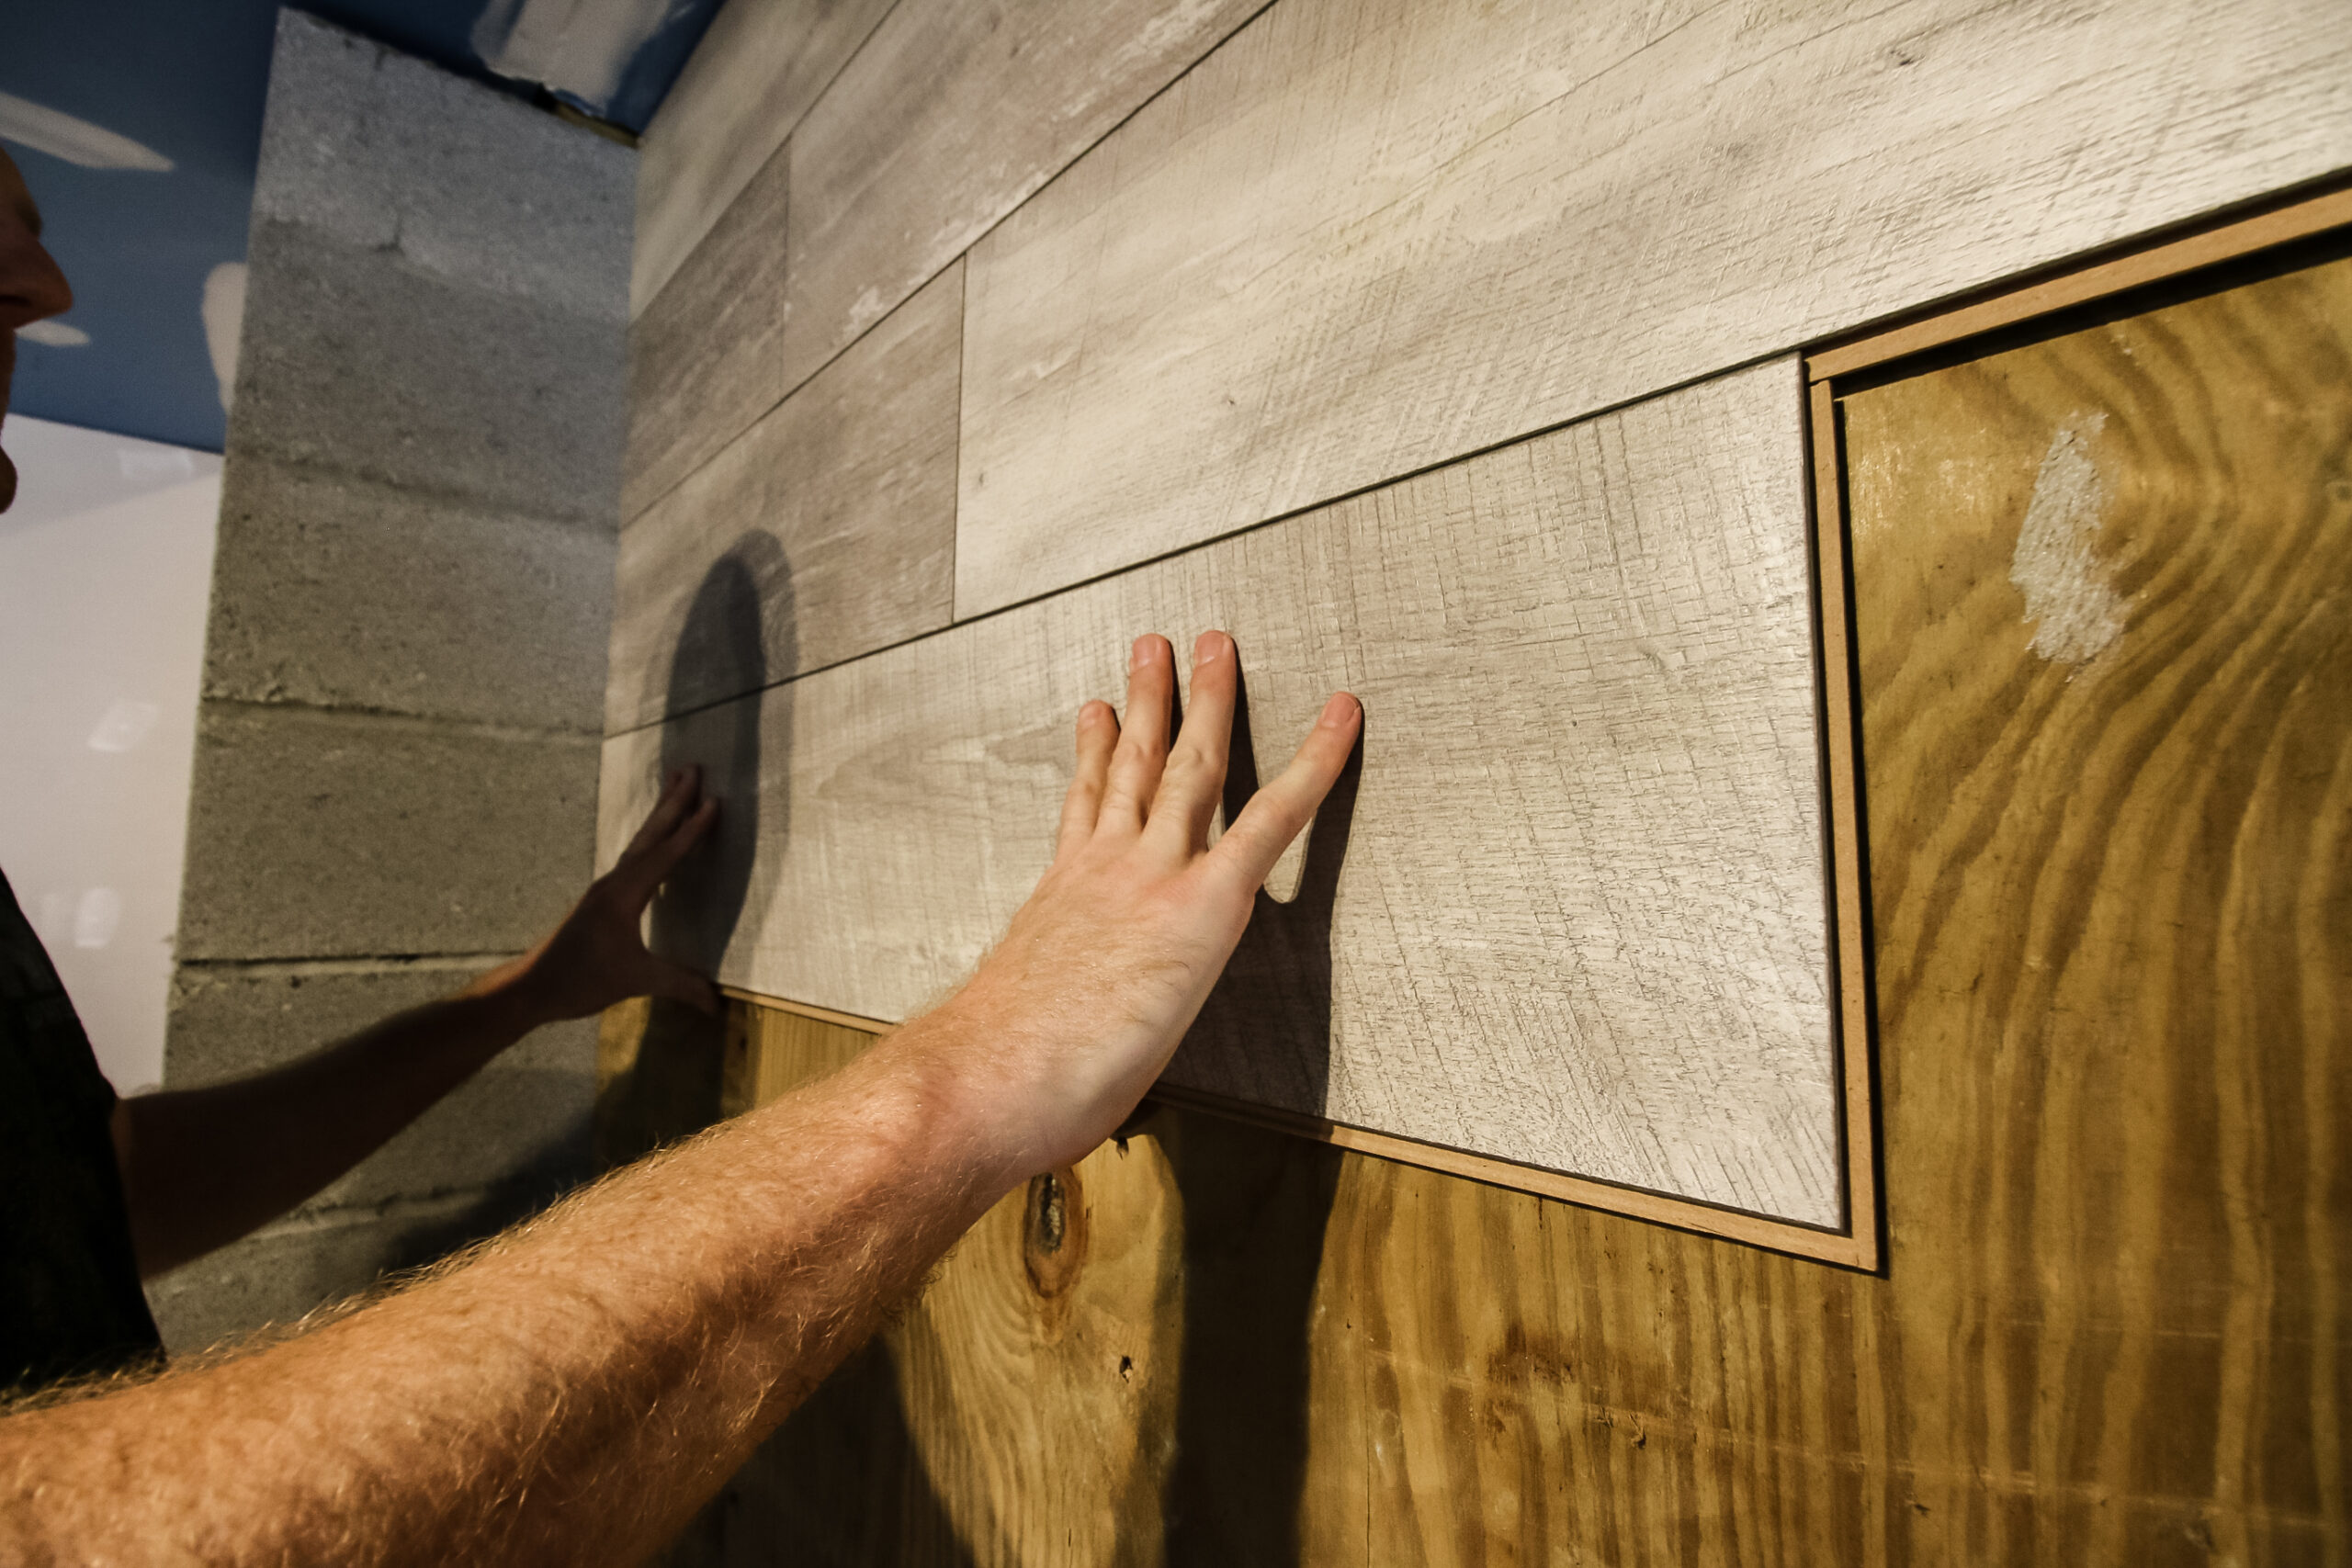
How to install laminate flooring on walls
Going up the Wall: Installing Flooring Vertically 2018-10-26

Laminate Flooring Backsplash (It looks like WOOD!) – Bower Power
How to Put Laminate Flooring on the Wall Hunker

floorboard feature wall under $150 – budget DIY interior design

Look At This Beautiful Hardwood Flooring Installed On The Wall
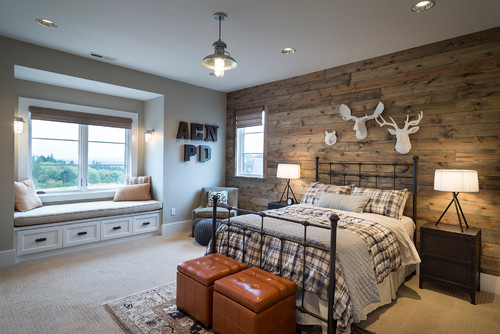
Engineered Wood Flooring As An Accent Wall BuildDirect® Blog
How to make a laminate flooring accent wall
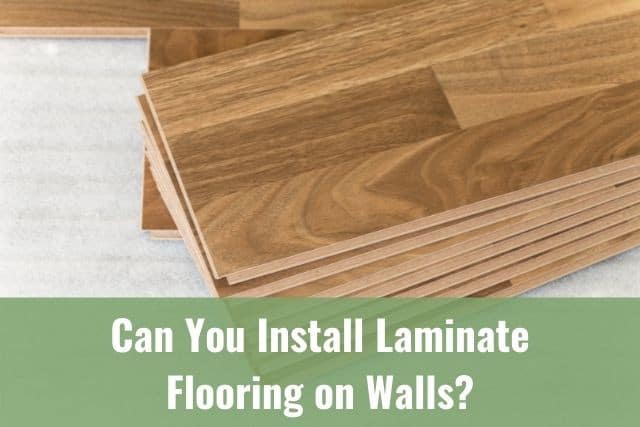
Can You Install Laminate Flooring on Walls? – Ready To DIY
Engineered Wood Flooring As An Accent Wall BuildDirect® Blog
Related Posts:
- Wood Floor Steam Vacuum
- Engineered Wood Flooring Stair Nose
- Homes With Wood Flooring Pictures
- Cost Of Wood Floor Vs Tile
- Industrial Wood Floor Cleaner
- Anderson Wood Flooring Adhesive
- Old Wood Floor Finishes
- White Wood Floor Backdrop
- Wood Floor Wall Paint Colors
- Engineered Wood Flooring Waterproof
Title: How to Transform Your Walls with Wood Flooring: A Detailed Guide
Introduction:
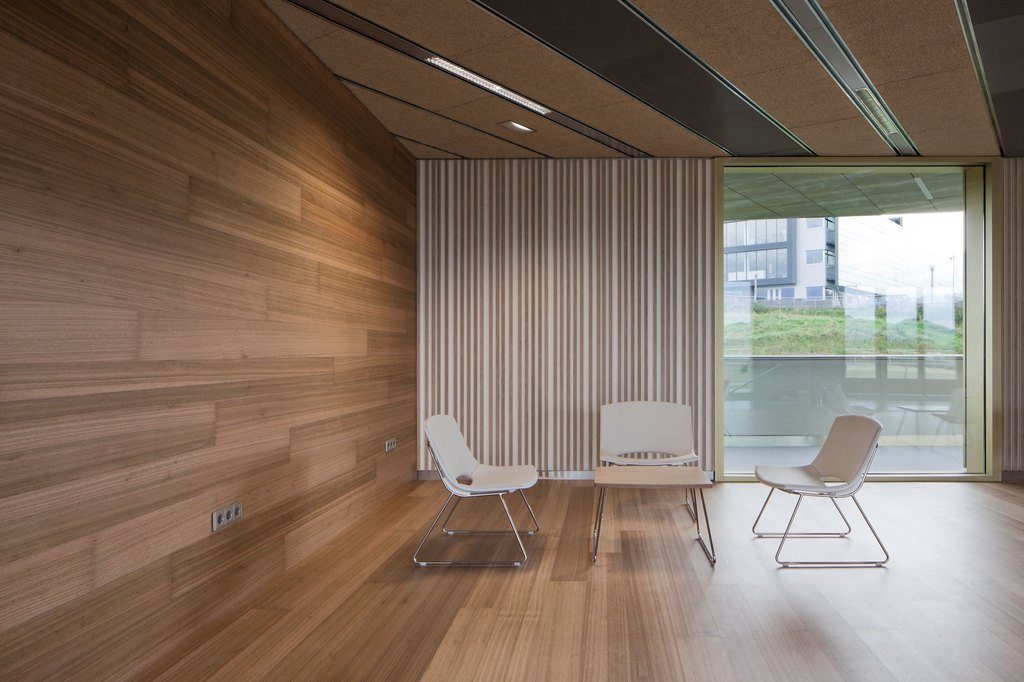
Wood flooring is a timeless and elegant option that adds warmth and character to any space. While it’s commonly used as a flooring material, many homeowners are now exploring the creative possibilities of installing wood flooring on walls. This unique design choice can elevate the aesthetic appeal of a room, bringing nature indoors and creating a stunning focal point. In this article, we will provide you with a comprehensive guide on how to put wood flooring on walls, from preparation to installation techniques.
I. Preparing for Wood Flooring Installation on Walls:
Before diving into the installation process, it’s crucial to prepare your walls adequately. Follow these steps to ensure a smooth and successful installation:
1. Evaluate wall condition:
Examine the condition of your walls closely to identify any imperfections or structural issues. Repair any cracks, holes, or uneven surfaces using spackling compound or joint compound. Sand the repaired areas until they are smooth and flush with the rest of the wall.
FAQs:
Q1: Can I install wood flooring on all types of walls?
A1: Yes, you can install wood flooring on various types of walls, including drywall, plaster, concrete, or brick. However, each material may require different preparation techniques.
Q2: Should I remove existing wallpaper before installing wood flooring?
A2: It is highly recommended to remove any existing wallpaper before proceeding with wood flooring installation. The adhesive residue can affect the bond between the wall and the wood.
2. Measure and plan:
Measure the height and width of your walls accurately to determine how much wood flooring material you’ll need. Consider adding an extra 10% for waste or future repairs. Create a detailed plan indicating where each board will be placed to ensure a balanced and visually pleasing arrangement.
3. Acclimate the wood:
Allow the wood flooring material to acclimate in the room where it will be installed for at least 48 hours. This step is crucial as it prevents the wood from warping or expanding after installation.
II. Installing Wood Flooring on Walls:
Once your walls are prepared, it’s time to move on to the installation process. Follow these steps to achieve a professional and polished look:
1. Gather the necessary tools and materials:
Ensure that you have all the required tools and materials before starting the installation. These may include a miter saw, nail gun, level, tape measure, adhesive, finishing nails, and safety equipment such as goggles and gloves.
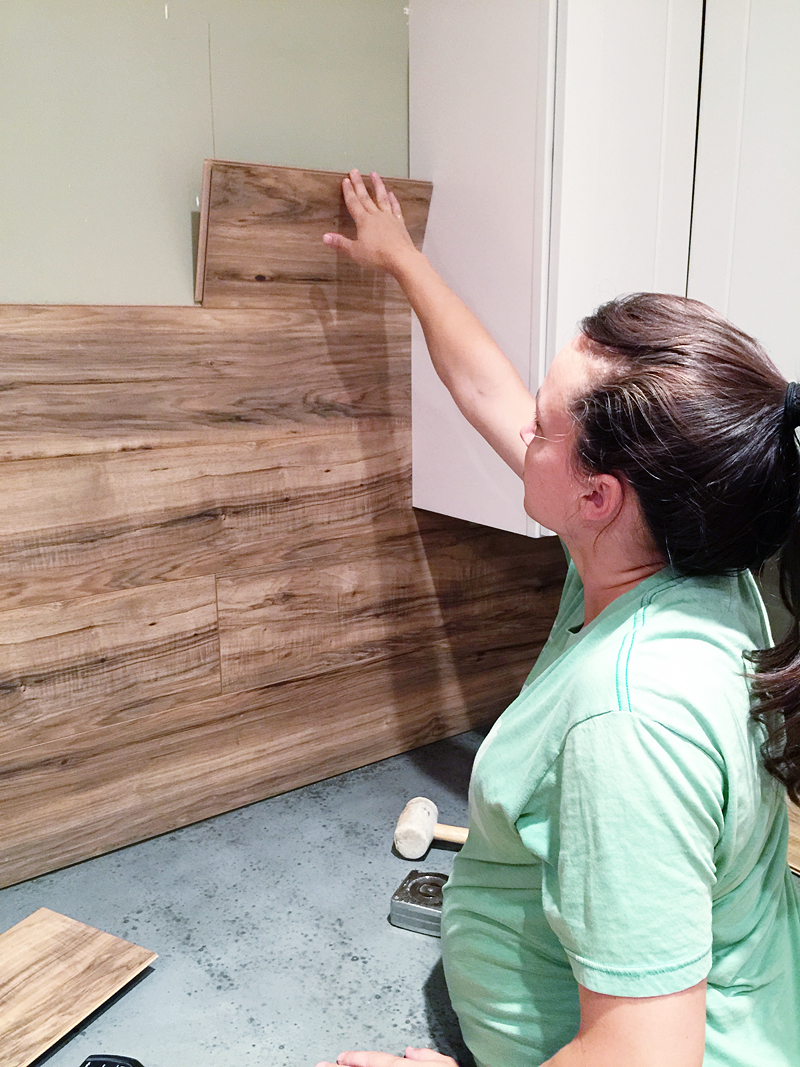
2. Determine the starting point:
Identify the best starting point for your wood flooring installation. It’s often recommended to begin at the bottom of the wall and work your way up. Use a level and a chalk line to create a straight and level starting line.
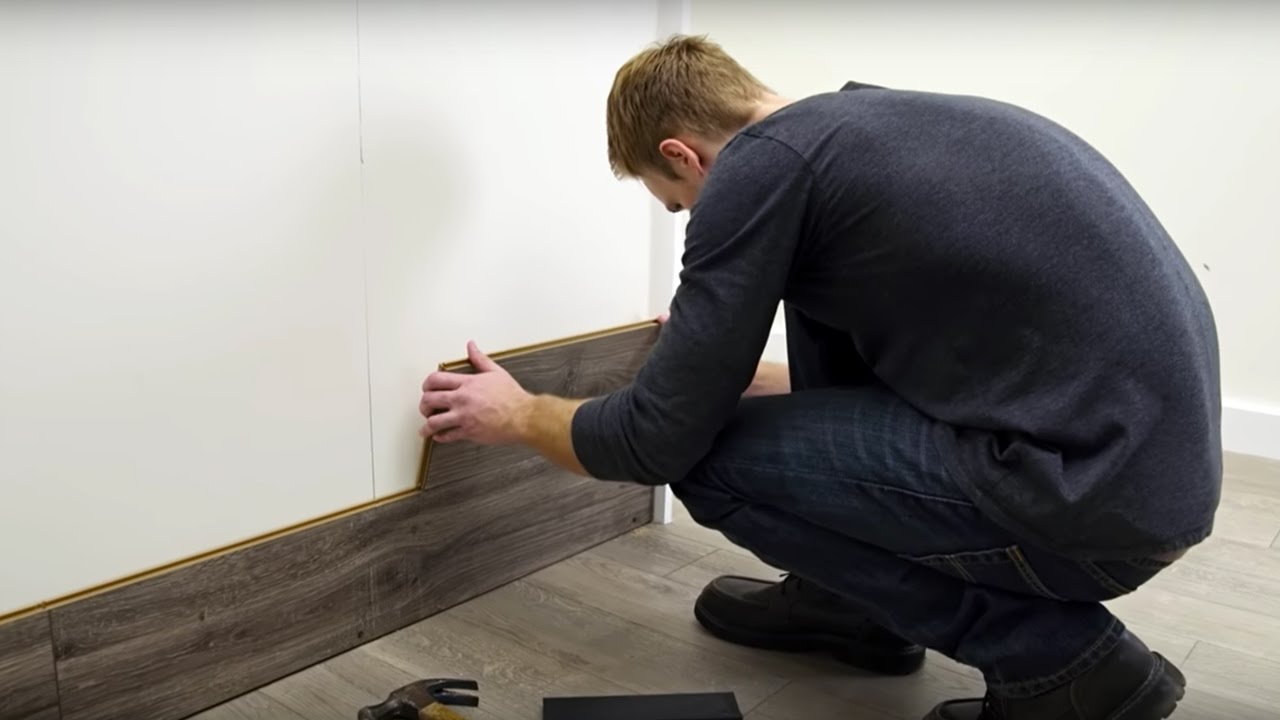
3. Apply adhesive or use a nail gun:
Depending on the weight of your wood flooring material, you can either use adhesive or a nail gun for installation. Apply adhesive evenly on the backside of each board or use a nail gun to secure them onto the wall. Ensure that each board is tightly fitted together for a seamless look.
FAQs:
Q1: Can I install wood flooring vertically instead of horizontally?
A1: Yes, you can install wood flooring vertically if you prefer a unique and eye-catching design. Just ensure that you adjust your measurements accordingly.
Q2: Do I need to leave gaps between the boards for expansion?
A2: No, unlike traditional floor installation, leaving gaps between wood flooring Boards on walls is not necessary for expansion. However, it is still important to ensure that the boards are tightly fitted together to create a seamless look. Q3: How do I cut the wood flooring boards to fit around obstacles like outlets or corners?
A3: To cut the wood flooring boards to fit around obstacles, you will need to use a miter saw or a jigsaw. Measure the dimensions of the obstacle and mark them on the board. Use the appropriate cutting tool to carefully cut along the marked lines. Make sure to wear safety goggles and gloves while cutting.
Q4: Can I paint or stain the wood flooring on walls?
A4: Yes, you can paint or stain the wood flooring on walls to achieve a desired color or finish. Make sure to choose a paint or stain that is compatible with wood and follow the manufacturer’s instructions for application. It is also recommended to apply a protective finish coat after painting or staining to enhance durability.
Q5: How do I maintain and clean wood flooring on walls?
A5: To maintain and clean wood flooring on walls, regularly dust or vacuum the surface to remove dirt and debris. Avoid using abrasive cleaners or harsh chemicals that can damage the wood. Instead, use a mild soap and water solution or a recommended wood cleaner. Wipe spills immediately to prevent staining, and avoid excessive moisture exposure.
Q6: Can I remove and reinstall wood flooring on walls if needed?
A6: Yes, it is possible to remove and reinstall wood flooring on walls if necessary. However, this process may cause damage to the boards, so it is important to handle them carefully during removal. If reusing the boards, make sure they are in good condition before reinstalling, and follow the installation steps mentioned earlier.
Q7: How long does it take for wood flooring on walls to fully cure?
A7: The curing time for wood flooring on walls depends on factors such as the type of adhesive used and environmental conditions. It is generally recommended to allow at least 24-48 hours for the adhesive to fully cure before subjecting the wall to any stress or pressure. Follow the manufacturer’s instructions for specific curing times.
Q8: Can I install wood flooring on all types of walls, including drywall?
A8: Yes, wood flooring can be installed on various types of walls, including drywall. However, it is important to ensure that the wall surface is smooth, clean, and properly prepared before installation. If installing on drywall, consider using additional support such as furring strips to provide a secure attachment for the wood flooring.