That being the case, you are going to want to make certain that you opt for the correct basement flooring option during your remodel. While there are specific floor coverings of preference for upstairs suites, you have for being a bit much more discerning in selecting those you put into the lower level of yours. With a great product you will have a waterproofed basement floor that will last for a number of years.
Images about How To Remove Basement Floor Drain Cover

The great thing is there are several options on how you can have a wonderful, worth it flooring. The sort of flooring you select for the basement of yours will depend on individualized preference as well as prospective weather elements. Basement flooring has several types out in the industry, making the selection quite hard.
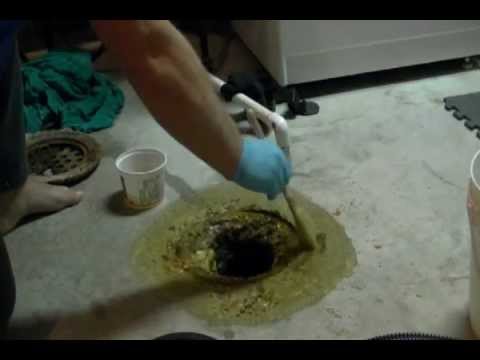
Basement floor drain replacement with a Dranjer J-N6.avi – YouTube
You ought to fix them right away to avoid additional harm and prevent mildew or mold from growing. Whatever the specific plans for the cellar of yours happens to be, there is a plethora of flooring choices available for purchase on the market today. As any household is going to tell you, there is not one other challenging section of the house to install floors as opposed to the basement.
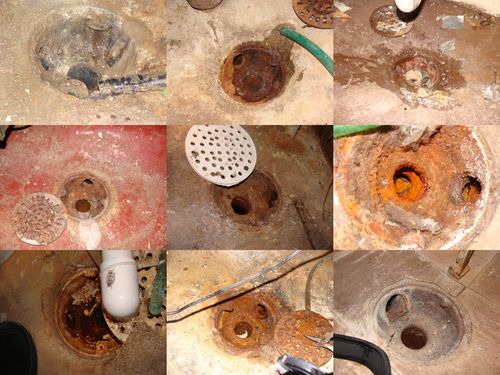
Rusted Basement Floor Drain Cover Will Not Budge Hunker

The Inner Workings of Your Basement Floor Drain Kellermeier Plumbing

Furnace Drain Hose to Basement Drain – Drain Cover Rusted – How to
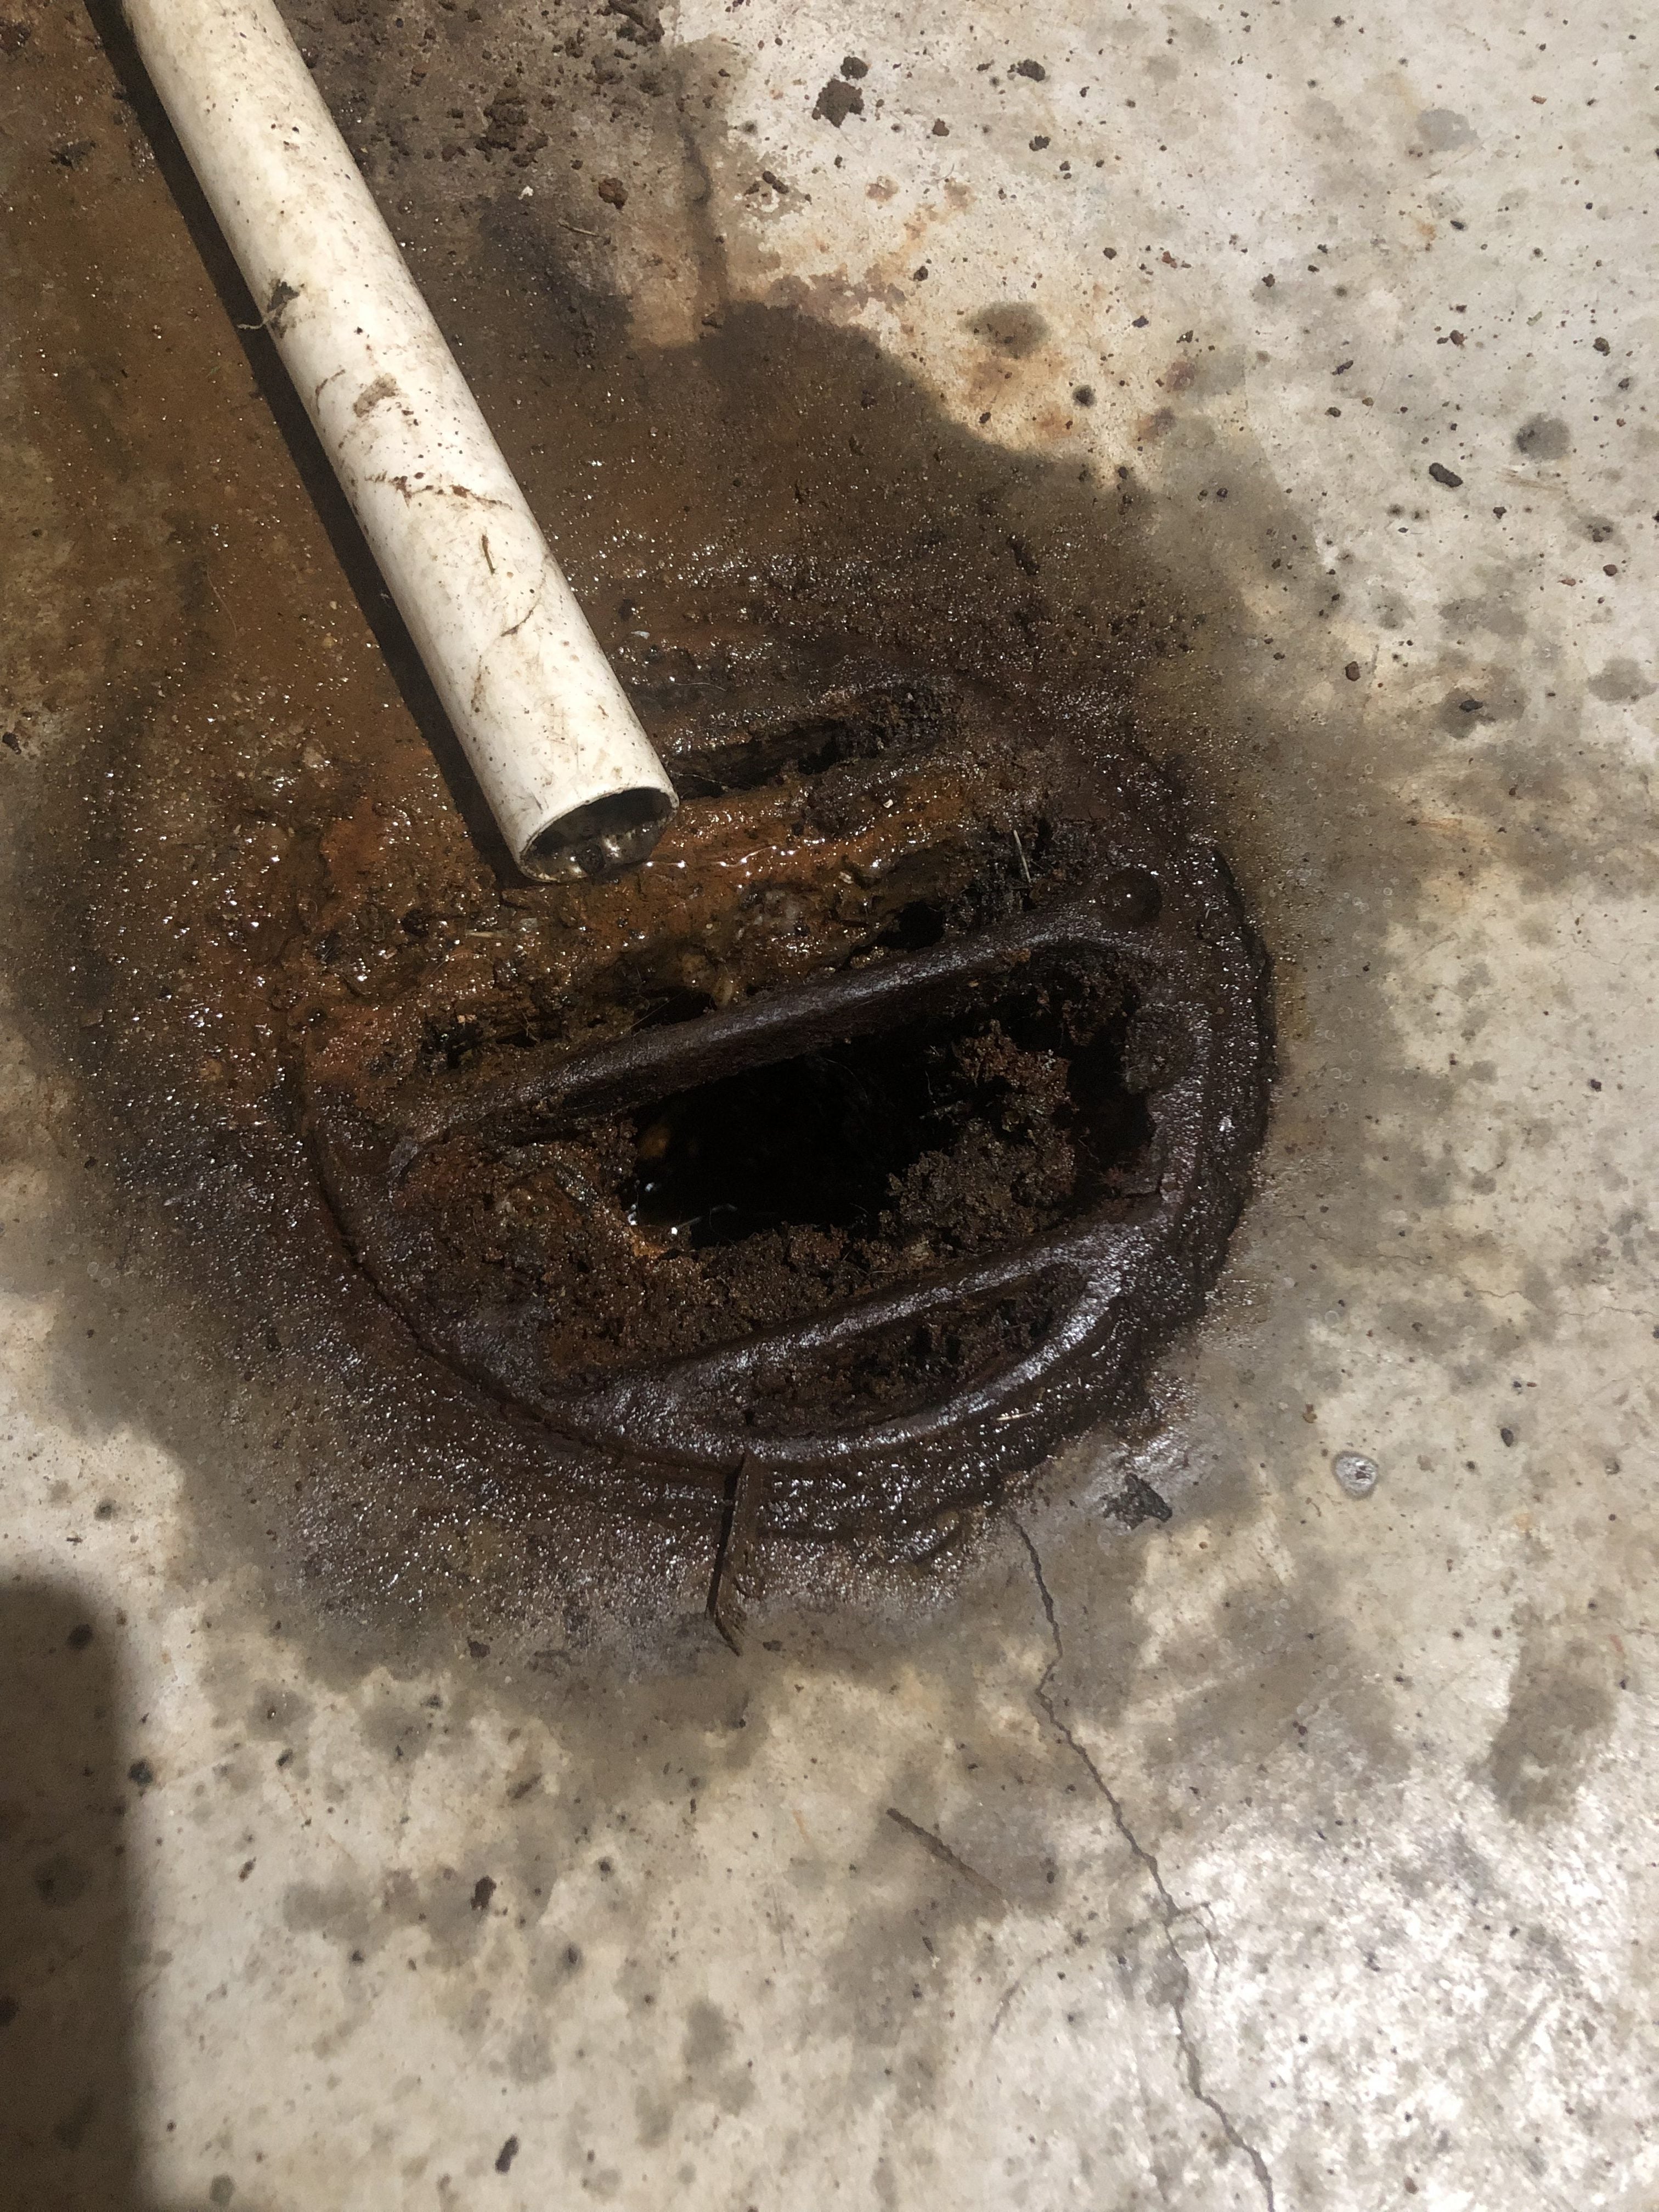
plumbing – Basement drain not flush with flooring and old rusted

Floor Drain Basics
PLUMBING REPAIR DRAIN LINE CAPPED IN CONCRETE FLOOR

Basement drain cover – Fine Homebuilding

Can You Cover A Basement Floor Drain?
Cutting a hole in floor drain cover for drain hose DIY Home
Laundry Room Floor Drain u2013 Basement Issues and Problems
How to Unclog a Floor Drain

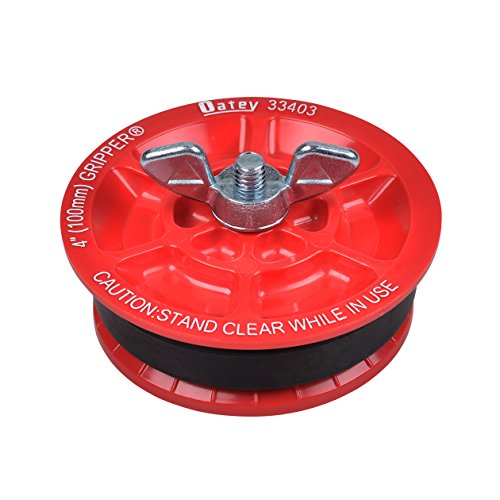
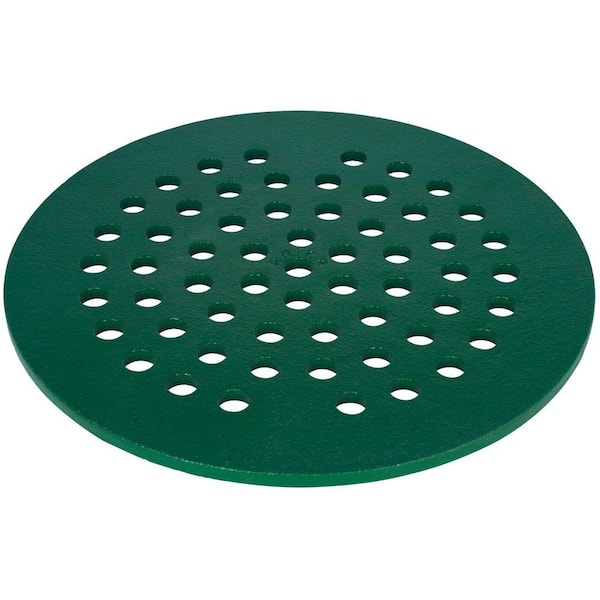
5 in. Replacement Cast Iron Floor Drain Cover in Green
Related Posts:
- Basement Flooring Over Asbestos Tile
- Drilling Holes In Basement Floor For Drainage
- Stop Water Coming Up Through Basement Floor
- Snaking A Basement Floor Drain
- P Trap In Basement Floor Drain
- How To Install Laminate Flooring On Concrete Basement
- Clean Basement Floor After Flood
- Lime On Dirt Basement Floor
- How To Repair A Concrete Basement Floor
- Repainting A Basement Floor
How to Remove Basement Floor Drain Cover
Introduction:
A basement floor drain is an essential component of any home’s plumbing system. It helps prevent flooding and water damage by allowing excess water to drain away. Over time, the drain cover may become dirty or damaged, necessitating its removal for cleaning or replacement. In this article, we will provide you with a step-by-step guide on how to remove a basement floor drain cover effectively.
I. Gather the necessary tools:
Before starting the removal process, it is essential to gather all the necessary tools to ensure a smooth and efficient operation. You will need:
1. Screwdriver: A flat-head or Phillips screwdriver, depending on the type of screws used to secure the drain cover.
2. Pliers: These will come in handy if the drain cover is rusted or difficult to remove.
3. Bucket: To catch any water that may be present in the drain.
4. Gloves and safety goggles: These will protect your hands and eyes from potential hazards during the removal process.
FAQ: What type of screwdriver should I use?
Answer: The type of screwdriver required depends on the screws used to secure the drain cover. Most commonly, either a flat-head or Phillips screwdriver will suffice.
II. Prepare the area:
Before attempting to remove the drain cover, it is crucial to prepare the surrounding area properly. Follow these steps:
1. Clear any obstructions: Remove any objects or debris covering the drain cover that may hinder your access.
2. Turn off water supply: If your basement floor drain is connected to a plumbing system with running water, ensure that you turn off the water supply before proceeding with the removal process.
3. Put on protective gear: Wear gloves and safety goggles to protect yourself from any potential harm during the removal process.
III. Remove screws securing the drain cover:
Once you have prepared the area, it is time to remove the screws securing the drain cover. Follow these steps:
1. Locate the screws: Inspect the drain cover to identify the screws holding it in place. In most cases, there will be either one or two screws, depending on the size and design of the cover.
2. Loosen the screws: Using a suitable screwdriver, carefully loosen and remove the screws. It is essential to apply steady pressure to prevent stripping or damaging the screw heads.
FAQ: What if my drain cover does not have visible screws?
Answer: Some drain covers are designed to be screwless, making them easier to remove. In such cases, you can typically lift the drain cover directly without needing to remove any screws.
IV. Lift and remove the drain cover:
With the screws removed or loosened, it is now time to lift and remove the drain cover. Follow these steps:
1. Lift the cover: Position your hands on opposite sides of the drain cover and lift it straight up. If the drain cover is tightly secured, you may need to use pliers to grip and apply additional force.
2. Be cautious of water: As you lift the drain cover, be prepared for any water that may have accumulated in the drain to spill out. To avoid a mess, place a bucket underneath or have absorbent materials nearby.
FAQ: How do I deal with a stubborn or rusted drain cover?
Answer: If your drain cover is stubborn or rusted, applying penetrating oil to the areas around the screws can help loosen them over time. Alternatively, using pliers with a firm grip Can provide additional leverage to remove the cover. If all else fails, you may need to seek professional assistance to safely remove the drain cover. V. Clean the drain cover and surrounding area:
After successfully removing the drain cover, it is important to clean both the cover and the surrounding area to ensure proper drainage. Follow these steps:
1. Remove any debris: Use a brush or your gloved hands to remove any dirt, hair, or other debris that may have accumulated on the drain cover.
2. Clean with soap and water: Use a mild soap and water solution to scrub the drain cover and surrounding area. This will help remove any stubborn residue or grime.
3. Rinse thoroughly: Rinse the drain cover and surrounding area with clean water to remove any soap residue.
4. Dry completely: Allow the drain cover and surrounding area to air dry completely before reattaching the cover.
VI. Reattach the drain cover:
Once the drain cover and surrounding area are clean and dry, it is time to reattach the drain cover. Follow these steps:
1. Align the screw holes: Position the drain cover over the drain opening, ensuring that the screw holes are aligned with their respective openings.
2. Insert screws: Using a screwdriver, insert and tighten the screws into their respective holes until they are securely fastened.
3. Test for stability: Gently press down on different areas of the drain cover to ensure that it is securely attached and does not wobble or move.
4. Turn on water supply: If you had turned off the water supply in step 2 of section II, now is the time to turn it back on and check for any leaks or issues with drainage.
5. Clean up: Dispose of any debris or materials used during the removal and cleaning process, and ensure that the area is left clean and tidy.
Note: The specific steps may vary depending on the type of drain cover and its installation method. Always refer to manufacturer instructions or consult a professional if you are unsure or encounter any difficulties during the process.