Tiles are additionally really simple to maintain. Many people neglect to make distinction between the two. Avoid sleeping arms or even hands on the tile you've set. Now you know about ceramic tile floor fresher. This is because the houses which use floor tile flooring are more appealing & durable. A hand-held steam cleaner may be one of the best options.
Images about How To Remove Tile Floor And Replace With Hardwood
They come in a wide variety of sizes, colors as well as shapes to meet your specific styling needs. Pick designs which flow into each other to make the overall result good to the eye. You will find more than a couple of things to sense about when you're choosing to decorate the house of yours. It might have had a marble swirl extra to it, but on the whole it was very simple looking.
How to Remove Ceramic Floor Tiles BuildDirect® Learning

Mortar that's only partly dried might not bond with the tile when you set it. It is going to add a good degree of design and even class to your home. And when the tiling involves both the floor and the walls, it is recommended that you begin with the walls first. You are able to personalize the house as per yourself. Other tiles that are extremely porous can also be a difficulty.
How to Remove Ceramic Floor Tile
:max_bytes(150000):strip_icc()/removing-ceramic-floor-tile-452501-05-8dd6155942c047e3b7aaf17384fba81b.jpg)
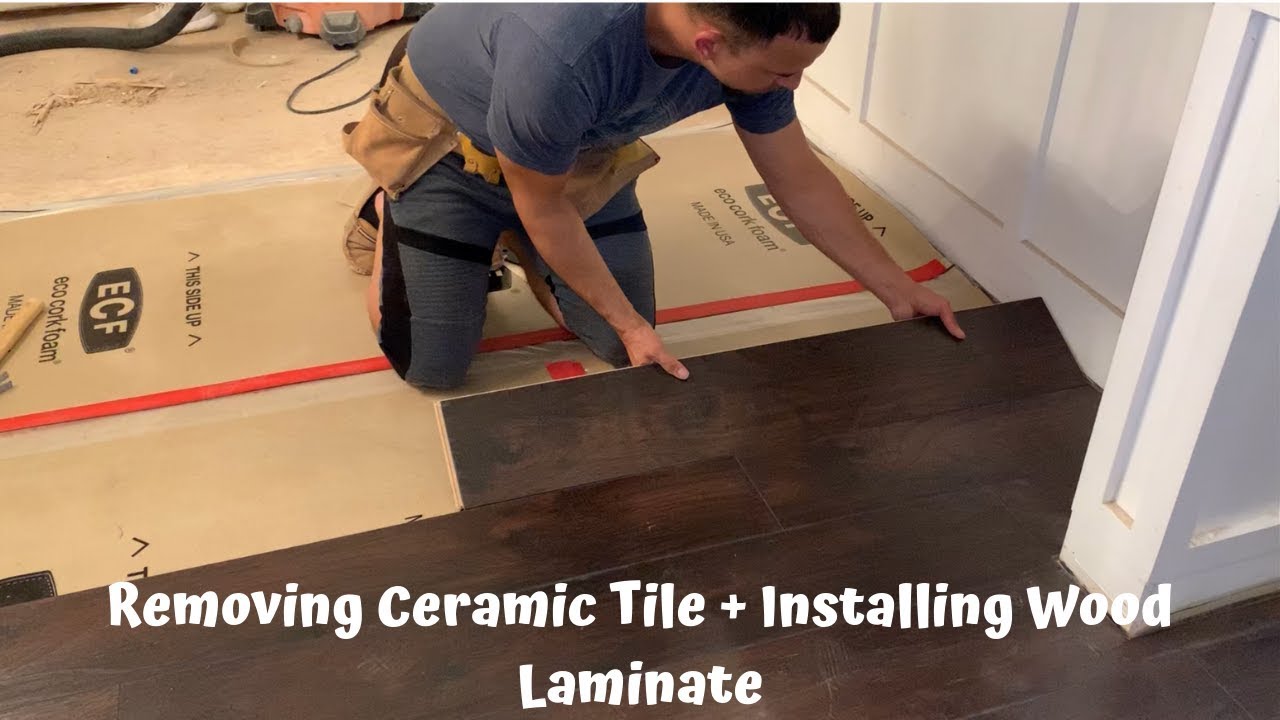
Removing Ceramic Tile + Installing Wood Laminate
How To Remove A Tile Floor and Underlayment
How to Remove a Tile Floor HGTV
How to Remove Ceramic Floor Tile
/removing-ceramic-floor-tile-452501-hero-8300d7b0a9c94ba6a2e844788a0225bc.jpg)
Install Hardwood Flooring Over Tile Floor Double Glue Down Method
How to Remove Tile Flooring Yourself {with Tips and Tricks} All
Expert Q and Au0027s: Tearing Out Tile Flooring Better Homes u0026 Gardens

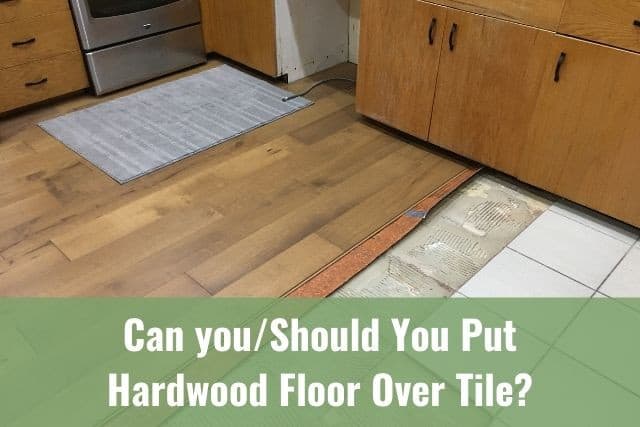
Can you/Should You Put Hardwood Floor Over Tile? – Ready To DIY
How To Remove A Tile Floor and Underlayment
How to Remove Ceramic Tile
How to Remove Tile Flooring Yourself {with Tips and Tricks} All
Related Posts:
- Stop Cat From Peeing On Tile Floor
- Best Tile Flooring For Dogs
- Old Tile Floor
- How To Remove Paint From Ceramic Tile Floor
- Grey Tile Floor That Looks Like Wood
- Acrylic Tile Flooring
- Do You Seal Ceramic Tile Floor
- Lock Together Tile Flooring
- Wood Tile Flooring Texture
- Painting Ceramic Tile Floor In Kitchen
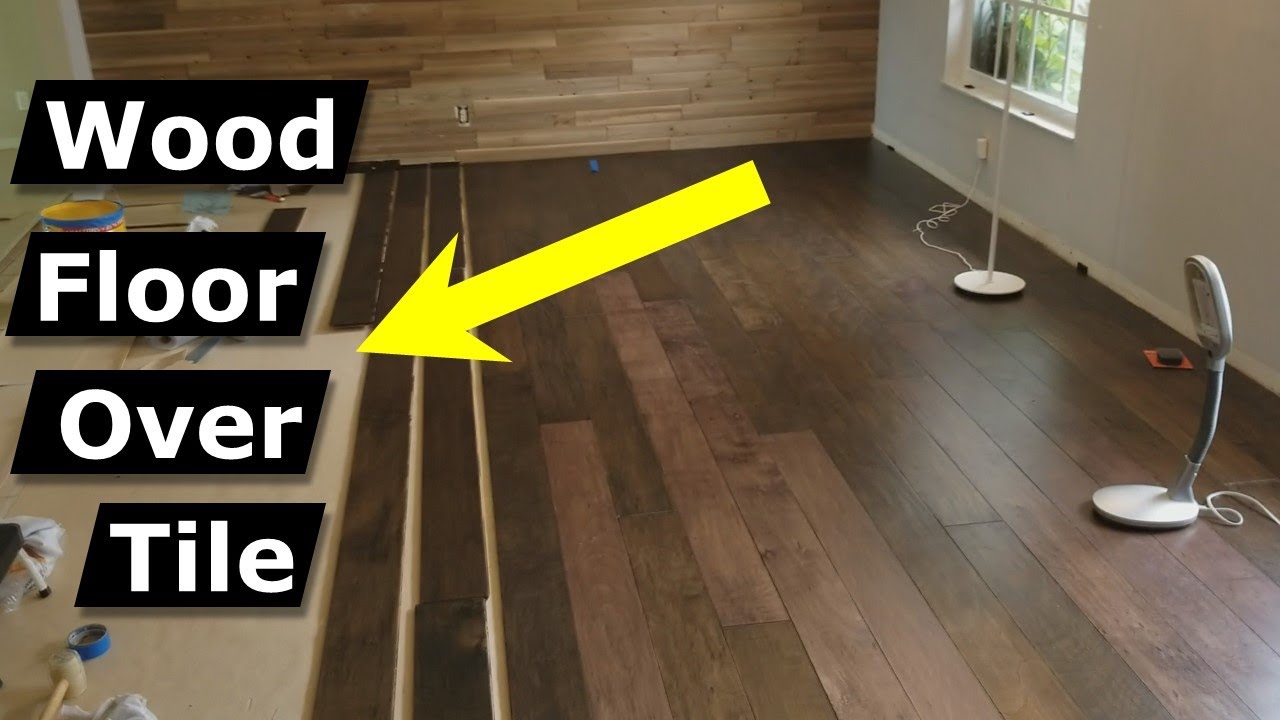
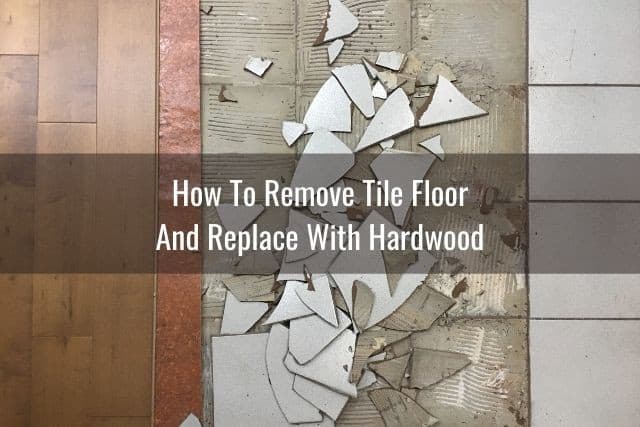
How to Remove Tile Floor and Replace with Hardwood
If you’re looking to give your home a fresh, new look, consider removing the tile floor and replacing it with hardwood. Not only does hardwood flooring add warmth and sophistication to any space, but it is also durable and easy to maintain. While the process of removing tile flooring may seem daunting at first, with the right tools and techniques, you can achieve a stunning result. In this article, we will guide you through each step of the process, from removing the old tiles to installing the new hardwood floor.
1. Gather the necessary tools and materials:
Before you begin the project, make sure you have all the tools and materials required. Here’s a list of what you’ll need:
– Safety goggles
– Dust mask
– Gloves
– Pry bar
– Hammer
– Chisel
– Floor scraper
– Bucket
– Sponge or cloth
– Adhesive remover
– Sandpaper or sanding machine
– Hardwood flooring planks
– Underlayment material (if required)
– Nail gun or adhesive (depending on the type of hardwood flooring)
2. Prepare the workspace:
Start by clearing out the room completely. Remove all furniture, appliances, and any other items that may obstruct your work area. Cover any vents or openings to prevent dust from spreading throughout your home. It’s also a good idea to seal off adjacent rooms with plastic sheeting to minimize dust migration.
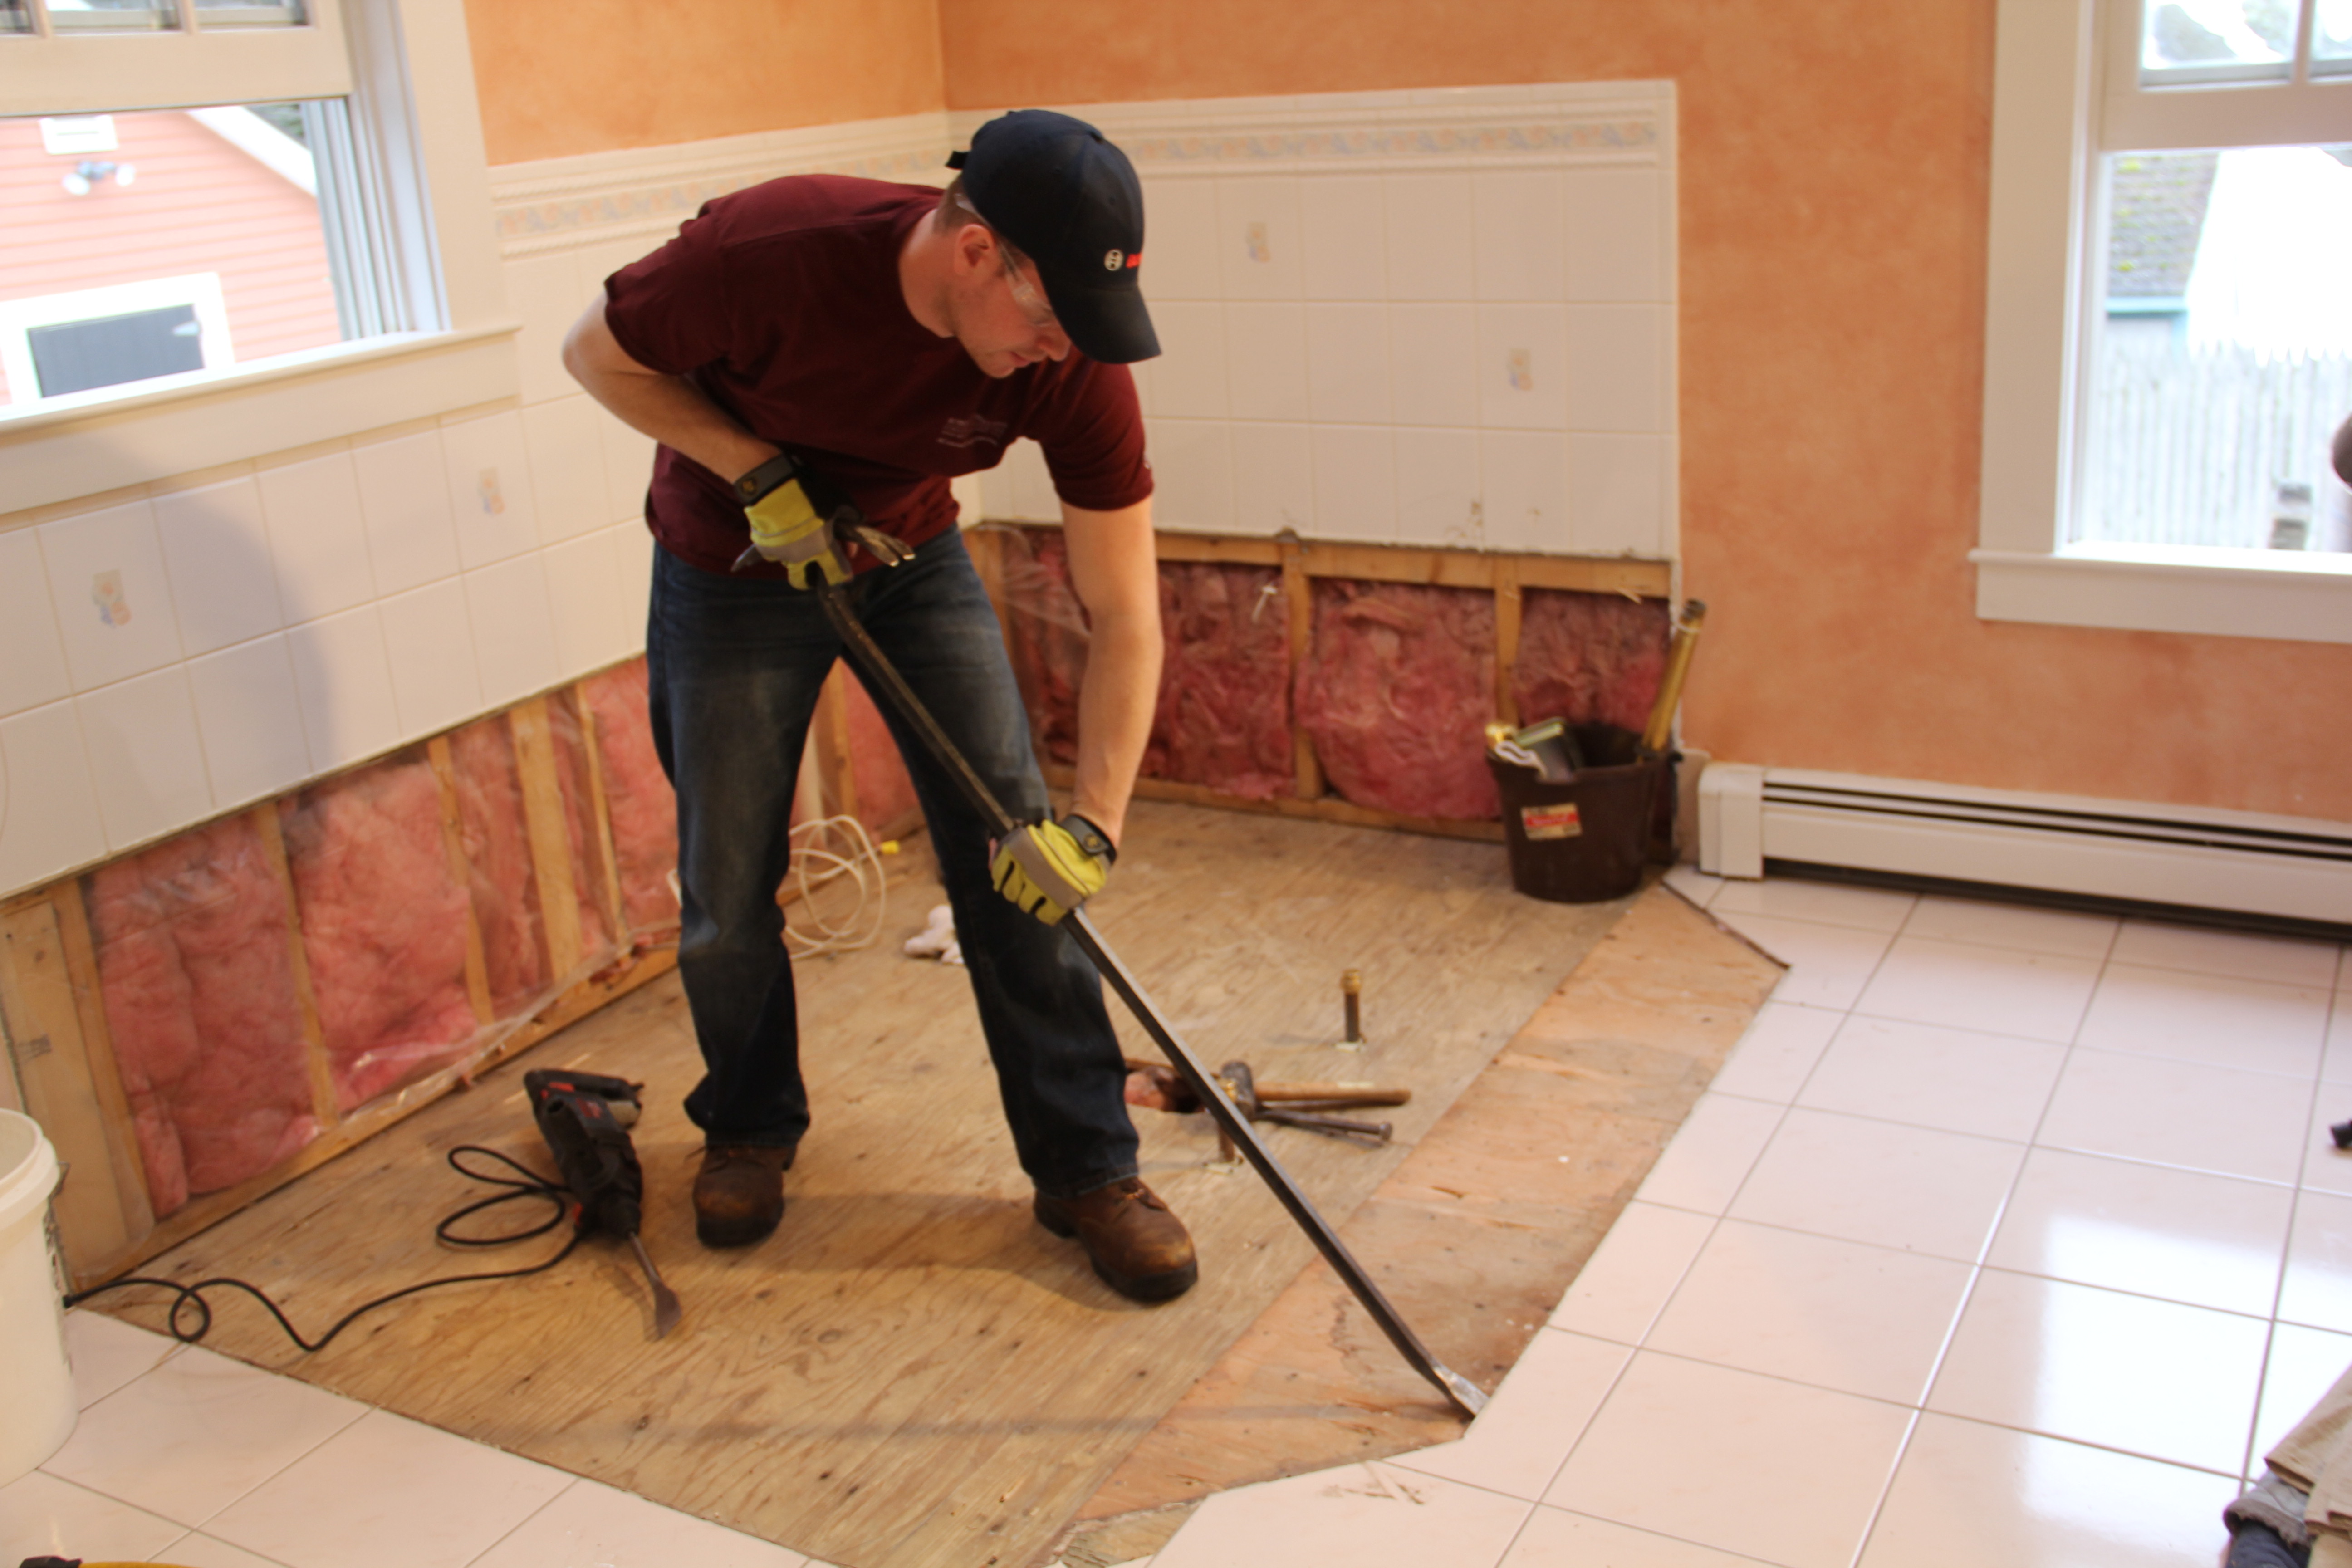
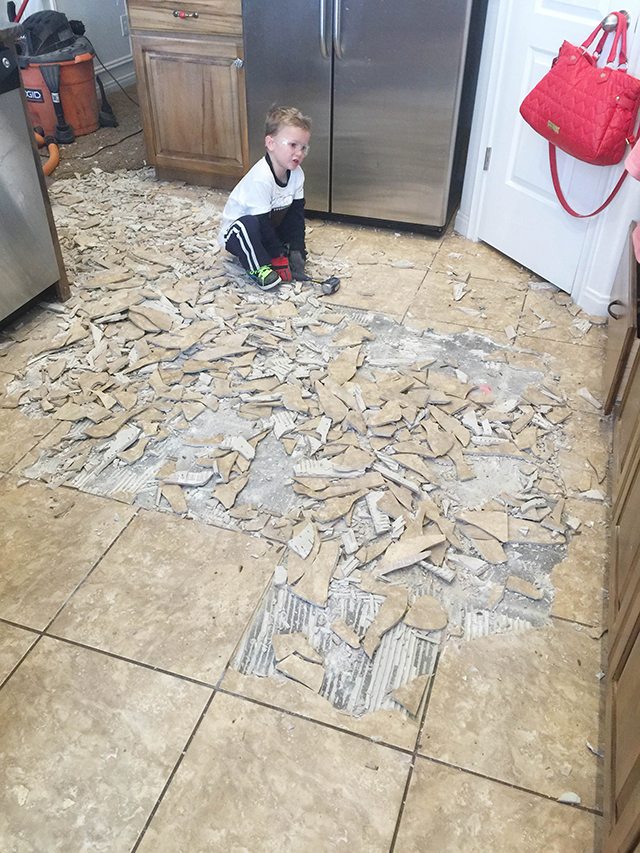
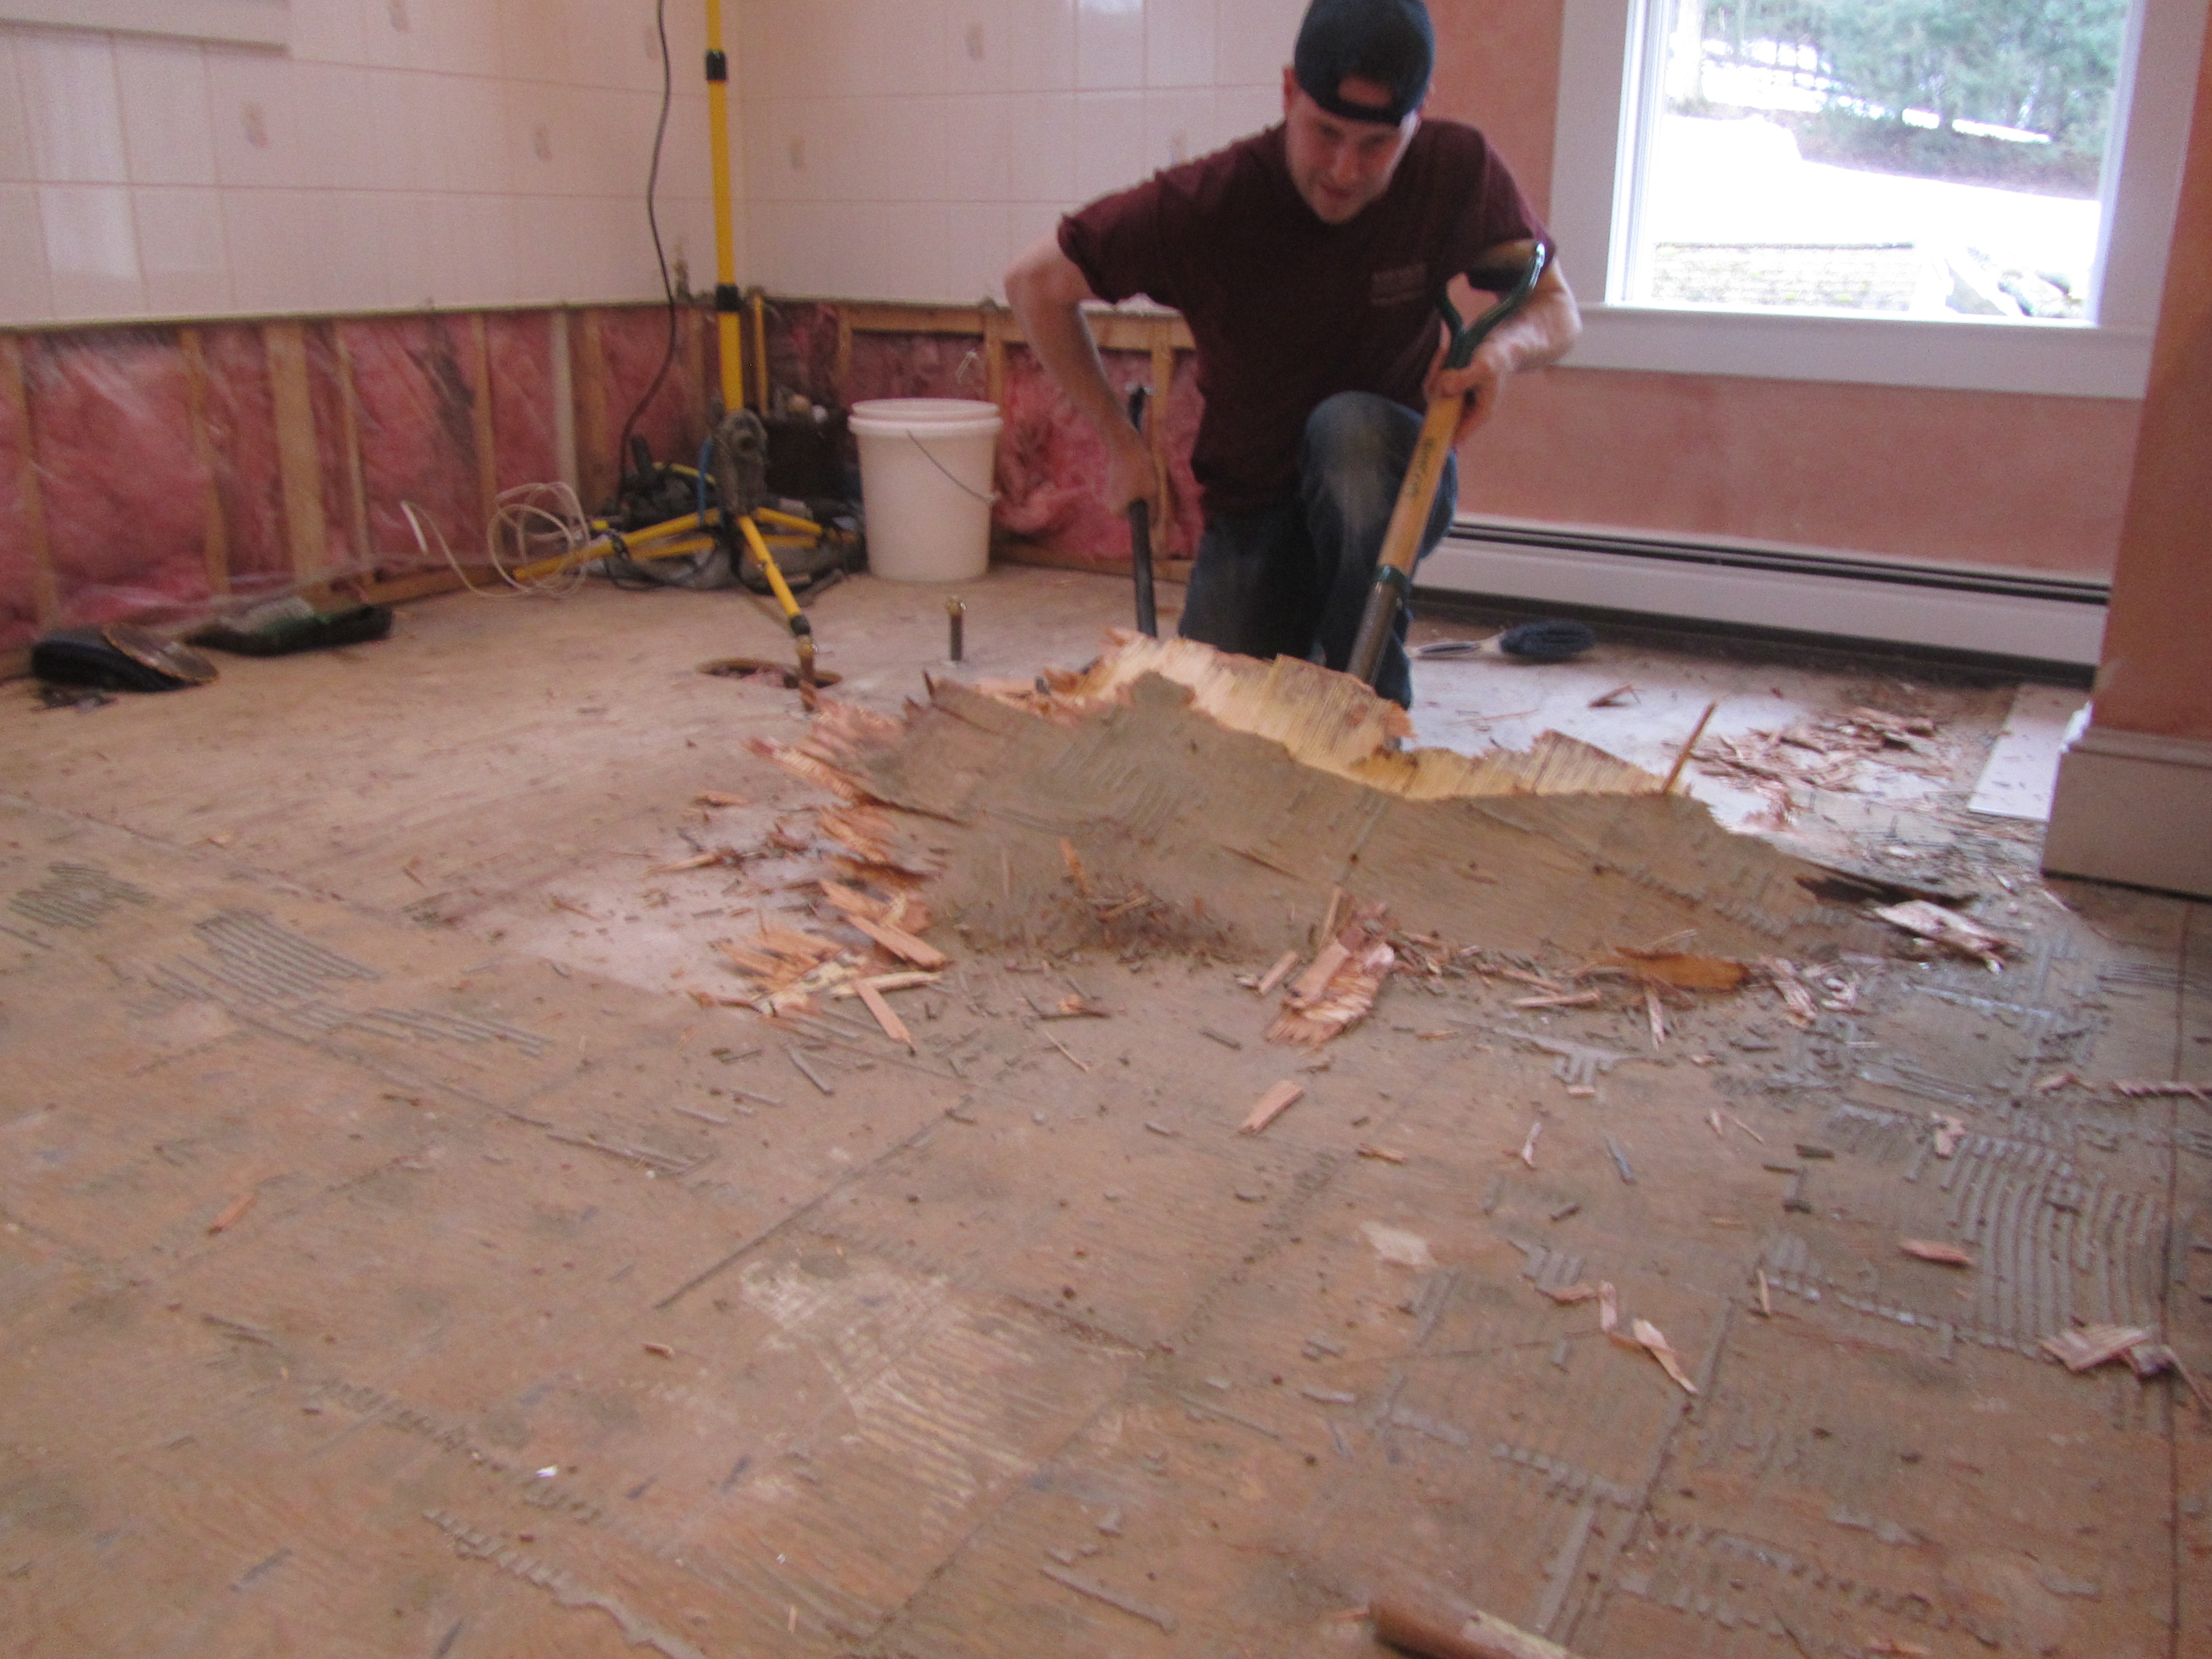
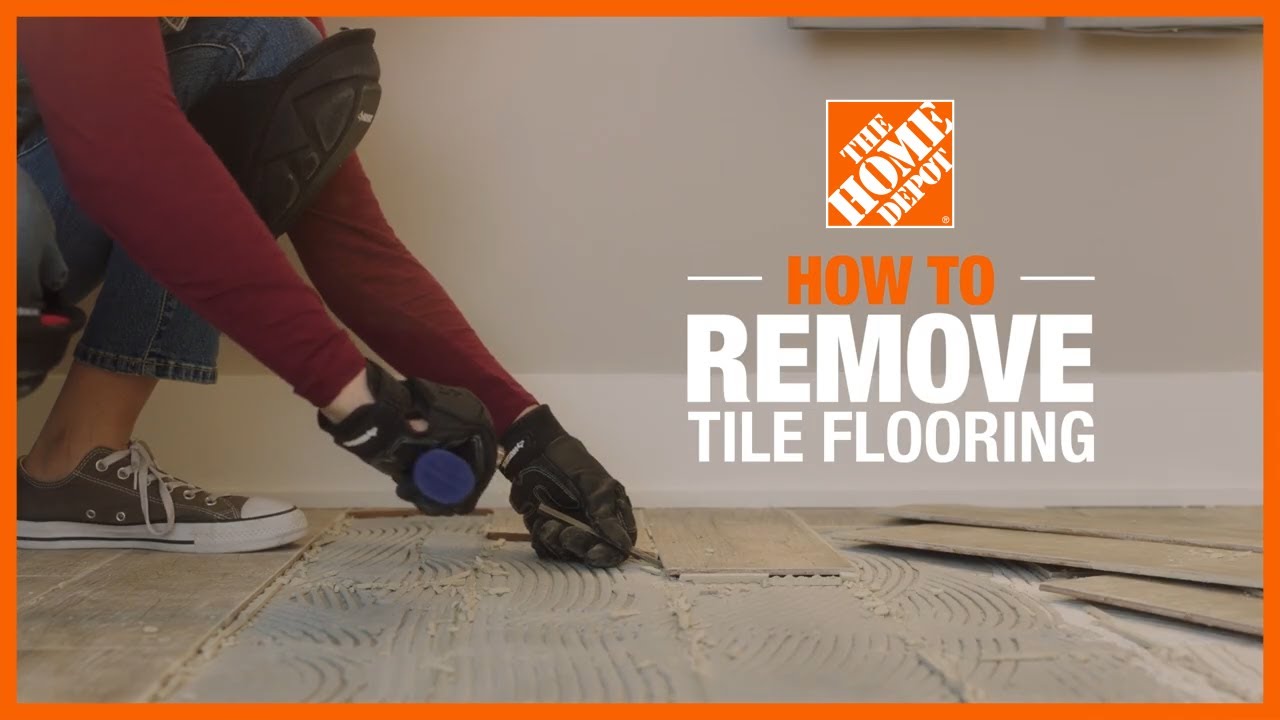
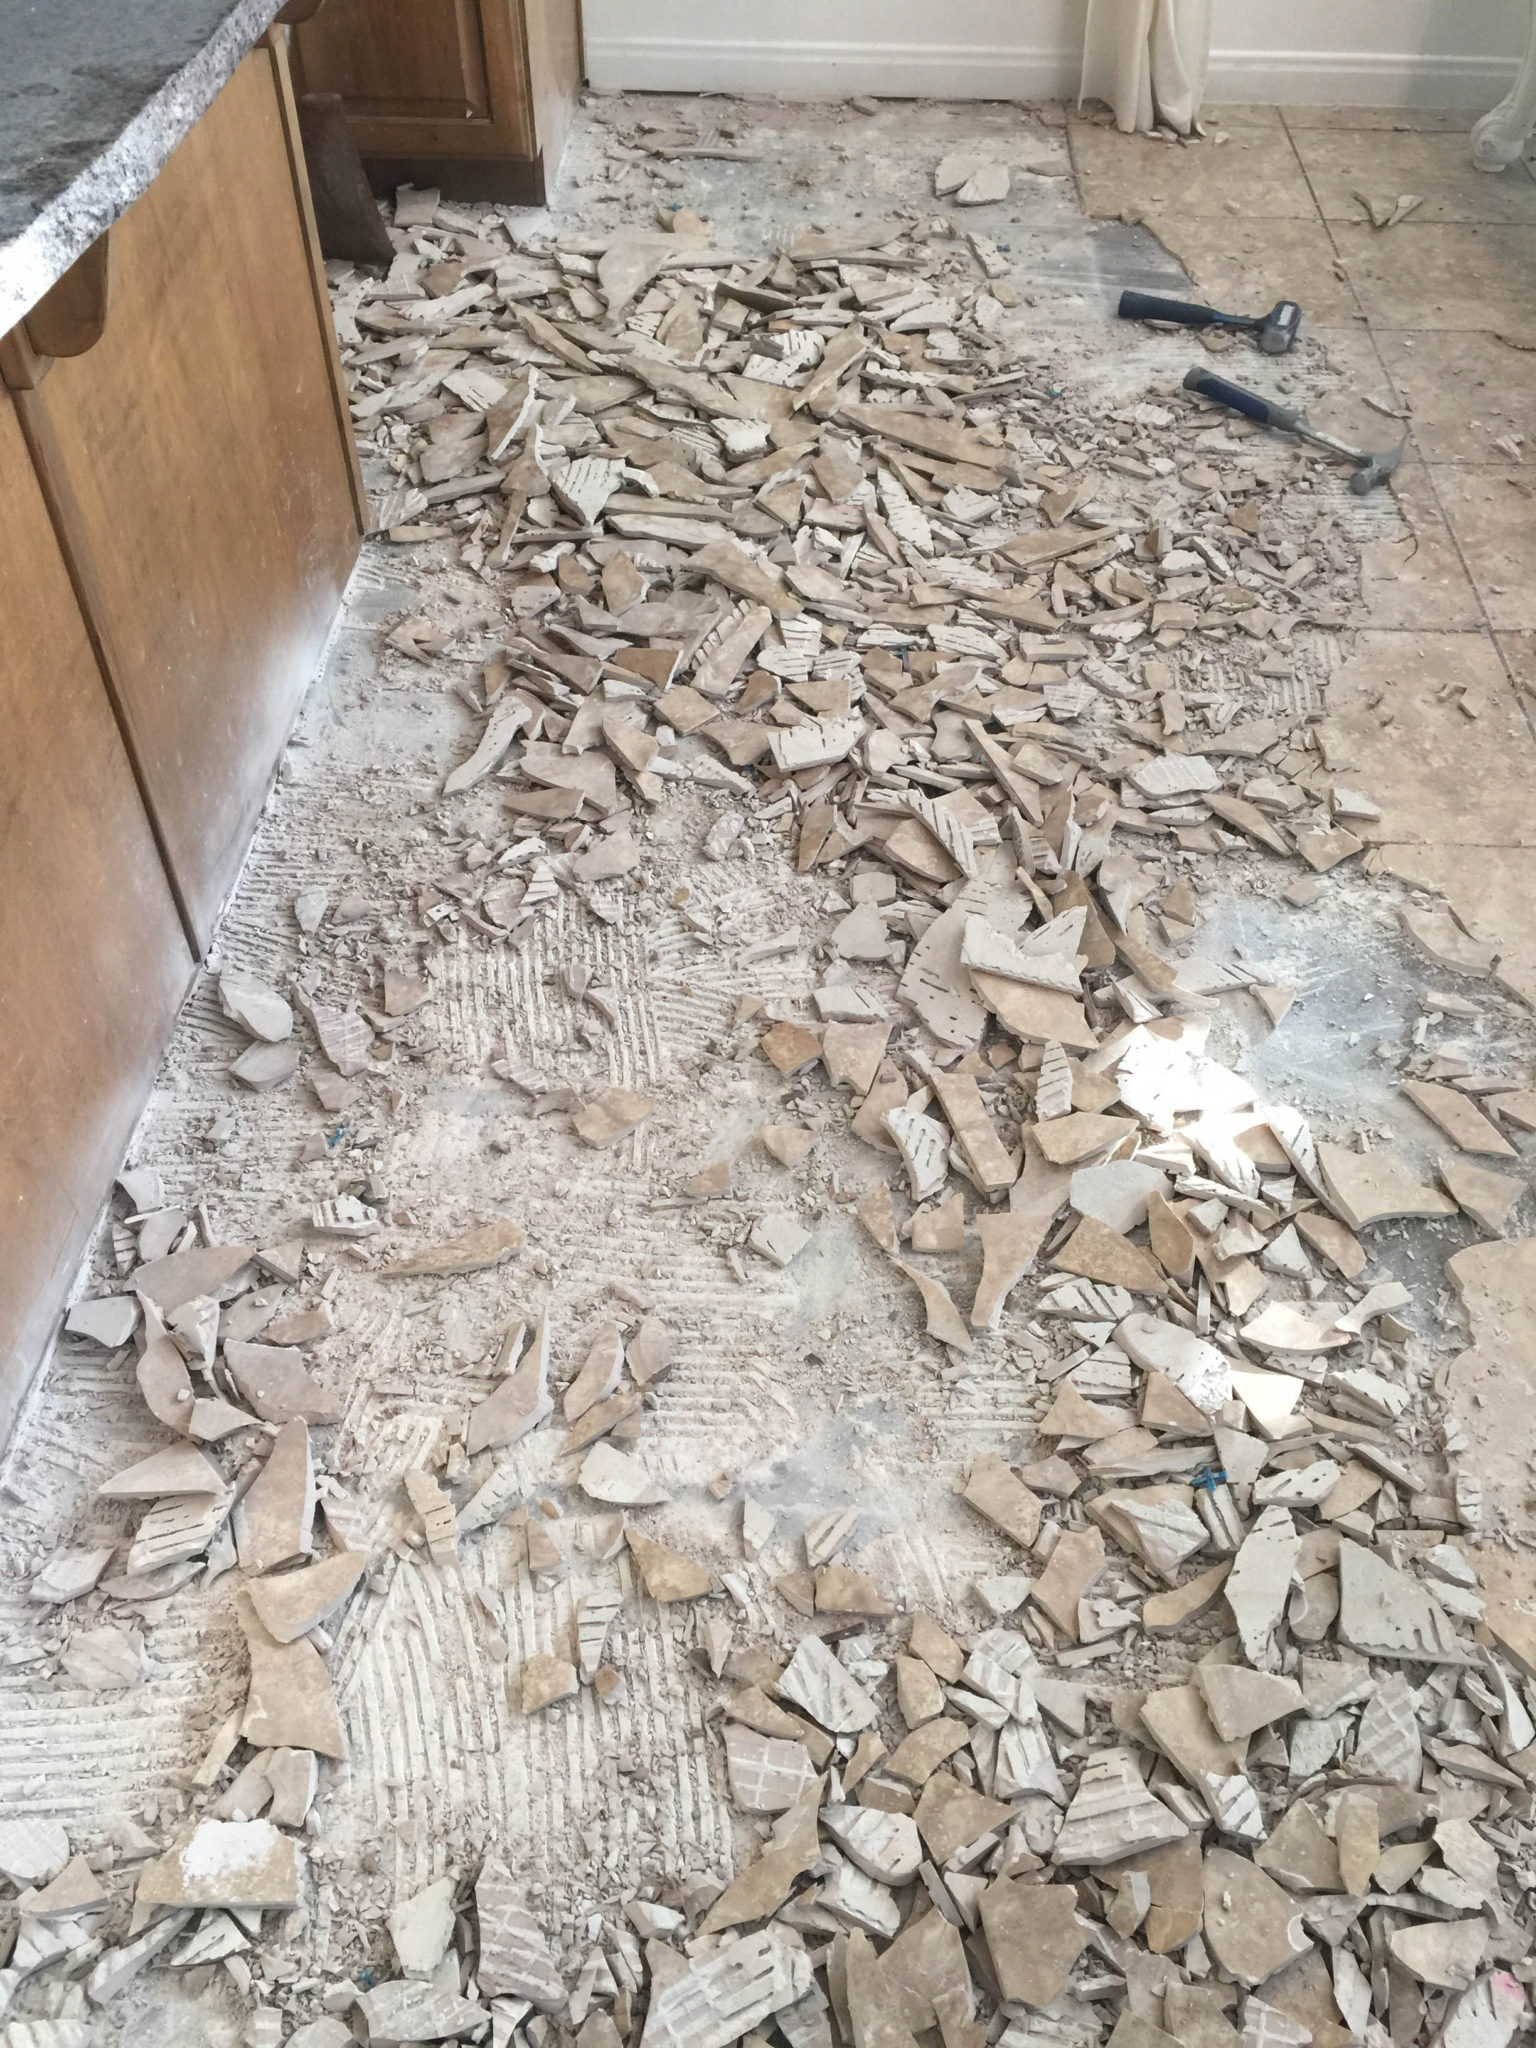
3. Remove the old tile floor:
To remove the tile floor, follow these steps:
a) Put on your safety goggles, dust mask, and gloves for protection.
b) Use a pry bar and hammer to gently lift one corner of a tile.
c) Once lifted, insert a chisel underneath it and tap lightly with a hammer until it loosens completely.
d) Continue this process for all tiles until they are all removed.
e) Use a floor scraper to remove any remaining adhesive or mortar. Be careful not to damage the subfloor.
FAQs:
Q: Can I install hardwood flooring directly over the tile?
A: It is generally recommended to remove the tile before installing hardwood flooring. Installing hardwood over tile can result in an uneven surface and may cause problems with the height of doors and transitions between rooms.
Q: How do I know if my subfloor is suitable for hardwood flooring?
A: Your subfloor should be clean, dry, and level. If there are any dips or high spots, they should be addressed before installing the hardwood floor. You may need to use a leveling compound or plywood underlayment to ensure a smooth surface.
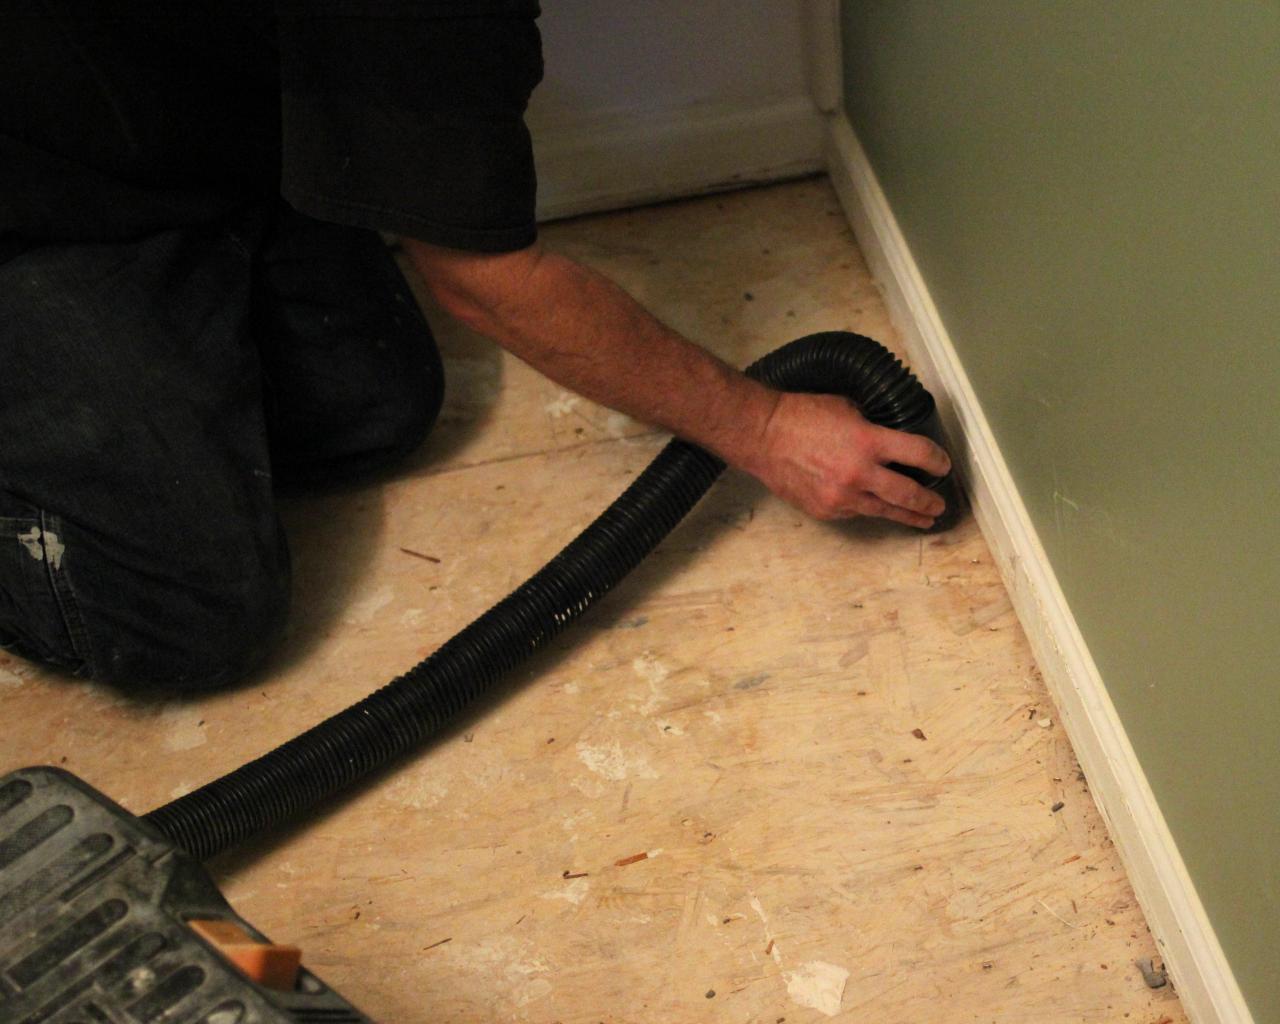
4. Prepare the subfloor:
Once you have removed the old tile floor, it’s essential to prepare the subfloor for the hardwood installation. Here’s what you need to do:
a) Inspect the subfloor for any damage or rot. Replace any damaged sections.
b) Clean the subfloor thoroughly by sweeping or vacuuming to remove any debris or dust.
c) If necessary, apply an adhesive remover to eliminate any stubborn adhesive residue.
d) Sand down any uneven areas using sandpaper or a sanding machine.
5. Install the underlayment (if required):
Depending on your specific flooring type and the condition of your subfloor, you may need to install an underlayment before laying down the hardwood planks. The underlayment provides extra cushioning, sound reduction, and moisture protection. Follow the manufacturer’s instructions for installing the under Layment material.
6. Acclimate the hardwood flooring:
Before installing the hardwood planks, it’s essential to acclimate them to the room’s temperature and humidity for at least 48 hours. This allows the planks to adjust and prevent any potential issues with expansion or contraction after installation.
7. Start laying the hardwood flooring:
a) Begin by laying a row of hardwood planks along one wall, leaving a 1/2-inch gap between the planks and the wall for expansion.
b) Use a nail gun or adhesive (depending on the type of hardwood flooring) to secure each plank in place.
c) Continue laying additional rows of planks, staggering the end joints by at least 6 inches for a more stable and visually appealing installation.
d) Cut any necessary pieces to fit around obstacles using a saw or other appropriate cutting tool.
e) Use spacers to maintain an even gap between each plank.
8. Finish the installation:
a) Once all the hardwood planks are installed, remove the spacers and fill any gaps between the flooring and walls with a matching wood filler.
b) Install baseboards or molding around the edges of the room to cover any expansion gaps.
c) Clean up any debris or dust from the installation process.
d) If necessary, apply a protective finish or sealant to the hardwood flooring according to manufacturer instructions.
9. Enjoy your new hardwood floor!< Congratulations on completing the installation of your new hardwood floor! Now it's time to sit back and enjoy the beauty and durability of your new flooring. Remember to properly maintain and care for your hardwood floor to ensure its longevity and keep it looking its best. Enjoy!