As the bathroom will constantly have water, choosing the wrong flooring can quickly ruin it. There are a variety of sorts of flooring to choose from whenever you come to decorating the bathroom of yours, but floor tiles are typically the most appropriate. You can also make use of bath room tiles made of mosaic or even stone.
Images about How To Replace A Bathroom Floor Tile
Bathroom tiles are more hygienic compared to all kinds of other kinds of flooring since they are really convenient to clean. As a situation of fact, vinyl last for many years on end. Most importantly, don't compromise on the look which you want. In case you would prefer the overall look of wood in a material that will tolerate the perils of the bathroom, laminate flooring could be for you.
Strat to finish Replace old bath tile floor with new porcelain tile

You would like to make certain that the floor you chose is properly mounted and won't start to lift of warp. Each one has its own specialty and also provides your bathroom a simple, elegant and natural look. These tiles are available in good, earthy colors and a few even have pages on them. Made from clay that is actually fired and shaped at very high temperatures, porcelain is actually perfect for bathrooms.
How to Install Ceramic Tile Flooring in 9 Steps – This Old House
:no_upscale()/cdn.vox-cdn.com/uploads/chorus_asset/file/19496947/color_gutters_illo_web_1.jpg)
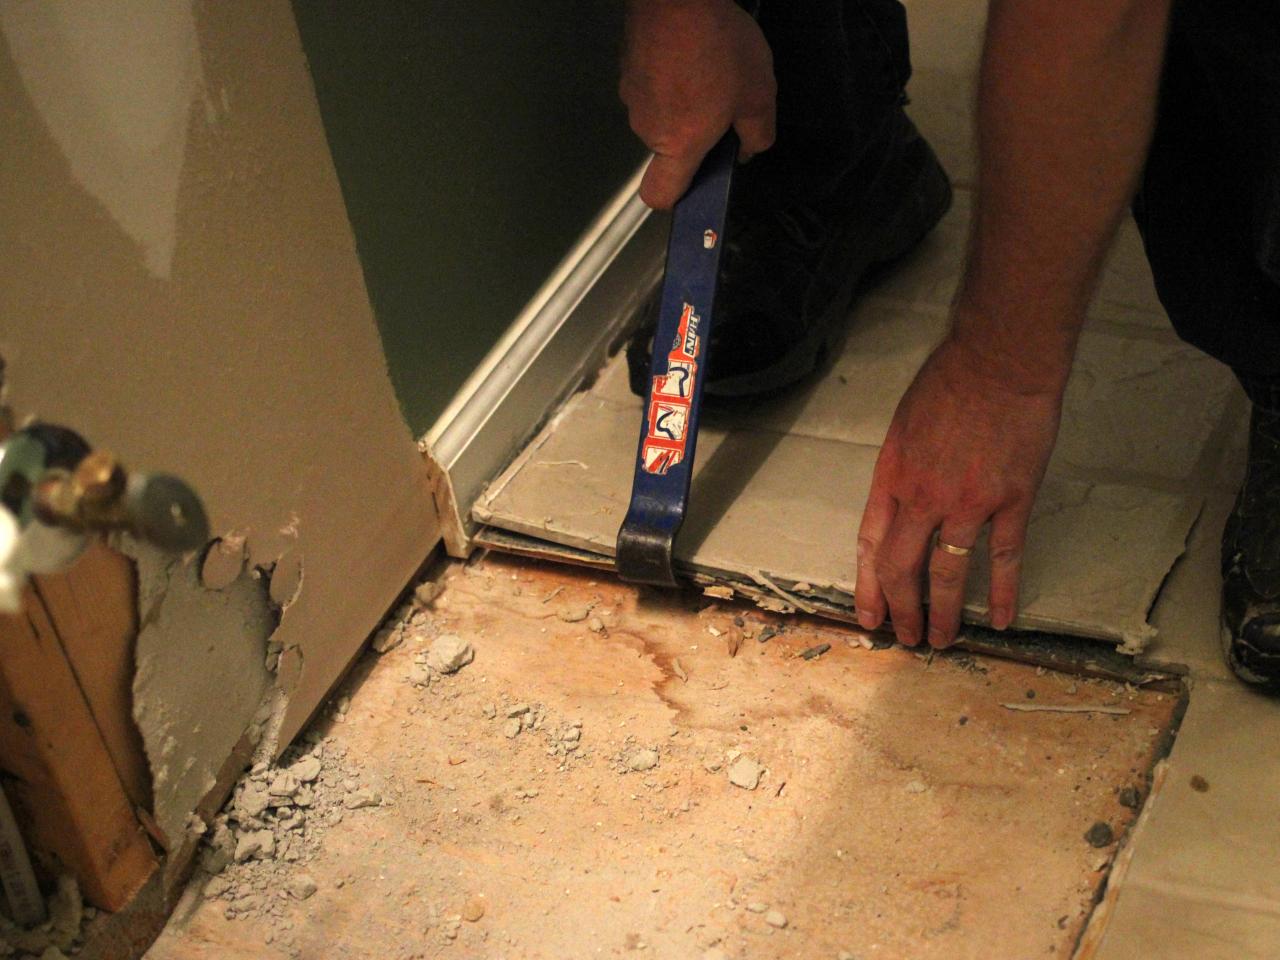
How to Remove a Tile Floor HGTV
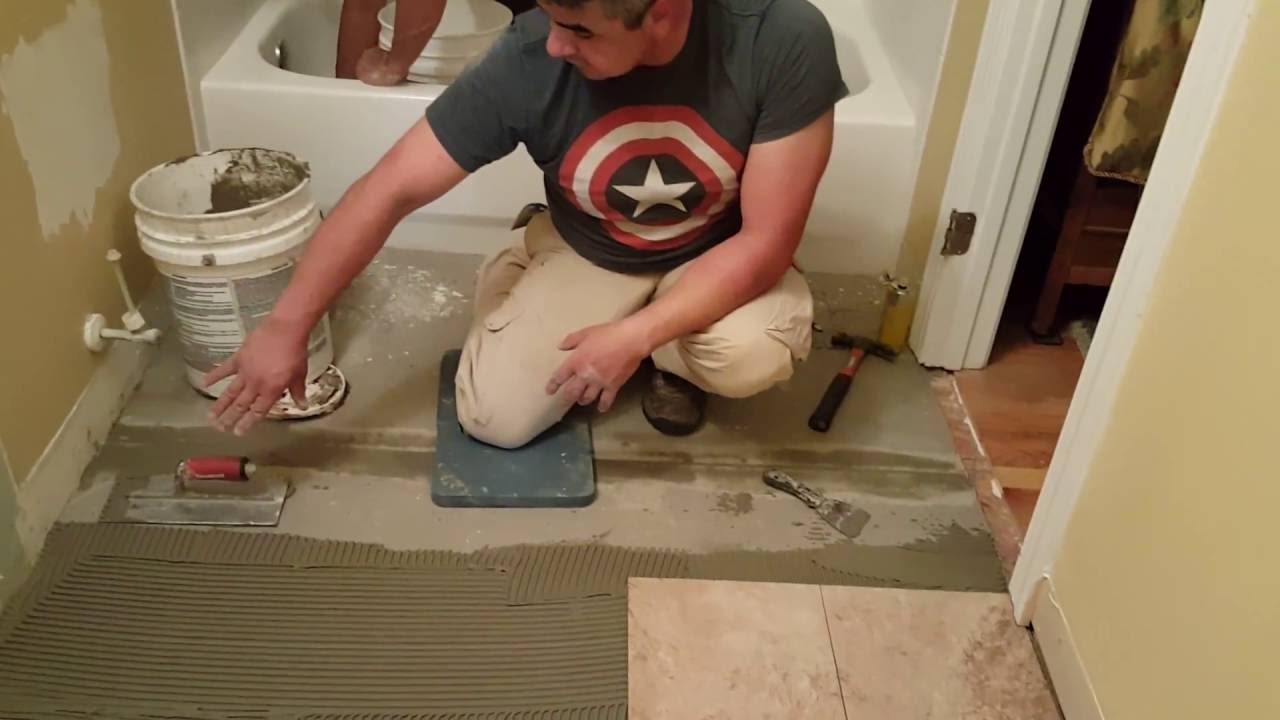
How to Tile a Small Bathroom Floor DIY Bath Remodel

How To Update Your Bathroom Floor Tiles – 6 DIY ideas

How to Lay Tile: Install a Ceramic Tile Floor In the Bathroom (DIY)

How to Remove a Tile Floor HGTV

How To Tile a Bathroom Floor The Home Depot

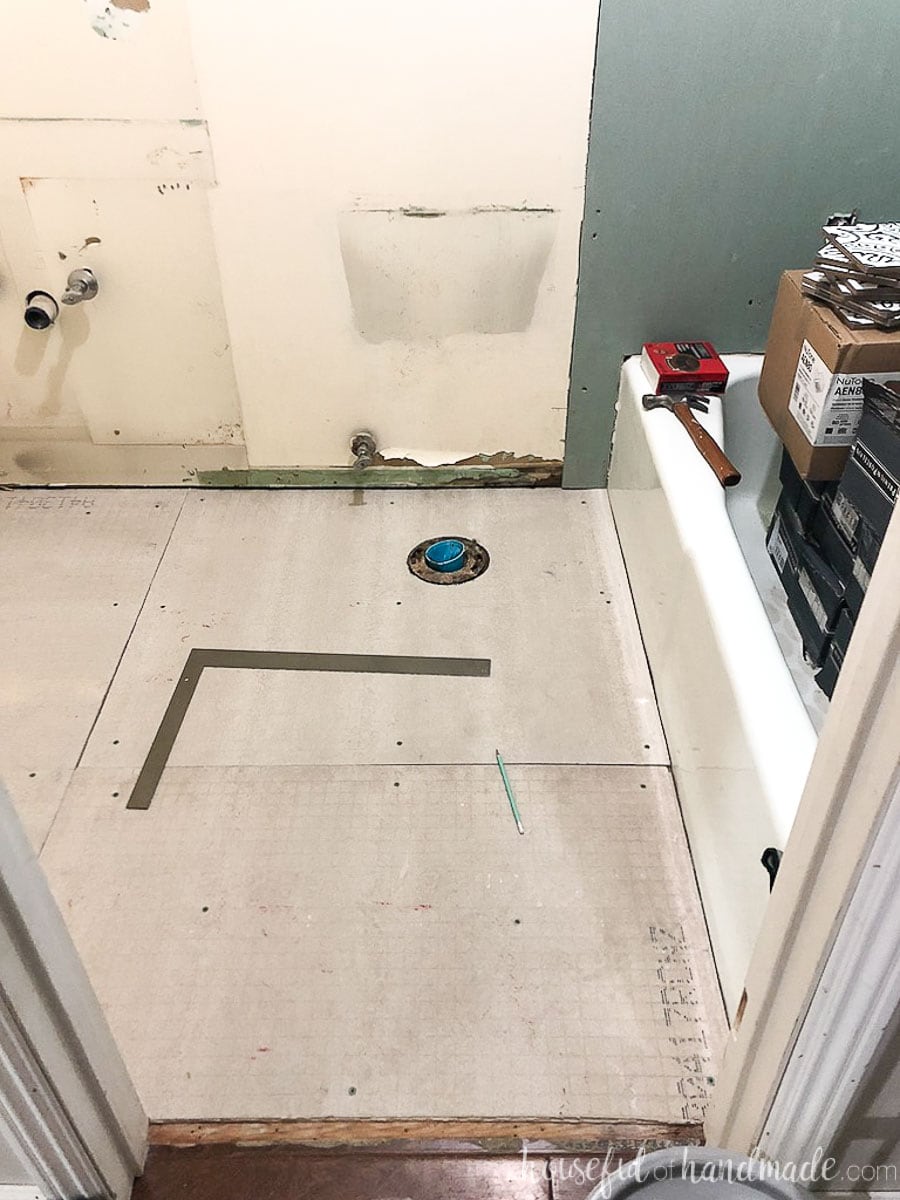
Laying Floor Tiles in a Small Bathroom – Houseful of Handmade
Ceramic Tile, Tile Flooring, Tile Installation, Hands 4 Hire, Lake

How to Lay Tile: Install a Ceramic Tile Floor In the Bathroom (DIY)
Installing a Tile Floor

How to Install Ceramic Tile Flooring in 9 Steps – This Old House
:no_upscale()/cdn.vox-cdn.com/uploads/chorus_asset/file/19496978/howto_tile_01.jpg)
Related Posts:
- 1920s Bathroom Floor Tile
- Best Way To Clean Bathroom Floor Tile Grout
- Bathroom Floor Magazine Rack
- Hair On Bathroom Floor
- Wood Bathroom Flooring Options
- Removing Ceramic Tile From Bathroom Floor
- White Bathroom With Grey Floor Tiles
- Can I Paint Bathroom Floor Tiles
- Bathroom Floor And Shower Tile Designs
- How To Design A Bathroom Floor Plan
How To Replace A Bathroom Floor Tile
Introduction:
Replacing a bathroom floor tile may seem like a daunting task, but with the right tools and step-by-step guidance, it can be a manageable DIY project. Whether your bathroom tile is cracked, chipped, or simply outdated, replacing it can give your bathroom a fresh and updated look. In this article, we will guide you through the process of replacing a bathroom floor tile, from preparing the area to applying grout. So let’s dive in and transform your bathroom into a stylish oasis.
I. Gather the necessary tools and materials
Before you begin replacing a bathroom floor tile, it is essential to gather all the necessary tools and materials. This will ensure that you have everything you need within reach, saving you time and frustration during the project. Here are some of the tools and materials you will need:
1. Safety goggles: Protect your eyes from debris and flying tile fragments by wearing safety goggles throughout the process.
2. Dust mask: Breathing in dust particles can be harmful to your health. Wear a dust mask to avoid inhaling any potentially harmful substances.
3. Gloves: Protect your hands from sharp edges or any chemical substances by wearing gloves.
4. Chisel: A sharp chisel will help you remove the damaged tile efficiently.
5. Hammer: Use a hammer to gently tap the chisel and remove the tile without causing further damage.
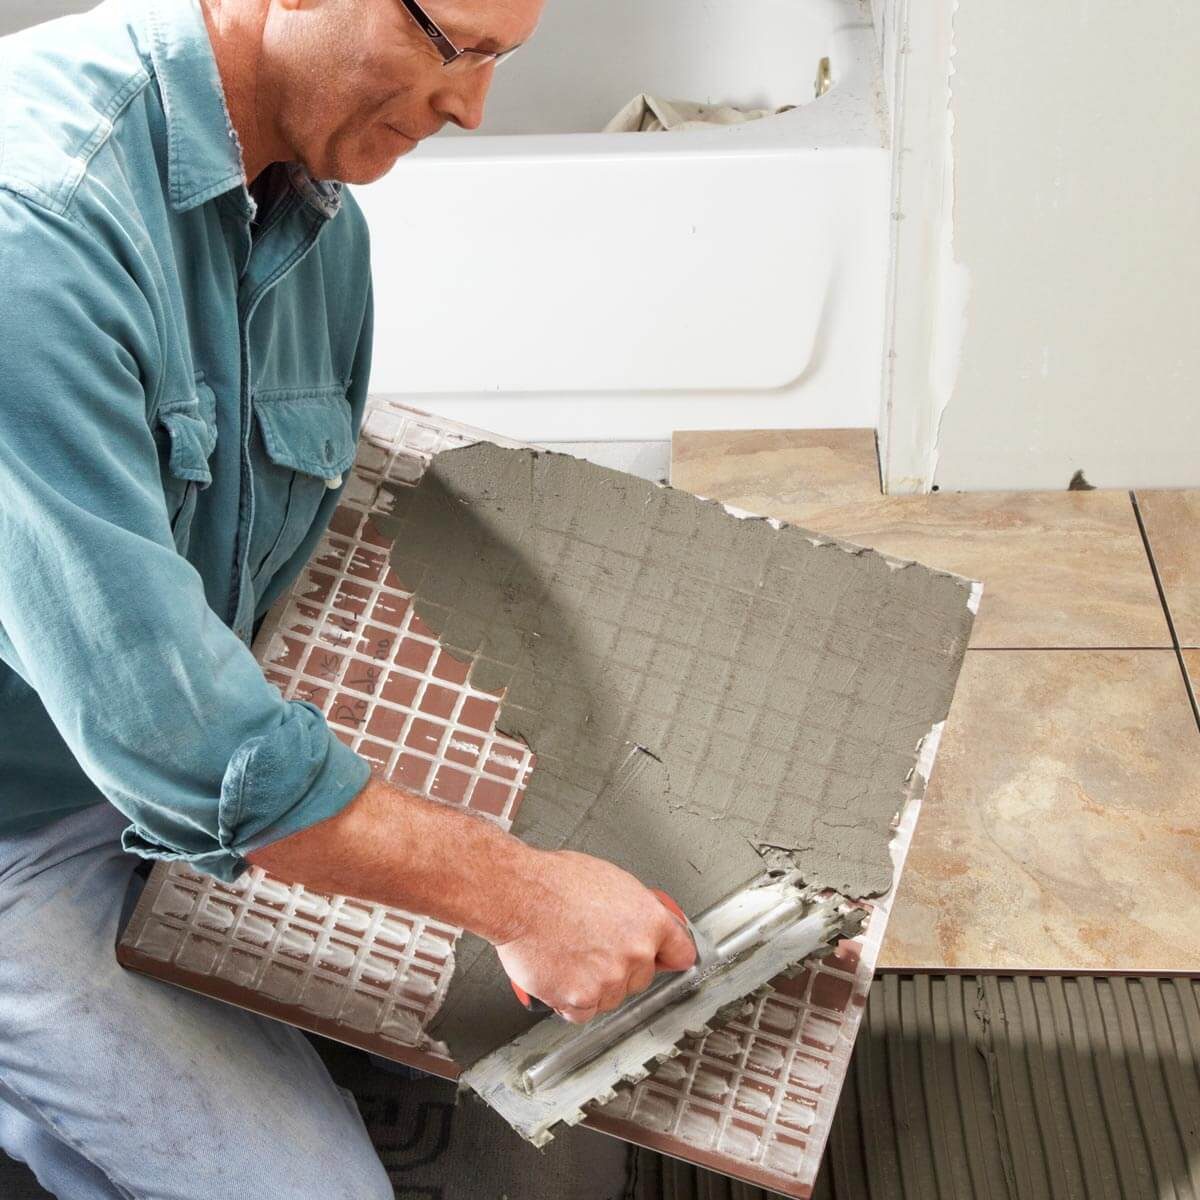
6. Grout float: A grout float is used to apply grout between tiles during the installation process.
7. Tile adhesive: Choose a high-quality tile adhesive that is suitable for your specific type of tile and substrate.
8. Replacement tiles: Make sure to purchase enough replacement tiles to cover the entire area you plan on replacing.
9. Grout: Select grout that matches both your replacement tiles and existing grout for a cohesive look.
10. Tile spacers: These small plastic pieces are placed between tiles to ensure equal spacing and a professional finish.
11. Tile cutter or wet saw: Depending on the complexity of the cuts required, you may need a tile cutter or wet saw to trim tiles to fit around edges or corners.
II. Prepare the area
Before removing any tiles, it is crucial to prepare the area properly. This will prevent any further damage and make the replacement process smoother.
1. Clear the space: Remove any objects such as rugs, mats, or furniture from the area you will be working on.
2. Turn off power and water supply: To ensure your safety, switch off the power supply to any electrical outlets in the bathroom. Additionally, shut off the water supply if there are any water pipes near the area where you will be working.
3. Remove baseboards: If your bathroom has baseboards, carefully remove them using a pry bar or putty knife. This will allow you to replace the tiles up to the wall’s edge for a seamless finish.
4. Inspect the subfloor: Examine the subfloor for any signs of damage or decay. If you notice any issues, it is best to address them before proceeding with tile replacement.
5. Protect adjacent surfaces: Cover nearby fixtures, cabinets, or countertops with plastic sheets or drop cloths to prevent them from getting damaged during the removal and installation process.
FAQs:
Q1: Can I replace just one tile without removing all of them?
A1: It is possible to replace a single tile without removing all of them, but it can be challenging to Match the new tile exactly to the existing ones. Additionally, removing and replacing individual tiles can be more time-consuming and may result in slight variations in level and appearance. It is generally recommended to replace multiple tiles or even the entire area for a seamless and professional finish.
Q2: How do I remove a damaged tile without causing further damage?
A2: To remove a damaged tile without causing further damage, you can follow these steps:
1. Put on safety gear, including gloves and eye protection.
2. Use a chisel and hammer to gently tap the chisel under the edge of the tile.
3. Once the chisel is inserted, carefully pry up the tile, working gradually along all edges.
4. Be cautious not to apply excessive force or use sharp tools that could scratch or damage surrounding tiles.
5. Clean any remaining adhesive or grout from the subfloor using a scraper or putty knife.
6. Prepare the area for installation by ensuring it is clean and level before applying new adhesive and replacing the tile.
Q3: How do I choose the right tile adhesive?
A3: When selecting tile adhesive, consider the following factors:
– The type of tile you are installing (ceramic, porcelain, natural stone, etc.). Different adhesives are designed for different types of tiles.
– The substrate or surface on which you are installing the tiles (concrete, plywood, etc.). Certain adhesives are better suited for specific substrates.
– The location of the installation (bathroom, kitchen, outdoor, etc.). Some adhesives are formulated to withstand moisture or temperature changes.
– The size and weight of the tiles. Larger and heavier tiles may require stronger adhesives.
– Follow manufacturer guidelines and recommendations for the specific adhesive you choose to ensure proper application and bonding.
Q4: How do I ensure equal spacing between tiles?
A4: Tile spacers can be used to ensure equal spacing between tiles. These small plastic pieces are placed at the corners of each tile during installation to create consistent gaps. The size of the spacers determines the width of the grout lines. Choose spacers that match your desired grout line width, typically ranging from 1/16 inch to 1/4 inch. Remove the spacers once the adhesive has dried, before applying grout in the gaps.
Q5: Do I need a wet saw or tile cutter to trim tiles?
A5: The need for a wet saw or tile cutter depends on the complexity of the cuts required. If you have simple straight cuts, a tile cutter with a scoring wheel may suffice. However, for more intricate cuts around edges or corners, or if you are working with natural stone or thicker tiles, a wet saw equipped with a diamond blade is recommended. Wet saws provide precise and clean cuts by using water to cool down the blade and minimize dust. Remember to wear appropriate safety gear when using any cutting tools.
Note: It is always recommended to consult professional advice or hire a professional if you are unsure about any aspect of tile replacement or if you encounter any challenges during the process.