The furniture legs of yours ought to have experienced pads on them to stay away from scratching the tiles. Although some consumers have shifted towards carpeting and wood flooring, style flooring even now eclipses the rest in popularity. When the floor is installed by a skilled installer, they will warrant the tile as well as work that they have done. Which you use is dependent on the thickness of the ceramic tile flooring of yours.
Images about How To Strip And Wax Tile Floors

There are several ways to educate yourself more and more tile floors. Take a damp cloth and provide it with a gentle wipe. Carpet can withstand some bending, vinyl tile is able to flex as well as twist a bit, hardwood floors could bend a tad too, but if tile or perhaps stone is subjected to forces that push in two different directions at one time, it doesn't know how to bend.
How to Strip and Wax Commercial Hard Floors [+ Key Benefits]

Based on the thickness of your tile, you'll have to press it into the mortar a shorter distance. This blend impression can even divide huge open areas into smaller living areas. It was still very eye appealing, however, not really overly fancy. The disadvantage to adding interlocking tile flooring is actually the tiles are likely to shift about because they're not firmly fixed in position. This implies you must do a little measuring first.
Strip and Wax Tile Floors – J and S Janitorial SerivcesJ and S

How to Strip and Wax A Floor
How To Remove Wax From Tile Floors (Business Promo)
HOW TO STRIP AND WAX A FLOOR, STEP BY STEP WITH TEXT INSTRUCTIONS

Waxing Ceramic Tile Floors
3 Ways to Strip Wax Buildup From Floors – wikiHow

How To Strip Wax From Tile Floors Royal Building Cleaning Ltd
How to Strip Commercially Waxed Floors

3 Ways to Strip Wax Buildup From Floors – wikiHow

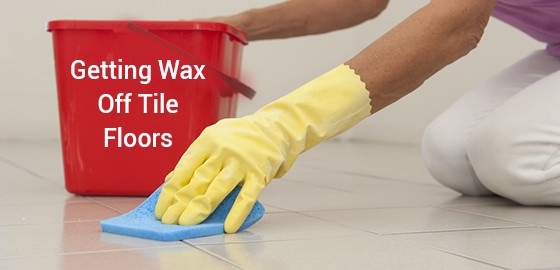
How to Remove Floor Wax from Porcelain Tiles » How To Clean Stuff.net

Stripping u0026 Waxing Stripping and waxing tile floors, Stripping

We Strip u0026 Wax VCT Tile Floors –

Related Posts:
- 24×24 Slate Tile Flooring
- How To Make Tile Floor Warmer
- Can I Stain Ceramic Tile Floor
- Painting Old Tile Floors
- Best Vinyl Tile Flooring For Kitchen
- What Is The Best Mop To Clean Tile Floors
- Soho Tile Floor And Decor
- Beach House Tile Flooring
- Slate Tile Floor Images
- What Is The Best Grout Sealer For Tile Floors
How to Strip and Wax Tile Floors: A Comprehensive Guide
Introduction:
Maintaining the cleanliness and shine of your tile floors is essential to enhance the aesthetic appeal and longevity of your space. One effective way to achieve this is by periodically stripping and waxing your tile floors. This process not only removes dirt, grime, and old wax buildup but also provides a protective layer, giving your floors a fresh and glossy appearance. In this comprehensive guide, we will walk you through the step-by-step process of how to strip and wax tile floors, along with some frequently asked questions for a thorough understanding.
I. Preparing for the Stripping Process:
Before diving into the actual stripping process, it is crucial to prepare your tile floors adequately. Follow these steps to ensure a smooth and efficient stripping procedure:
1. Clear the Area:
Begin by removing any furniture or obstacles from the area you plan to work on. This will not only provide you with an unobstructed workspace but also prevent any potential damage or accidents.
2. Gather Supplies:
To effectively strip and wax your tile floors, you will need several supplies including:
– Safety goggles
– Rubber gloves
– Dust mop or broom
– Commercial floor stripper solution
– Scrub brush or floor machine with a stripping pad
– Bucket
– Wet/dry vacuum cleaner
– Clean rags or mop heads
– Neutralizing cleaner
II. Stripping Process:
Now that you have prepared your workspace and gathered all the necessary supplies let’s move on to the actual stripping process:
1. Dilute the Floor Stripper Solution:
Most commercial floor strippers require dilution with water before use. Carefully read the instructions provided by the manufacturer on the product’s label to determine the appropriate ratio of water to floor stripper solution.
2. Apply the Floor Stripper Solution:
Start by pouring the diluted floor stripper solution onto a small section of your tile floor, ensuring it is evenly distributed. It is essential to work in manageable sections to prevent the solution from drying out before you can scrub it.
3. Allow Dwell Time:
The floor stripper solution needs some time to penetrate and loosen the old wax buildup and grime. Refer to the product’s instructions for the recommended dwell time, usually around 10-15 minutes. Avoid letting the solution dry on the floor, as it may lead to more challenging removal.
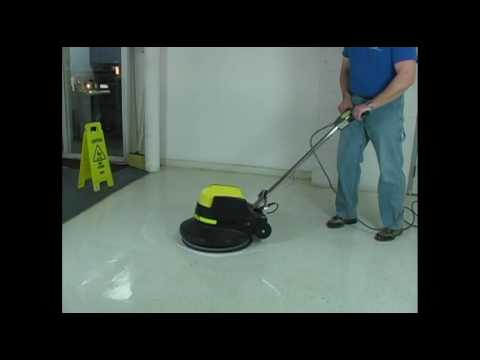
4. Agitate the Solution:
Using a scrub brush or a floor machine with a stripping pad, vigorously scrub the section where you applied the floor stripper solution. This mechanical action will help dislodge any stubborn dirt or wax buildup. For larger areas, a floor machine can be more efficient and less labor-intensive.
5. Extract the Solution:
After thoroughly scrubbing the section, use a wet/dry vacuum cleaner or mop to extract the loosened residue and liquid from the floor. Ensure that all traces of the floor stripper solution are removed before proceeding to the next section.
6. Rinse with Clean Water:
To neutralize any remaining residue from the floor stripper solution, rinse the stripped area with clean water. This step is crucial as it prepares your tile floors for wax application by removing any chemicals that could interfere with proper adhesion.
7. Repeat for Additional Sections:
Continue working in small sections until you have completed stripping your entire tile floor. Remember to dilute fresh batches of floor stripper solution as needed and maintain a consistent rhythm throughout the process.
III. Waxing Process:
With your tile floors adequately Stripped and cleaned, you can now move on to the waxing process. Here are the steps to follow:
1. Choose the Right Wax:
Select a high-quality floor wax that is suitable for your type of tile floor. Read the manufacturer’s instructions to ensure compatibility.
2. Prepare the Wax:
Follow the manufacturer’s instructions to properly dilute or mix the wax, if necessary. Some waxes come ready-to-use, while others may require dilution with water.
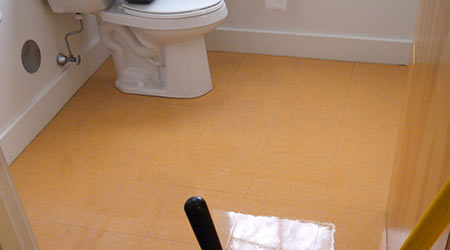
3. Apply a Thin Coat of Wax:
Using a clean mop or wax applicator, apply a thin and even coat of wax onto a small section of your tile floor. Start from one corner and work your way towards an exit to avoid stepping on freshly waxed areas.
4. Allow Drying Time:
Let the first coat of wax dry completely before applying additional coats. The drying time may vary depending on the specific product you’re using, so refer to the manufacturer’s instructions for guidance.
5. Apply Additional Coats (Optional):
If desired, apply additional coats of wax for added shine and durability. Make sure each coat dries completely before applying the next one.
6. Buff the Floor (Optional):
Once all coats of wax have dried, you can use a floor buffer or a clean, dry mop to buff the surface and enhance its shine.
7. Maintain Regular Maintenance:
To keep your newly waxed tile floors looking their best, regularly sweep or vacuum to remove dirt and debris. Use a neutral cleaner when mopping and avoid using abrasive cleaners that could damage the wax finish.
By following these steps, you can effectively strip and wax your tile floors, leaving them clean, shiny, and protected. Remember to always read and follow the instructions provided by the product manufacturers for best results.