Polyurea is considerably more durable than an epoxy flooring covering (aproximatelly 4 times longer lasting), and it is versatile, which makes it much more organic and comfy. Selecting basement flooring for the home of yours could be confusing as you negotiate about factors like moisture issues and many different flooring choices. A drain will rid you of just about any additional water and will assist to protect against flooding.
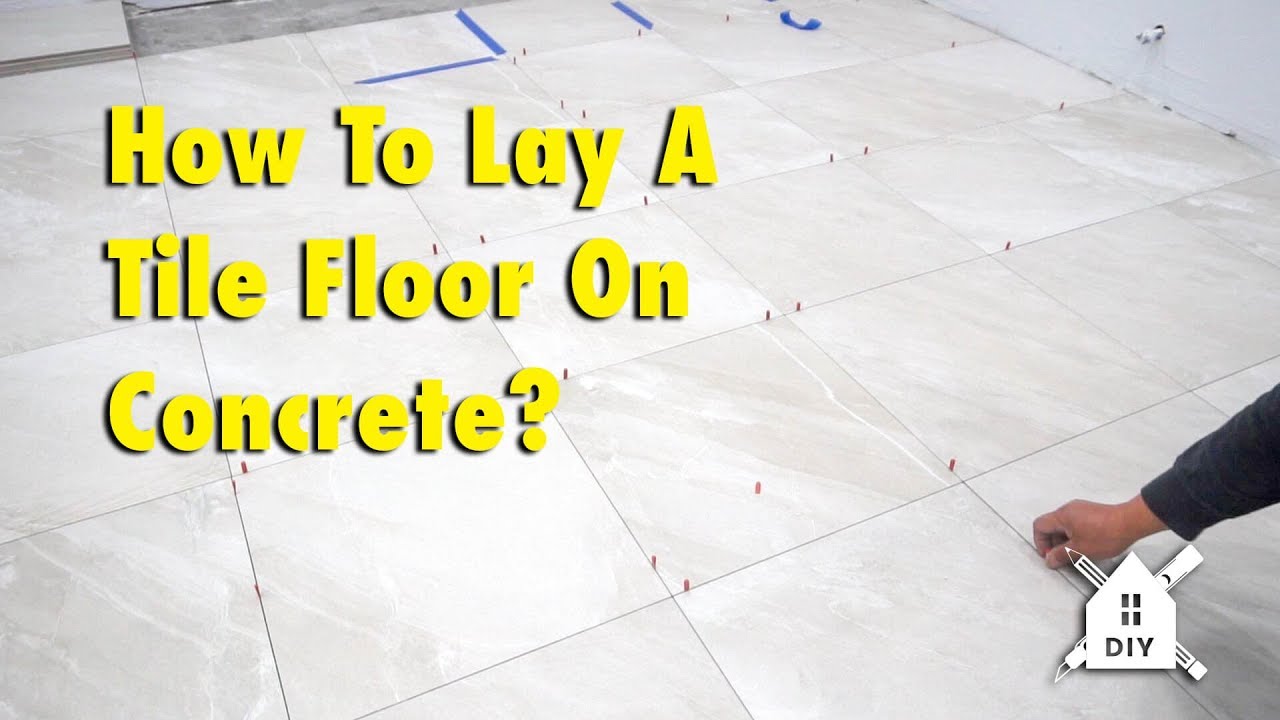
Images about How To Tile Over Concrete Basement Floor
For decades, basements were considered to be no more than storage rooms, mainly unfinished concrete floors and walls, places where old clothes, toys, tools, boxes of stuff and whatever else that was not immediately wanted might be saved. Check for cracks in the basement of yours before installing floor tile as these will also cause cracks in the new floor of yours.
Can You Install Tile Over Concrete?
:max_bytes(150000):strip_icc()/can-you-install-tile-directly-on-concrete-1822600-04-458f7bb6c78348c1835cf8054ef36553.jpg)
These're typically amongst the cheap solutions that you've, and consequently they are growing in popularity, especially as they become more functional and more attractive. By performing some online research, you will have the ability to find a lot of different choices for basement floor coverings. Don't choose linoleum tile because this's susceptible to basement problems.
How to Install Tile Over Concrete – GreenBuildingAdvisor

How to Prepare for Laying Tile Over a Concrete Floor
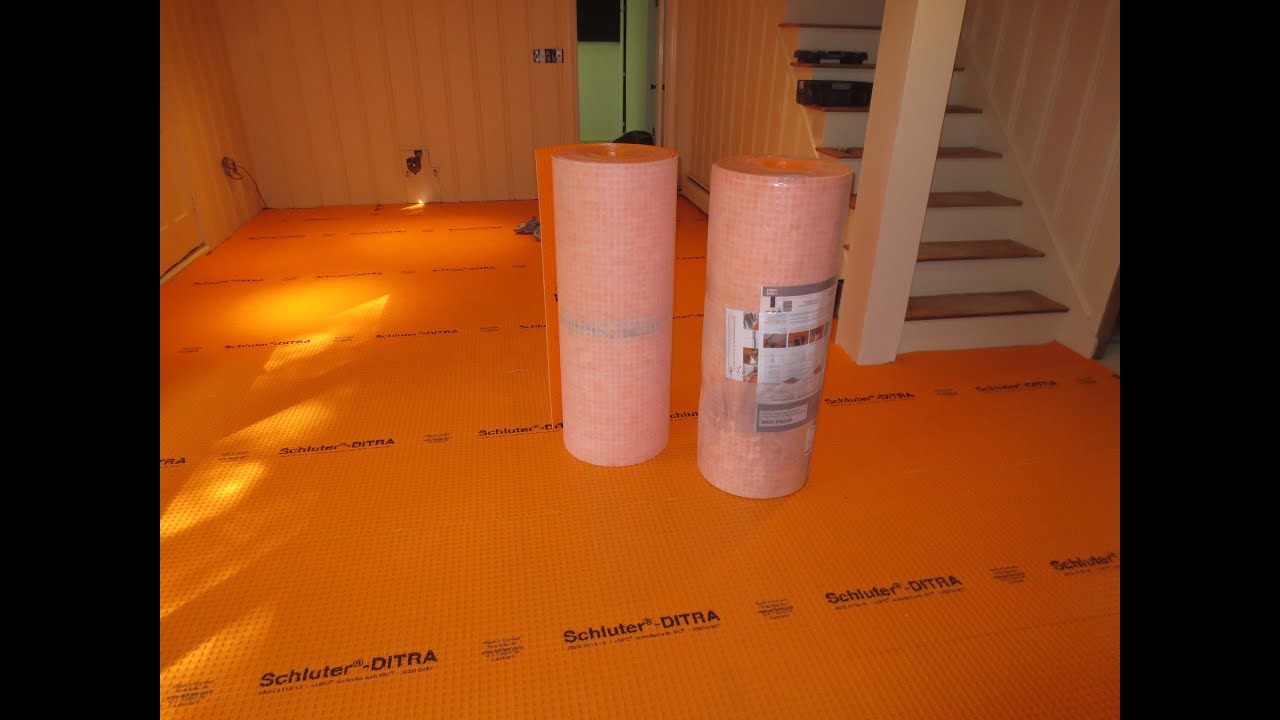
How to tile a large basement floor Part 1 Installing Schluter Ditra
Tile Over Concrete Subfloor – An Easy DIY Tile Over Concrete Tutorial

Can You Install Tile Over Concrete?
/can-you-install-tile-directly-on-concrete-1822600-01-8a89ceab1a274fb8ac81890ab7fc6b1b.jpg)
How to Prepare Concrete for a Tile InstallationLearning Center

Tile On Concrete Madison WI Molony Tile

Concrete Basement Floor Tiling u0026 Preparation

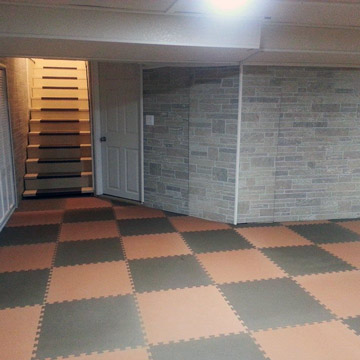
basement flooring options over concrete basement sub floor tiles

9 Basement Flooring Ideas for Your Home – Bob Vila

Budget Basement Flooring Ideas: Foam, Rubber u0026 Carpet Tiles u0026 Rolls
Can You Lay Tile Directly Over a Plywood Subfloor? – Todayu0027s Homeowner
Related Posts:
- Waterproofing Basement Floors Walls
- Can You Tile Over Concrete Basement Floor
- Flooring Options For Concrete Basement
- How To Insulate Basement Floor Joists
- How To Stop A Basement Floor From Leaking
- How To Seal And Paint Concrete Basement Floor
- What Is The Drain In My Basement Floor
- Flooring Ideas For Basement Family Room
- Waterproof Wood Flooring For Basement
- Water Seeping Up Through Basement Floor
How to Tile Over Concrete Basement Floor
Tiling over a concrete basement floor can be a great way to improve the overall look and functionality of your space. Whether you’re looking to transform your basement into a cozy living area, a home gym, or even a home office, tiling the floor can provide a clean and durable surface that will last for years to come. In this article, we will guide you through the step-by-step process of how to tile over a concrete basement floor, including the necessary tools, preparation steps, and tile installation techniques.
I. Tools and Materials Needed
Before diving into the tiling process, it’s important to gather all the necessary tools and materials. Here is a comprehensive list:
1. Safety gear: safety glasses, gloves, and knee pads
2. Measuring tape
3. Chalk line
4. Level
5. Pry bar
6. Hammer
7. Angle grinder or concrete grinder
8. Vacuum cleaner or broom
9. Trowel
10. Notched trowel
11. Tile spacers
12. Thin-set mortar or adhesive
13. Grout mix
14. Grout float
15. Sponge or damp cloth
16. Tile cutter or wet saw
17. Tiles of your choice (consider porcelain or ceramic tiles for basement floors)
II. Preparing the Concrete Surface
1. Remove any existing flooring: Start by removing any existing flooring materials on the concrete surface using a pry bar and hammer.
FAQ: Can I tile over vinyl or carpet in my basement?
No, it is not recommended to tile directly over vinyl or carpet in a basement as these materials lack stability and may compromise the integrity of the tile installation. It’s crucial to remove them before proceeding with tiling.
2. Clean the concrete surface: Thoroughly clean the concrete surface using an angle grinder or concrete grinder to remove any paint, adhesives, or imperfections. This step ensures proper adhesion of the tile to the concrete.
FAQ: Can I tile over a painted concrete floor?
While it’s possible to tile over a painted concrete floor, it is generally not recommended. The paint can prevent proper bonding between the thin-set mortar and the concrete, leading to tile failure. It is best to remove the paint before tiling.
3. Fill cracks and level the surface: Inspect the concrete for any cracks or uneven areas. Fill in the cracks using an appropriate concrete patching compound and level any uneven spots using a self-leveling compound. Allow sufficient time for these compounds to dry and cure before proceeding.
FAQ: Do I need to use a primer on my concrete basement floor before tiling?
Using a primer on a concrete basement floor is not necessary unless there are specific issues such as excessive moisture or poor adhesion. However, if you’re unsure about the condition of your concrete, it’s always a good idea to consult with a professional or apply a primer as an extra precaution.
III. Installing Tiles
1. Plan the layout: Before starting the actual tile installation, plan the layout by measuring and marking reference lines on the floor using a chalk line. This step will help ensure that the tiles are evenly spaced and aligned.
FAQ: Should I start tiling from the center of the room?
While starting from the center of the room is a common practice, it may not always be necessary or practical for every basement space. It ultimately depends on your specific layout and personal preference . Starting from the center can help create a balanced and symmetrical look, but you can also start from one side or corner if it suits your space better. Just make sure to measure and plan accordingly to ensure a professional-looking installation.
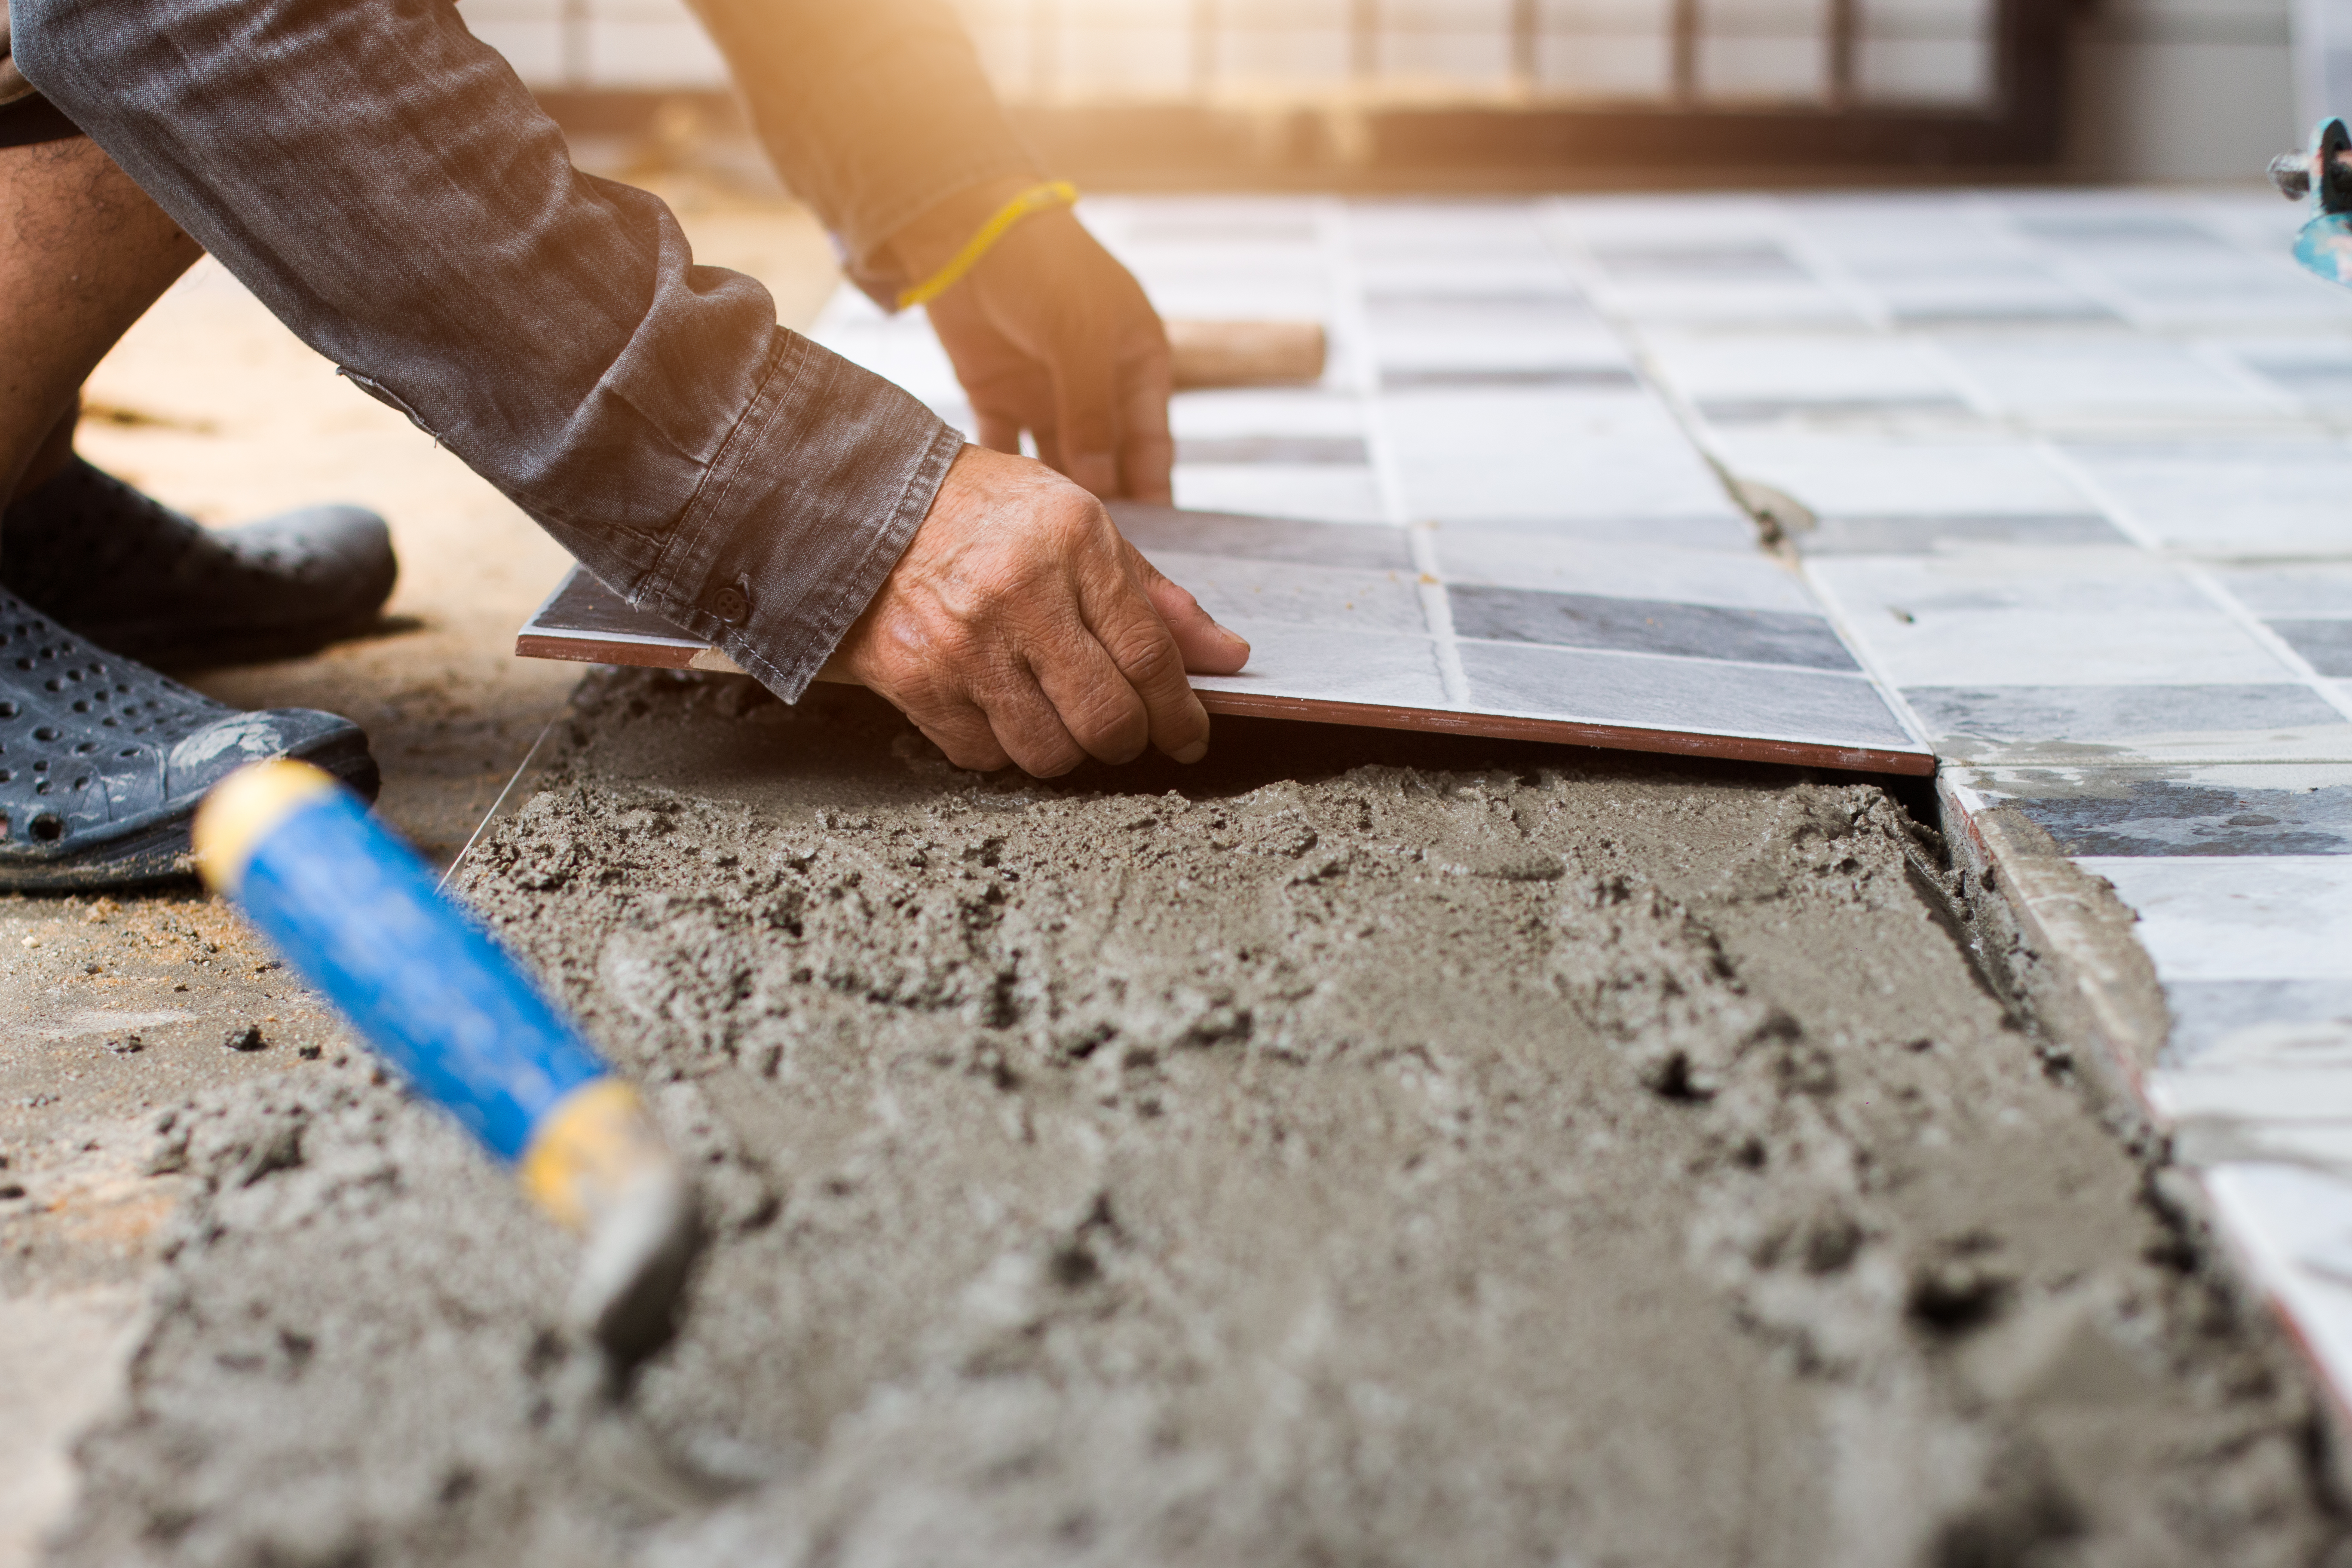
2. Apply thin-set mortar: Mix the thin-set mortar according to the manufacturer’s instructions. Use a notched trowel to spread a layer of mortar onto the concrete surface, covering an area that is small enough for you to tile within 15-20 minutes.
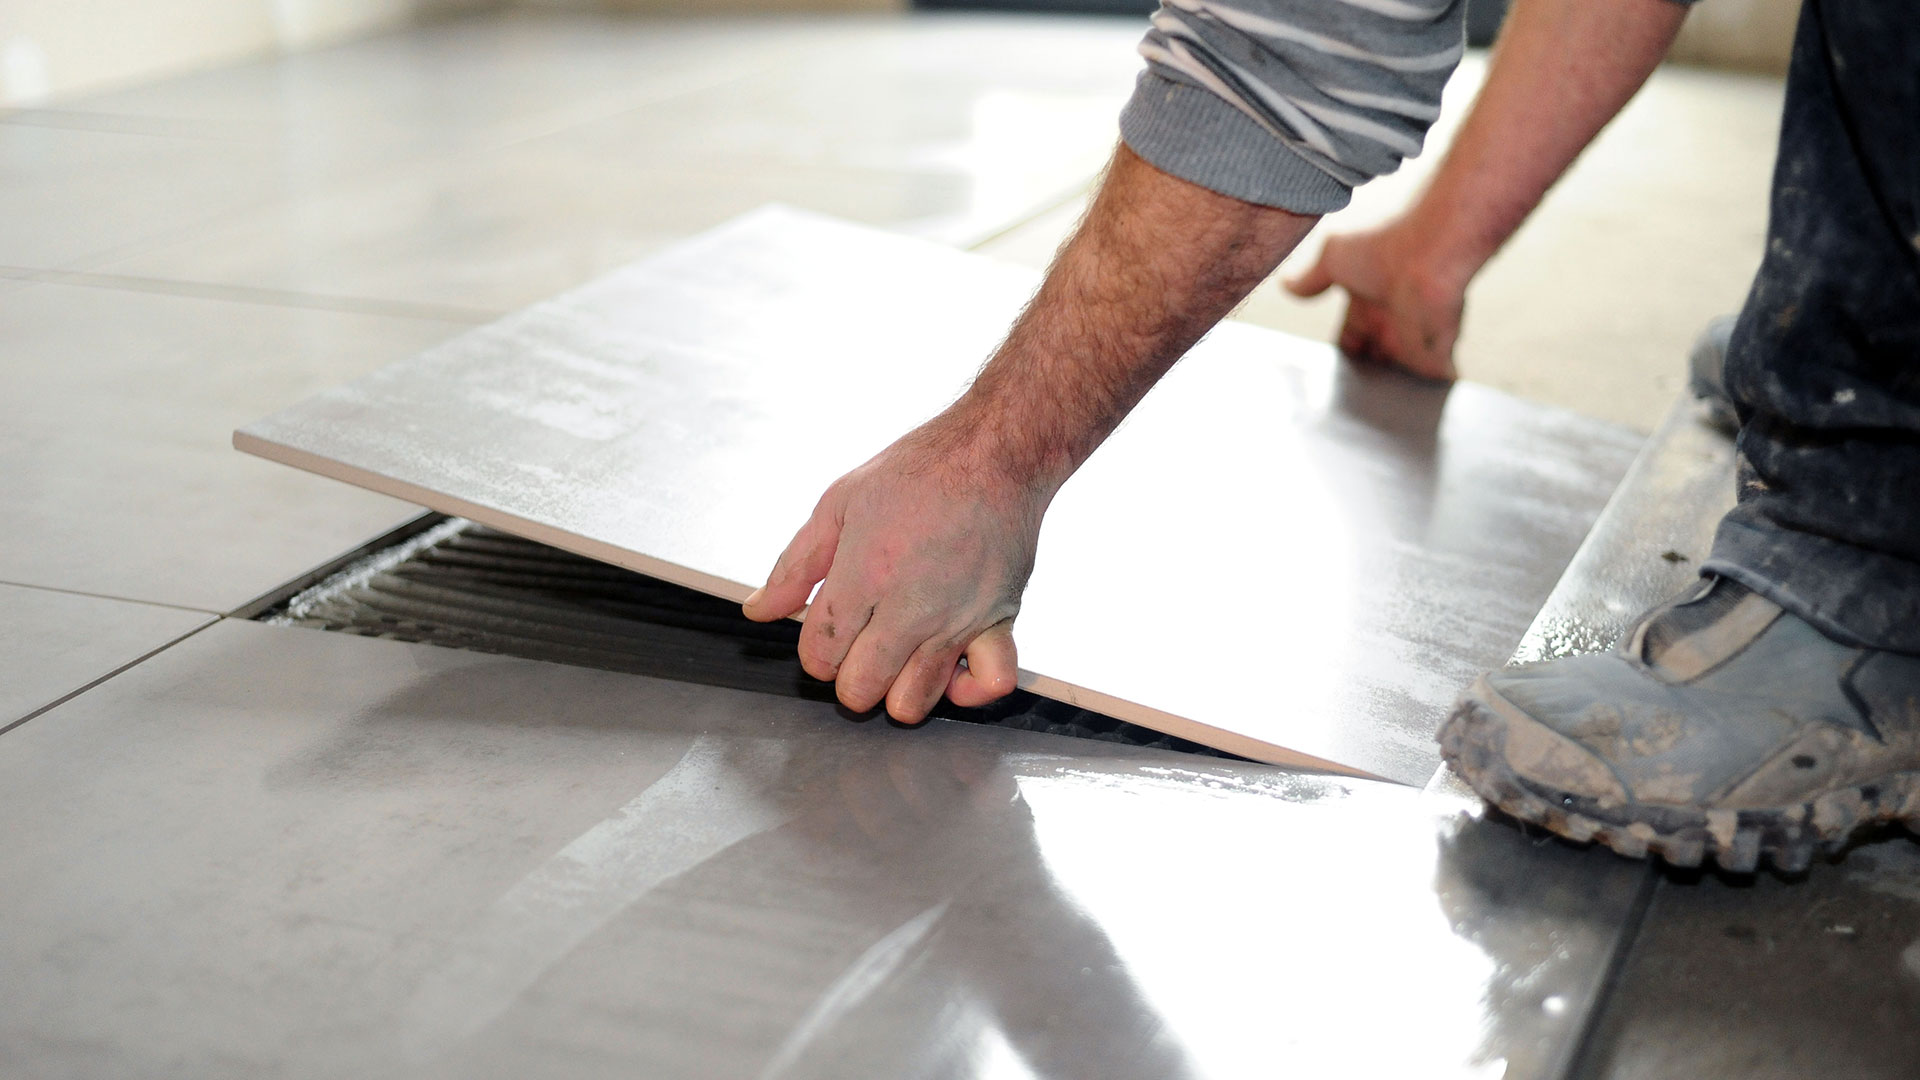
3. Place the tiles: Press each tile firmly into the mortar, aligning it with the reference lines and leaving a small gap (about 1/8 inch) between tiles for grout. Use tile spacers to maintain consistent spacing between tiles.
4. Cut tiles as needed: Use a tile cutter or wet saw to cut tiles to fit around edges, corners, or obstacles in the room. Remember to wear safety glasses and follow proper cutting techniques when using these tools.
5. Allow the mortar to dry: Let the tiles set in the mortar for at least 24 hours before proceeding to the next step.
6. Apply grout: Mix the grout according to the manufacturer’s instructions. Use a grout float to spread the grout over the tiled surface, ensuring that all gaps between tiles are filled.
7. Clean excess grout: After about 10-15 minutes, use a damp sponge or cloth to wipe away any excess grout from the surface of the tiles. Rinse the sponge frequently and continue wiping until the tiles are clean and grout-free.
8. Let the grout cure: Allow the grout to cure for at least 48 hours before exposing it to heavy foot traffic or moisture.
9. Seal the grout (optional): To protect your grout from stains and moisture, consider applying a grout sealer according to the manufacturer’s instructions.
10. Enjoy your new tile floor: Once the grout has fully cured, your basement tile floor is ready to be enjoyed! Regularly clean and maintain the tiles to keep them looking their best.
Remember, it’s always a good idea to consult with a professional or follow specific product instructions for your particular tile and basement conditions. Proper installation and maintenance will ensure a long-lasting and visually appealing tile floor in your basement.