There are various designs, styles and types and the costs depend on the quality and substance used in manufacturing. Thus, everything about the home of ours has to be simply perfect in order to get relaxation. Home will be the place just where we go back at the conclusion of busy day and a tiring. The web also provides numerous websites where you can compare discounted and regular vinyl flooring prices.
Images about How To Vinyl Flooring
A printing technique has been produced making vinyl flooring are like replicates of fire wood, brick, tile or marble. It costs much less per square-metre. You only need to take the style that best suits the taste of yours, read its make, make an order and receive them directly on the doorstep of yours. Additionally, it comes in sheets that resemble stone, other natural textures, slate and tile.
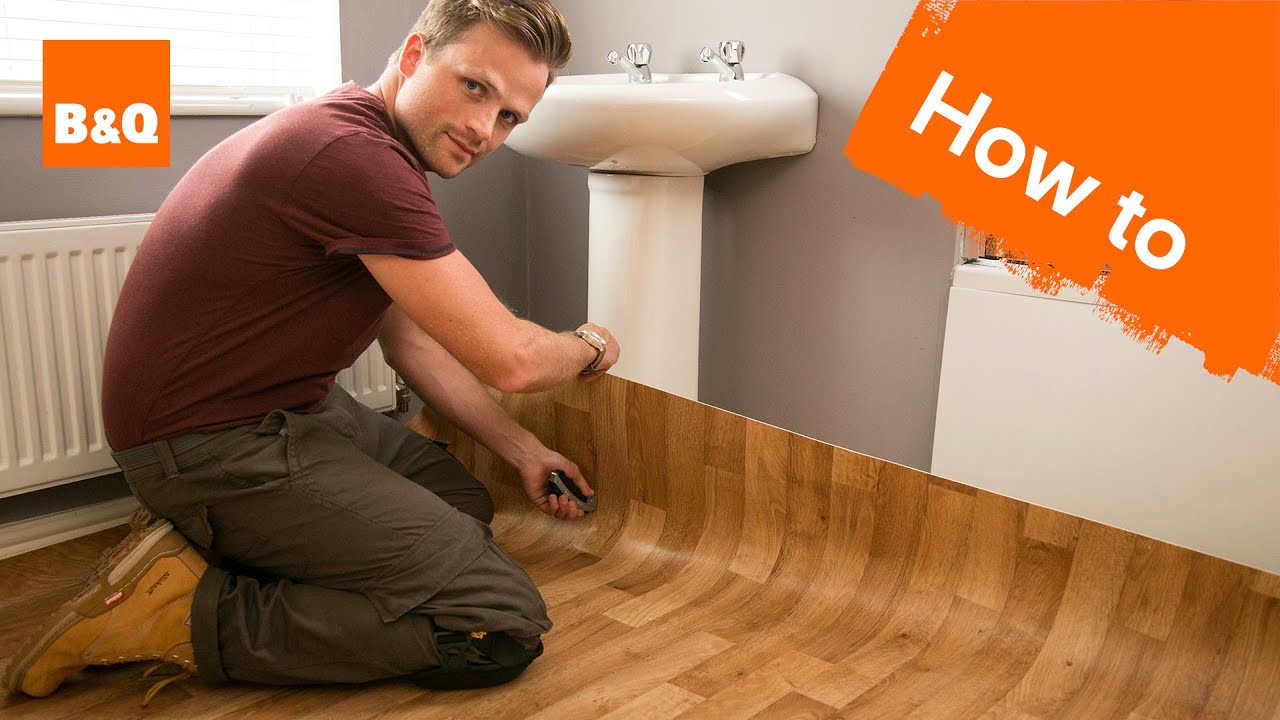
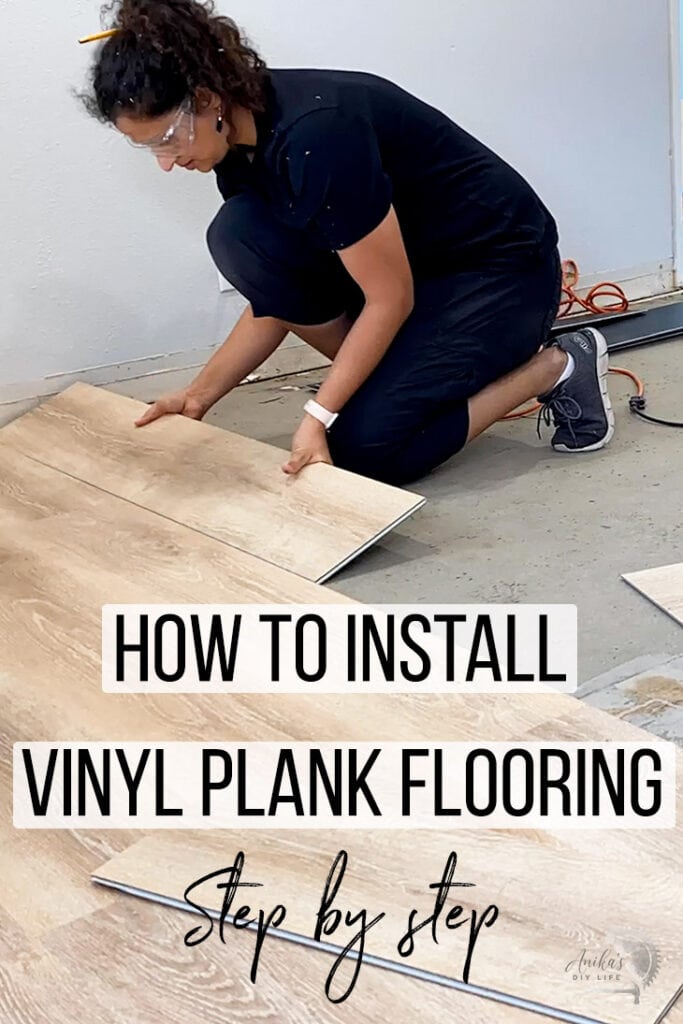
How to Install Vinyl Plank Flooring
:max_bytes(150000):strip_icc()/easy-install-plank-vinyl-flooring-1822808-06-3bb4422ca1bd49b080bfa73bce749acc.jpg)
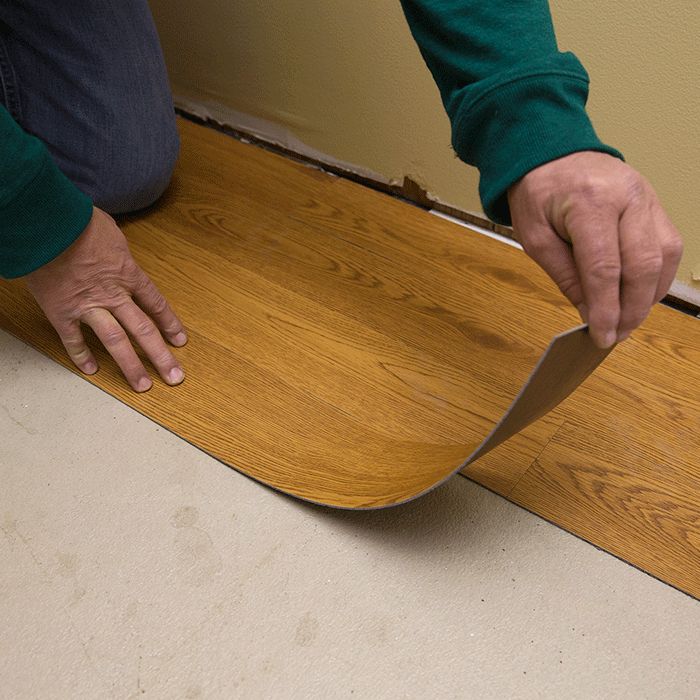
If this tricky procedure is completed correctly, the vinyl will be ready to last for a lot of years. Others have felt backing and glue program is necessary on the floor surface area for installation. Peel and stick vinyl could be an easy and cheap DIY project, although you've to remember that because it's cheap, it's at the lowest end of quality and durability. The bounce of the heel is going to be much sharper, thanks to the organic rebound made by these tiles.
How to Install Vinyl Plank Flooring
/easy-install-plank-vinyl-flooring-1822808-10-6cfb7acfac434155a53e0ef80bfbc825.jpg)
10 Beginner Mistakes Installing Vinyl Plank Flooring – YouTube

How to Install Vinyl Plank Flooring
How to Lay a Vinyl Tile Floor – This Old House
/cdn.vox-cdn.com/uploads/chorus_image/image/65891755/howto_vinylfloor_05.0.jpg)
How to Install Vinyl Plank Flooring Loweu0027s

How to Install Vinyl Plank Flooring
How to Install Vinyl Plank Flooring Loweu0027s
How to Install Vinyl Plank Flooring
/easy-install-plank-vinyl-flooring-1822808-hero-cefa2d84f781434b9e1e73a0c44e3a5c.jpg)
Installing Vinyl Plank Flooring For Beginners – Anikau0027s DIY Life
How to Install Vinyl Plank Flooring
/easy-install-plank-vinyl-flooring-1822808-05-91e4c44966a145a39ad38430e4f7cc45.jpg)
How to lay Vinyl flooring sheets, tiles and planks Tarkett
How to lay down vinyl flooring in your home dance studio in three

Related Posts:
- Lino Vinyl Flooring Bathroom
- Cleaning Yellowed Vinyl Floors
- VCT Vinyl Flooring
- Pebble Beach Vinyl Flooring
- Cheap Bathroom Vinyl Flooring
- Armstrong Once And Done Vinyl Floor Cleaner
- Checker Plate Vinyl Flooring
- Cleaning Pontoon Vinyl Flooring
- Resista Luxury Vinyl Flooring
- Buy Vinyl Flooring Direct
How to Install Vinyl Flooring: A Comprehensive Guide
Vinyl flooring has become increasingly popular in recent years due to its durability, affordability, and wide range of design options. Whether you are a DIY enthusiast or a homeowner looking to save some money on installation costs, learning how to install vinyl flooring can be a valuable skill. In this comprehensive guide, we will take you through the step-by-step process of installing vinyl flooring, from preparing the subfloor to applying the finishing touches.
1. Preparing the Subfloor
Before you begin installing vinyl flooring, it is crucial to ensure that the subfloor is clean, level, and free of any imperfections. Start by removing any existing flooring materials such as carpet, tiles, or hardwood. Next, inspect the subfloor for cracks, holes, or uneven areas and make necessary repairs.
FAQs:
Q: Can I install vinyl flooring over an existing floor?
A: In most cases, vinyl flooring can be installed directly over an existing floor as long as it is flat and structurally sound. However, it is recommended to remove any cushioned or padded underlayments before installing vinyl flooring.
Q: What type of subfloor is suitable for vinyl flooring?
A: Vinyl flooring can be installed over various types of subfloors including concrete, plywood, and even existing vinyl floors. However, it is essential that the subfloor is clean, dry, and level.
2. Acclimating the Vinyl Flooring
Vinyl flooring needs to acclimate to the room’s temperature and humidity before installation. This process allows the material to expand or contract slightly based on environmental conditions. To acclimate the vinyl planks or tiles, leave them in their unopened packaging in the room where they will be installed for at least 48 hours.
FAQs:
Q: Can I skip the acclimation process?
A: It is not recommended to skip the acclimation process as it helps prevent issues such as buckling or gaps in the flooring later on. Proper acclimation ensures the vinyl flooring adjusts to the room’s conditions, providing a more stable installation.
Q: How long should I acclimate the vinyl flooring for?
A: The recommended acclimation period for vinyl flooring is at least 48 hours. However, it is always best to refer to the manufacturer’s instructions for specific guidelines.
3. Planning and Measuring
Proper planning and accurate measurements are vital to ensure a successful vinyl flooring installation. Start by sketching a floor plan of the room, including any alcoves or irregular shapes. This will help you determine how many vinyl planks or tiles you will need.
Next, measure the length and width of the room and multiply these dimensions to calculate the square footage. It is also essential to add approximately 10% to your total square footage to account for wastage and mistakes.
FAQs:
Q: Should I install vinyl flooring under kitchen cabinets?
A: It is not necessary to install vinyl flooring under kitchen cabinets as they provide enough weight to hold down the flooring. However, make sure to leave an expansion gap around the perimeter of the cabinets for proper installation.
Q: Can I install vinyl flooring in a bathroom?
A: Yes, vinyl flooring is an excellent choice for bathrooms due to its water-resistant properties. However, ensure that you choose a vinyl product specifically designed for wet areas and follow all manufacturer recommendations for installation.
4. Installing Underlayment (If Required)
In some cases, an underlayment May be required before installing vinyl flooring. This is especially true if the subfloor is uneven or needs additional cushioning. Follow the manufacturer’s instructions for the specific type of underlayment recommended for your vinyl flooring.
Before installing the underlayment, make sure the subfloor is clean and free of any debris. Lay out the underlayment according to the manufacturer’s instructions, making sure to overlap any seams and secure it in place.
FAQs:
Q: Is underlayment necessary for vinyl flooring?
A: It depends on the specific type of vinyl flooring and the condition of the subfloor. Some vinyl flooring products come with an attached underlayment, while others may require a separate underlayment. Follow the manufacturer’s recommendations for your specific product.
Q: Can I use a different type of underlayment for vinyl flooring?
A: It is best to use an underlayment that is specifically designed for vinyl flooring. This will ensure proper installation and prevent any potential issues with compatibility or performance.
5. Installing Vinyl Flooring
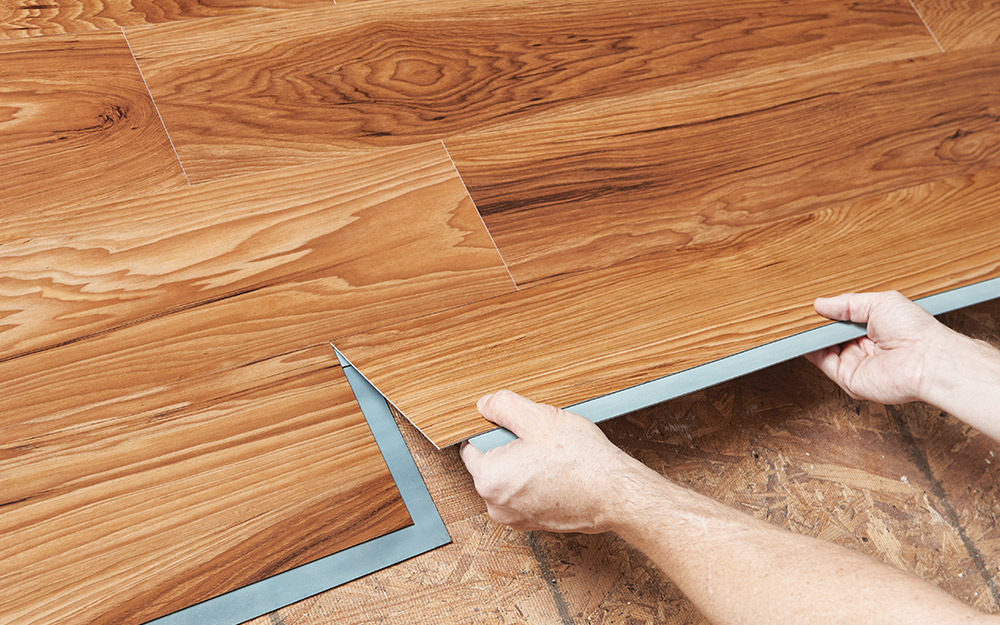
Once you have prepared the subfloor and any necessary underlayment, you can begin installing the vinyl flooring. Start by laying out the first row of planks or tiles against the longest wall in the room, leaving a small gap between them and the wall for expansion.
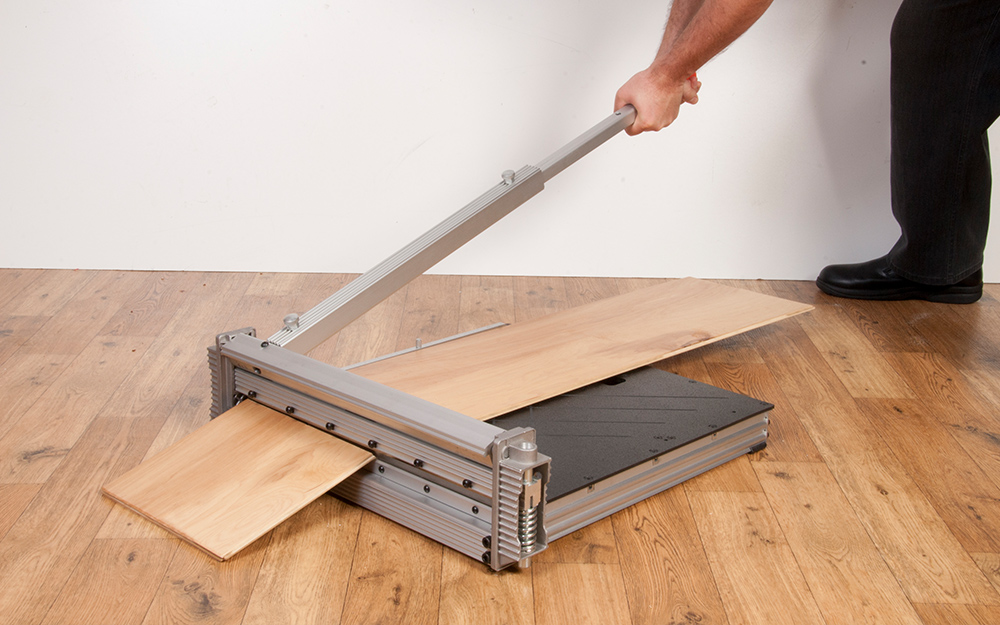
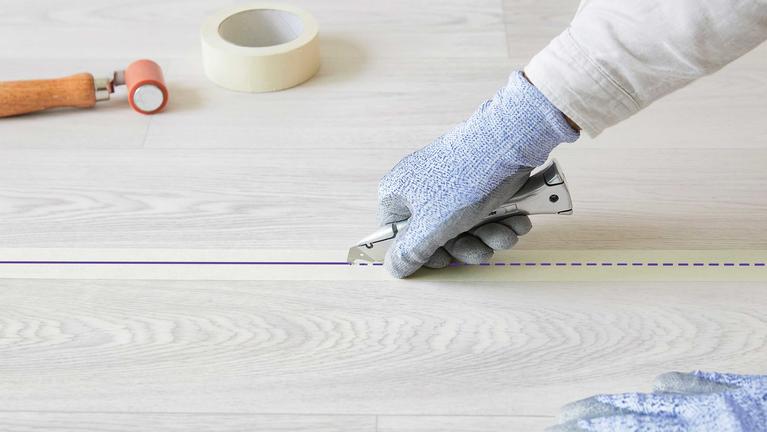
Continue installing rows of vinyl flooring, making sure to stagger the joints between planks or tiles for a more natural appearance. Use a utility knife or vinyl cutter to trim any planks or tiles as needed to fit around obstacles or edges.
After all the vinyl flooring has been installed, use a roller or weighted object to press down on the surface to ensure proper adhesion and eliminate any air pockets.
FAQs:
Q: Do I need special tools to install vinyl flooring?
A: While there are specific tools designed for vinyl flooring installation, such as a vinyl cutter or roller, basic tools such as a utility knife, tape measure, and straight edge can also be used.
Q: Can I install vinyl flooring over existing flooring?
A: In some cases, vinyl flooring can be installed over existing flooring. However, it is important to ensure that the existing flooring is clean, level, and in good condition. Follow the manufacturer’s recommendations for installation over existing flooring.
6. Finishing Touches
After the vinyl flooring has been installed, there are a few finishing touches to complete the installation. Install any necessary transition strips or molding to cover the gaps between the vinyl flooring and adjacent surfaces.
Clean the vinyl flooring using a mild detergent and water, following the manufacturer’s recommendations for cleaning and maintenance. Avoid using abrasive cleaners or tools that may damage the surface of the vinyl.
Finally, enjoy your newly installed vinyl flooring!