Wood floors can be stained as well as refinished to match up with almost any decor and almost any lifestyle. Contrary to popular thinking, these floors do call for occasional waxing, based on traffic flow across the floor, with specialized cleaners intended to seal as well as preserve the floor from scratches and abuse. Longevity is most likely the most important things to think about when purchasing a prefinished hardwood floors.
Images about Installing Hardwood Flooring On Steps

Oriental walnut hardwood typically comes stained in 3 colors which are different. The loose-fitting floors is not fastened to anything and can be creaky, bubbly, and move around. But harm is actually coming to the hardwood floors whether it's out of the dog or maybe the real human occupants. Vacuum intelligently and pick up every bit of fine dust and grit with tacking cloths.
Hardwood Flooring on Stairs: Installing Open Sided Staircase Nosing Tread and Riser from A to Z
Although, there is some truth to this particular concept, depending on the choice of flooring information, failure to provide sufficient protection to any floor is going to result in deterioration and harm of the flooring surface area at an accelerated speed with possible replacement of only five years. In yesteryear, presumptions have indicated which all the maintenance that's required for a wood floor is lightweight mopping and sweeping.
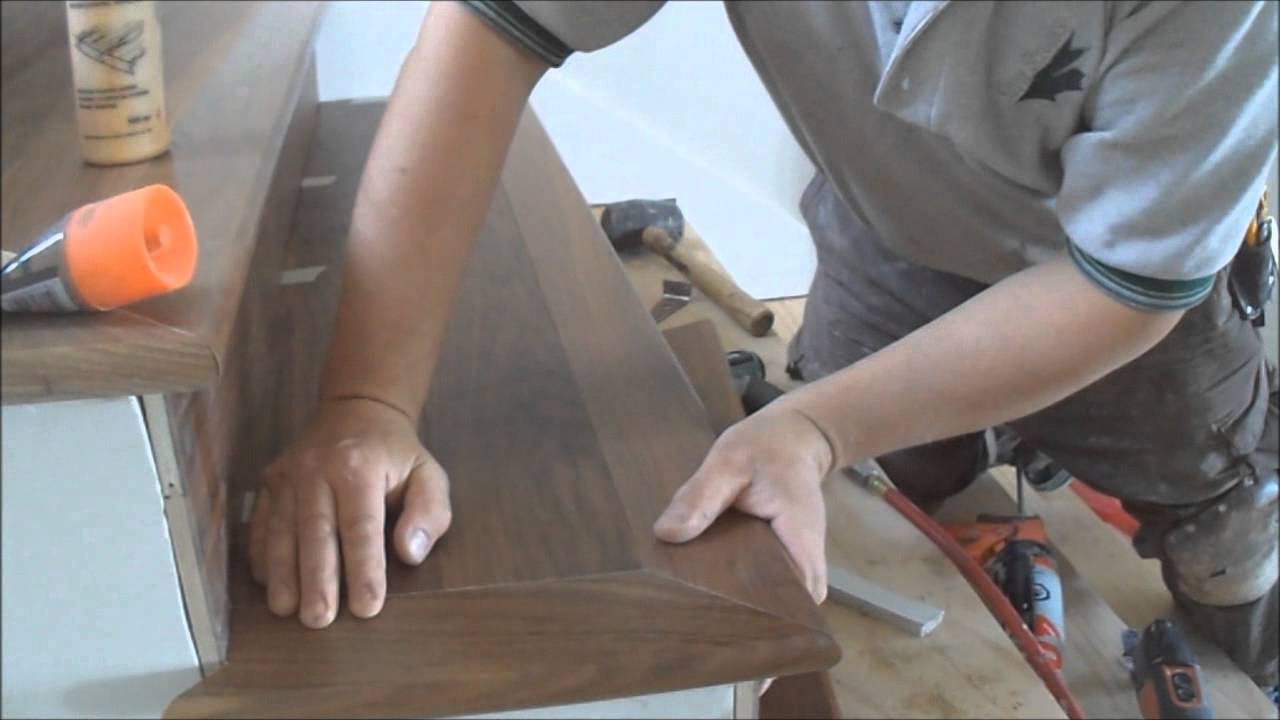
Engineered Wood Floor Install on Stair Platform
You Want to Install Hardwood on Stairs? u2013 ReallyCheapFloors

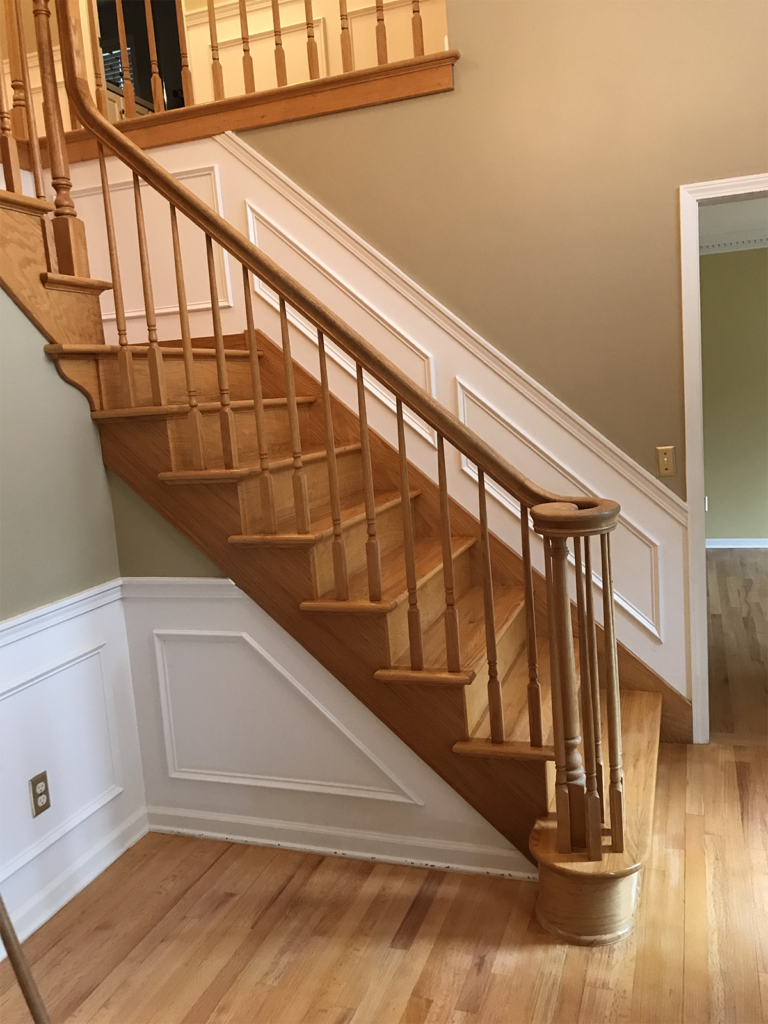
Hardwood Stairs: An Introduction To Endless Possibilities Unique

How to Install Hardwood On StairsLearning Center

How to Install Hardwood Floors Better Homes u0026 Gardens

How To Install Hardwood Flooring On Stairs? Almahdi

Hardwood Flooring Installation Services On Stairs in Syracuse, NY
Wood Stairs Installation – Home Floors Galore, LLC – Hampton Roads
Installing Wood Flooring on Stairs u2014 Inner Space Flooring
How To Install Hardwood Flooring On Stairs With Nosing DIY

How to Install Hardwood Floors – This Old House
/cdn.vox-cdn.com/uploads/chorus_image/image/67012168/Entry_1118-IdeaHouse_18-011.0.0.jpg)
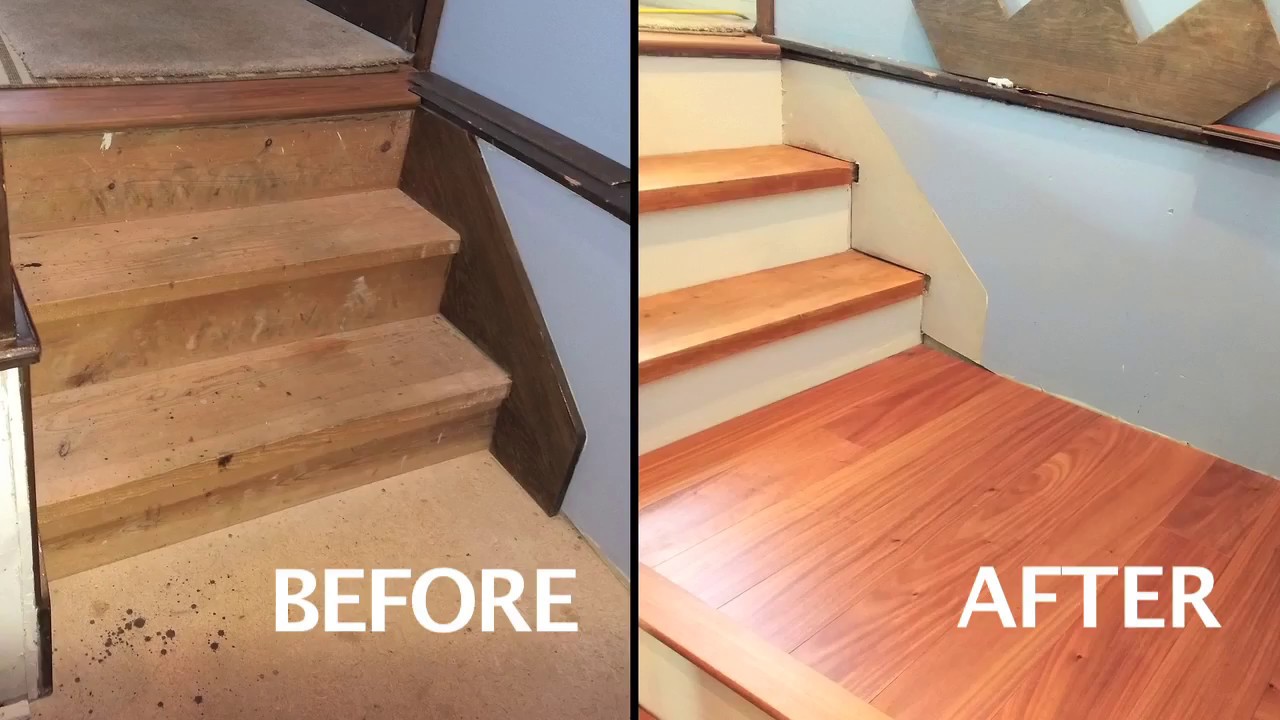
Replace Carpet on Stairs With Hardwood

Related Posts:
- Bona Hardwood Floor Mop Motion Review
- Brazilian Redwood Hardwood Flooring Review
- How To Install Hardwood Floor In Bathroom
- Best Engineered Hardwood Flooring Manufacturer
- Laying Hardwood Floors Diagonally
- Good Hardwood Flooring Brands
- Maple Gunstock Hardwood Floor
- Hardwood Flooring Questions
- Laying Hardwood Floors Stairs
- Preparing Hardwood Floors For Refinishing
Installing Hardwood Flooring On Steps: A Comprehensive Guide
Introduction:
Hardwood flooring is a popular choice for homeowners due to its timeless beauty, durability, and easy maintenance. While most people think of installing hardwood flooring on flat surfaces like living rooms or bedrooms, there is also a growing trend of installing it on steps. This not only adds elegance and enhances the overall aesthetic appeal of your home, but also provides a solid foundation that can withstand daily wear and tear. In this comprehensive guide, we will walk you through the step-by-step process of installing hardwood flooring on steps, along with some frequently asked questions to help you achieve professional results.
I. Preparing the Steps:
Before diving into the installation process, it is crucial to properly prepare the steps for hardwood flooring. Here are some detailed steps to follow:
1. Measure and Calculate: Start by accurately measuring the dimensions of each step, including the depth, height, and width. Use these measurements to calculate the amount of hardwood flooring material needed.
2. Remove Existing Flooring: If there is any existing flooring on the steps, such as carpet or laminate, remove it completely. Ensure that the surface is clean and free from any debris or adhesive residue.
3. Inspect and Repair: Thoroughly inspect each step for any damages or unevenness. Use a level tool to check if they are perfectly level. If there are any issues, address them before proceeding with the installation.
4. Prepare Subfloor: The subfloor should be stable, clean, and dry before installing hardwood flooring on steps. Make sure there are no squeaks or loose boards by securely fastening them.
FAQs:
Q1: How do I measure the dimensions of each step accurately?
A1: To measure the depth, place a tape measure from the back edge of one step to where it meets the riser (vertical part). For height, measure from the bottom of one step to the top of the next. Lastly, measure the width by running the tape measure from one side of the step to the other.
Q2: What should I do if I find an uneven step?
A2: If you come across an uneven step, you can use a sander or a planer to level it. Alternatively, you can add shims or plywood to even out the surface.
II. Choosing the Right Hardwood Flooring:
Selecting the appropriate type and style of hardwood flooring is crucial to achieve the desired look and durability. Here are some factors to consider:
1. Hardness and Durability: Opt for hardwood species that are known for their durability, such as oak, maple, or hickory. These species can withstand heavy foot traffic without showing signs of wear easily.
2. Finish Options: Choose between prefinished and unfinished hardwood flooring. Prefinished flooring comes with a factory-applied finish, while unfinished flooring allows you to customize the finish according to your preference.
3. Style and Color: Consider the overall aesthetic of your home when selecting the style and color of hardwood flooring. Whether you prefer a traditional look with darker tones or a modern vibe with lighter shades, there is a wide range of options available.
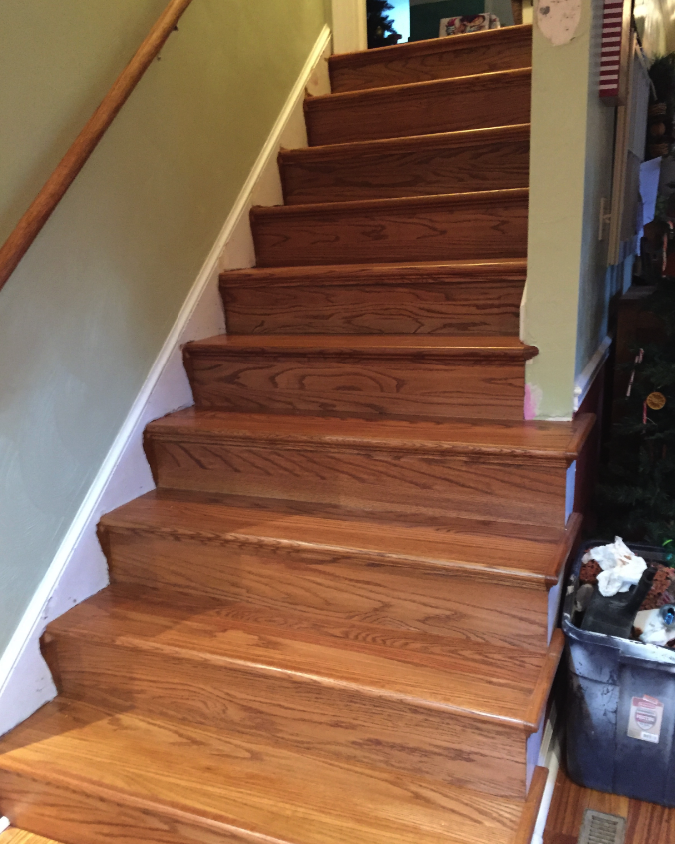
4. Tread and Riser Compatibility: Ensure that the chosen hardwood flooring is compatible with your existing tread (horizontal part) and riser (vertical part). Take into account the thickness of both elements to achieve a seamless transition.
FAQs:
Q1: Which hardwood species are best suited for high-traffic areas?
A 1: Hardwood species such as oak, maple, and hickory are known for their durability and are best suited for high-traffic areas. These species can withstand heavy foot traffic without showing signs of wear easily. Q2: What are the advantages of prefinished hardwood flooring?
A2: Prefinished hardwood flooring comes with a factory-applied finish, which means it is already coated and sealed. This offers several advantages, such as easier and faster installation, no need for sanding or finishing on-site, and immediate use of the floors after installation. Additionally, prefinished flooring often comes with warranties for the finish, providing added protection and peace of mind.
III. Installation Process:
Once you have prepared the steps and chosen the right hardwood flooring, you can proceed with the installation process. Here are the steps to follow:
1. Measure and Cut: Use the measurements obtained earlier to cut the hardwood planks according to the dimensions of each step. It is recommended to add a 10% extra for any mistakes or waste.
2. Apply Adhesive: Apply a thin layer of adhesive on the backside of each plank using a trowel. Make sure to spread it evenly to ensure proper adhesion. It is essential to use an adhesive specifically designed for hardwood flooring.
3. Place and Secure: Carefully place each plank onto the step, starting from the bottom and working your way up. Press firmly to ensure good contact with the adhesive. Use a nail gun or finishing nails to secure the planks further if desired.
4. Repeat the Process: Continue measuring, cutting, applying adhesive, and securing planks until all steps are covered with hardwood flooring.
5. Allow Time to Cure: Give the adhesive enough time to cure according to the manufacturer’s instructions before allowing regular foot traffic on the steps.
FAQs:
Q1: Can I use adhesive tape instead of adhesive for installing hardwood flooring on steps?
A1: It is not recommended to use adhesive tape instead of adhesive for installing hardwood flooring on steps. Adhesive tape may not provide sufficient bonding and stability, leading to potential issues with the installation. It is best to use a high-quality adhesive specifically designed for hardwood flooring.
Q2: How long does the adhesive take to cure?
A2: The curing time for the adhesive can vary depending on the specific product used. It is important to follow the manufacturer’s instructions regarding curing time. Generally, it can take anywhere from 24 to 48 hours for the adhesive to fully cure before regular foot traffic can be allowed on the steps.