If you are setting up them in a very high traffic area you are going to want to be sure you opt for an excellent sub-floor to help lower some noise, since laminate is louder than conventional wood flooring. It's from time to time tough to distinguish laminated floor from that of a floor produced of hardwood as they look kind of similar.
Images about Installing Laminate Flooring In Camper

Typical laminate floors are quite cheap, however. If you have to put the laminate flooring surfaces around water lines, one rule is drilling a gap in the plank about ¾ to ½ inch larger than the circumference on the pipe. These laminates are extremely long lasting and therefore, figure to be a lot more economical in the long haul. This feature enables the person applying this decoration to experience a great interior design.
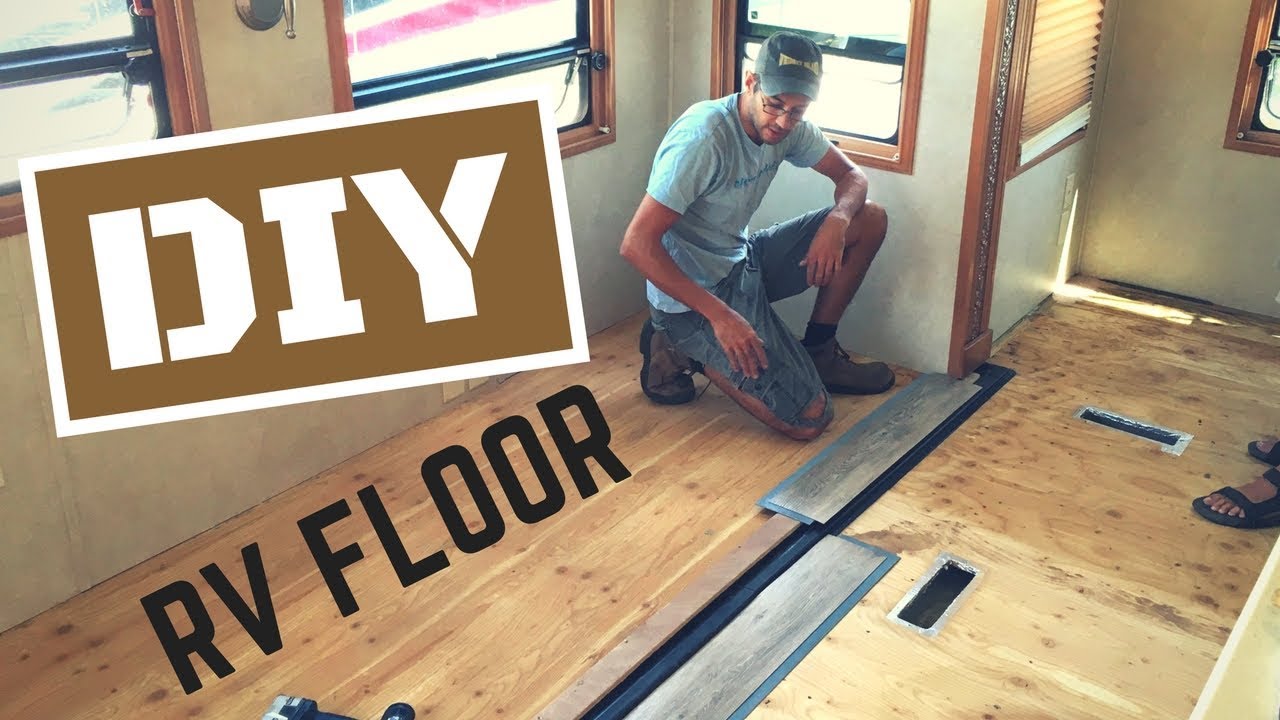
DIY RV Reflooring with a Flush Slide-Out
Thus, unlike hardwoods, you are able to put in laminate floor in the kitchen area of yours along with bathroom. Flooring producers have picked up on the wood laminate flooring trend rather quickly, and tend to be right now creating laminated planks as well as tiles inside a dizzying array of textures, styles, and styles. I in addition use the gardenweb.com flooring message board or maybe different forums to consult others what items they appear to be having difficulties or success with.
How to DIY a New Floor in Your RV Your RV Lifestyle
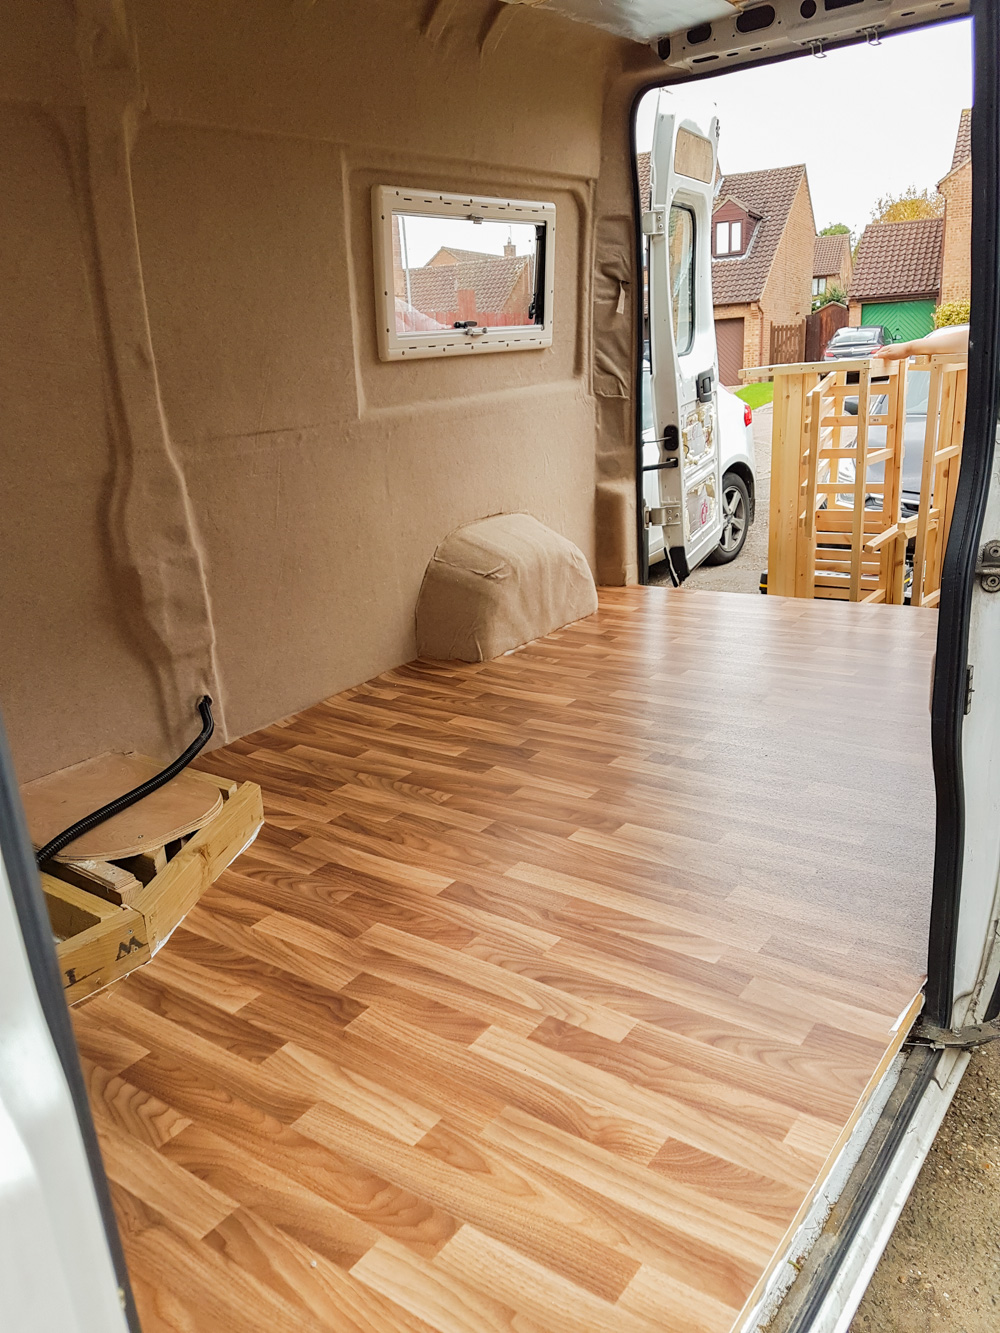
Van Conversion – Installing Vinyl Flooring – Adventures in a Camper
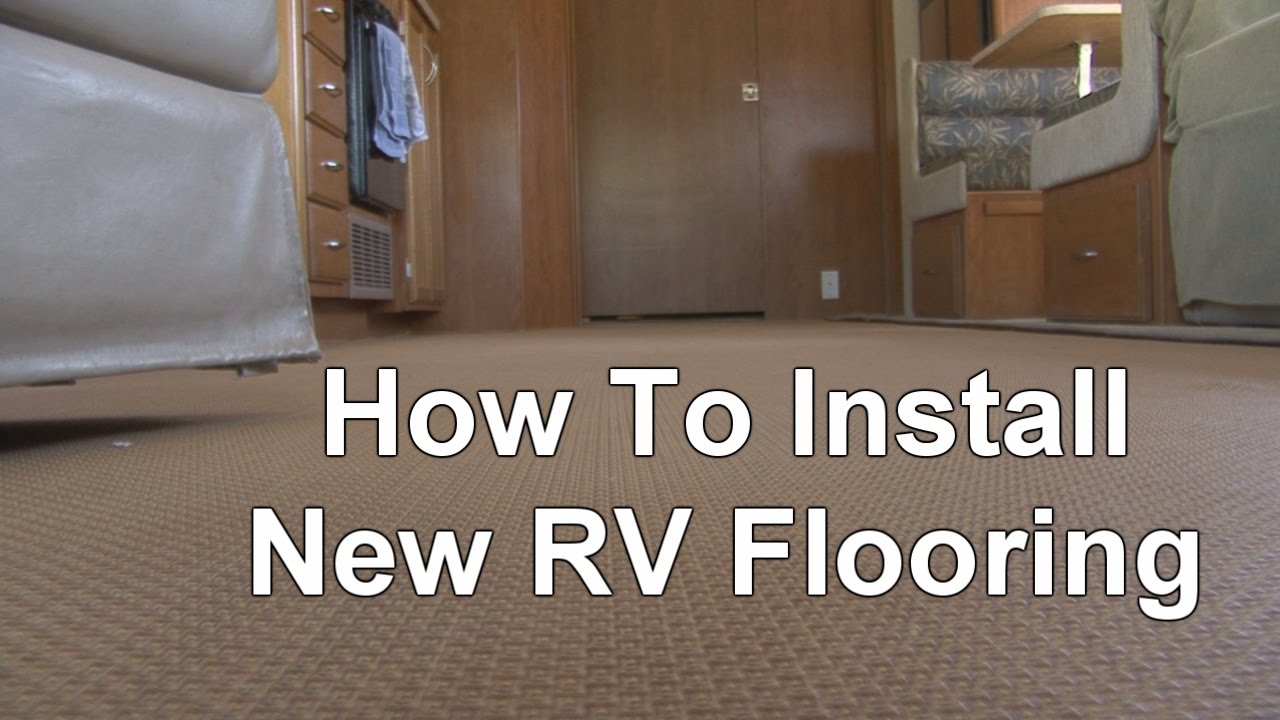
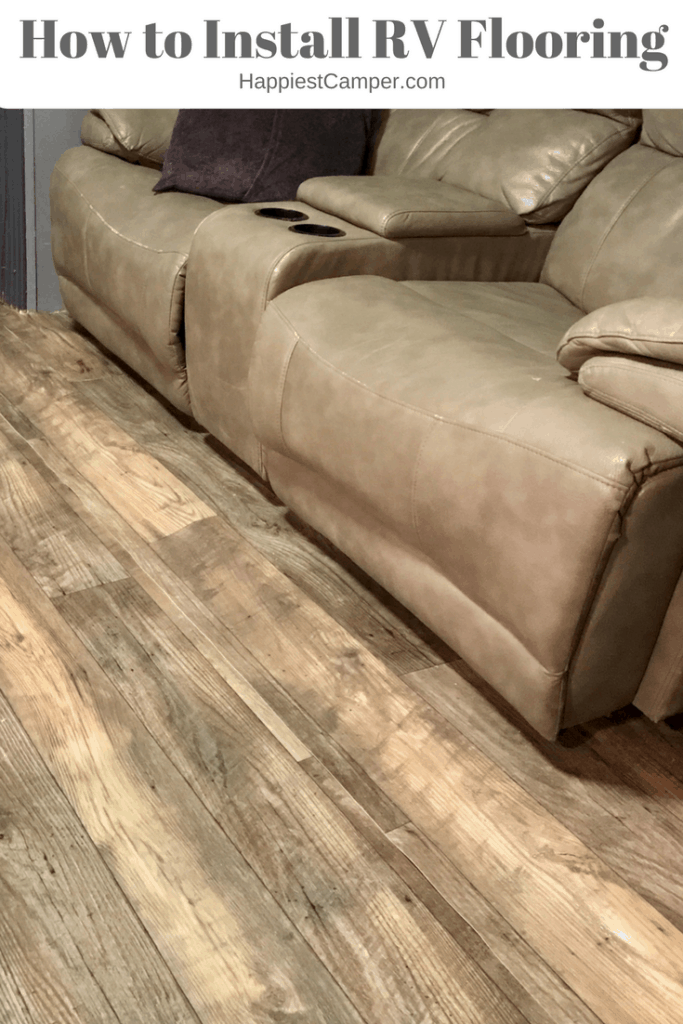
How To Install New RV Flooring
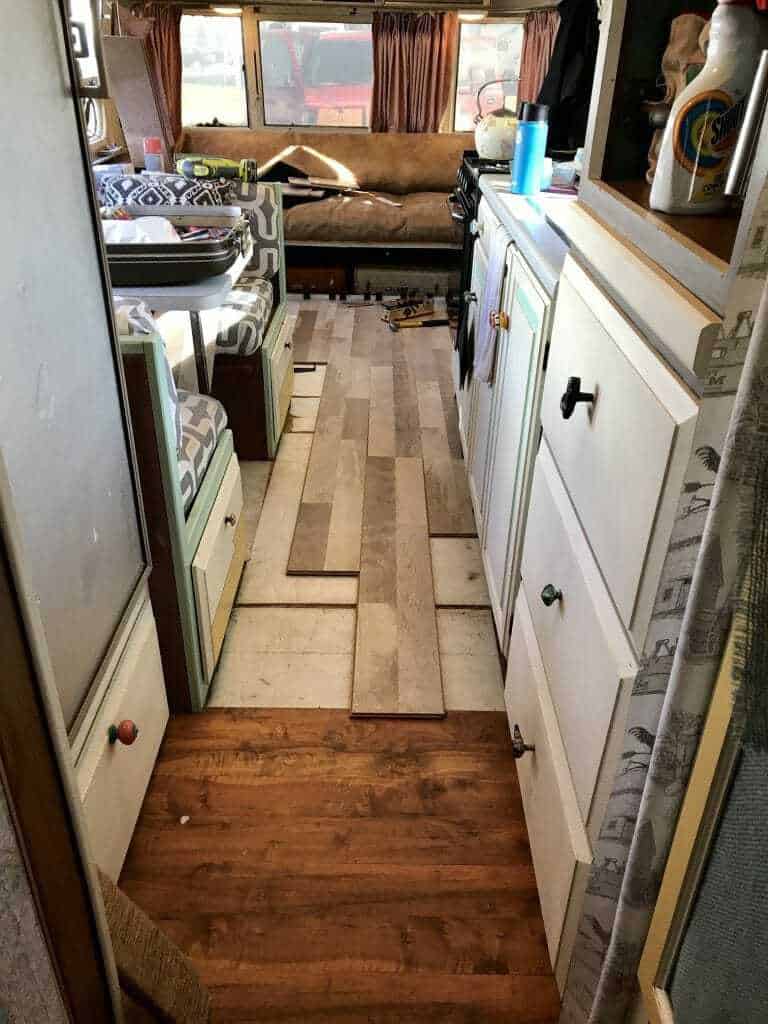
Laying Vinyl Plank Floor for our Travel Trailer Renovation u0026 Remodel!
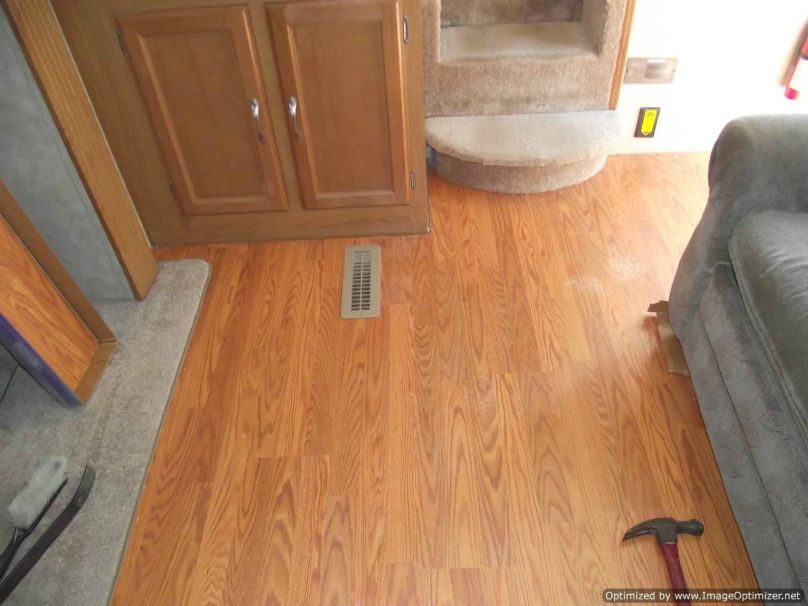
Remove and Install New RV Floors for a Better Footing Good Sam
Install Vinyl Plank Flooring in an RV with a Pull Out Our DIY

Laminate in Travel Trailers
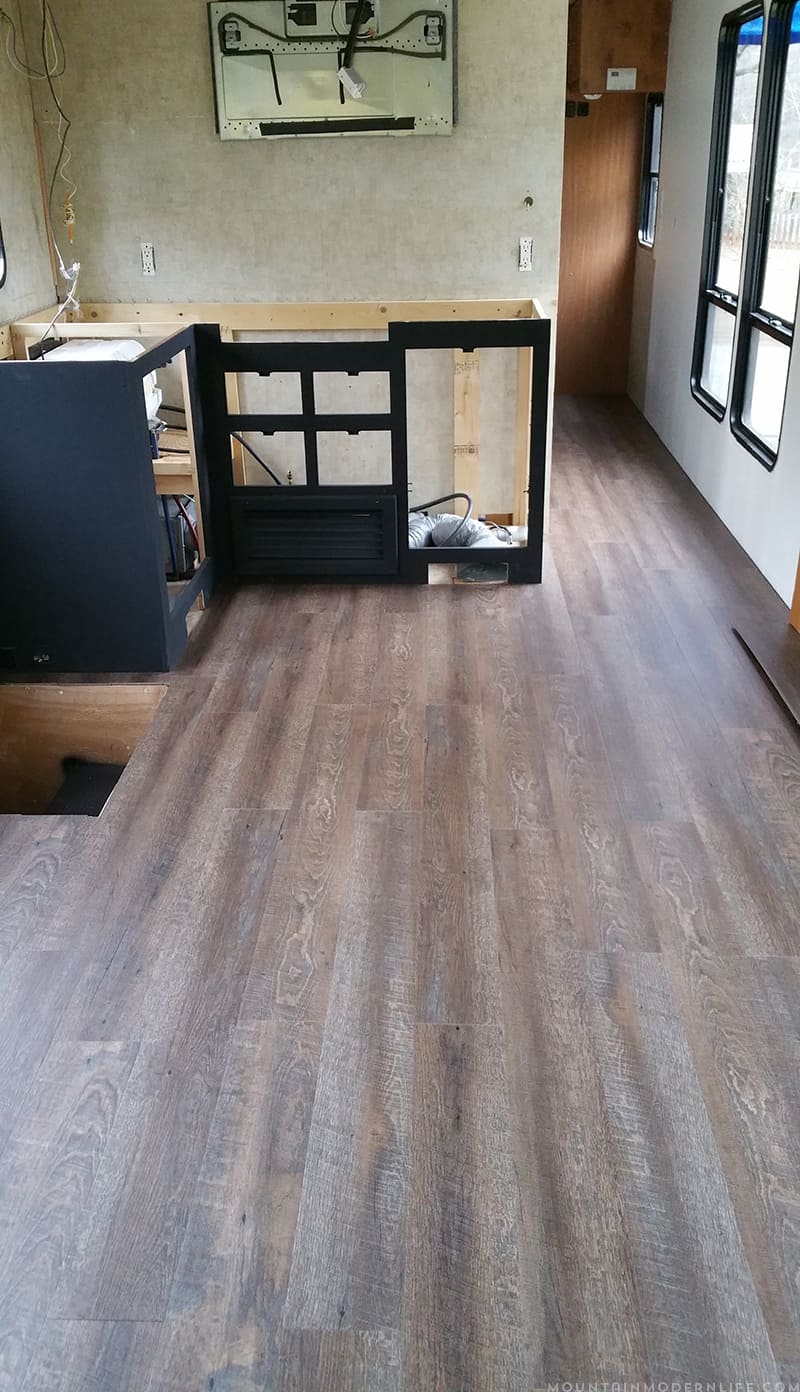
How to Replace RV Flooring MountainModernLife.com
Remove and Install New RV Floors for a Better Footing Good Sam
RV Flooring: How to Install Step by Step
Reasons to Install Vinyl Plank Flooring in your Trailer or RV

Laminate in Travel Trailers
Related Posts:
- 10mm Laminate Flooring Reviews
- Eastwood Laminate Flooring Reviews
- Laminate Flooring Saw Ryobi
- Cost Of Laminate Flooring On Stairs
- Antique Maple Laminate Flooring
- Dupont Tuscan Stone Laminate Flooring
- Will Water Damage Laminate Flooring
- How To Install Wood Laminate Flooring In Kitchen
- Scherzo Laminate Flooring Dark Walnut
- Rooms With Laminate Flooring Pictures
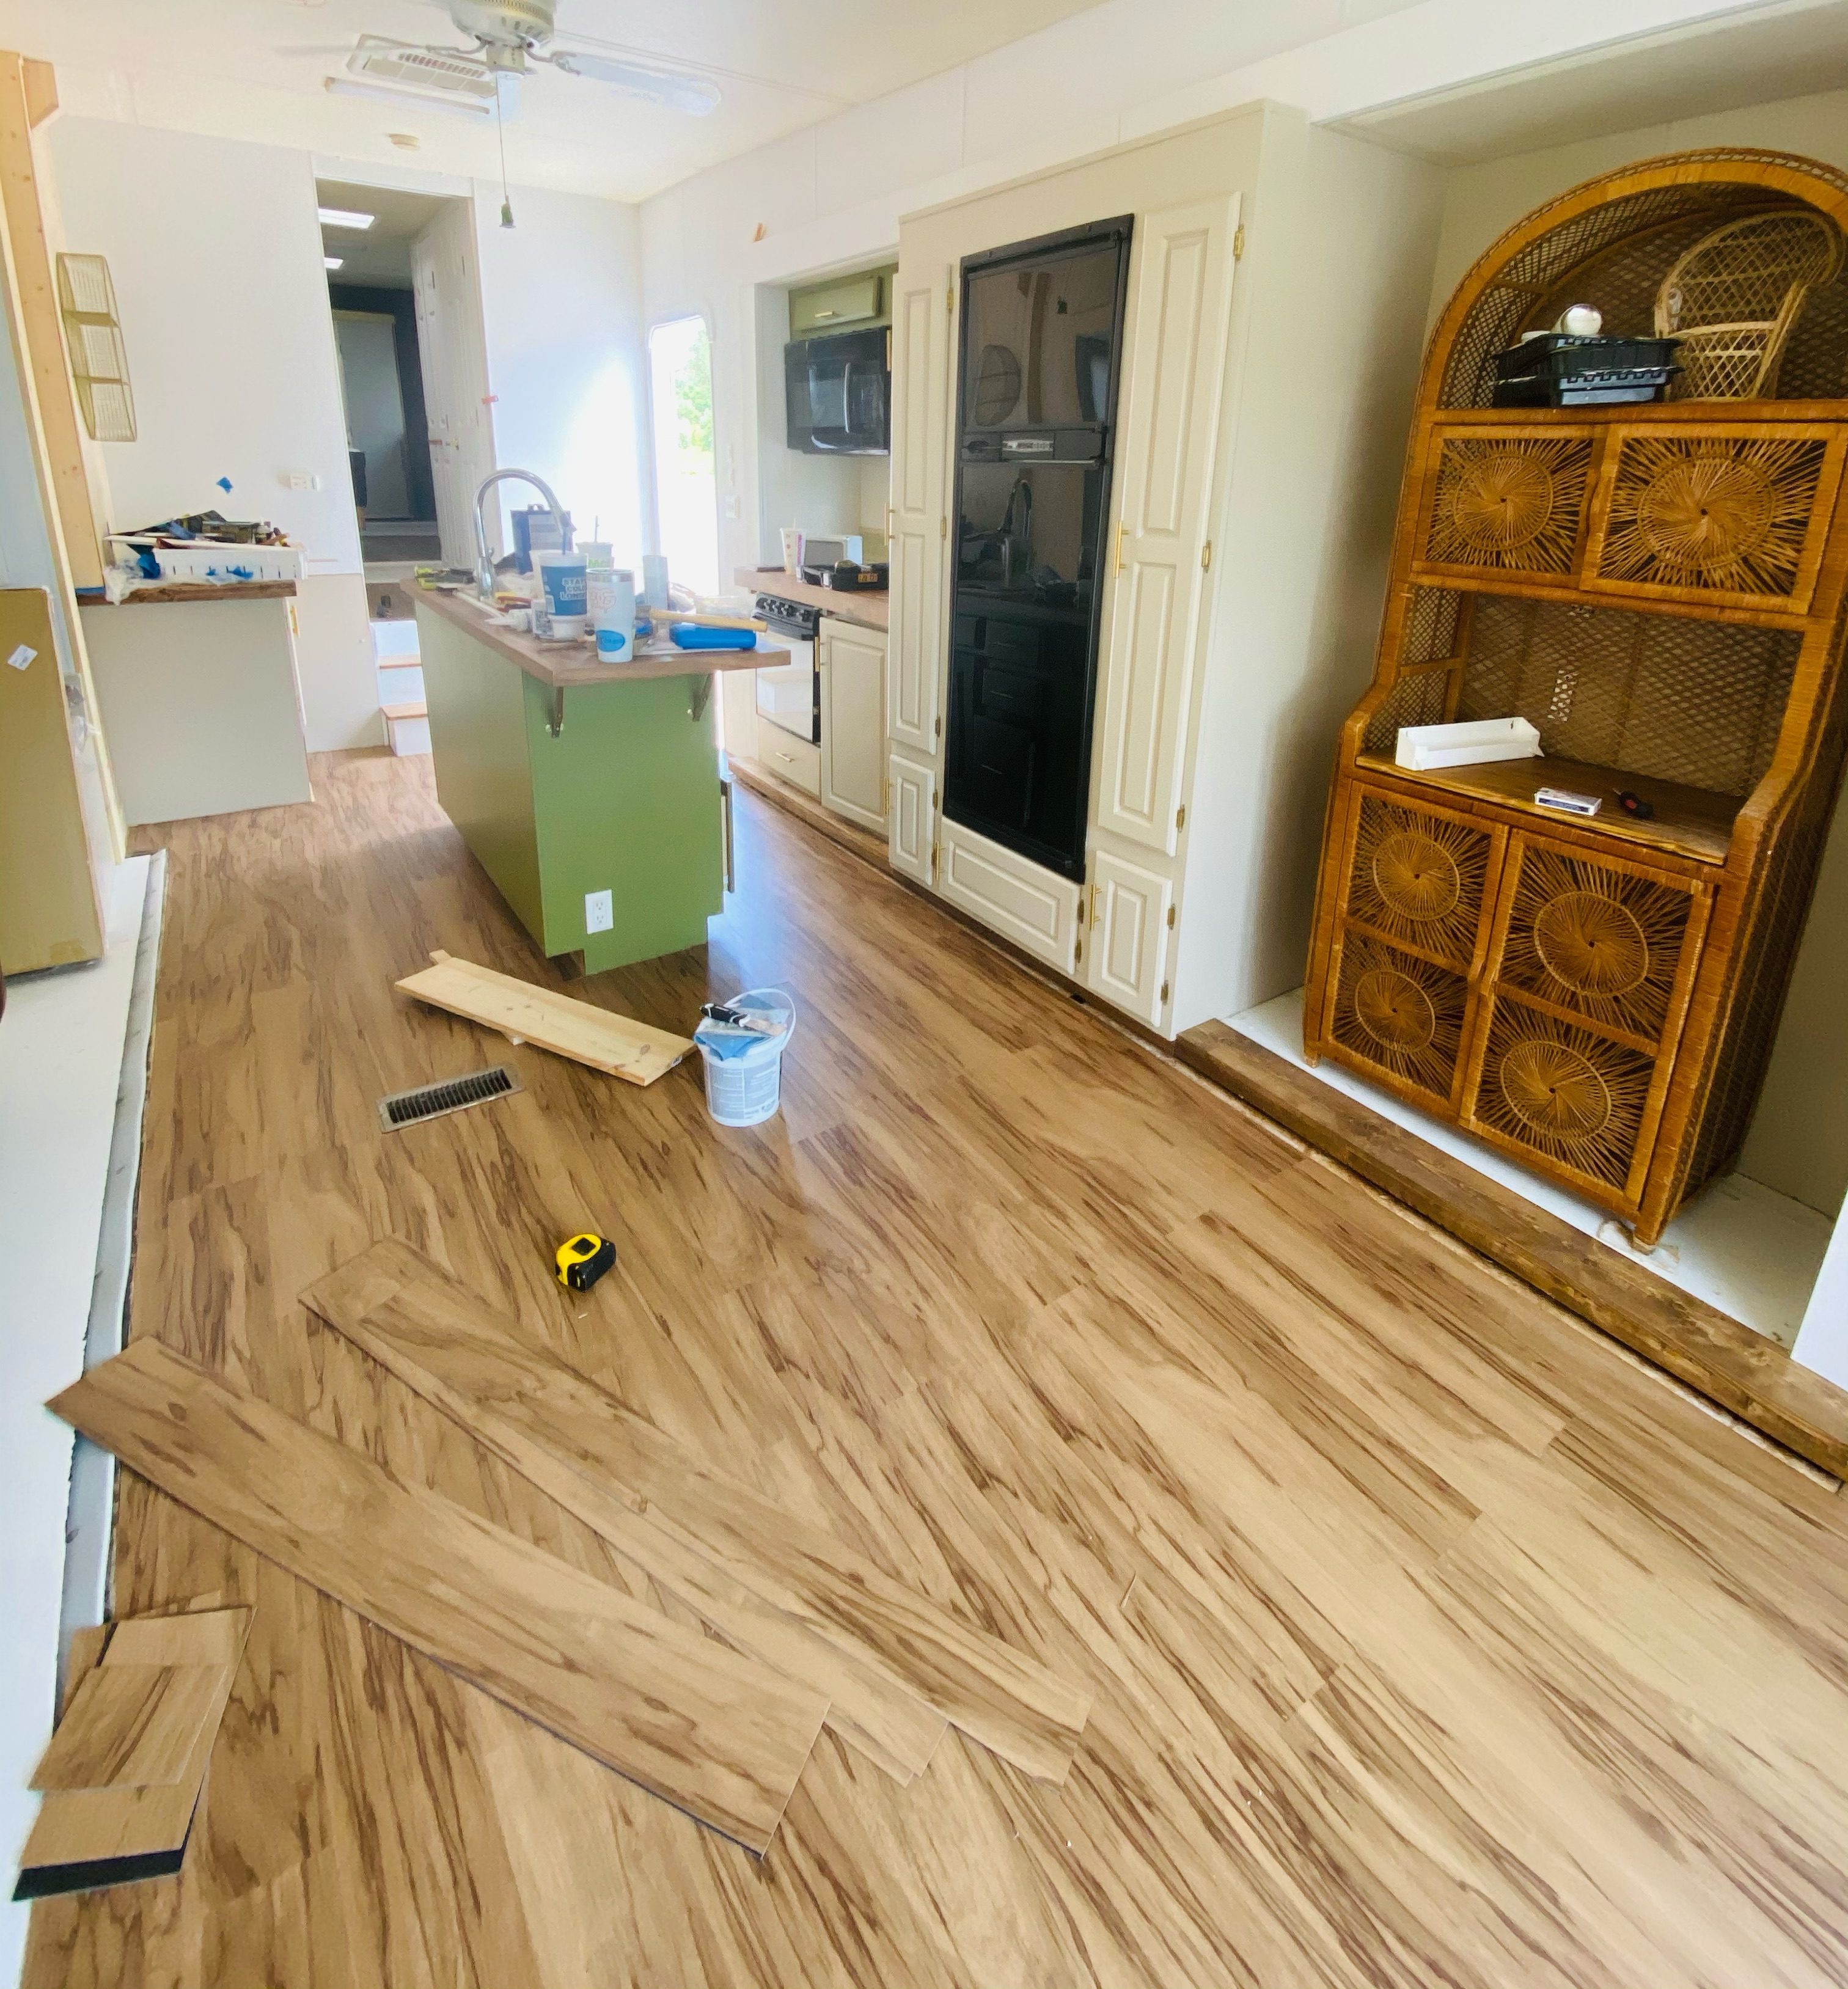
Installing Laminate Flooring In Camper: A Step-by-Step Guide
Laminate flooring is a popular choice for homeowners looking to update the look of their camper. It’s easy to install, relatively inexpensive, and durable enough to withstand the wear and tear of camping trips. Furthermore, it can be customized to match any existing interior decor, making it a great option for campers who want to add a personal touch. In this article, we’ll show you the steps you need to take in order to successfully install laminate flooring in your camper.
Preparing the Camper for Installation
Before you start installing laminate flooring in your camper, there are a few things that you need to do to prepare the area. First, make sure that all furniture and other items have been removed from the area where you will be installing the laminate. If possible, remove any cabinets or other fixtures as well. You should also make sure that the area is clean and free of dust and debris that could interfere with the installation process. Finally, check to see if there are any uneven spots on the floor that might need to be leveled before proceeding with the installation.
Gathering Supplies and Materials Needed
Once you’ve prepared the area for installation, it’s time to gather all of the supplies and materials that you’ll need for the project. You’ll need laminate flooring planks, a circular saw or jigsaw, an electric drill with drill bits, screws and nails, tape measurer, leveler tool, spacers, hammer or mallet, underlayment (if required), and construction adhesive (if needed). It’s important to double-check that you have all of these items on hand before beginning the installation process.
Cutting Laminate Planks
Once you have all of your supplies ready, it’s time to begin cutting the laminate planks. Using a circular saw or jigsaw, carefully cut each plank down to size based on measurements taken from your camper’s interior space. Make sure that each piece is cut accurately so that they will fit together properly once installed. As you work through each plank, use spacers between them while cutting so that there is an even gap between each piece when they are laid down in place.
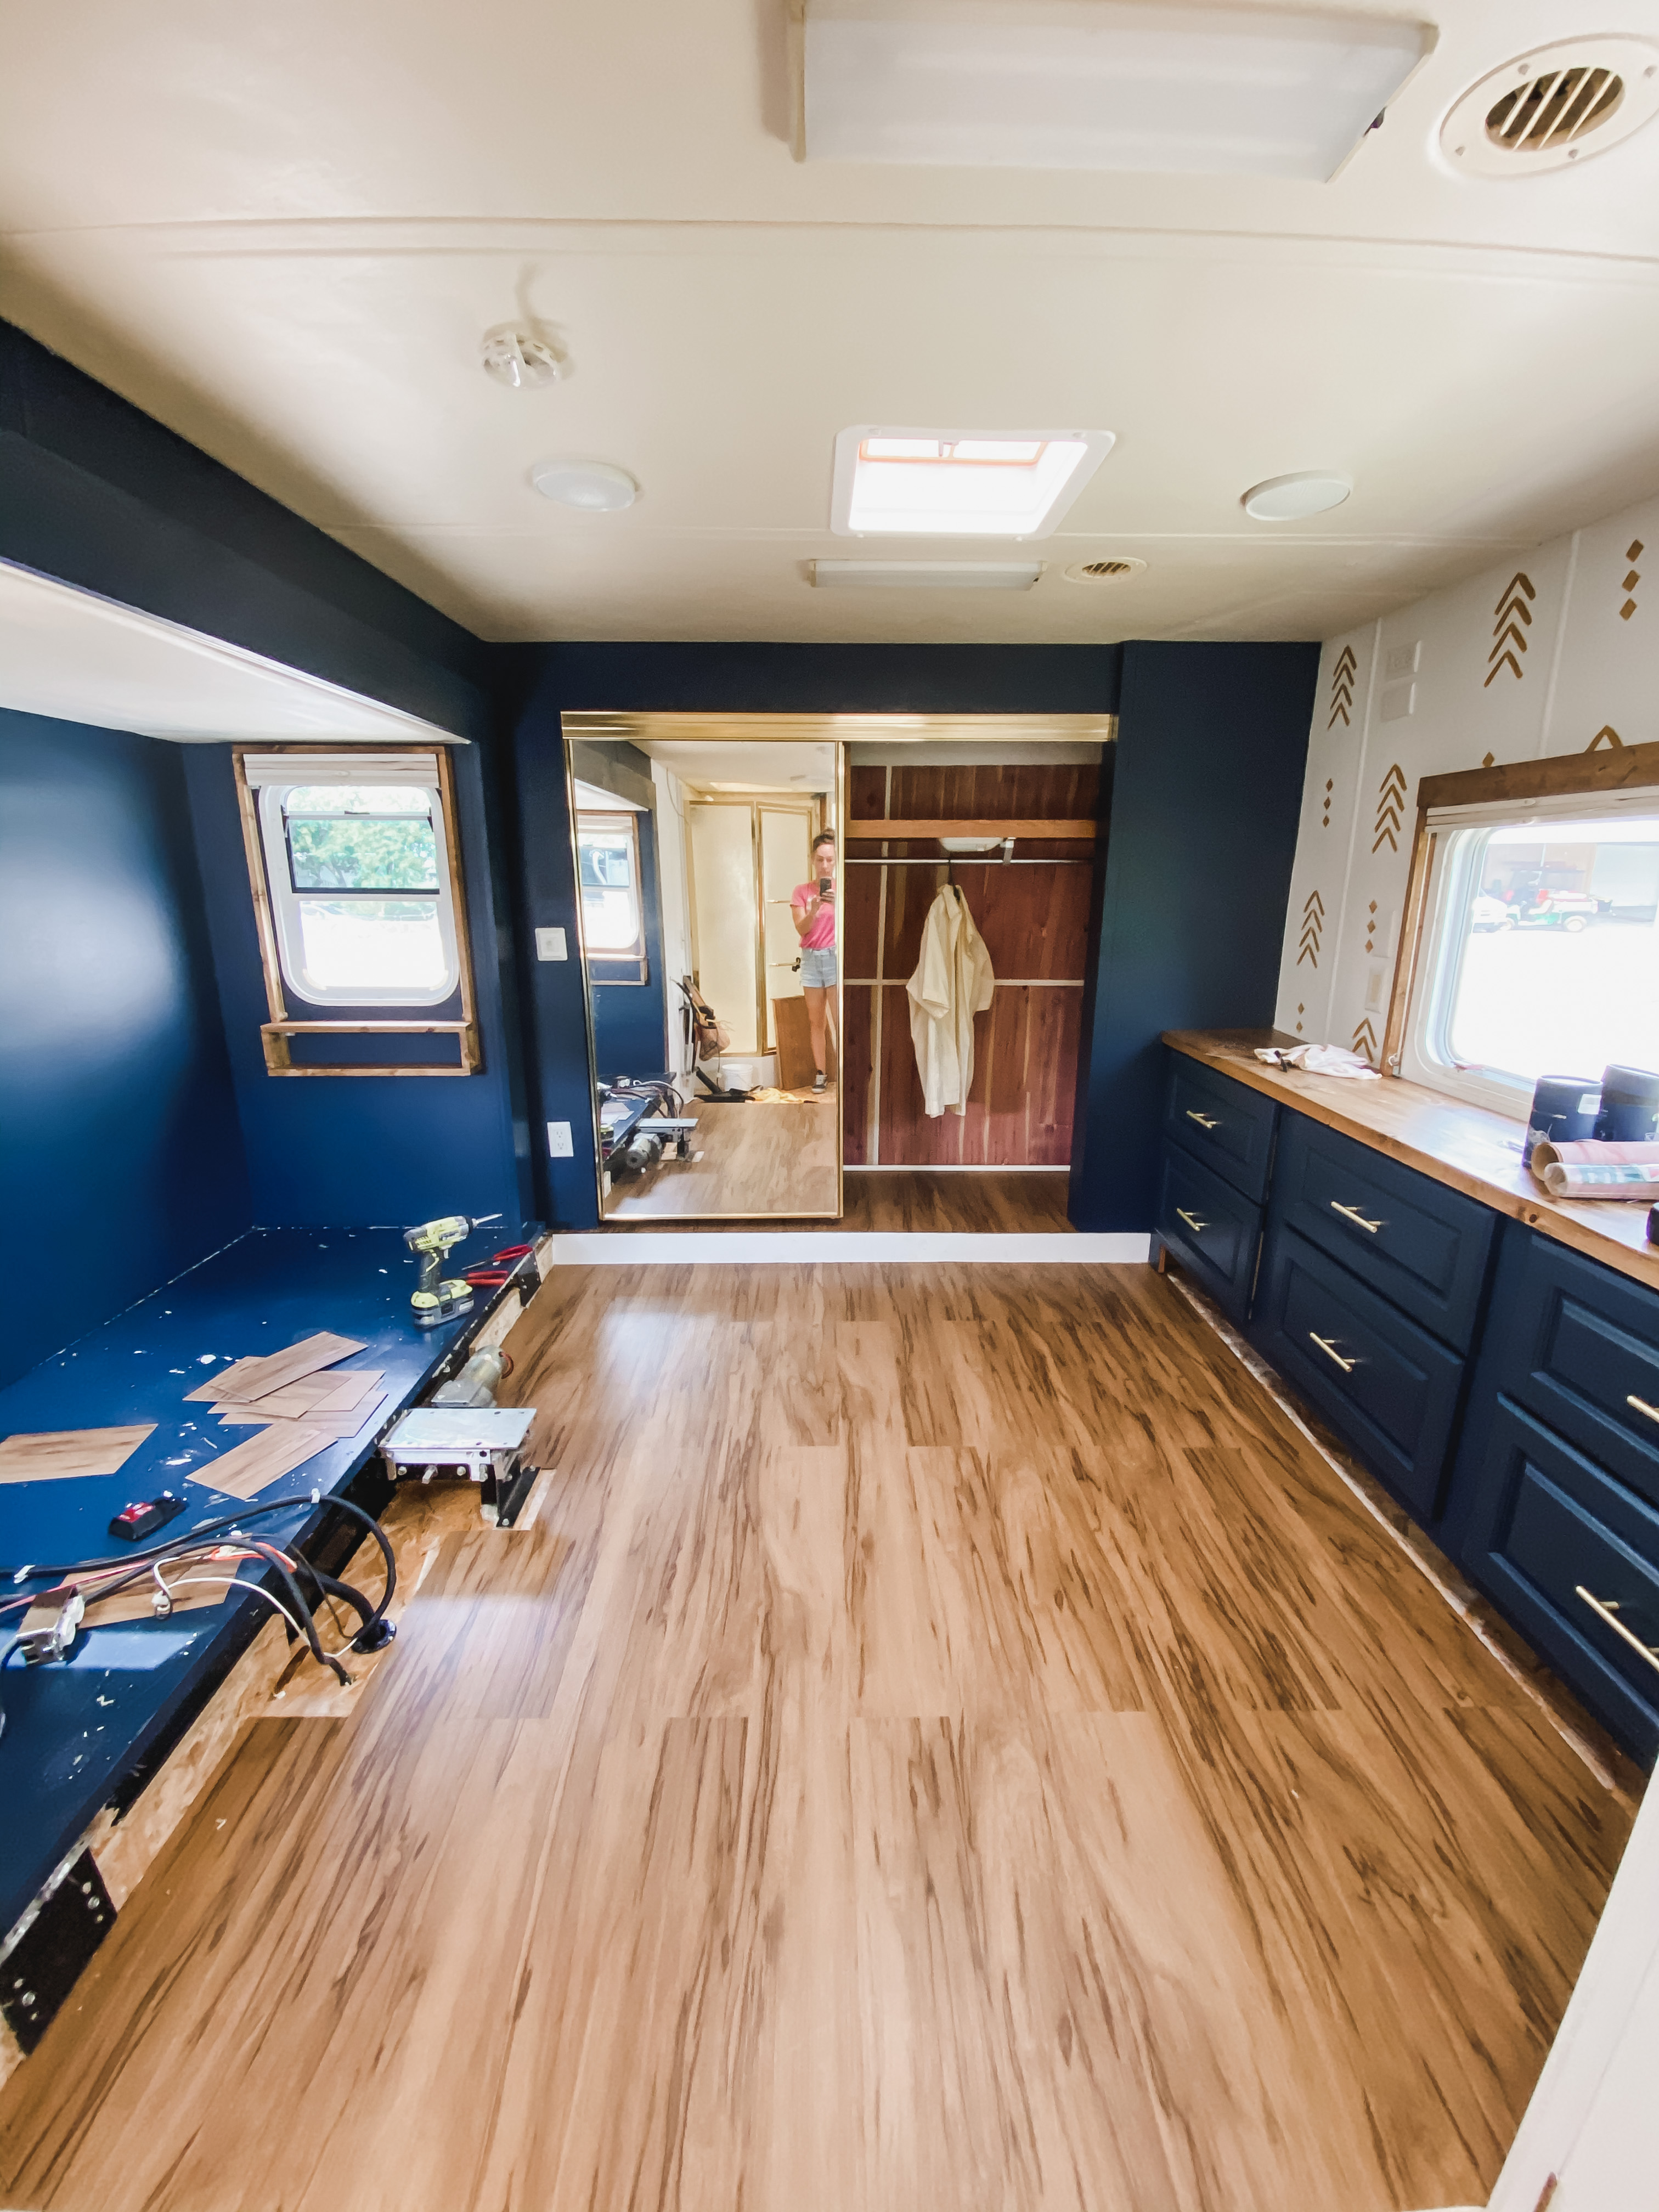
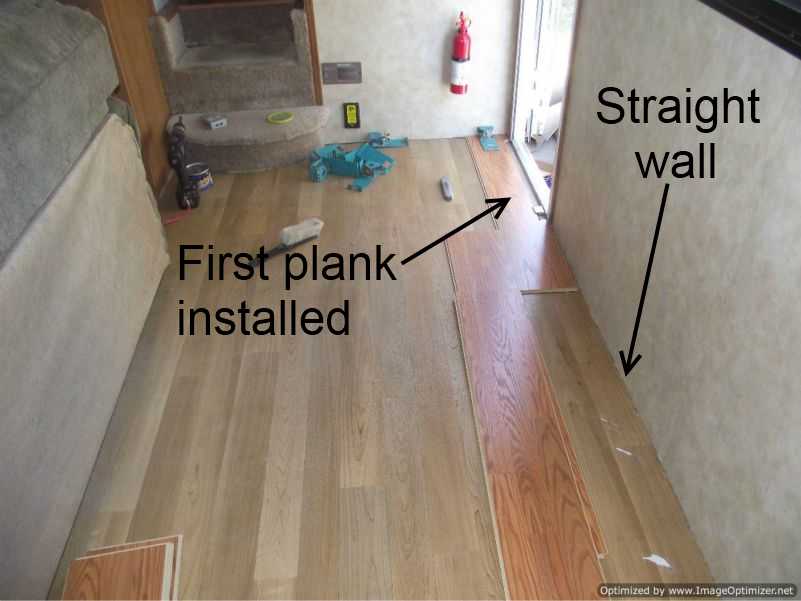
Installing Laminate Flooring Planks
Now it’s time to start laying down the laminate planks in place. Begin by laying down one full plank along one side of the room first and then attach each plank together using either nails or screws depending on your preference. Make sure that each plank is securely fastened together so that they don’t move around when stepped on during use. Once all of the planks have been laid down in place, use a leveler tool to ensure that everything is even and level before moving onto the next step.
Applying Underlayment and Adhesives (Optional)
Depending on your specific needs and preferences, you may want to apply underlayment or construction adhesive prior to laying down your laminate planks. The underlayment will act as an extra layer of protection against moisture and damage while also providing additional cushioning for those walking on top of it. Applying construction adhesive can help keep each plank secured in place much Better than nails or screws alone. Once all of these steps have been completed, you are ready to enjoy your new laminate flooring in your camper.
What tools are needed for installing laminate flooring in a camper?
Tools needed for installing laminate flooring in a camper include: a saw (circular saw, jigsaw, or table saw), a measuring tape, a level, a utility knife, a hammer and a tapping block. You may also need some adhesive to secure the flooring in place. Additionally, you may need some spacers and underlayment if required.What is the best way to install laminate flooring in a camper?
The best way to install laminate flooring in a camper is to use a vapor barrier and foam underlayment. This will help to keep the floor dry and protect it from damage. You’ll also need to use an adhesive to attach the laminate boards to the subfloor. Make sure to follow all manufacturer instructions for installation, including prepping the subfloor, cutting the boards, and sealing the edges. Finally, use a tapping block and hammer to make sure the planks are secure.What tools are needed to install laminate flooring in a camper?
1. Hammer2. Laminate flooring underlayment
3. Tape measure
4. Laminate flooring cutters
5. Chalk line
6. Utility knife
7. Laminate flooring glue
8. Laminate flooring spacers
9. Rubber mallet
10. Tapping block