Laminate flooring is available in varying degree of quality, but many of the time it's primarily a wood effect print stuck to either an MDF or plywood panel with a lacquer on top, sanding it would just sand away from the print and wreck the floor. But, in case they become scratched or worn through, laminate floorings are then will no longer able to be re coated – they're then' damaged'.
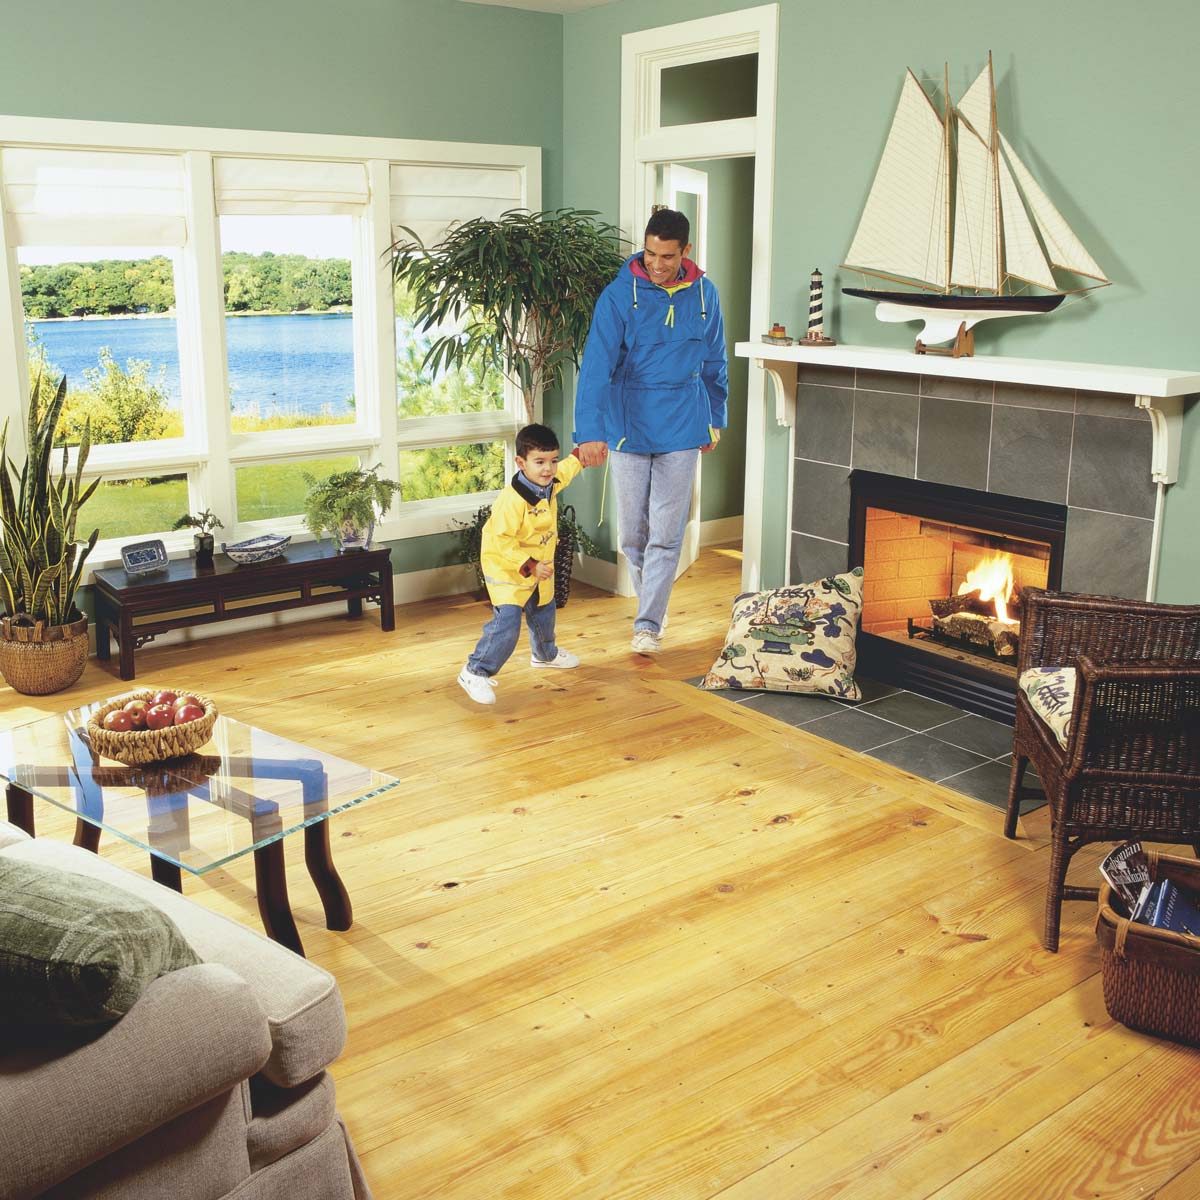
Images about Installing Pine Wood Flooring

And so maybe this can help you decide whether your floor is sanded as well as refurbished or perhaps if it's time to replace it. When you find huge animals or children in the home, you may want to think about checking out a laminate floor, and that is considerably more reluctant to scratches. This is made from excessive density fibre, mdf underlayering or hardened plastics, is an increasingly very popular flooring choice.
DIY Wide Plank Pine Floors [Part 1- Installation] The Roots of Home
When you have selected which style you want you are able to then decide on the colour of the wood. Engineered flooring includes a on the very best whatever species as well as texture you would like, and this's glued to some plywood backer on the bottom part. Wood flooring has constantly been extremely popular. During the hot and humid days of the summer days the wood floor parts will actually swell leading to expansion.
Installing wide-plank pine flooring – NewlyWoodwards
Cabin Pine Floor Install

DIY Wide Plank Pine Floors [Part 1- Installation] The Roots of Home
Make your own flooring with 1×6 pine
How to Install Pine Floors (DIY) Family Handyman
Installing a Southern Pine Floor

DIY: You can install pine wood flooring in 4 easy steps – Diy
How to Install Pine Floors (DIY) Family Handyman

Wide Plank Hardwood Flooring: What You Need to Know Apartment
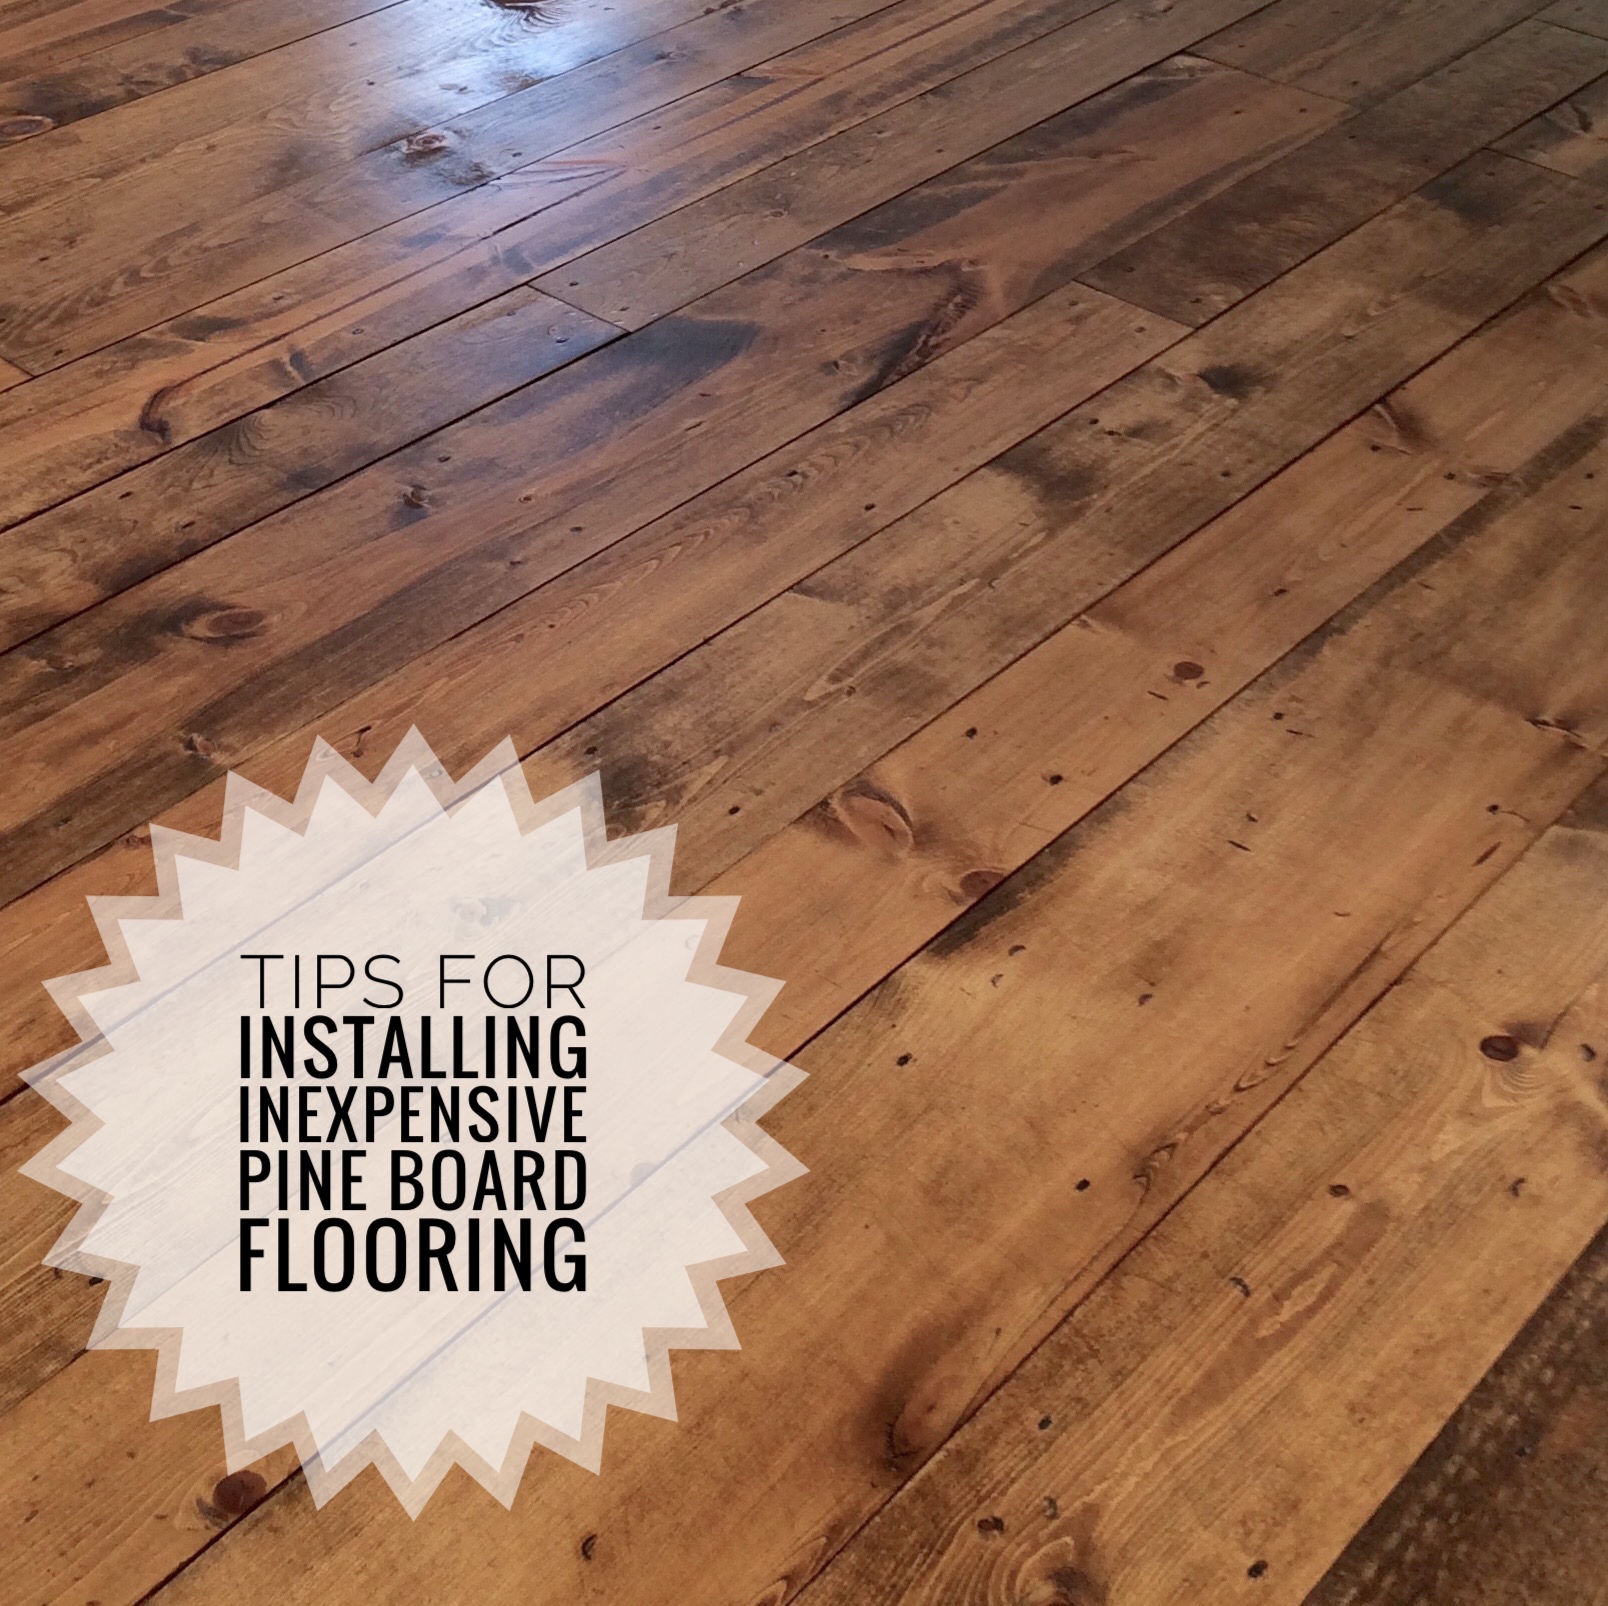
Inexpensive Wood Flooring Using Pine Boards – All You Need to Know
How to Install Pine Floors Pine floors, Flooring, Wood floor

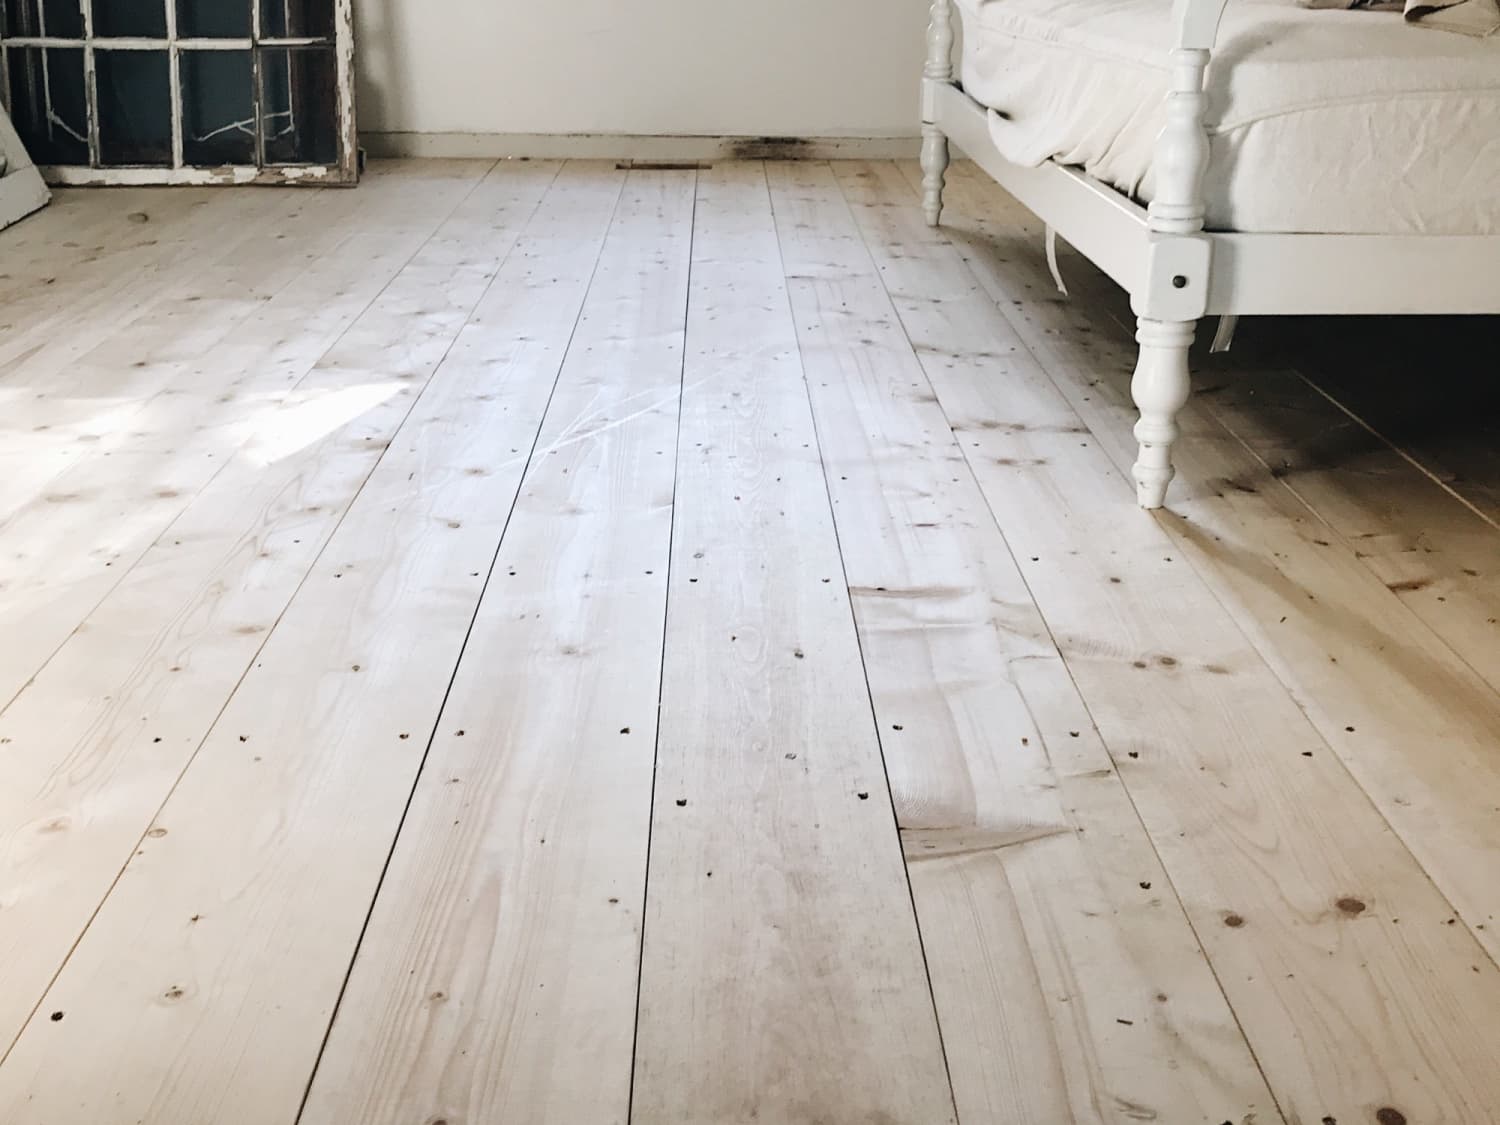
How to Install u0026 Refinish Unfinished Wide Pine Floors (Is DIY Pine

Related Posts:
- Wood Flooring Images Photos
- Wood Floor Cleaning Equipment
- Wood Floor Repair Water Damage
- Hand Scraped Acacia Wood Flooring
- Wood Flooring Installation Guide
- Light Distressed Wood Flooring
- Wood Floor Living Room Tile Kitchen
- Kahrs Ash Alabaster Engineered Wood Flooring
- Wood Flooring Sealant Oak
- Matching Wood Floors To Kitchen Cabinets
Installing Pine Wood Flooring: A Comprehensive Guide
Introduction:
Pine wood flooring is a popular choice among homeowners due to its warm and inviting aesthetic appeal. The installation process of pine wood flooring requires careful planning and execution to ensure a durable and visually appealing result. In this comprehensive guide, we will explore the step-by-step process of installing pine wood flooring, along with frequently asked questions and detailed answers to help you achieve a successful installation.
I. Pre-Installation Preparation:
Before diving into the installation process, it is crucial to prepare the area where the pine wood flooring will be installed. Follow these steps for optimal results:
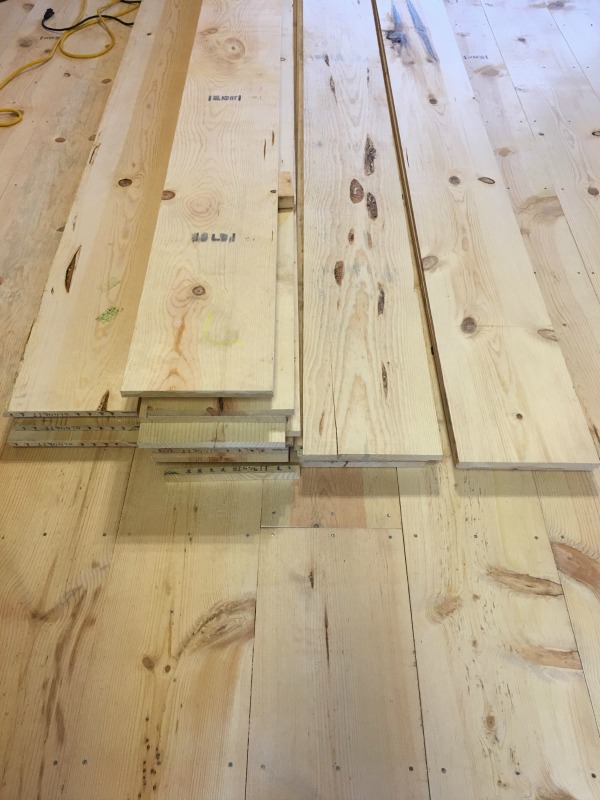
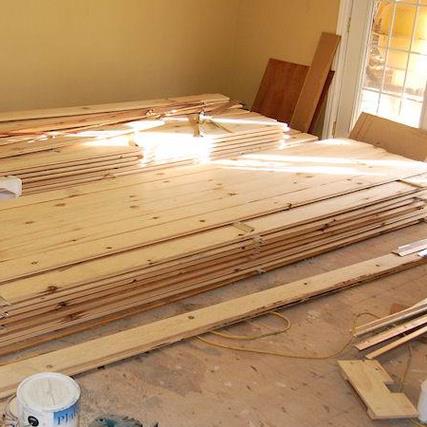
1. Acclimate the Wood:
Pine wood is sensitive to moisture levels, so it is essential to acclimate the flooring material before installation. Stack the boards in the room where they will be installed for a minimum of 72 hours. This allows the wood to adjust to the humidity and temperature of its environment, minimizing potential issues such as warping or buckling in the future.
FAQ: How long should I acclimate pine wood flooring?
Answer: It is recommended to acclimate pine wood flooring for at least 72 hours, but this duration may vary depending on the manufacturer’s guidelines and environmental conditions.
2. Prepare the Subfloor:
Ensure that the subfloor is clean, dry, and level before installing pine wood flooring. Remove any existing flooring materials, such as carpet or vinyl, and thoroughly sweep or vacuum the subfloor to remove dust and debris. If necessary, use a leveling compound to even out any irregularities in the subfloor.
FAQ: Can I install pine wood flooring over an existing floor?
Answer: In most cases, it is advisable to remove existing flooring materials before installing pine wood flooring for better stability and longevity. However, if your subfloor is in good condition and meets certain criteria (e.g., low pile carpet or well-adhered vinyl), you may be able to install pine wood flooring directly over it with proper preparation and underlayment.
II. Installation Process:
Once the pre-installation preparation is complete, you can proceed with the installation of pine wood flooring. Follow these steps for a successful installation:
1. Lay the Vapor Barrier:
To protect your pine wood flooring from moisture, lay a vapor barrier over the subfloor. Use a 6-mil polyethylene sheeting, ensuring that each row overlaps by at least 8 inches and is tightly sealed with tape. This will prevent moisture from seeping through and causing damage to the wood.
2. Install the Underlayment:
If desired or required by the manufacturer, install an underlayment over the vapor barrier. Underlayment helps reduce noise transmission, provides additional insulation, and enhances the overall stability of the flooring. Roll out the underlayment perpendicular to the direction of the flooring planks, trimming any excess material.
FAQ: Is underlayment necessary for pine wood flooring?
Answer: While not always mandatory, underlayment can provide several benefits such as noise reduction and improved stability. It is advisable to consult the manufacturer’s guidelines and consider your specific requirements before deciding whether to use underlayment or not.
3. Plan Your Layout:
Before installing the first row of pine wood flooring, plan your layout to ensure a visually pleasing result. Start by measuring the width of the room and dividing it by the width of a full board. This will help determine if any adjustments need to be made for equal-sized end boards.
Consider staggering the lengths of the Flooring to create a more natural and visually appealing look. This can be achieved by starting the second row with a shorter plank, and repeating the pattern throughout the installation. It is also important to leave a 1/2 inch expansion gap around the perimeter of the room to allow for natural expansion and contraction of the wood.
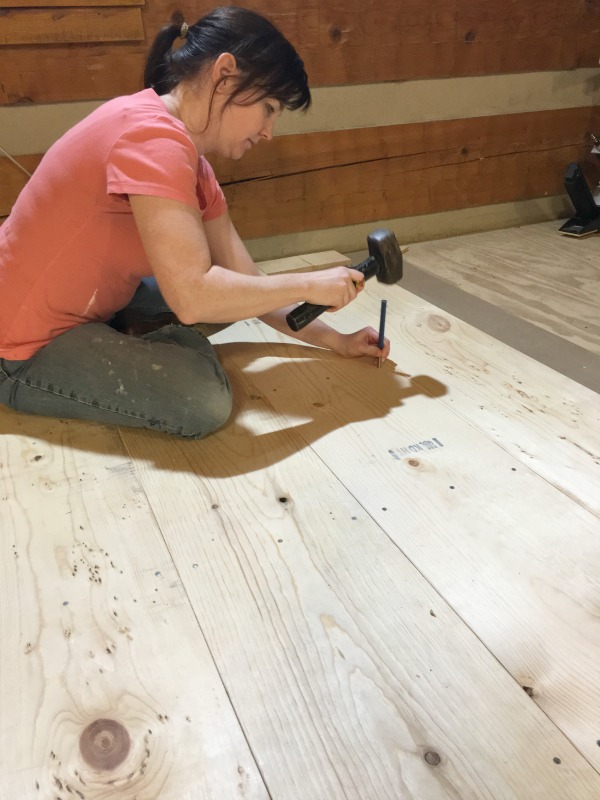
4. Install the Pine Wood Flooring:
Begin by placing the first row of pine wood flooring against the starting wall, with the tongue facing towards the room. Use a pneumatic flooring nailer or a hammer and finishing nails to secure the planks to the subfloor, making sure to nail through the tongue at a slight angle. Continue installing subsequent rows in a similar manner, using a tapping block and rubber mallet to fit the planks tightly together.
FAQ: Can pine wood flooring be glued down?
Answer: Yes, pine wood flooring can be glued down if desired. However, nailing or stapling is typically preferred for better stability and ease of installation. If you choose to glue down your pine wood flooring, make sure to use a high-quality adhesive specifically designed for hardwood flooring.
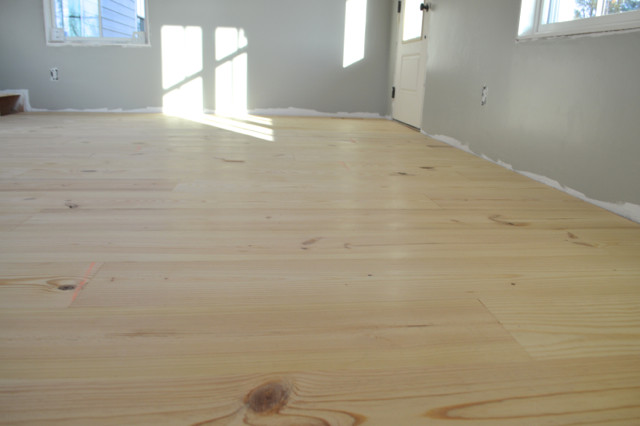
5. Complete the Installation:
Continue installing pine wood flooring until you reach the opposite wall. Trim any excess length from the final row of planks using a circular saw or jigsaw. Remember to leave another 1/2 inch expansion gap along this final wall as well. Finally, install baseboards or molding to cover any gaps between the flooring and walls, and apply any desired finish or sealant according to manufacturer’s instructions.
III. Maintenance and Care:
To keep your pine wood flooring looking its best, follow these maintenance tips:
1. Regular Cleaning:
Sweep or vacuum your pine wood flooring regularly to remove dirt and debris that can cause scratches. Use a damp mop or cloth for deeper cleaning, but avoid excessive moisture as it can damage the wood. Dry the floor immediately after cleaning.
2. Protect from Sunlight:
Pine wood flooring can fade or discolor when exposed to direct sunlight for prolonged periods. Use curtains, blinds, or UV-resistant window films to protect your flooring from harmful UV rays.
3. Avoid Standing Water:
Standing water can cause warping or damage to your pine wood flooring. Wipe up any spills or moisture immediately to prevent long-term problems.
4. Use Protective Pads:
Place felt pads under furniture legs and use rugs or mats in high-traffic areas to prevent scratches and dents on your pine wood flooring.
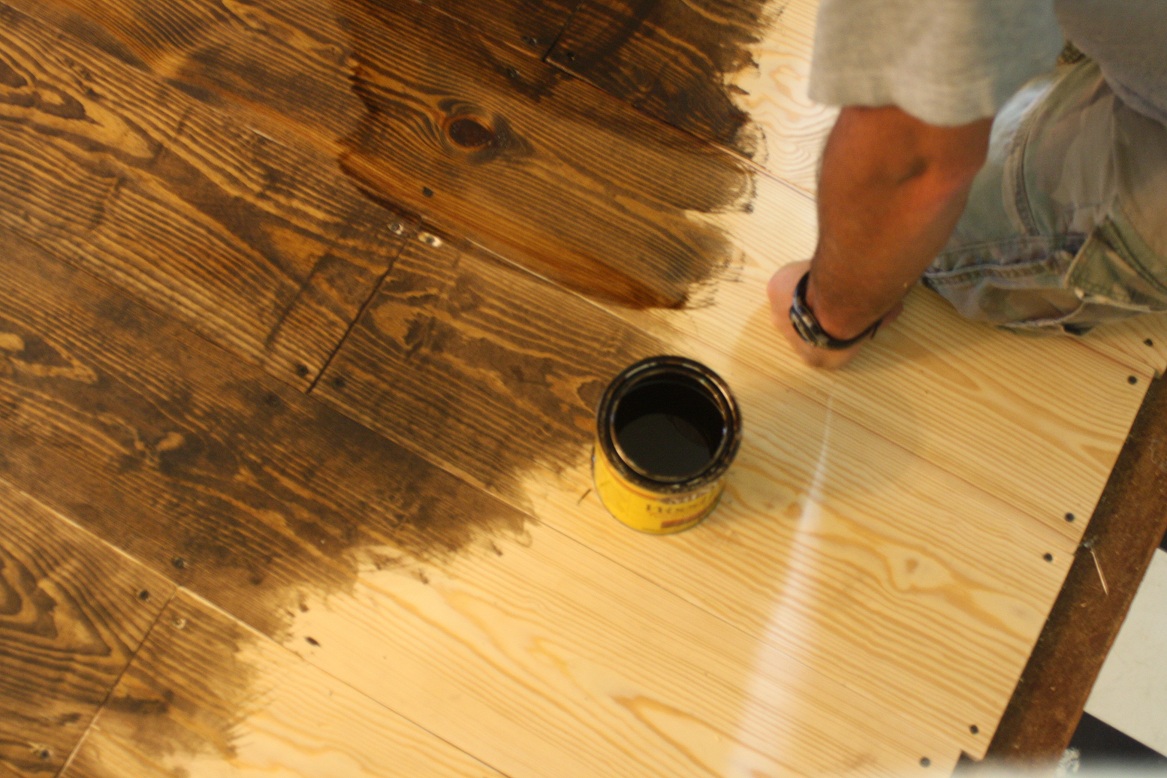
5. Refinish as Needed:
Over time, your pine wood flooring may show signs of wear and tear. If necessary, you can refinish the floor by sanding it down and applying a new coat of finish or stain. Follow manufacturer’s instructions and seek professional help if needed.