The natural color, pattern variation and shading are outstanding. In case you’d like to discover more we suggest you comply with the links above. There are plenty of reputed companies today, offering a huge variety in this renewable flooring option. Cork is a practical flooring alternative for the majority of rooms in the home of yours. The most perfect example is actually imagining a cork stopper inside a champagne bottle.
Images about Laying Cork Floor Tiles

You can easily understand that cork as being a floor item is a completely eco-friendly, renewable a natural renewable resource. An excellent advantage to using cork as a flooring item is the fact it’s a natural inexhaustible resource, rendering it green. Thus, you can easily know that not a single tree is damaged or even killed in the process of commercially producing cork floors.
Cork Flooring: What Are the Pros u0026 Cons?

This’s a problem for several people, though many resourceful homeowners have used cushioned furniture movers to generate a barrier between the floor as well as the furniture to stay away from harm that is long term . We cannot forget to mention that cork flooring is also unwilling to moisture, mildew, mold, allergens and bacteria.
How to Install Cork Tile Flooring (DIY) Family Handyman

Well, you’ll be pleased to know that cork flooring can virtually be fitted in each and every room; including the basement, kitchen and bathroom. Certainly one of its solid selling qualities is the fact that cork flooring is hypoallergenic and antimicrobial naturally. But, cork flooring is much different since it’s made solely of cork.
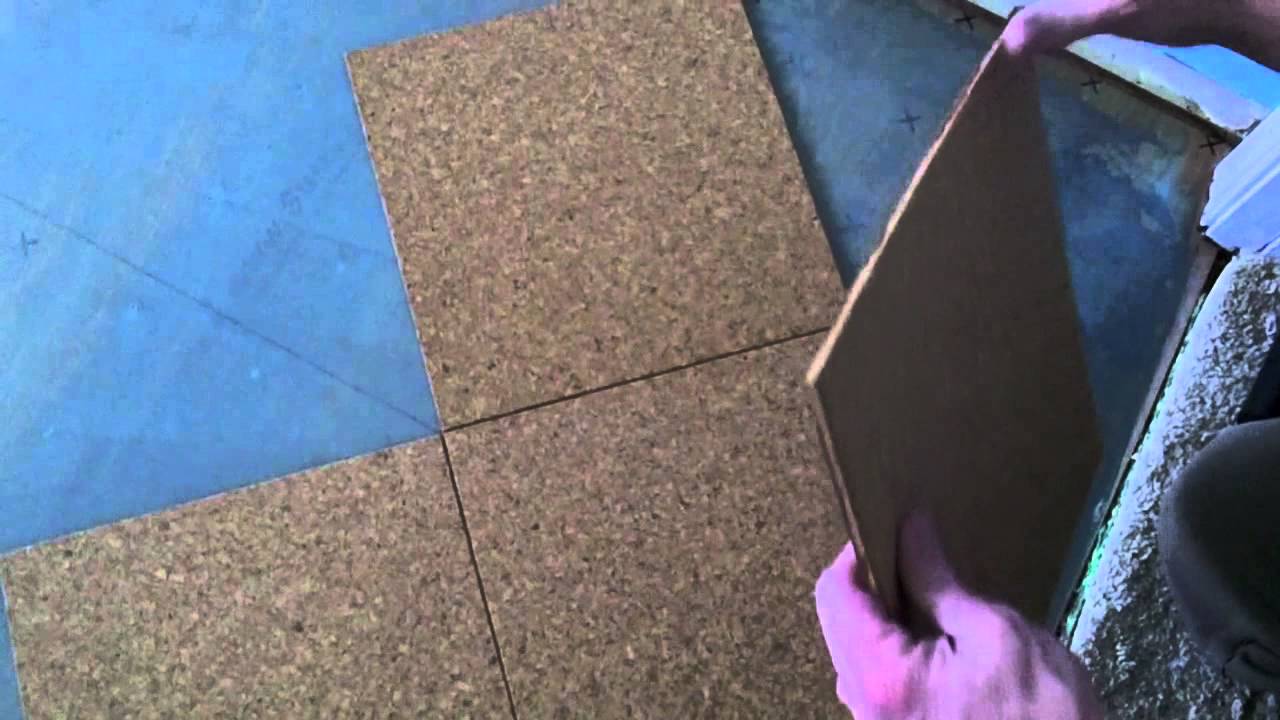
Cork Floor Install – How to install a cork glue down floor.
How to Install a Cork Floor – This Old House
/cdn.vox-cdn.com/uploads/chorus_asset/file/22873091/H1006HANDBOOK01.jpg)
How to Install Cork Flooring – (Tips and Guidelines For Your DIY

How to Install Cork Flooring- Cork Flooring Installation Made Easy

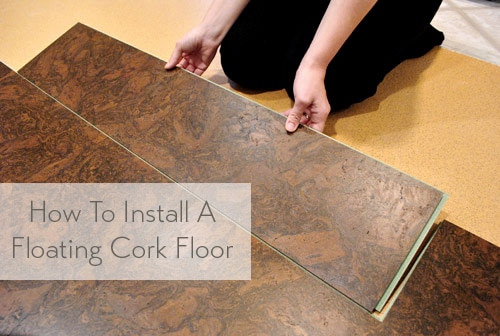
How To Install A Floating Cork Floor Young House Love
Advantages Of A Cork Floating Floor Over Glue-Down Cork Tiles
Using Cork Floor Tiles in Your Kitchen
/cork-flooring-in-unfurnished-new-home-647206431-57e7c0c95f9b586c3504ca07.jpg)
Cork Flooring Installation – How to Do It DIY Home Improvement
How to install cork flooring without any help
Cork Flooring Installation: PRO or DIY?Learning Center

Cork Glue Down Floors u2014 Jelinek Cork Group®
Related Posts:
- Cork Floor Soundproofing
- Sheet Cork Flooring
- US Floors Cork Flooring
- How To Install Cork Underlayment Floating Floor
- Floating Cork Floor In Bathroom
- Floating Cork Floor Planks
- How Does Cork Flooring Hold Up
- Cork Flooring On Concrete Slab
- Cork Underlay For Vinyl Flooring
- Cork Flooring Basement Pros And Cons
Laying Cork Floor Tiles: A Comprehensive Guide for a Sustainable and Stylish Flooring Option
Introduction:
Cork floor tiles have gained immense popularity in recent years due to their eco-friendly nature, durability, and unique aesthetic appeal. Whether you are renovating your home or considering a new flooring option, cork tiles offer an excellent choice. This comprehensive guide will walk you through the process of laying cork floor tiles, from preparation to finishing touches, ensuring a successful and visually stunning installation.
I. Preparing for Installation:
Before diving into the installation process, it is crucial to prepare the area thoroughly. This step ensures a smooth and long-lasting result. Here are the essential steps to follow when preparing for laying cork floor tiles:
a) Acclimating the Tiles:
Cork is a natural material that can expand or contract with changes in humidity and temperature. To prevent any potential issues, it is important to acclimate the tiles before installation. Place the unopened boxes of cork tiles in the room where they will be installed for at least 48 hours. This allows the tiles to adjust to the ambient conditions of the space.
b) Inspecting and Cleaning the Subfloor:
A clean and level subfloor is crucial for a successful installation. Inspect the subfloor carefully, looking for any imperfections or damage that may affect the integrity of the cork tiles. Remove any debris, dust, or old adhesive residues from the surface using a broom or vacuum cleaner.
FAQs:
Q1: Can I install cork floor tiles over an existing floor?
A1: In most cases, yes! However, it is essential to ensure that the existing floor is clean, level, and structurally sound. Remove any loose or damaged flooring materials before proceeding with cork tile installation.
Q2: Do I need underlayment for cork floor tiles?
A2: While not always necessary, underlayment can provide additional insulation, noise reduction, and moisture resistance. Consider using a quality underlayment specifically designed for cork flooring to enhance its performance and longevity.
II. Installing the Cork Floor Tiles:
a) Planning the Layout:
Before laying the tiles, it is vital to plan the layout to achieve a visually pleasing result. Start by identifying the center of the room and mark it as a reference point. From this point, use a chalk line or straightedge to create guidelines for your tile placement. Ensure that the lines are square to each other and allow for even tile distribution at the edges of the room.
b) Applying Adhesive:
Cork floor tiles are typically installed using adhesive. Begin by mixing the adhesive according to the manufacturer’s instructions. It is advisable to work in small sections, applying the adhesive evenly with a trowel. Spread only an amount that can be covered with tiles within 15-20 minutes to avoid drying out.
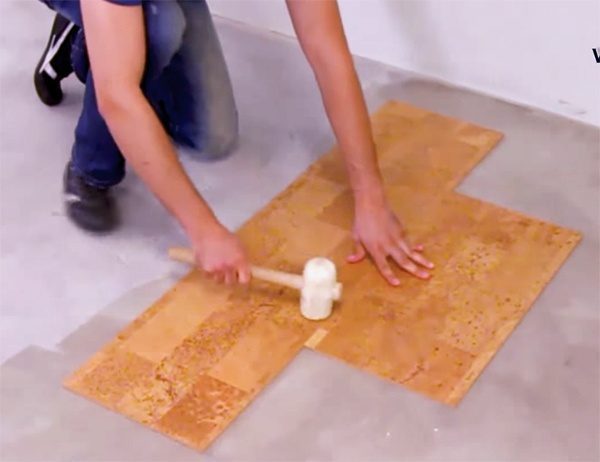
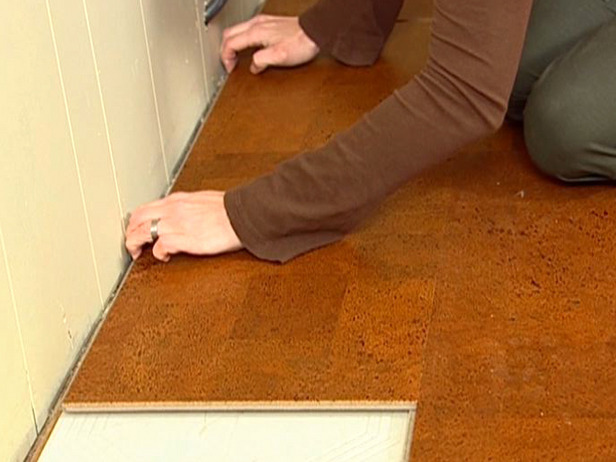
c) Placing the Tiles:
Once adhesive is applied, carefully place each cork tile on top, following your predetermined layout plan. Press gently but firmly on each tile, ensuring proper adhesion with the subfloor. Leave a small gap between each tile for expansion purposes, usually around 1/8 to 1/4 inches.
d) Cutting and Fitting Tiles:
During installation, you will likely encounter areas where full-sized tiles do not fit correctly. To address this, measure and mark the tiles that require cutting using a straightedge and pencil. Utilize a sharp utility knife or a jigsaw equipped with a fine-toothed blade to make Precise cuts. Take your time and make sure to follow the marked lines carefully to ensure accurate fitting of the tiles.
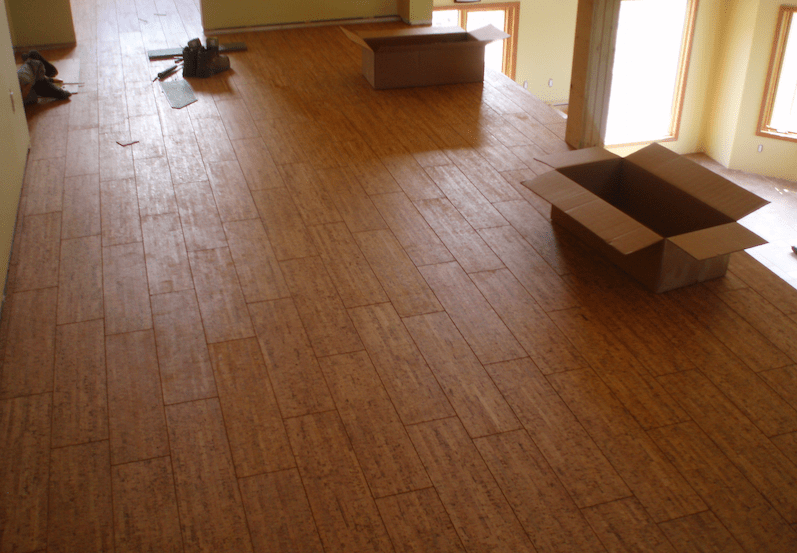
e) Finishing Touches:
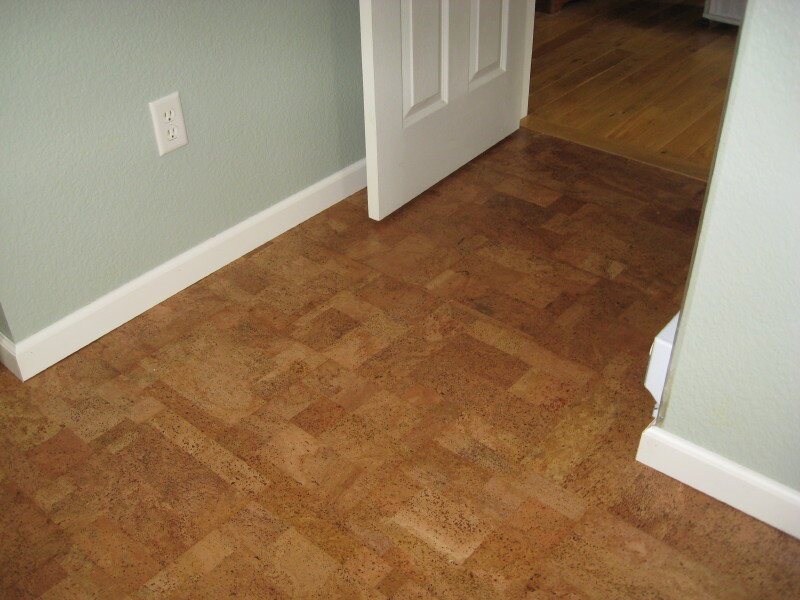
Once all the tiles are in place, allow the adhesive to dry as per the manufacturer’s instructions. This typically takes around 24-48 hours. Afterward, you can install baseboards or trim to cover any gaps at the edges of the room. Additionally, consider applying a protective sealant or finish to enhance the durability and longevity of your cork floor.
f) Maintenance and Care:
To keep your cork floor looking its best, follow these maintenance tips:
– Regularly sweep or vacuum the floor to remove dirt and debris.
– Clean up spills immediately to prevent staining or damage.
– Avoid using harsh chemicals or abrasive cleaners that may scratch or discolor the cork.
– Use furniture pads or coasters to protect the floor from scratches caused by heavy furniture.
– Consider using rugs or mats in high-traffic areas to further protect the cork surface.
By following these steps and guidelines, you can successfully install and maintain cork floor tiles for a beautiful and sustainable flooring solution. Installing cork floor tiles can be a rewarding project that results in a pleasing and sustainable flooring solution. Here are the steps to follow:
a) Preparing the Room:
1. Identify the center of the room and mark it as a reference point.
2. Use a chalk line or straightedge to create guidelines for your tile placement, ensuring they are square to each other.
3. Make sure the lines allow for even tile distribution at the edges of the room.
b) Applying Adhesive:
1. Mix the adhesive according to the manufacturer’s instructions.
2. Work in small sections, applying the adhesive evenly with a trowel.
3. Spread only an amount that can be covered with tiles within 15-20 minutes to avoid drying out.
c) Placing the Tiles:
1. Carefully place each cork tile on top of the adhesive, following your predetermined layout plan.
2. Press gently but firmly on each tile to ensure proper adhesion with the subfloor.
3. Leave a small gap between each tile for expansion purposes, usually around 1/8 to 1/4 inches.
d) Cutting and Fitting Tiles:
1. Measure and mark the tiles that require cutting using a straightedge and pencil.
2. Use a sharp utility knife or jigsaw equipped with a fine-toothed blade to make precise cuts.
3. Follow the marked lines carefully to ensure accurate fitting of the tiles.
e) Finishing Touches:
1. Allow the adhesive to dry as per the manufacturer’s instructions, typically around 24-48 hours.
2. Install baseboards or trim to cover any gaps at the edges of the room.
3. Consider applying a protective sealant or finish to enhance durability and longevity.
f) Maintenance and Care:
1. Regularly sweep or vacuum the floor to remove dirt and debris.
2. Clean up spills immediately to prevent staining or damage.
3. Avoid using harsh chemicals or abrasive cleaners that may scratch or discolor the cork.
4. Use furniture pads or coasters to protect the floor from scratches caused by heavy furniture.
5. Consider using rugs or mats in high-traffic areas to further protect the cork surface.
By following these steps and guidelines, you can successfully install and maintain cork floor tiles for a beautiful and sustainable flooring solution.