Vinyl comes in a variety of styles, patterns, and shades. Based on the construction of the vinyl, needed care should be noticed to not hurt the floor finish. In the long run, you chalk up even greater savings. Due to the supply of vinyl flooring, pushing or dragging furniture across the floor will do nothing but zero and possibly even rip your floor.
Images about Laying Down Vinyl Flooring

One of the major benefits of vinyl flooring over laminate is the fact that vinyl flooring’ gives’ as well as features a springiness to it. Self-adhesives often fall short with this cheaper flooring, and also the material itself is very thin, making it much easier to harm. The expense of installing sports complexes is further lessened by replacing expensive flooring selections with vinyl tile floorings.
How to Install Vinyl Plank Flooring
:max_bytes(150000):strip_icc()/easy-install-plank-vinyl-flooring-1822808-06-3bb4422ca1bd49b080bfa73bce749acc.jpg)
This method of printing uses a rotary journalists with photoengraved plates to mark virtually any type of design onto the vinyl. Aside from the self-adhesive character of its, vinyl might be fitted with any underlayment in spite of its make just provided that the counter were smoothened out and also kept from any granules or maybe anything that might ruin the feel of its.
How to Install Vinyl Plank Flooring
Installing Vinyl Plank Flooring – How To FixThisBuildThat
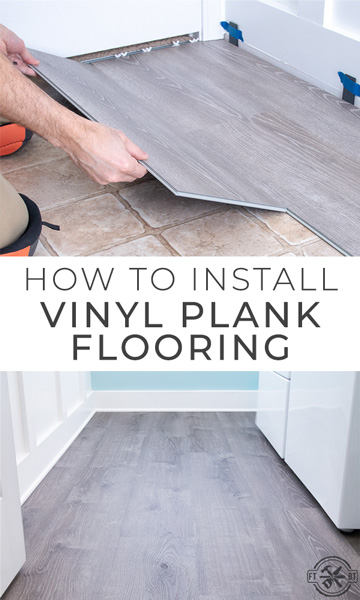
How to Install Vinyl Plank Flooring Loweu0027s
How to Install Vinyl Plank Flooring Loweu0027s

How to Install Vinyl Plank Flooring
/easy-install-plank-vinyl-flooring-1822808-hero-cefa2d84f781434b9e1e73a0c44e3a5c.jpg)
How to Install Vinyl Plank Flooring
How to Install Vinyl Plank Flooring as a Beginner Home

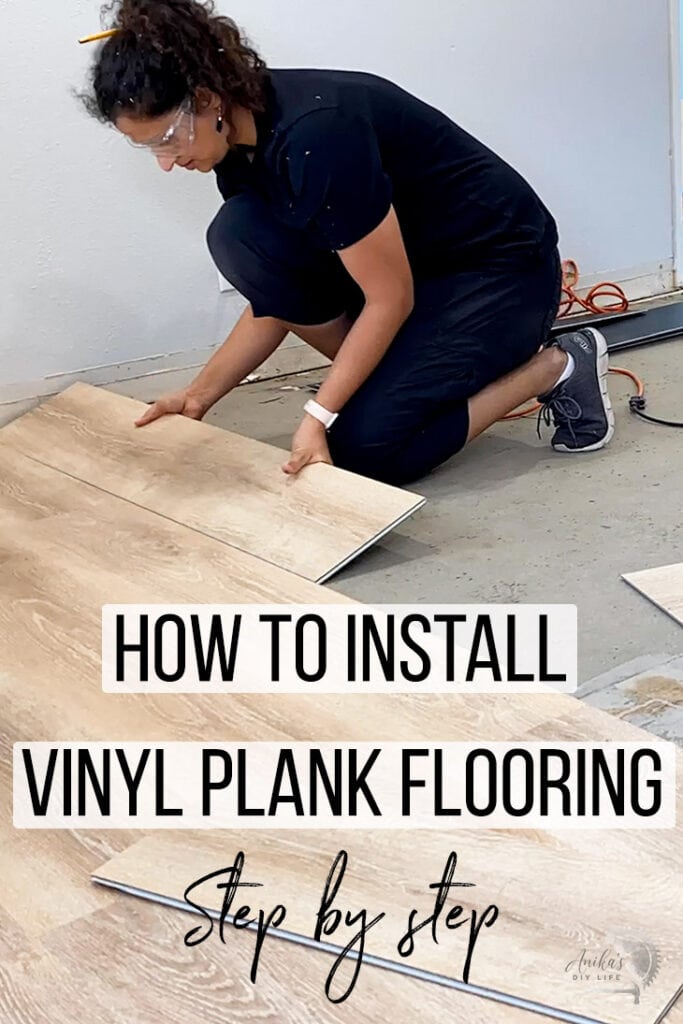
Installing Vinyl Plank Flooring For Beginners – Anikau0027s DIY Life
What Are the Advantages of Loose Lay Vinyl Plank? Impression Floors

How to lay down vinyl flooring in your home dance studio in three

How Much Does It Cost to Install Vinyl Plank Flooring? – Bob Vila

How to lay sheet vinyl flooring
Related Posts:
- Dura Click Vinyl Flooring
- Vinyl Flooring Good Or Bad
- How To Remove Vinyl Flooring Glue From Concrete
- Patching Compound For Vinyl Flooring
- Smooth Vinyl Flooring
- Du Chateau Vinyl Flooring Reviews
- Luxury Vinyl Flooring Installation Cost
- Installing Vinyl Flooring On Concrete
- Quickpro Vinyl Flooring Reviews
- Vinyl Flooring And Asbestos
Installing Vinyl Flooring for a Beautiful and Durable Result
Vinyl flooring is an excellent choice for those who want a durable, low-maintenance flooring solution. It is also popular because of its affordability, versatility, and ease of cleaning. Vinyl flooring comes in a variety of styles, colors, patterns, and textures to match any decor. In this article, we will discuss the basics of laying down vinyl flooring for a beautiful and durable result.
Subfloor Preparation
Before you begin to install your vinyl flooring, it is important that you prepare the subfloor properly. The subfloor should be clean and level before you begin. If the subfloor is not level, you may need to use self-leveling compound or underlayment to create an even surface for the vinyl flooring. It is also important to make sure that the subfloor is free of debris and dust before you start installing the vinyl.
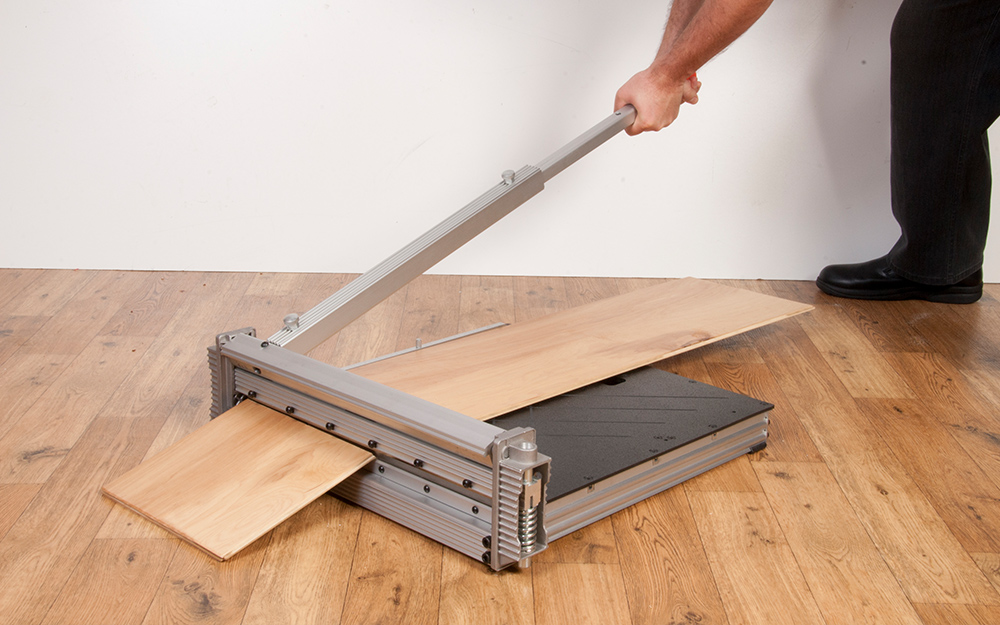
Measuring and Cutting
Once the subfloor has been prepared, it’s time to measure and cut your vinyl flooring. Make sure that you measure twice before cutting. This will help ensure that all your pieces fit together properly and there are no gaps or overlaps when installing the vinyl. You can use a utility knife or a circular saw to cut the vinyl into pieces that fit your space. Be sure to measure carefully so that all of your pieces fit together snugly when installed.
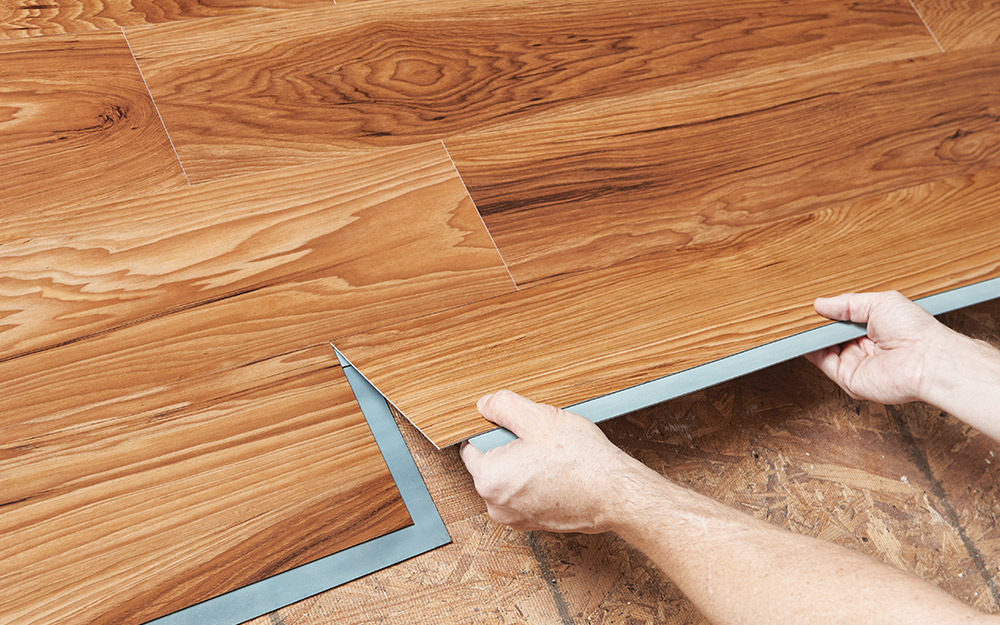
Laying Down Vinyl Flooring
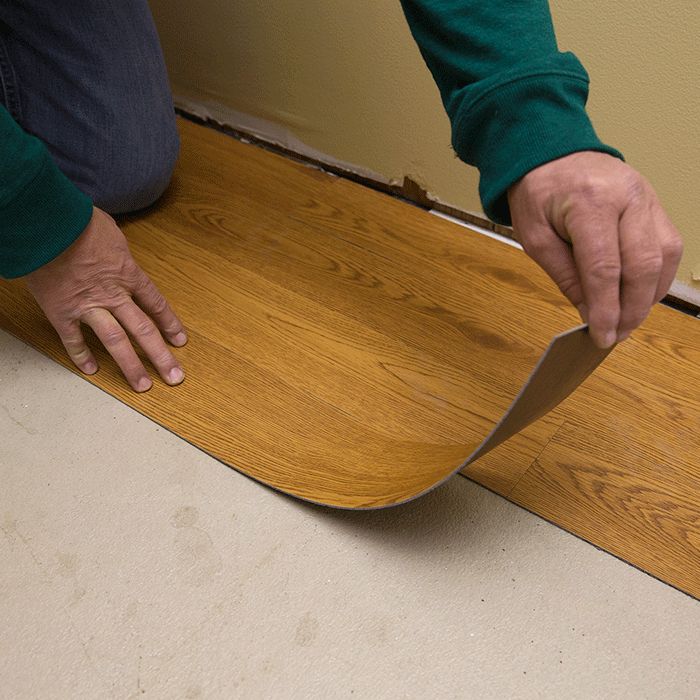
Once all your pieces have been cut to size, it’s time to lay down your vinyl flooring. To start, place all the pieces in their position on the floor and make sure they are lined up properly with each other. Once they are in place, use a roller or heavy object like a broom handle to press down on each piece and ensure they are firmly attached to each other and the subfloor. Start in one corner of the room and work your way around until all pieces are laid down securely.
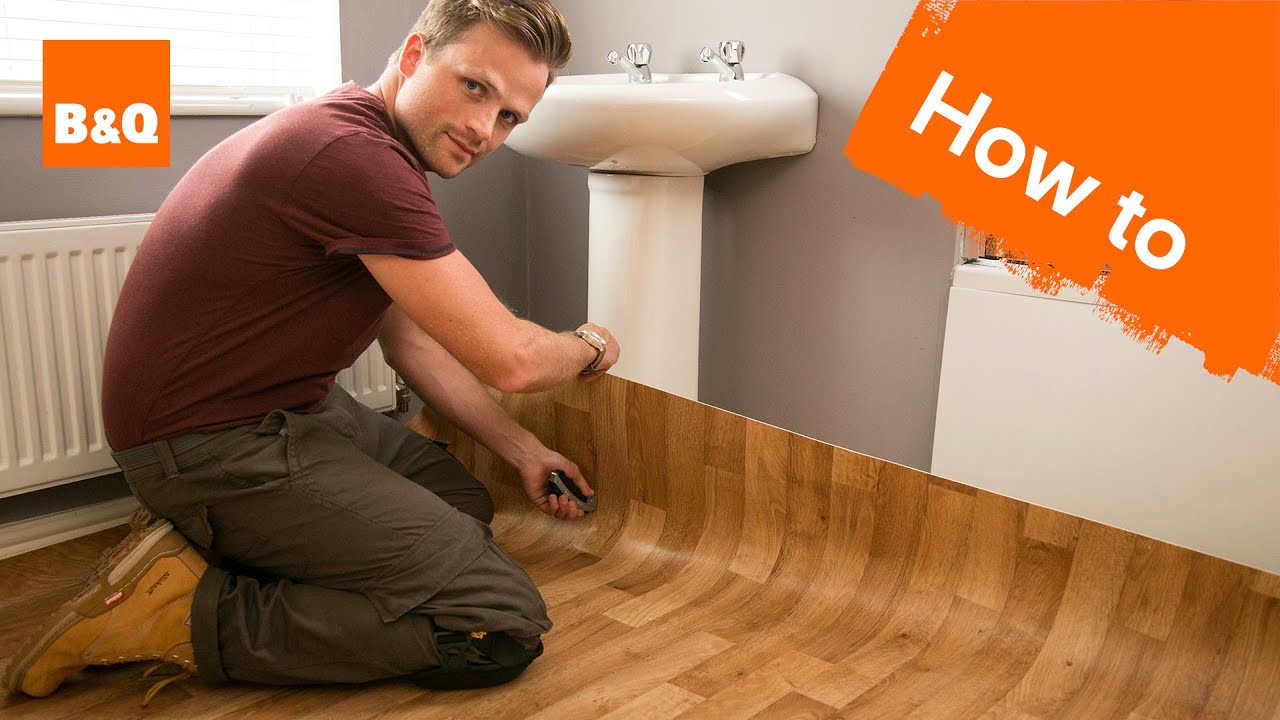
Seaming
Once all pieces have been laid down securely it’s time to seam them together. To do this, use a seaming iron with adhesive tape on both sides of each seam to ensure a tight bond between pieces of vinyl. Make sure not to overlap any pieces during this process as this can cause bubbles or other imperfections in the finished product. Once all seams are secured, let them cool before continuing on with installation.
Trimming
After you have securely seamed all pieces together it’s time to trim off any excess material along edges or around doorways or other obstacles like cabinets or appliances. You can use a utility knife or scissors for this step but make sure not to cut too close as you don’t want any gaps between pieces when finished laying down your vinyl flooring.
Finishing Touches
Once all trimming is complete it’s time for some final touches like baseboards or moldings if desired. These will help provide an additional layer of protection against wear and tear and also give a more finished look overall once done installing your vinyl flooring. Once these are in place, if desired, you can also add an additional layer of sealant or wax for extra protection against wear and tear over time.
What tools are needed to lay down vinyl flooring?
Tools needed to install vinyl flooring include a utility knife, tape measure, chalk line, straight edge, notched trowel, double-sided tape, adhesive, and a tapping block. Optional tools include a jigsaw, miter saw, and flooring roller.
What kind of adhesive should be used to install vinyl flooring?
Most vinyl flooring can be installed with a pressure sensitive adhesive, such as a urethane adhesive or contact cement. When using a pressure sensitive adhesive, it is important to follow the manufacturer’s instructions for proper application.
What tools are needed to install vinyl flooring?
Tools needed to install vinyl flooring include:
– Tape measure
– Utility knife
– Hammer
– Chalk line
– Tapping block or rubber mallet
– Vinyl floor roller
– Notched trowel
– Seam sealer
– Adhesive
– Spacers (for plank or tile installation)
– Double-sided tape (for plank or tile installation)
– Optional: Miter saw, jigsaw, power drill
What type of adhesive should be used to install vinyl flooring?
The best type of adhesive for installing vinyl flooring is a pressure-sensitive adhesive specifically designed for use with vinyl. These adhesives come in either urethane or contact cement varieties, and should be used according to the manufacturer’s instructions.
What is the best adhesive for vinyl flooring?
The best adhesive for vinyl flooring is a pressure-sensitive adhesive specifically designed for vinyl. This type of adhesive provides strong bonding, water resistance, and flexibility to allow for expansion and contraction of the vinyl. Common types of vinyl adhesive include urethane and contact cement.
What type of adhesive should be used for vinyl flooring?
The type of adhesive that should be used for vinyl flooring depends on the type of vinyl being installed, but generally, a pressure-sensitive adhesive specifically designed for installing vinyl flooring is recommended.