One of the problems faced when changing the house's basement into a lifestyle space is the basement's flooring surfaces. The primary reason that the downstairs room is very beneficial to your home is simply because when it is finished, you have produced another living space that's commonly not a part of most people's houses.
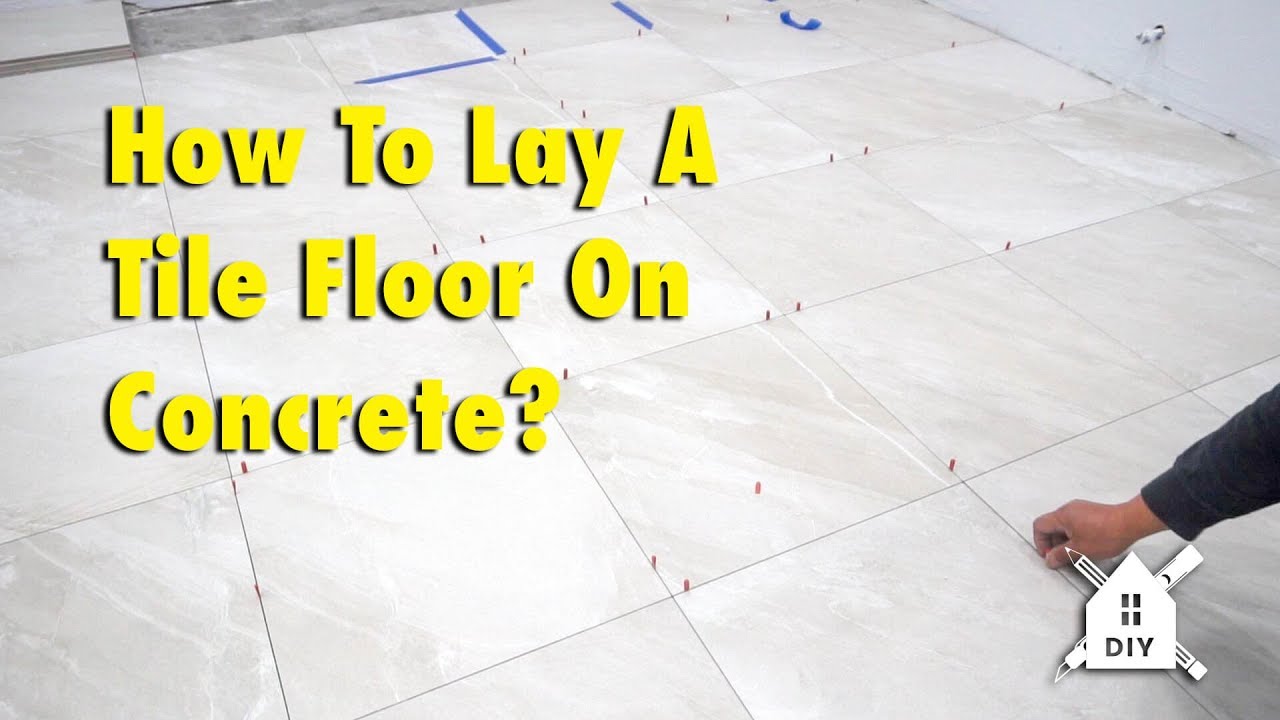
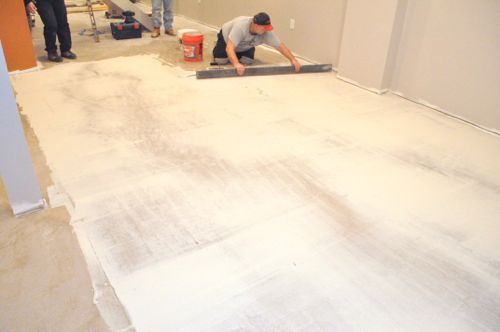
Images about Leveling Concrete Floor For Ceramic Tile
For years, basements were deemed to be little more than storage rooms, mainly unfinished concrete floors & walls, locations where used clothes, toys, equipment, boxes of stuff and whatever else that was not immediately wanted might be saved. Look for cracks in the basement of yours before installing tile as these will in addition cause cracks in the new floor of yours.
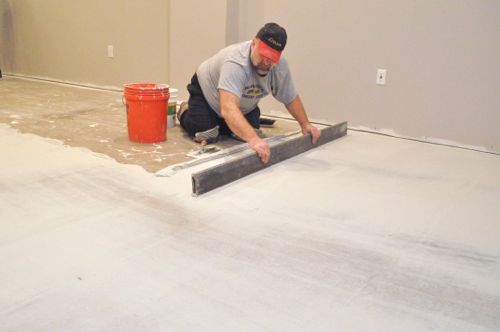
How to Level a Subfloor Before Laying Tile
This will save you the future hassles. Less permeable stone floor types for example flagstones, slate and granite is able to make for a perfect basement floor. Basements can be wonderful. Talk to flooring professionals about the most effective choices for your particular basement as well as the potential obstacles that you have with flooring. Basement floors covering doesn't need to be dull to be functional.
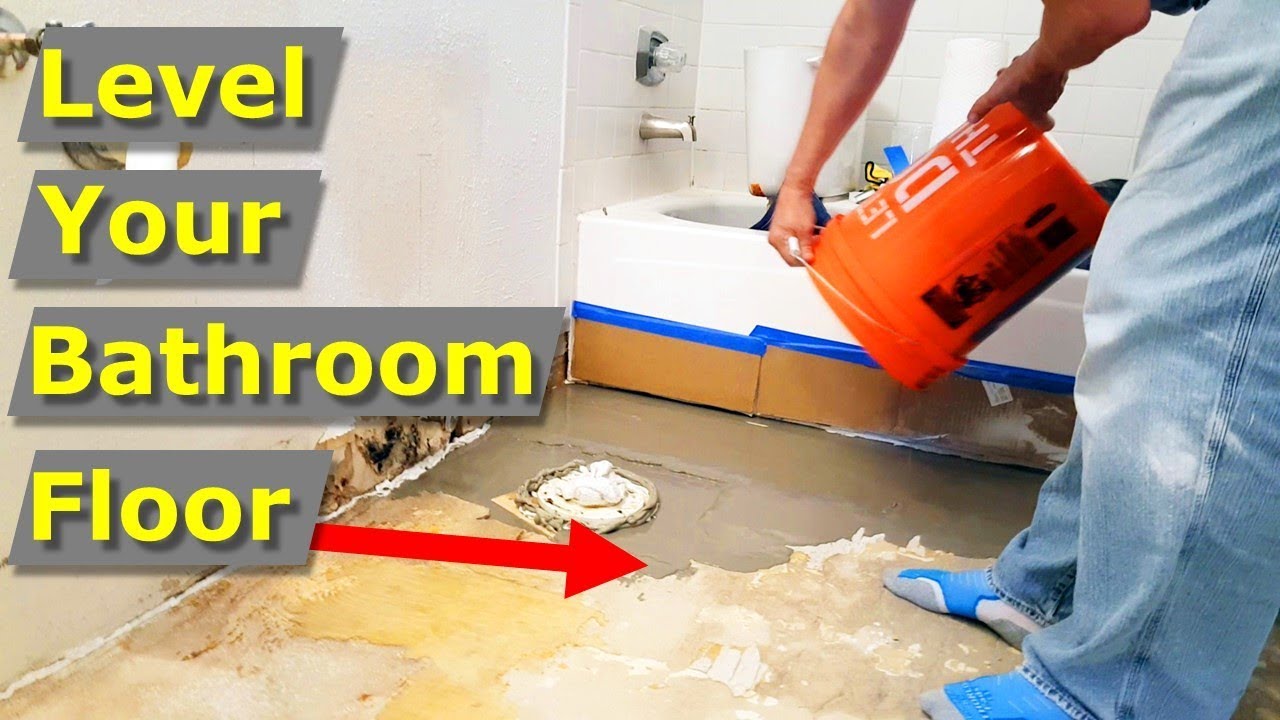
How to Self Level a Bathroom Floor Using Self Leveler Cement – YouTube
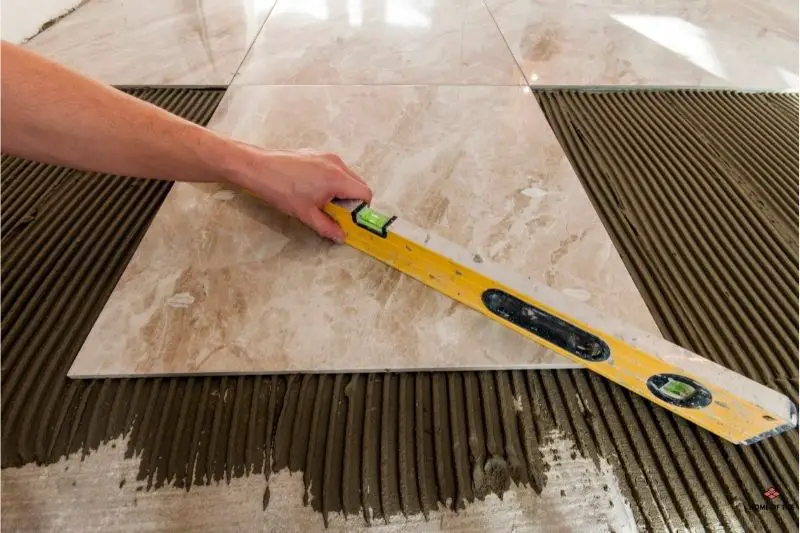
Preventing Lippage: Start With the Right Tile Leveling System
How to Level a Subfloor Before Laying Tile
Subfloors and Underlayment for Ceramic Tile Floors
/best-subfloors-to-use-for-laying-tile-1822586-hero-efcfac9422ab457da5d2cbc7f7361df7.jpg)
Tiling and Leveling: 8 Things You Should Know u2013 Home of Tile
Technical Focus: Achieving a flat floor for tile and stone

How to Prepare Concrete for a Tile InstallationLearning Center

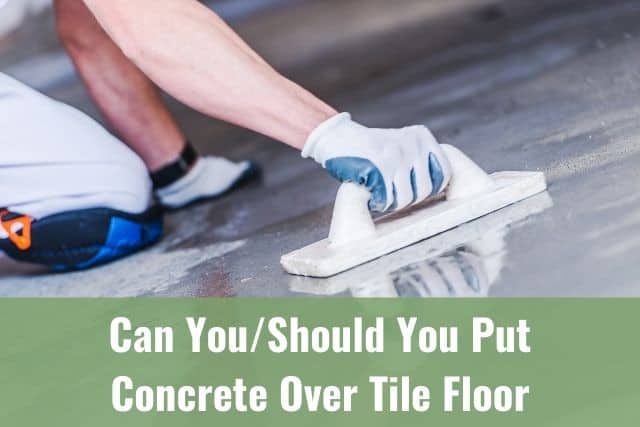
Can You/Should You Put Concrete Over Tile Floor – Ready To DIY
Pour a Floor – Self Leveling Floor Mix 50lbs. – Chargar Corporation

How to use floor leveler to fill low spots before laying new flooring

The Ultimate Guide to Underlayment for Tile

Can I Cover Asbestos Floor Tiles With Concrete? HGTV
Related Posts:
- Best Carpet For Basement Floor
- Cheap Waterproof Flooring For Basement
- Black Mold On Basement Floor
- How To Level Out A Concrete Basement Floor
- Removing Mold From Basement Floor
- How To Resurface Concrete Floor In Basement
- Vinyl Floor Tiles For Basement
- Basement Entry Floor Plans
- Basement Flooring Options Over Concrete Waterproof
- Rubber Flooring Options For Basements
Leveling Concrete Floor for Ceramic Tile: A Comprehensive Guide
Introduction:
When it comes to installing ceramic tiles, having a level surface is crucial to ensure a successful and visually pleasing outcome. The levelness of the floor not only affects the overall appearance but also determines the durability and functionality of the tiles. Uneven concrete floors can lead to cracked or loose tiles, as well as potential tripping hazards. In this article, we will guide you through the process of leveling a concrete floor for ceramic tile installation, providing detailed instructions and addressing frequently asked questions to help you achieve professional results.
1. Assessing the Condition of the Concrete Floor:
Before starting any leveling work, it is essential to evaluate the condition of the existing concrete floor. Look out for cracks, dips, or high spots that may affect the flatness of the surface. Use a straightedge or level to identify any irregularities in the floor’s plane.
FAQ: What causes uneven concrete floors?
Uneven concrete floors can occur due to several factors, such as settling of the foundation, poor initial installation, or natural wear and tear over time. Additionally, moisture-related issues like water damage or improper curing can contribute to unevenness.
2. Determining the Required Leveling Method:
Based on the assessment of your concrete floor, you need to determine the appropriate leveling method. There are various techniques available, each suited for different degrees of unevenness.
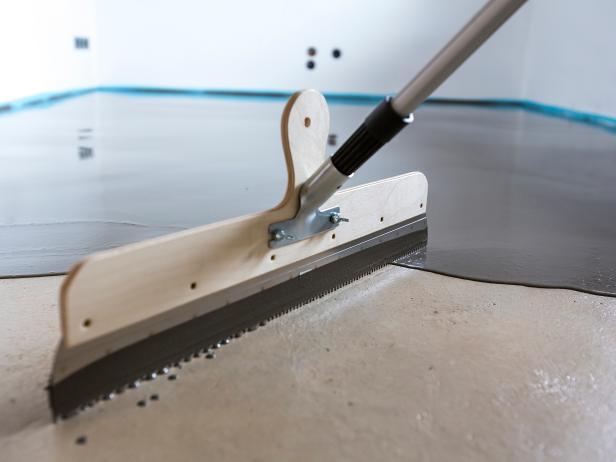
a) Self-Leveling Underlayment:
Self-leveling underlayment is an excellent option for moderate to severe leveling requirements. This method involves applying a thin layer of self-leveling compound onto the concrete surface. The compound spreads out evenly and fills in low areas while automatically creating a smooth and level finish.
FAQ: How does self-leveling underlayment work?
Self-leveling underlayment consists of a mixture of cement, powdered fillers, and polymers that allow it to flow smoothly across the floor. When mixed with water and poured onto the surface, it seeks its own level, filling in any depressions or unevenness.
b) Patching Compound:
If the floor has only minor imperfections or isolated low spots, using a patching compound may be sufficient. Patching compounds are thicker than self-leveling underlayment and can be applied directly to specific areas that require leveling.
FAQ: Can I use regular concrete mix as a patching compound?
Regular concrete mix is not recommended as a patching compound for leveling purposes. It lacks the necessary additives and flowability to achieve a smooth, level surface. It may also result in color discrepancies when compared to the rest of the floor.
3. Preparing the Concrete Surface:
Before applying any leveling materials, proper preparation of the concrete surface is crucial to ensure optimal adhesion and long-lasting results.
a) Cleaning:
Thoroughly clean the concrete floor by removing any debris, dust, or loose particles. Use a broom, vacuum cleaner, or compressed air to achieve a clean working area.
b) Priming:
Priming the concrete floor helps improve bonding between the leveling material and the existing surface. Apply a suitable primer according to the manufacturer’s instructions, ensuring even coverage over the entire area.
FAQ: Can I skip priming if I’m using self-leveling underlayment?
While some self-leveling underlayments claim to be self-priming, it is still advisable to follow the manufacturer’s recommendations. Priming enhances adhesion and minimizes potential issues such as pinholes or bubbles In the leveling material.
4. Applying the Leveling Material:
Once the concrete surface is properly prepared, you can begin applying the chosen leveling material. Follow the manufacturer’s instructions for mixing and application to ensure a successful outcome.
a) Self-Leveling Underlayment:
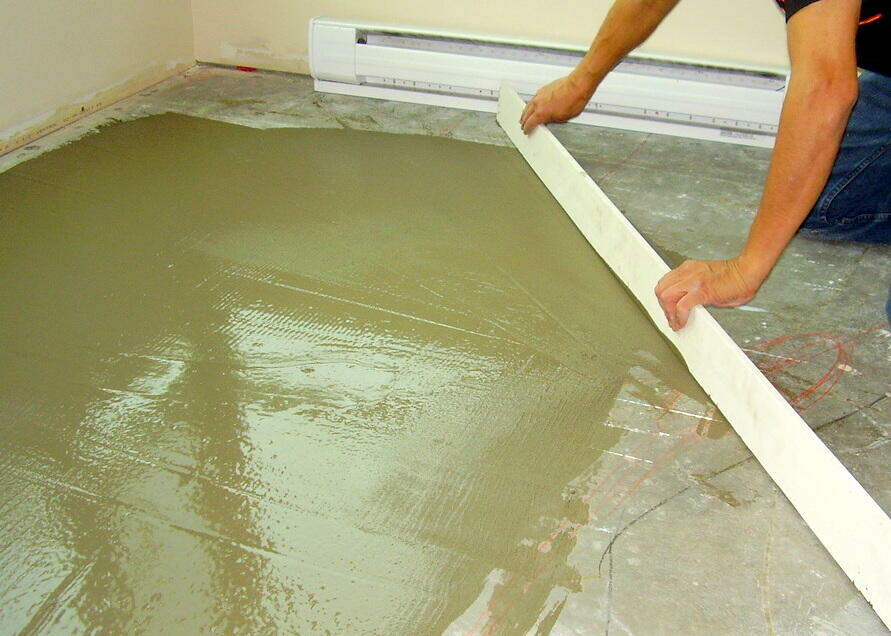
When using self-leveling underlayment, mix the compound according to the manufacturer’s instructions. Pour it onto the floor and use a smoothing tool, such as a gauge rake or squeegee, to spread it evenly across the surface. Allow the underlayment to self-level and cure according to the specified time frame.
b) Patching Compound:
Mix the patching compound according to the manufacturer’s instructions. Apply it directly to the low spots or imperfections using a trowel or putty knife. Smooth out the compound and ensure it is level with the surrounding area. Allow it to dry and cure as instructed.
5. Finishing Touches:
After the leveling material has cured, you may need to perform some finishing touches to achieve a seamless transition between the leveled area and the rest of the floor.
a) Sanding or Grinding:
If there are any high spots or rough areas on the leveled surface, you can use sandpaper, a sanding block, or a grinder to smooth them out. This step helps create an even and uniform finish.
b) Cleaning:
Once all sanding or grinding is complete, thoroughly clean the area to remove any dust or debris. This will ensure a clean surface for any subsequent flooring installation or coating application.
By following these steps, you can effectively level a concrete floor and create a smooth and even surface for further flooring installations or coatings. It is important to choose the appropriate leveling method based on the degree of unevenness and to properly prepare the concrete surface before application. Proper curing and finishing touches will ensure long-lasting results.