Polyurea is significantly longer lasting than an epoxy floors covering (aproximatelly four times stronger), and it is versatile, that makes it much more natural and comfy. Selecting basement flooring for your home could be tricky as you negotiate around factors as moisture problems and a number of different flooring options. A drain will rid you of any sort of excess water and will help to protect against flooding.
Images about Paint Your Basement Floor
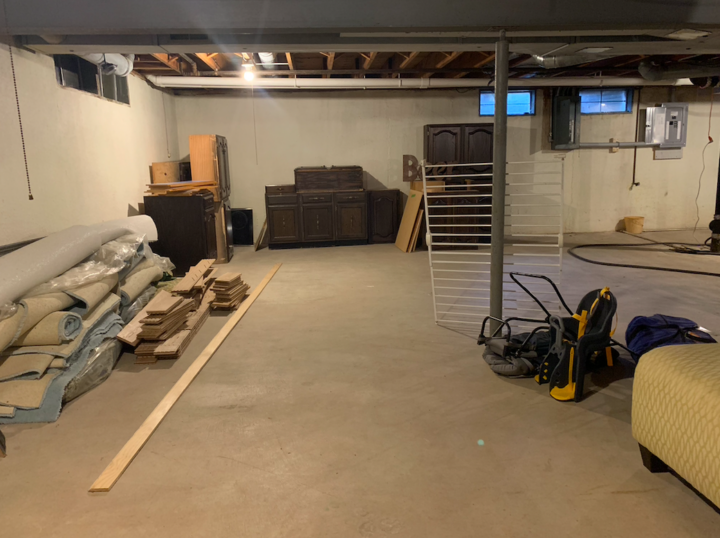
If the downstairs room is actually for storage, the flooring wont matter very much until you're planning to hold food for long-term ingestion. Utilize all of the place in the home of yours. Waterproofing the basement floors can sometimes be very frustrating particularly if leaks recur. You have to learn what you want that space to be utilized for.
Paint your basement floor
These elements surround the external surfaces of your house and should not be an expensive fix. Leave it for one day or even 2 and then check to find out if there's some condensate on the under side of the plastic, if not, you are set. Regardless of whether it is a laundry area, a gym, an entertainment area, if not an underground bedroom will contact for different floor features.
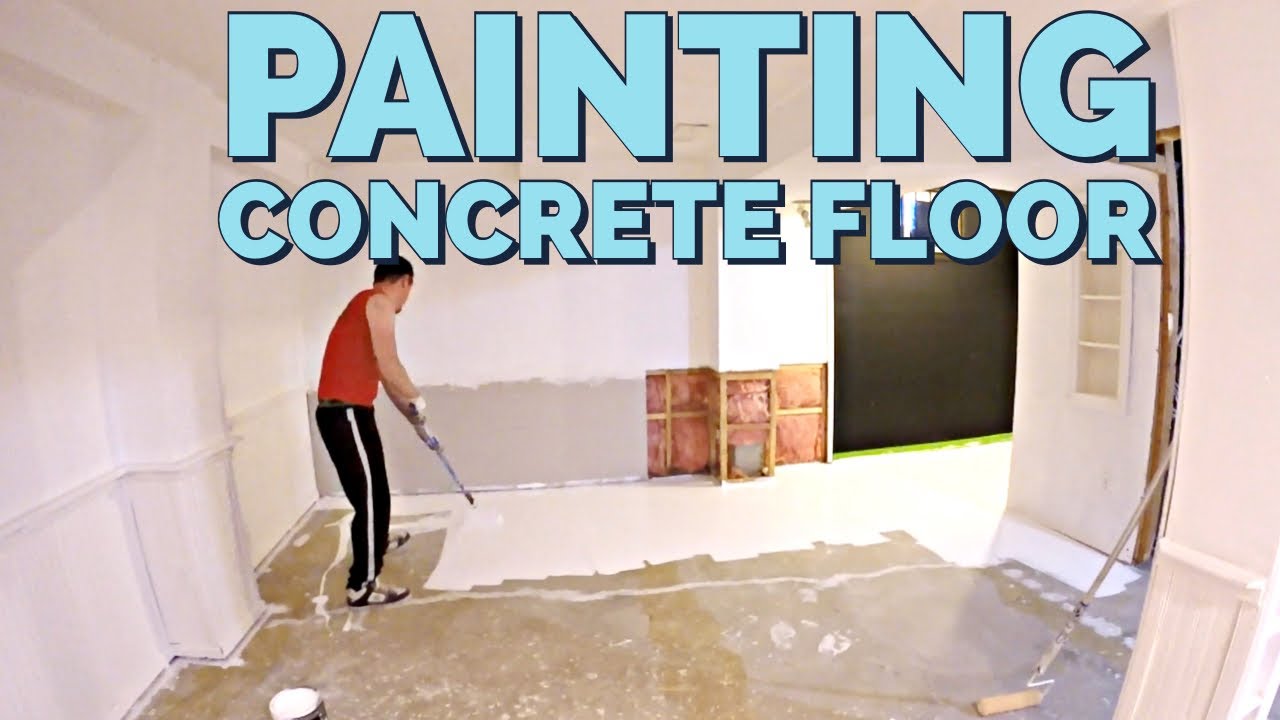
HOW TO PAINT CONCRETE FLOOR – how to paint basement floor – how to
Is Painting a Basement Floor a Good Idea?

Types of Paints and Stains for Concrete Floors
Basement Floor Coatings: Is It Worth It? – Anderson Painting NC

How to Paint Concrete Basement Floors Using Epoxyshield – Building
Best Basement Cement Floor Paints – Our Complete Guide
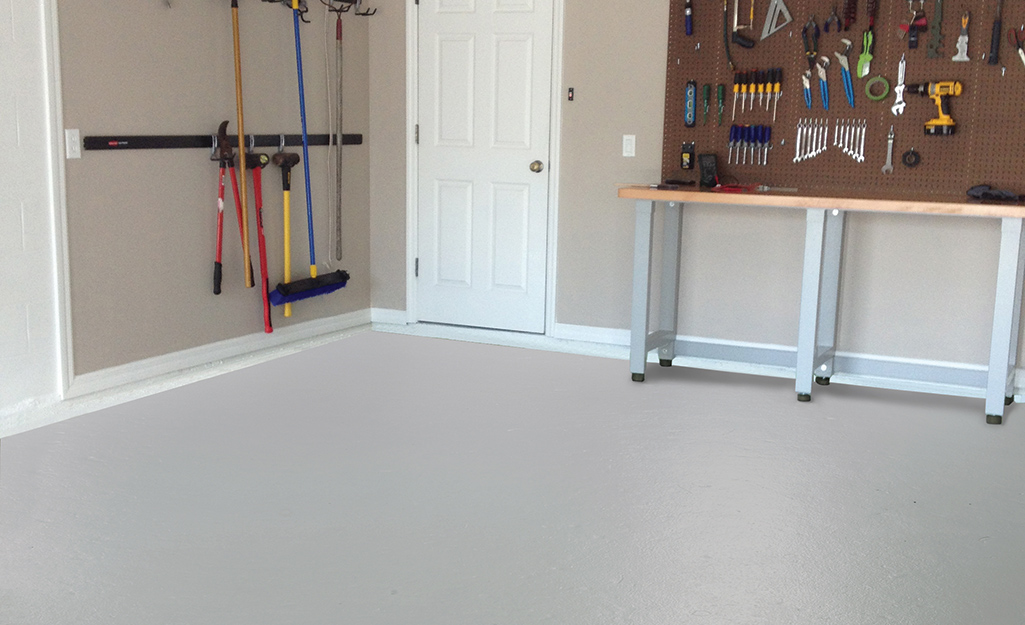
Basement Concrete Floor Painting

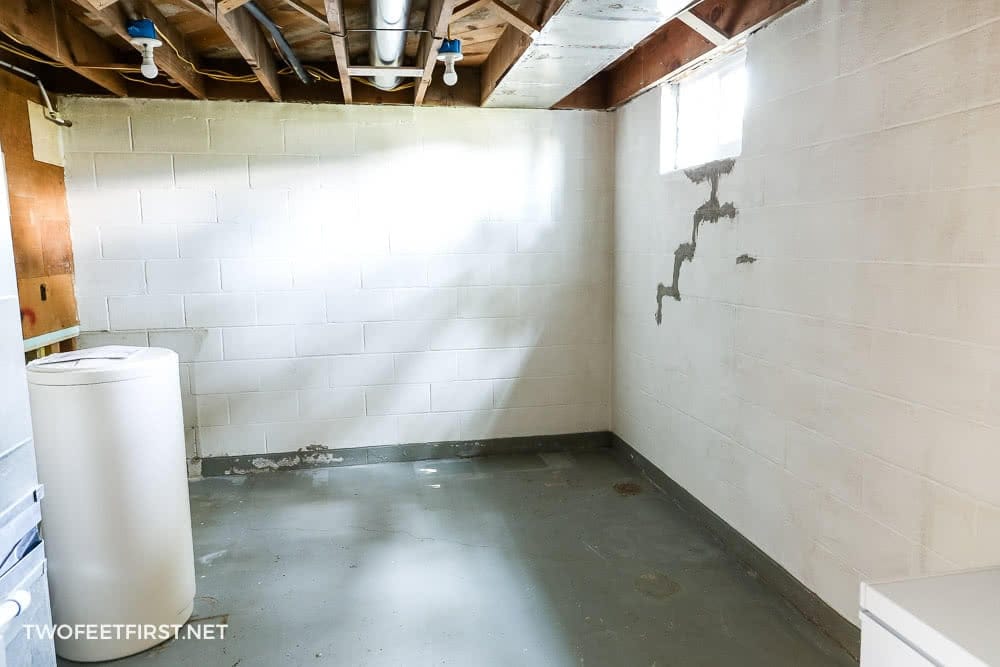
How to paint a concrete floor in a basement TwoFeetFirst
How to Paint Concrete Basement Floors Using Epoxyshield – Building
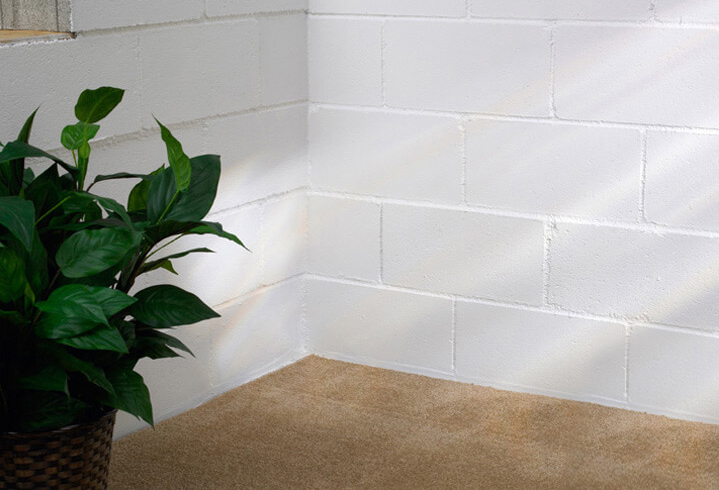
Tips on Choosing Basement Floor Paint Basement flooring

Epoxy Paint And Your Waterproofed Basement Floors
Is it OK to Paint Basement Floor? Yes, But Do It Like This
Related Posts:
- Leveling A Basement Floor With Wood
- Basement Flooring Options Cork
- Pouring Concrete Basement Floor
- Flooring For Basement Family Room
- Interlocking Basement Flooring
- How To Design A Basement Floor Plan
- Structural Basement Floor
- Leveling Uneven Basement Floor
- Colored Concrete Basement Floors
- Best Flooring For Walkout Basement
Painting Your Basement Floor: A Comprehensive Guide to Transforming Your Space
Introduction:
Transforming your basement from a dull and uninspiring space into a vibrant and functional part of your home is an exciting project. One effective way to achieve this transformation is by painting your basement floor. Not only does painting the floor enhance the overall aesthetics of the room, but it also helps to protect the concrete surface from wear and tear. In this article, we will guide you through the process of painting your basement floor, providing detailed instructions and addressing common concerns along the way.
I. Preparing Your Basement Floor for Painting:
Before diving into the painting process, it is crucial to prepare your basement floor adequately. This will ensure better adhesion of the paint and a longer-lasting finish. Follow these steps for thorough preparation:
1. Clearing and Cleaning:
Start by clearing out the basement space completely, removing any furniture, appliances, or stored items. Sweep away dust and debris using a broom or vacuum cleaner. Next, thoroughly clean the floor with a degreaser or TSP (trisodium phosphate) solution to remove any oil stains, dirt, or grime. Rinse the floor with clean water and allow it to dry completely before proceeding.
FAQs:
Q1: Can I skip cleaning if my basement floor appears to be relatively clean?
A1: It’s essential to clean even seemingly clean floors because there may be invisible contaminants that can hinder paint adhesion. Cleaning ensures optimal results.
Q2: Can I use any household cleaner instead of a degreaser or TSP?
A2: While some household cleaners might work, specific products like degreasers or TSP are designed to eliminate stubborn stains and grease efficiently, providing a better surface for paint adhesion.
2. Repairing Cracks and Imperfections:
Inspect your basement floor for cracks, holes, or other imperfections that may need repair. Use a concrete patching compound to fill in any cracks or gaps, following the manufacturer’s instructions. Smooth out the patched areas with a trowel and allow them to dry completely before moving forward.
FAQs:
Q1: Can I use regular mortar mix instead of a concrete patching compound?
A1: Concrete patching compounds are specially formulated for repairing concrete surfaces and offer better adhesion and durability compared to regular mortar mix.
Q2: How long should I wait for the patched areas to dry?
A2: Drying times may vary depending on the product used. Typically, it may take 24-48 hours for the patched areas to dry completely. Check the manufacturer’s instructions for specific guidelines.
3. Etching the Surface:
Etching is a crucial step that prepares the basement floor by creating a slightly rough texture, allowing the paint to adhere better. Follow these steps for effective etching:
a. Mix an etching solution according to the manufacturer’s instructions in a plastic bucket.
b. Pour the solution onto the floor, working in small sections at a time.
c. Scrub the solution into the floor using a stiff bristle brush or broom.
d. Rinse off the etching solution thoroughly with clean water.
e. Allow the floor to dry completely before proceeding.
FAQs:
Q1: Is it necessary to etch the floor if it has never been previously painted?
A1: Etching is recommended regardless of whether your basement floor has been previously painted or not. It enhances paint ad Hesion and ensures a long-lasting finish.
Q2: Can I use a pressure washer instead of scrubbing with a brush or broom?
A2: While a pressure washer can be used, scrubbing the solution into the floor with a brush or broom offers better control and ensures thorough coverage of the etching solution. Additionally, using a pressure washer may create too much force and potentially damage the concrete surface. It’s best to follow the recommended method of scrubbing with a brush or broom for optimal results. Q3: Can I skip the etching step if I am using a self-etching primer?
A3: It is still recommended to etch the floor even if you are using a self-etching primer. The etching process creates a rough surface that helps the primer adhere better to the concrete, ensuring a more durable and long-lasting finish.
“Can I paint my basement floor without hiring a professional?”
Yes, you can paint your basement floor without hiring a professional. It is a doable DIY project that can be accomplished with proper preparation and materials. Here are some steps to follow:1. Clean the floor thoroughly: Remove any dust, dirt, or debris from the floor using a broom, vacuum, and mop. You may also need to use a degreasing cleaner if there are any oil or grease stains.
2. Repair any cracks or damages: Fill in any cracks or holes in the floor using an epoxy or concrete patching compound. Follow the manufacturer’s instructions for application and drying time.
3. Etch the surface: Use an etching solution or muriatic acid to etch the concrete surface. This will help the paint adhere better. Follow the instructions provided by the manufacturer and ensure proper safety precautions while handling these chemicals.
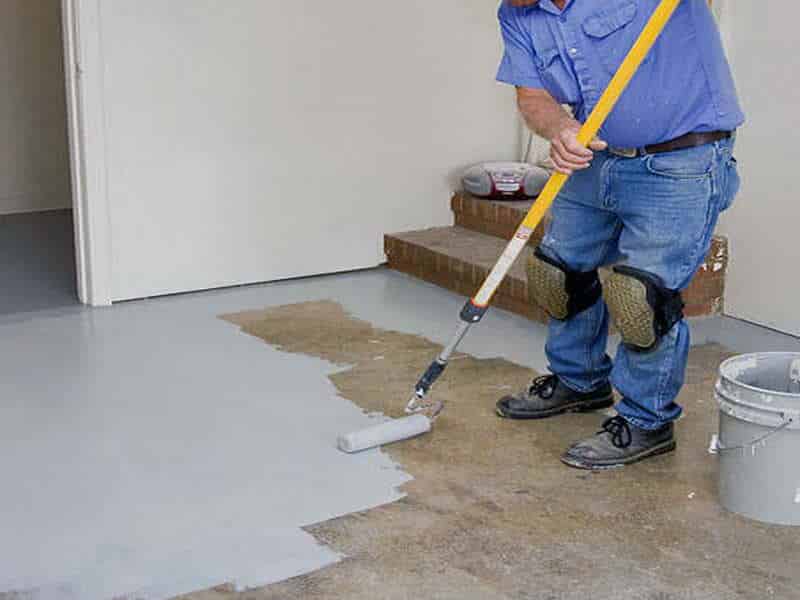
4. Prime the floor: Apply a coat of concrete primer to create a suitable base for the paint. Use a roller or brush and make sure to cover all areas evenly. Allow it to dry as per the primer’s instructions.
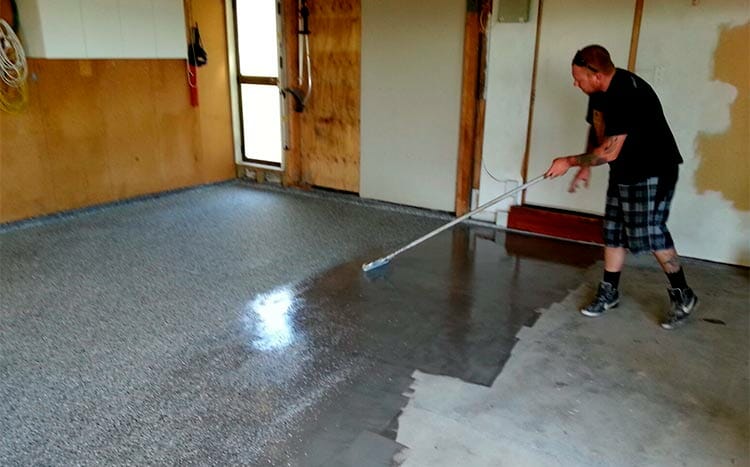
5. Paint the floor: Choose a high-quality concrete floor paint in your desired color. Apply thin coats using a roller or brush, starting from one corner and working your way out of the room. Allow each coat to dry completely before applying additional coats, usually as specified by the manufacturer.
6. Apply sealant (optional): To further protect your painted basement floor, you can apply a clear concrete sealant on top of the dried paint. This will provide extra durability and resistance against moisture and stains.
Remember to follow all product instructions, wear appropriate safety gear, and ensure proper ventilation during this process.