A really small budget might induce you to accomplish the concreting task on your own. A concrete floor additionally serves as a perfect base for installation of some other flooring treatments as carpets, hardwood along with tiles. Concrete flooring is in addition a practical solution for bathroom and kitchens just where they're very easily cleaned and therefore are resistant to water.
Images about Preparing Concrete Floor For Acid Stain
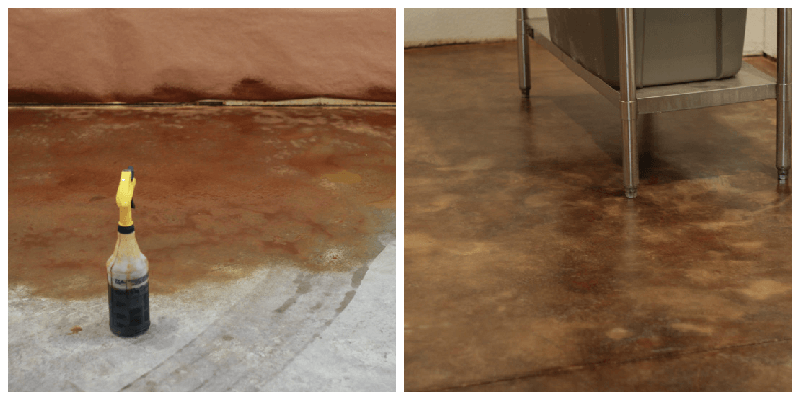
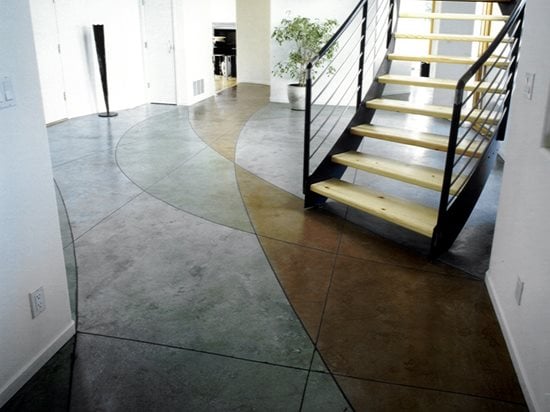
Staining is actually the most common method put on to concrete flooring, acid stains are directly put on to the floor to create deep rich colours. Polished concrete flooring comes with a slew of advantages to home builders as well as renovators. You can make many geometric shapes as well as designs to form basically a patent which you want. The natural color proficiency of concrete will accentuate some color scheme.
Concrete Stain Veining Technique Direct Colors How-to Guide
Sealants, for example a polymer floors seal, provide many benefits to interior and exterior flooring surfaces and tend to be a very good addition to a concrete floors maintenance system. Caring for your decorative concrete floors isn't much different than the regular servicing you do in any facet of the home of yours.
How To Acid Stain Concrete in 10 Easy Steps u2014 Bob Vila

How to Acid Stain Concrete Floors u2022 The Prairie Homestead
How to Perform Different Acid Staining Treatments to Concrete

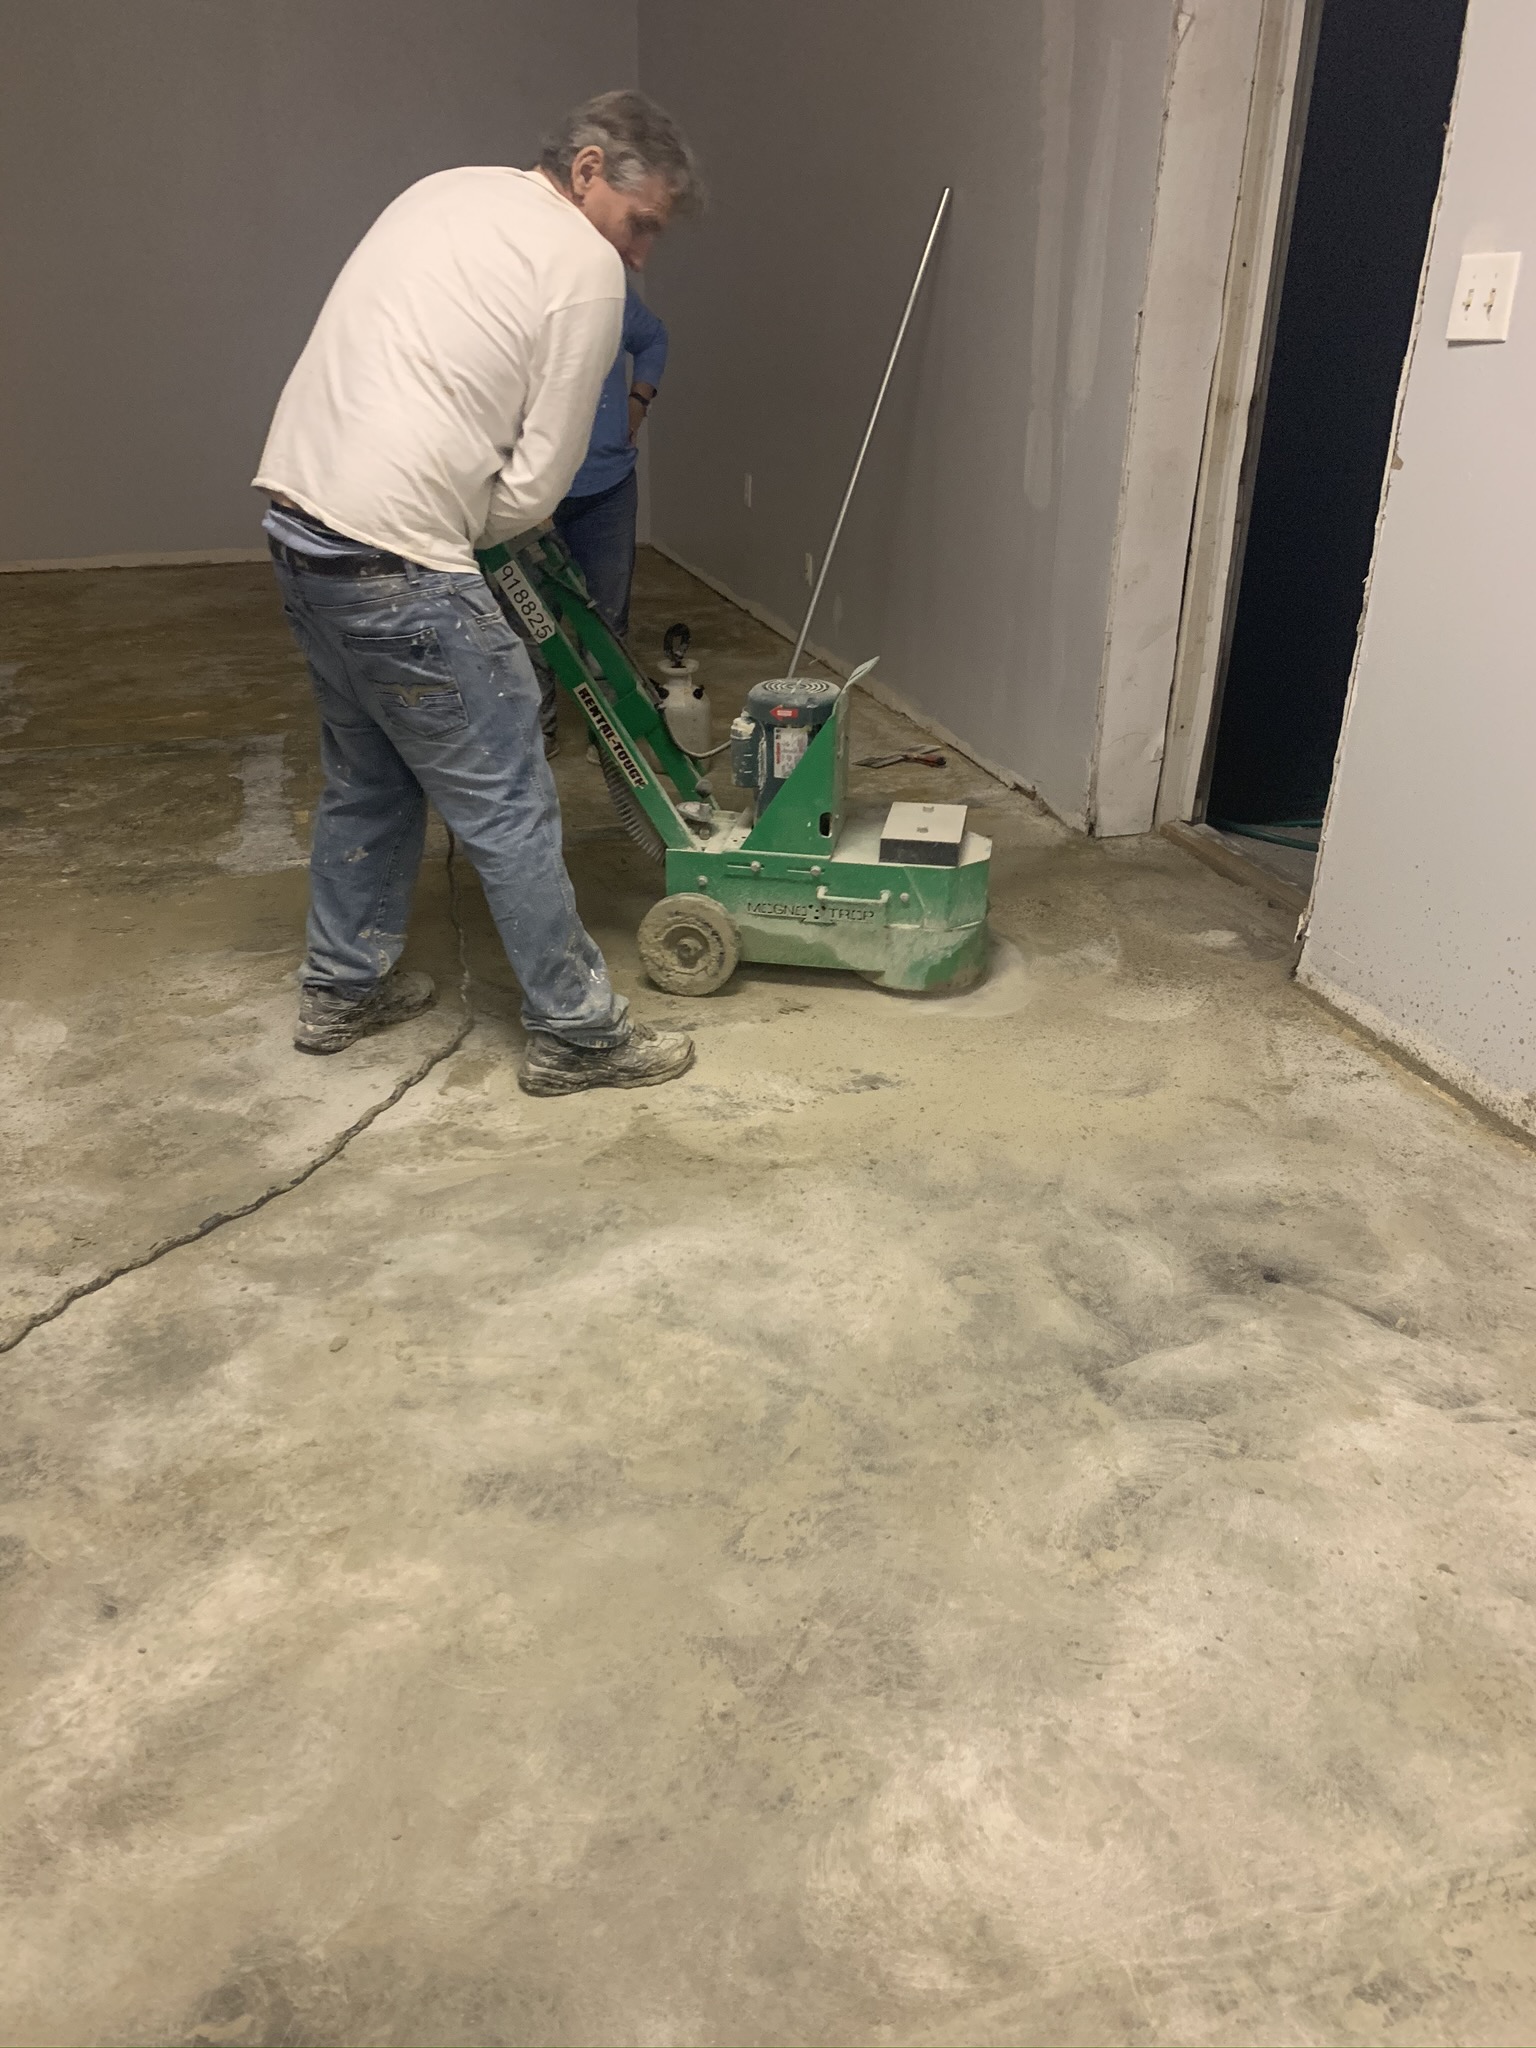
How to Prep Concrete for Stain – Surface Preparation Tips
Concrete Surface Preparation: How-to Guide Direct Colors
How To Acid Stain Concrete Floors – Create Easy Care Floors With
Prepping for Concrete Staining: Dos and Donu0027ts – Concrete Decor
How To Clean and Prepare Concrete For Acid Staining [Part 3] ConcreteCamouflage.com

How To Stain Old Concrete The Complete Guide
Staining A Concrete Floor Is Easy, Just Follow Our Step By Step
Moon Decorative Concrete Expert Tips for Preparing a Floor for
How to Stain Concrete
Related Posts:
- Removing Cat Pee From Concrete Floor
- Under Concrete Floor Insulation Options
- Concrete Floor Finishes Photos
- Polished Concrete Floor Thickness
- Concrete Floor Topping Thickness
- Is Stained Concrete Flooring Expensive
- Commercial Kitchen Concrete Floor Sealer
- Acid Wash On Concrete Floors
- Concrete Floor Topping Products
- Concrete Floor Painting Tips
Preparing Concrete Floor For Acid Stain: A Comprehensive Guide
Introduction:
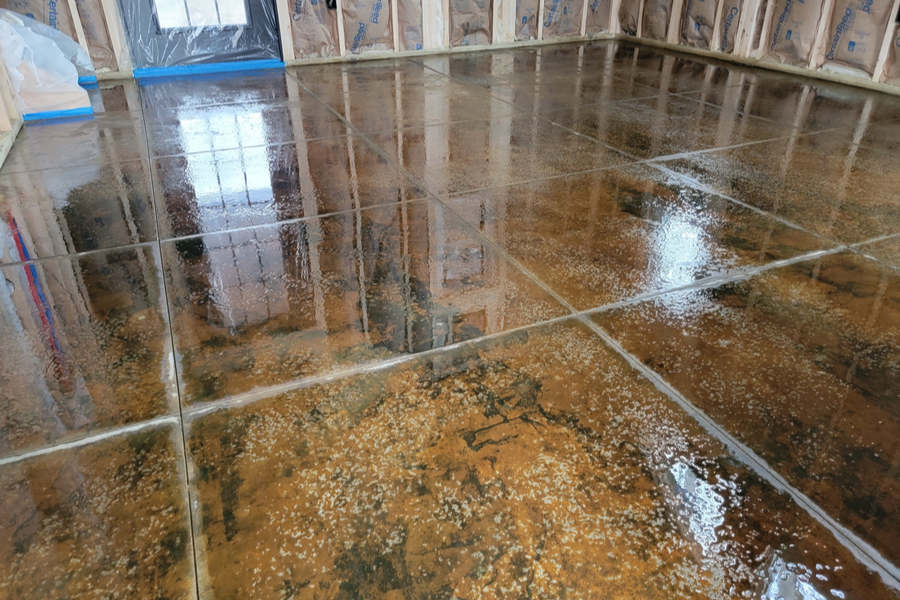
Acid staining is a popular method for enhancing the appearance of concrete floors. It creates a unique, marbled effect that adds character and depth to any space. However, to achieve the desired results, proper preparation of the concrete floor is crucial. In this article, we will guide you through the step-by-step process of preparing a concrete floor for acid stain application, ensuring that you achieve beautiful and long-lasting results.
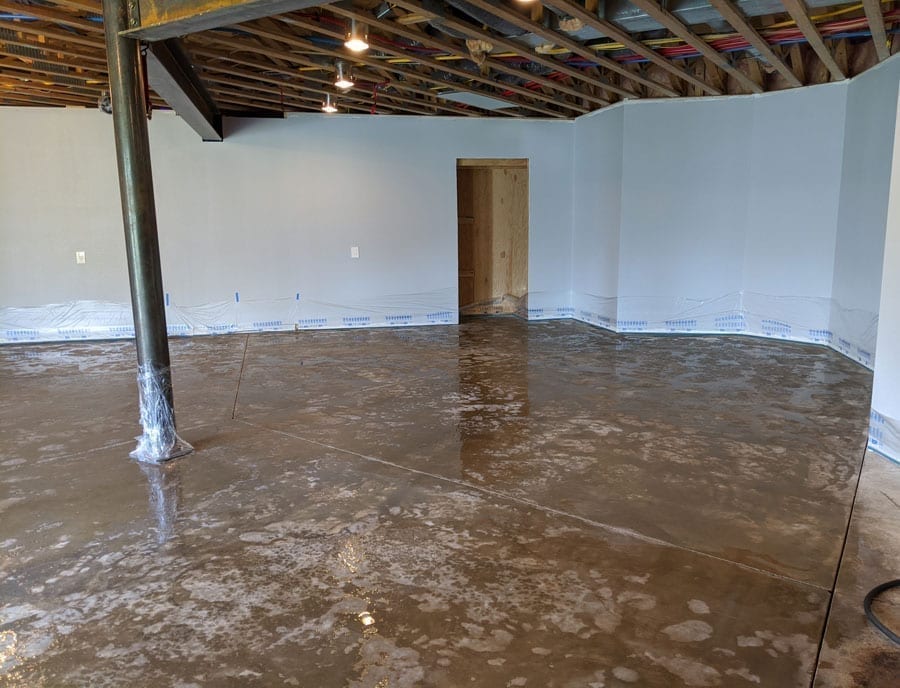
I. Cleaning the Concrete Surface:
Before applying an acid stain, it is essential to thoroughly clean the concrete surface to remove dirt, grease, and any existing coatings. Follow these steps for effective cleaning:
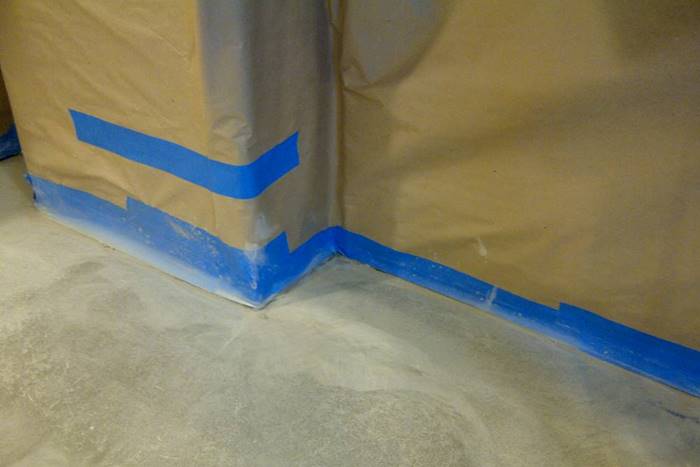
1. Remove all furniture and fixtures:
Clear the area of any furniture or fixtures present on the concrete floor. This will provide you with ample space to work and prevent any hindrances during the cleaning process.
2. Sweep or vacuum the surface:
Start by removing loose debris by sweeping or vacuuming the entire concrete floor. Pay close attention to corners and edges where dust tends to accumulate.
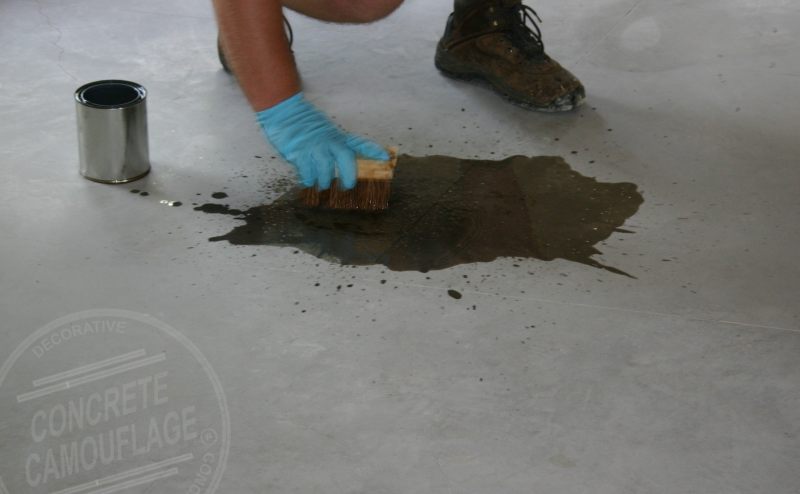
3. Degrease the surface:
Use a degreaser specifically designed for concrete floors to eliminate any oil or grease stains. Apply the degreaser according to the manufacturer’s instructions and scrub vigorously using a stiff brush or broom.
4. Rinse thoroughly:
After degreasing, rinse the entire floor with clean water to remove any remaining residue. Ensure that all degreaser has been completely washed away before proceeding.
FAQs:
Q1: Can I use just water to clean my concrete floor before acid staining?
A1: While water can remove loose dirt and debris, it may not be sufficient for removing stubborn stains or grease marks. It is recommended to use a specialized degreaser for optimal cleaning results.
Q2: Is it necessary to remove existing sealers or coatings from my concrete floor?
A2: Yes, it is crucial to remove any existing sealers or coatings before acid staining. These layers can prevent the acid stain from properly penetrating the concrete and may result in an uneven or lackluster finish.
II. Repairing and Patching Imperfections:
To ensure a smooth and even surface for acid staining, it is essential to repair any cracks, chips, or other imperfections present on the concrete floor. Follow these steps for effective repairs:
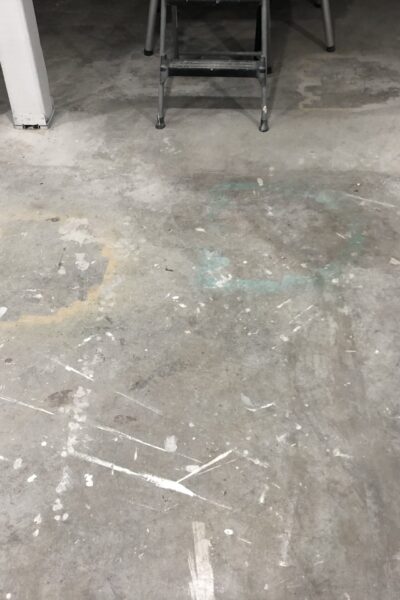
1. Inspect the floor for damages:
Thoroughly examine the entire concrete surface to identify any cracks, spalls, or other imperfections. Mark these areas for repair.
2. Clean out cracks:
Using a wire brush or chisel, clean out any loose debris, dirt, or old filler material from the cracks. This will provide a clean base for patching.
3. Fill cracks and holes:
Choose an appropriate concrete patching compound and fill in the marked areas with a trowel or putty knife. Smooth the surface of the patch to match the surrounding concrete.
4. Allow time for curing:
Follow the manufacturer’s instructions regarding curing time. Typically, you will need to wait at least 24 hours before proceeding with further preparations.
FAQs:
Q1: Can I skip repairing small cracks on my concrete floor if they are not noticeable?
A1: It is recommended to repair all cracks, regardless of their size or visibility. Neglecting small cracks can lead to further damage over time and may affect the overall appearance and longevity of your acid-stained floor.
Q2: What type of patching Compound should I use for repairing cracks in my concrete floor?
A2: There are various types of patching compounds available, such as epoxy-based or polymer-modified cementitious compounds. Choose a compound that is suitable for your specific needs and follow the manufacturer’s instructions for proper application.
“How do I properly clean and prepare a concrete floor for acid staining?”
To properly clean and prepare a concrete floor for acid staining, follow the steps below:1. Clear the area: Remove any furniture, rugs, or other items from the floor to ensure easy access.
2. Sweep and vacuum: Start by sweeping the entire floor to remove loose dust, dirt, and debris. Follow up with a vacuum cleaner to pick up any remaining particles.
3. Scrub the floor: Use a heavy-duty cleaner or degreaser to scrub the floor thoroughly. Make sure to choose a cleaner suitable for concrete surfaces based on manufacturer recommendations. Dilute the cleaner with water according to the instructions, and apply it to the floor using a mop or scrub brush. Scrub in circular motions to remove any stains, dirt, oil, or grease. Pay extra attention to areas near walls and corners.
4. Rinse and dry: After scrubbing, rinse the floor thoroughly with clean water to remove all traces of the cleaner. Use a wet/dry vacuum or mop to remove excess water from the surface. Allow the floor to dry completely before proceeding.
5. Check for remaining stains: Inspect the floor for any remaining stains or discolorations after it has dried completely. If there are still stubborn stains present, you may need to use a specialized stain remover or etching solution as directed by the manufacturer.
6. Repair cracks and imperfections: If there are any cracks, holes, or imperfections in the concrete surface, now is the time to repair them. Fill in cracks with an appropriate concrete patching compound and smooth it out using a putty knife or trowel. Follow manufacturer instructions for proper curing time before moving forward.
7. Lightly sand or etch: To ensure proper adhesion of the acid stain, lightly sand or etch the surface of the concrete using fine-grit sandpaper or an etching solution recommended by the stain manufacturer. This step helps open up the pores of the concrete and allows better penetration of the stain.
8. Clean the floor again: After sanding or etching, thoroughly clean the floor once more to remove any dust or residue that may have accumulated. Use a damp mop or sponge and clean water to wipe away all debris.
9. Allow the floor to dry: Give the floor enough time to dry completely before applying the acid stain. Follow manufacturer guidelines for drying time, which is usually a minimum of 24 hours.
By following these steps, you will ensure that your concrete floor is properly cleaned and prepared for acid staining, resulting in a successful and long-lasting finish. Remember to always read and follow the instructions provided by the specific acid stain manufacturer for best results.