The primary reason is that these floors are high efficiency flooring options and definately will last for a lot of years. The most difficult part is waiting: When the whole concrete floor is done, you still need to hold off auto parking the automobile on it for another 72 hours. But there are concrete floors which appear plain and gray just love those used in garages and factories.
Images about Redo Patio Concrete Floor
The key concern for the majority of customers for the substandard aesthetics, but presently polished concrete flooring really stands out from the competitors for various reasons. These polishing compounds are sold in a great many shops as well as stores where similar items are actually sold and one may rely on them to re instate the gleam on the polished concrete floors.
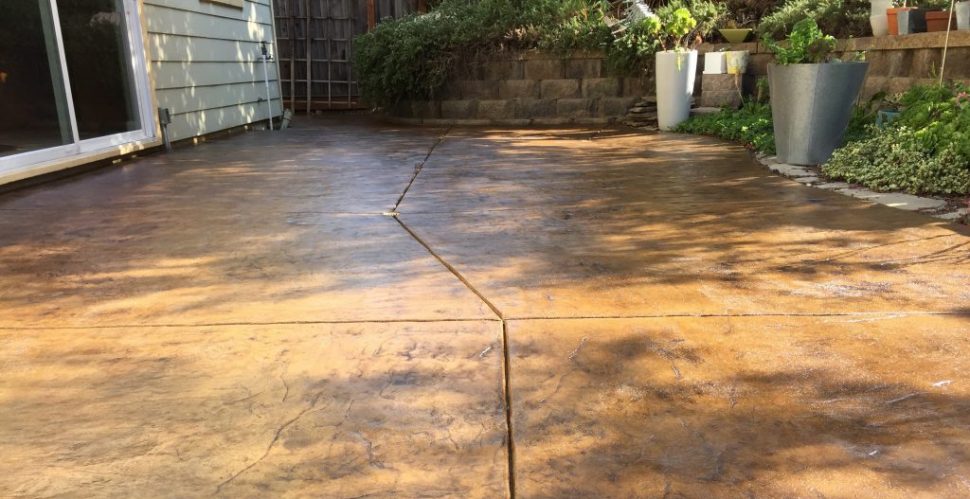
9 Great Concrete Patio Ideas for a Makeover – Remodelaholic

Polished concrete floors are an outstanding strategy of flooring which are more and more becoming a way of life for many home as well as business owners. Polished concrete flooring surfaces also have quite a few benefits making them an environmentally friendly, affordable and practical alternative for apartments and housing. In home and shop options, concrete floor is also less noisy than floorboards of tiles.
9 Great Concrete Patio Ideas for a Makeover – Remodelaholic

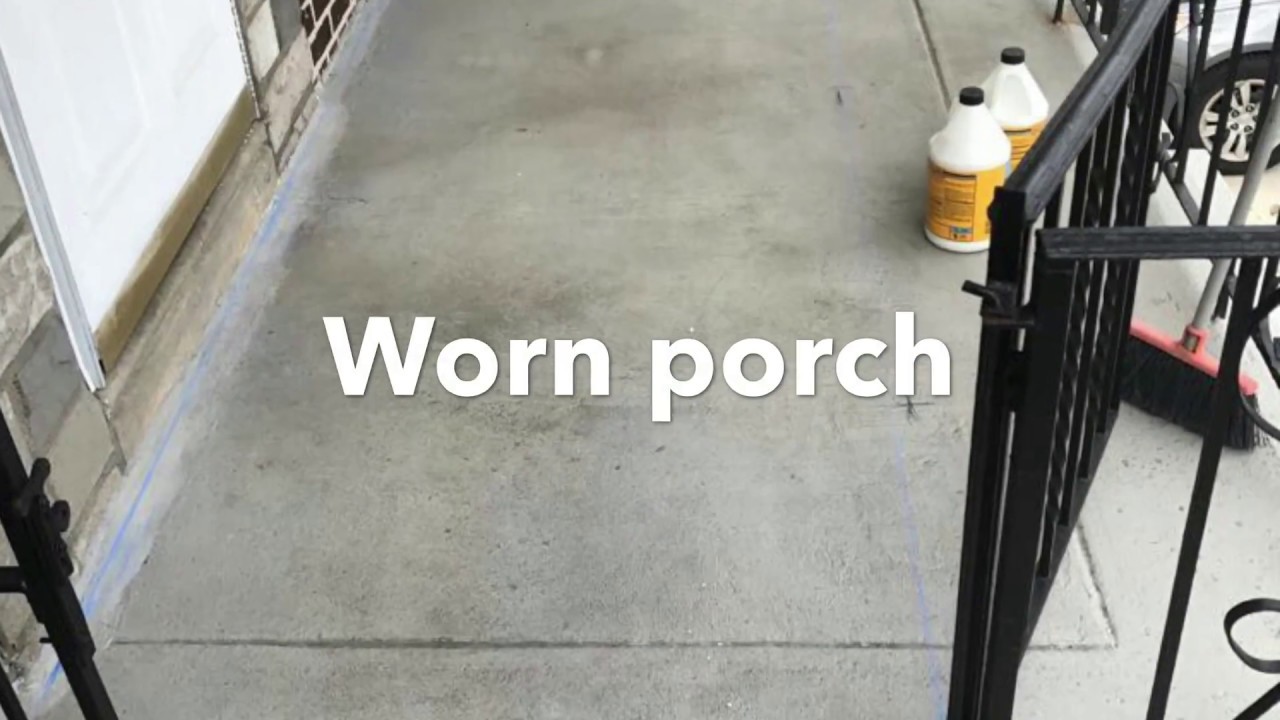
How to Transform an Old, Tired, Cracked Concrete Patio The Happy
![]()
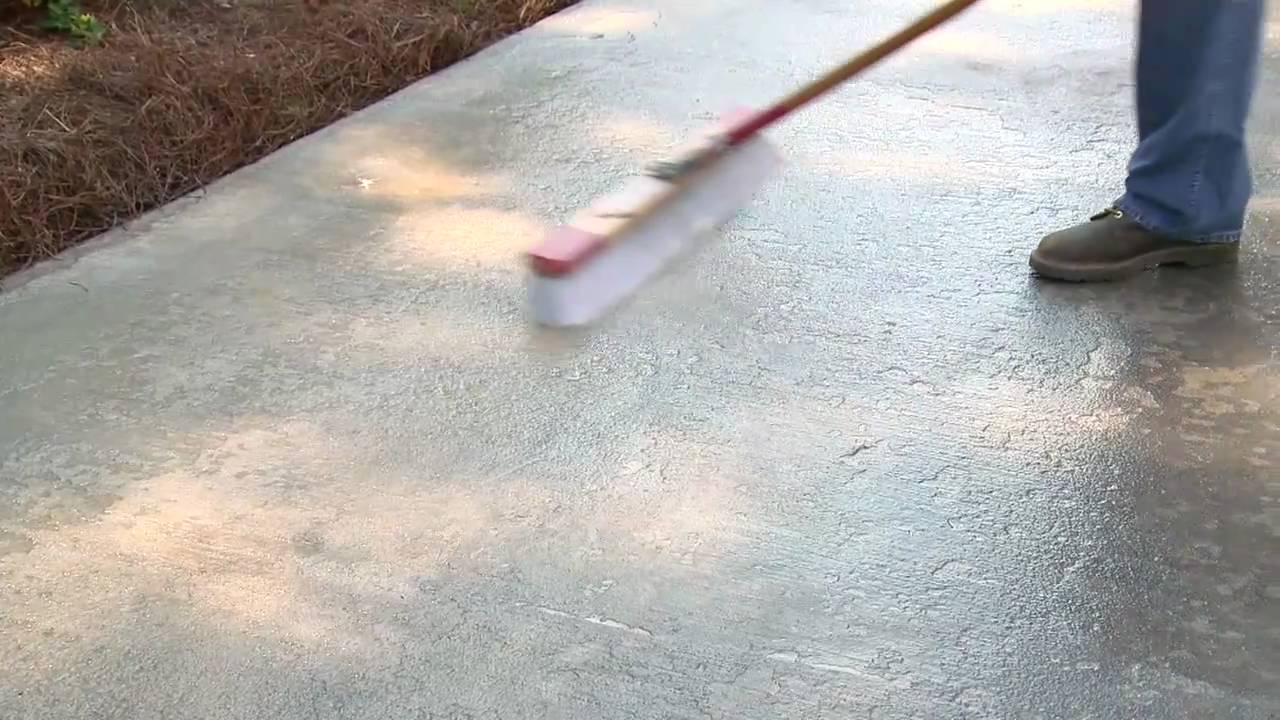
How to Resurface Concrete – YouTube
concrete patio raising, cleaing, caulking, sealing experts

Resurface an ugly Patio Concrete and Cement work Contractor
Concrete Floor Resurfacing, Refinishing u0026 Crack Repair SUNDEK
Patio Resurfacing vs Replacement: Cost Guide
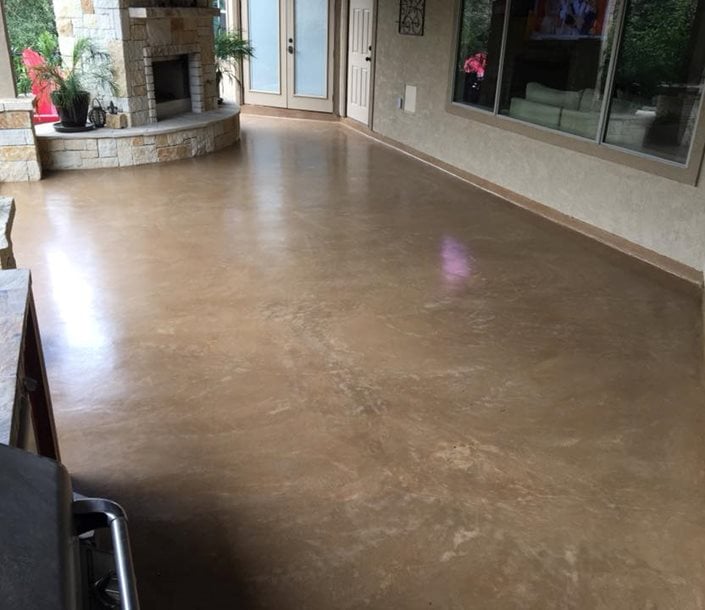
Stained Concrete Ideas for Exterior Patios u0026 Porches – Decorative

Resurfacing a Concrete Patio with Decorative Coatings – Concrete

Concrete Patio Coating, Repair, Resurfacing u0026 More Phoenix

7 Ways to Add Character to a Concrete Porch u2022 Our Storied Home

9 Great Concrete Patio Ideas for a Makeover – Remodelaholic

Related Posts:
- Concrete Floor Leveling Compound Garage
- How To Stain And Seal Concrete Floors
- Epoxy Concrete Floor Coating Price
- Werkmaster Concrete Floor Grinder Rental
- Acid Stained Concrete Floor With Gloss Finish
- Thickness Of Concrete Floor Slab
- Concrete Floor Design Ideas
- How To Seal New Concrete Floor
- Concrete Floor Stain And Polish
- Concrete Floor Load Calculator
Redo Patio Concrete Floor: A Comprehensive Guide to Transforming Your Outdoor Space
Introduction
Your patio is an essential part of your home’s outdoor living area. It serves as a space for relaxation, entertainment, and family gatherings. However, over time, the concrete floor may become worn out, cracked, or simply outdated. If you are looking to breathe new life into your patio, it might be time to consider redoing the concrete floor. In this comprehensive guide, we will walk you through the process step-by-step, providing detailed instructions, tips, and FAQs to help you achieve a stunning patio transformation.
1. Assessing the Condition of Your Patio Concrete Floor
Before diving into the redo project, it’s crucial to evaluate the condition of your patio’s concrete floor. Look out for cracks, stains, uneven surfaces, or any other signs of damage. This assessment will help you determine the necessary steps required for your specific situation.
FAQ: Can I redo my patio concrete floor on my own?
Answer: While it is possible to redo your patio concrete floor as a DIY project, it requires careful planning and execution. It’s important to consider your experience level and the complexity of the job before deciding to tackle it on your own. Hiring a professional contractor may be a safer option if you lack expertise in working with concrete.
2. Preparing for Redoing Your Patio Concrete Floor
Once you have assessed the condition of your patio concrete floor and decided to proceed with redoing it, preparation becomes key. Here are some steps you should follow:
a) Clearing the Area: Remove all furniture, plants, and any other items from your patio. This will provide a clean canvas for your project.
b) Cleaning the Surface: Thoroughly clean the concrete surface by sweeping away debris and using a pressure washer to remove dirt and stains. For stubborn stains that won’t come off easily, consider using a concrete cleaner or degreaser.
c) Repairing Cracks: If your concrete floor has cracks, it’s crucial to repair them before proceeding with the redo. Fill small cracks with a concrete crack filler, and for larger cracks or deep damage, consult a professional to ensure proper repair.
FAQ: How long does it take to prepare the patio concrete floor for redoing?
Answer: The preparation time can vary depending on the size of your patio and the extent of damage or cleaning required. On average, it may take a few hours to a full day to complete the preparation process.
3. Choosing the Redo Method
There are several methods available for redoing your patio concrete floor. The choice you make will depend on your desired outcome, budget, and personal preference. Here are three popular options:
a) Staining: Concrete staining involves applying a chemical stain to the floor, which reacts with the minerals in the concrete, creating vibrant colors and patterns. This method is great for adding character and depth to your patio floor.
b) Overlay: Concrete overlay is a versatile option that allows you to resurface your existing concrete floor with a thin layer of new concrete or polymer-based material. It can be customized with various textures, colors, and finishes.
c) Stamping: If you want to achieve a decorative look that mimics other materials like stone or brick, stamping is an excellent choice. This method involves applying molds or stamps onto wet concrete to create textures and patterns.
FAQ: Can I change the color of my existing concrete floor during the redo Process?
Answer: Yes, you can change the color of your existing concrete floor during the redo process. Methods like staining and overlay allow you to choose different colors and finishes to achieve your desired look. However, it’s important to note that the final result may be influenced by the condition and composition of the existing concrete. 4. Preparing the Surface for Redoing
Once you have chosen the method for redoing your patio concrete floor, there are a few additional steps to prepare the surface:
a) Etching: If you are staining or overlaying the concrete, it’s important to etch the surface to allow better adhesion of the new material. Etching can be done using an acid-based etching solution or a mechanical grinder.
b) Patching and Leveling: Inspect the surface for any uneven areas or low spots. Use a concrete patching compound to fill in any holes or cracks, and a self-leveling compound to ensure a smooth and level surface.
c) Priming: Before applying any new material, it’s recommended to prime the surface. This will help improve adhesion and ensure a long-lasting finish. Choose a primer specifically designed for your chosen method.
FAQ: Do I need to hire a professional for redoing my patio concrete floor?
Answer: While some methods like staining or overlay can be DIY projects, it may be beneficial to hire a professional for larger or more complex projects. They have the necessary expertise and equipment to ensure a high-quality result. Additionally, if your concrete floor has significant damage or structural issues, consulting a professional is highly recommended.
5. Applying the Redo Method
Once the surface is properly prepared, you can begin applying your chosen method for redoing the patio concrete floor:
a) Staining: Apply the stain according to the manufacturer’s instructions. This typically involves cleaning the surface, applying the stain with a brush or sprayer, and allowing it to dry before sealing.
b) Overlay: Mix and apply the overlay material using a trowel or squeegee. Follow the manufacturer’s instructions for proper application techniques and thickness. Allow it to cure before adding any desired textures or finishes.
c) Stamping: Prepare wet concrete according to the manufacturer’s instructions. Place the molds or stamps onto the concrete and press them firmly to create the desired patterns. Remove the molds and allow the concrete to dry before sealing.
FAQ: How long does it take for the redo method to fully cure?
Answer: The curing time can vary depending on the method and specific products used. It is important to follow the manufacturer’s instructions for curing times, but generally, it can take anywhere from a few hours to a few days for the new material to fully cure and be ready for use.
6. Sealing and Maintenance
To protect your newly redone patio concrete floor and ensure its longevity, it’s important to apply a sealer. Choose a sealer specifically designed for your chosen method and follow the manufacturer’s instructions for application.
Regular maintenance is also essential to keep your patio floor looking its best. Sweep away debris regularly and clean any spills or stains promptly. Avoid using harsh chemicals or abrasive cleaners that can damage the surface.
By following these steps, you can successfully redo your patio concrete floor and create a beautiful and functional outdoor space.