This means a completed flooring of 1000 square foot would be allowed around hundred boards with any sort of defect. Despite affordable price tag, oak hardwood flooring can fight with the hardwood types. To clean the hardwood flooring of yours is as simple as sweeping and dusting or perhaps a consistent schedule. The value of hardwood floors is apparent to homes that are decades of age.
Images about Removing Engineered Hardwood Floors
Additionally, bad original installation methods, unforeseen cataclysms (such as flooding ), accidents and high-moisture atmospheres can also cause harm to a hardwood floor. The floor will certainly take some damage as a result of your dog, though it will furthermore take harm as a result of anyone.
Removing glued down wood floor from concrete.
Where you are in doubt, it's ideal to contact your seller or manufacturer and they will be in a position to provide you with the directions you need. All dust as well as dirt must be eliminated. The use to prefinished engineered wood flooring surfaces is the fact that the factory can often be in the position to coat the finish around 7 times or over.
How To Replace Engineered Hardwood Floor Planks DIY Repair
Remove Glue Down Hardwood Floors – How, Time?

How to Remove Glue-Down Wood Flooring Flooring-Experts.com

How to Remove Glued Down Wood Flooring From Subfloor or Concrete

Best Ways to Remove Glued Wood Flooring – DIY Steps u0026 Video

Best Ways to Remove Glued Wood Flooring – DIY Steps u0026 Video
How to Remove Glued Wood Flooring and Engineered Wood Flooring on Concrete
Hardwood Flooring Contractors Charleston SC: BooneFlooring
Removing Engineered Wood Flooring from wood sub-floor (need advice

How To Install Click Lock Engineered Hardwood Flooring

Top 8 Cleaning Tips for Engineered Hardwood Flooring Almahdi

Glue down Hardwood removal
Related Posts:
- Bona Hardwood Floor Spray Mop Reviews
- Hardwood Floor Laying
- Home Legend Engineered Hardwood Flooring Reviews
- Is Underlayment Needed For Hardwood Flooring
- Custom Hardwood Floor Inlays
- Red Oak Saddle Hardwood Flooring
- Installing Hardwood Floors Under Door Frames
- Hardwood Floor Finish Drying Time
- White Oak Plank Hardwood Flooring
- Bruce Hickory Hardwood Flooring Reviews
Removing Engineered Hardwood Floors
Engineered hardwood floors are a popular choice for many homeowners, as they provide enhanced durability and increased resistance to moisture damage in comparison to traditional hardwood flooring. While engineered hardwood floors are a great option, they do require periodic maintenance and may eventually need to be removed entirely. In this article we will discuss how to properly remove engineered hardwood floors from your home, including the tools needed and the steps required for a successful removal process.
Tools Needed for Removal
Before beginning the removal process, it is important to make sure you have all of the necessary tools on hand. The following items should be gathered prior to starting the removal process:
– Safety goggles
– Dust mask
– Hammer
– Pry bar
– Chisel
– Utility knife
– Putty knife
– Vacuum cleaner
– Towels or rags
– Floor scraper
– Drop cloths or plastic sheets.
Once all of these items have been gathered and organized, the removal process can begin.
Steps for Removal
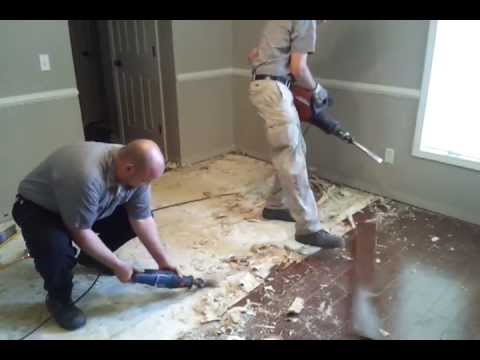
The first step in removing engineered hardwood floors is to prepare the area. This includes moving any furniture and appliances out of the room, as well as covering any remaining items with drop cloths or plastic sheets to protect them from any debris that may result from the removal process. Once everything has been removed or covered, it is important to thoroughly vacuum the area to remove any dirt, dust, and debris that could interfere with the removal process.
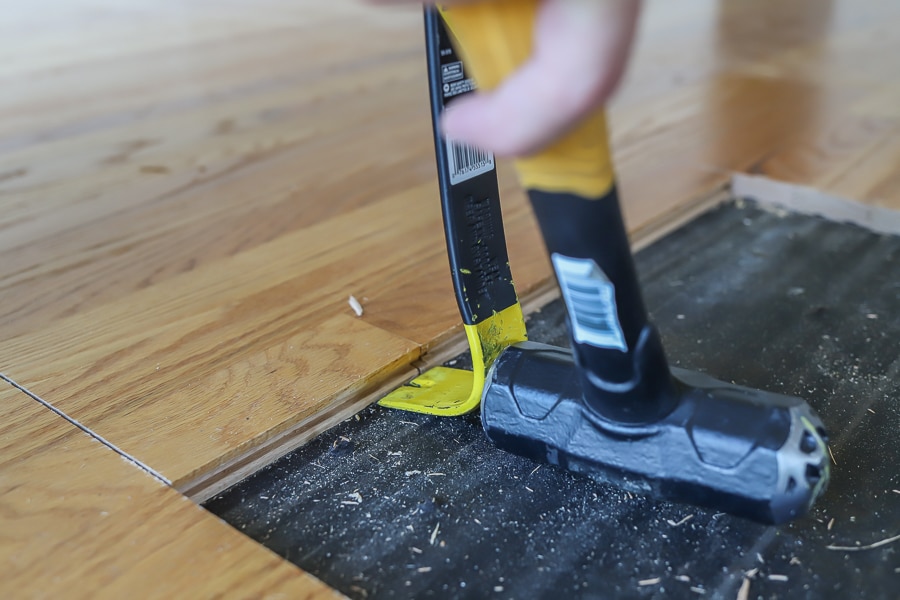
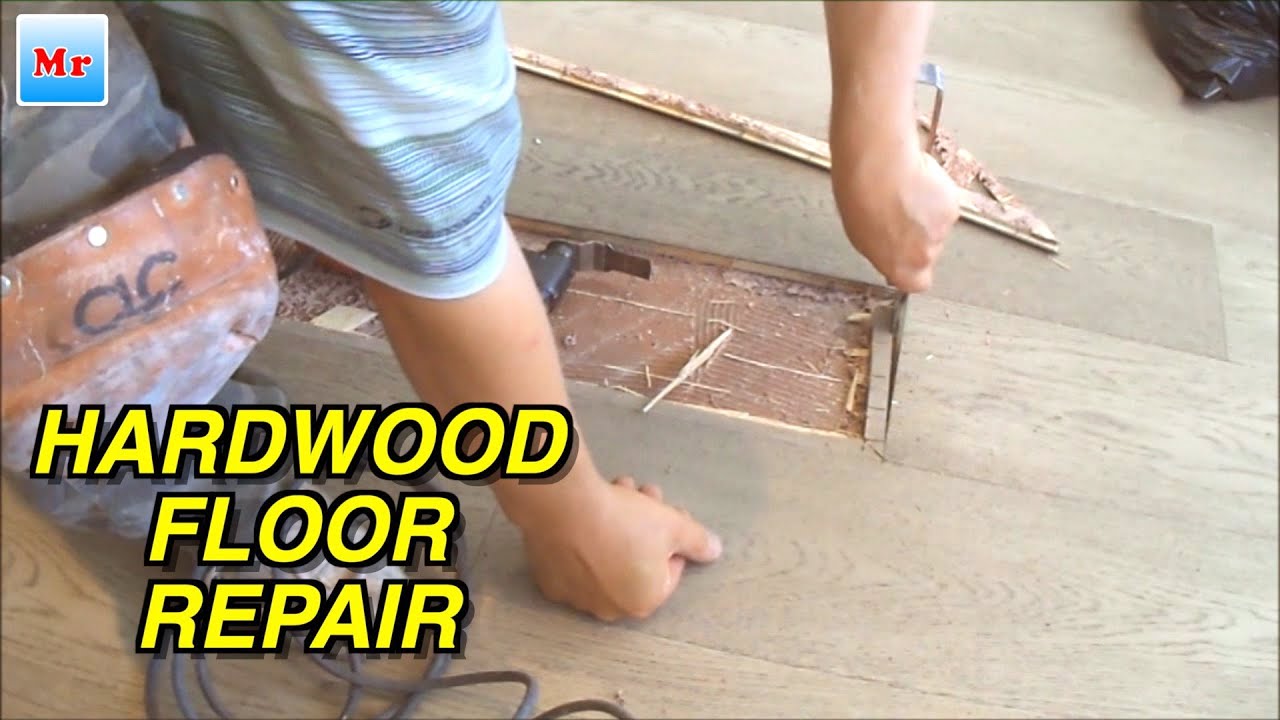
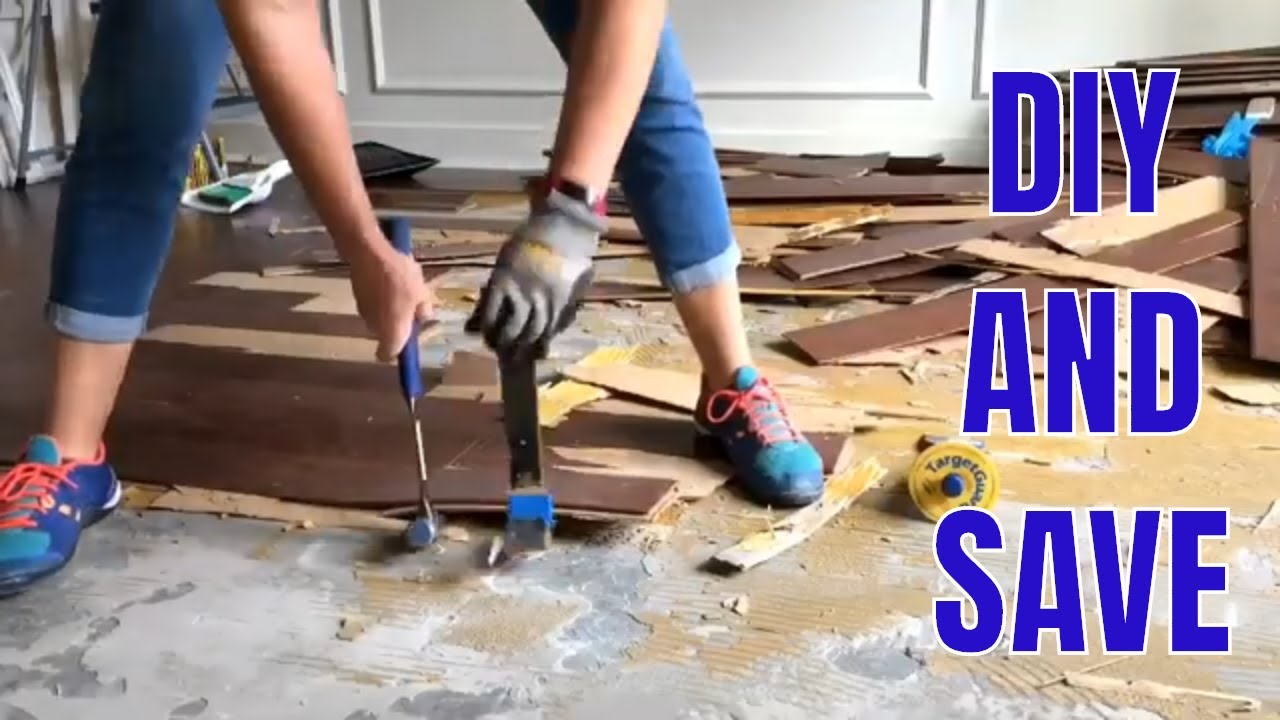
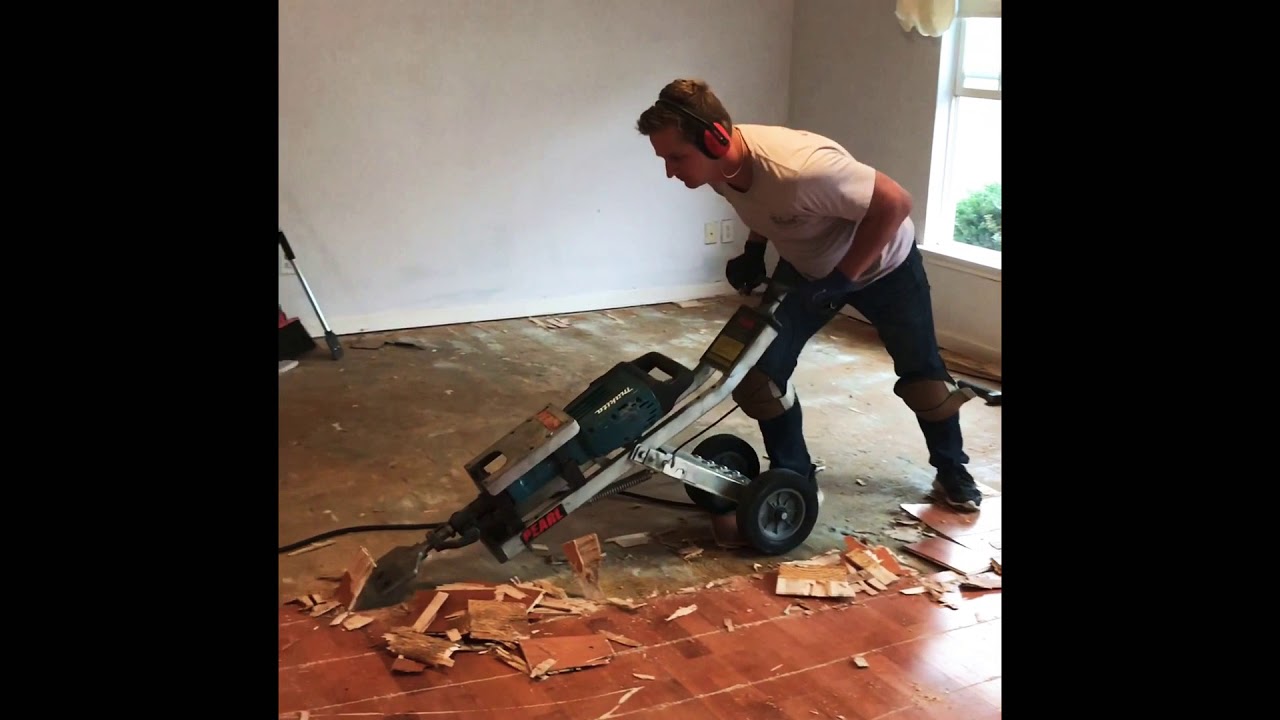
Next, you will need to begin removing individual planks of flooring. For most engineered hardwood floors, this can be accomplished using a hammer and pry bar in order to gently lift up individual planks of flooring and then remove them from the subfloor. If the boards are glued down, a chisel may be needed in order to loosen the adhesive before attempting to remove them from the subfloor. It is important to use caution when using a hammer or chisel around nails or staples that may still be present in order to avoid damaging them or yourself.
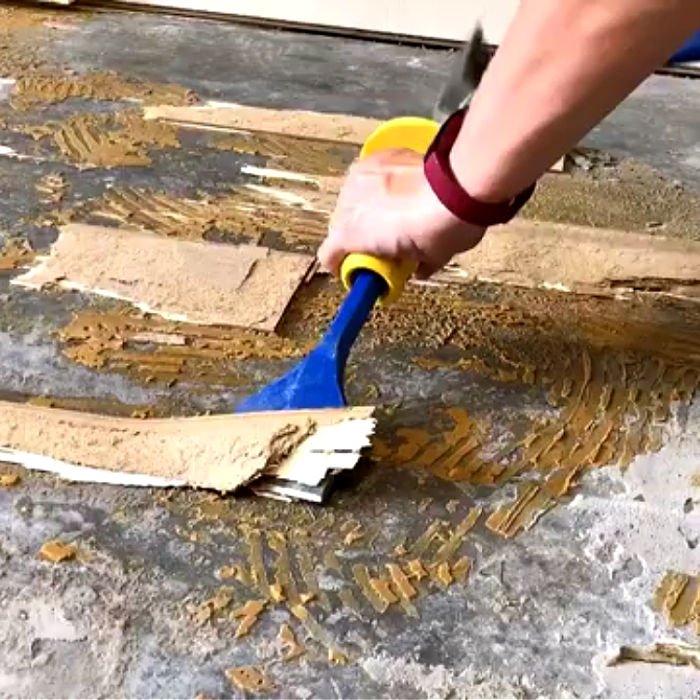
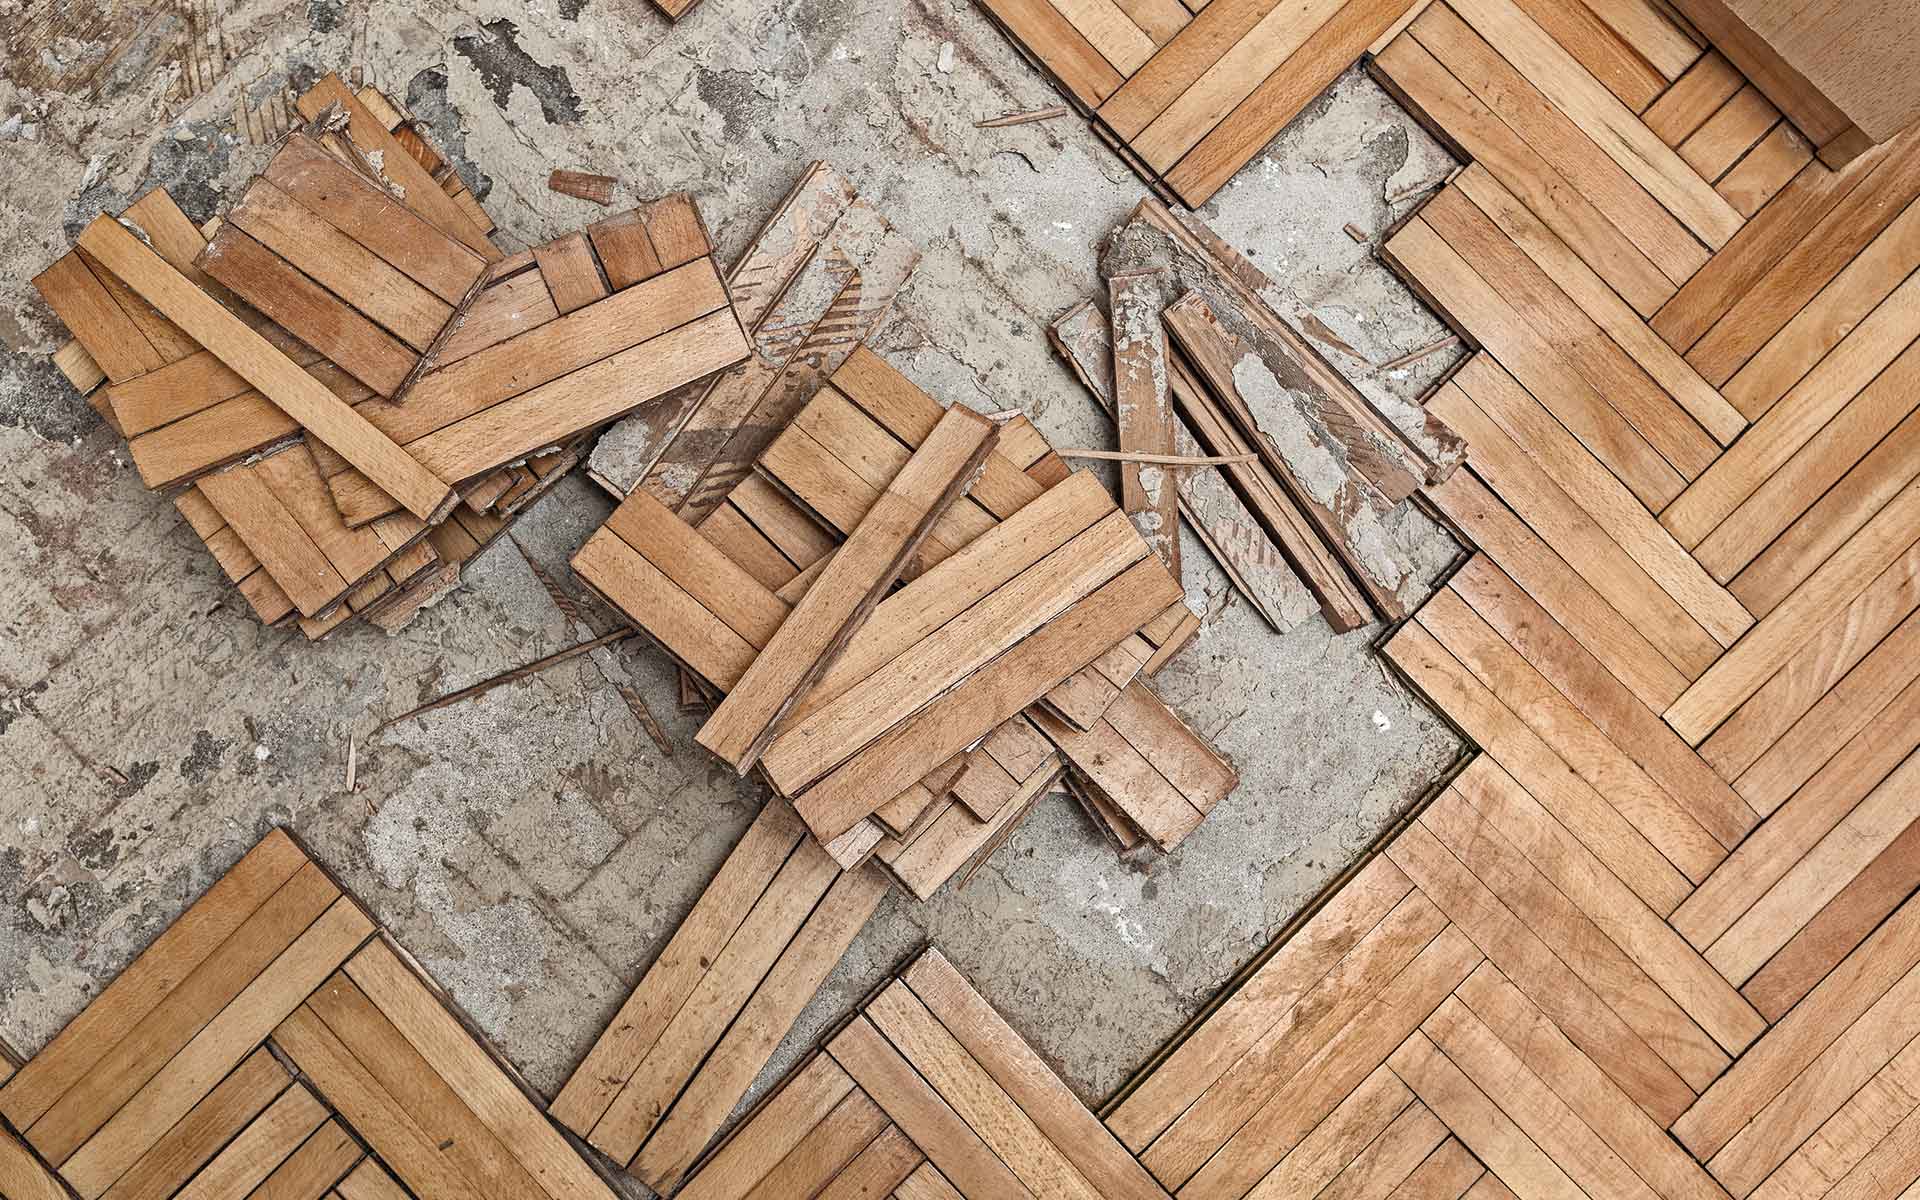
Once all of the individual planks have been removed, you may find that there are still patches of adhesive on the subfloor that need to be removed before new flooring can be installed. This can usually be accomplished by using a utility knife or putty knife in order to scrape up any remaining adhesive residues. It is important to take care when using these tools on delicate surfaces such as plywood or particle board in order to avoid gouging or scratching them while removing remaining adhesive residue. After all of the adhesive has been scraped off of the subfloor, it is advisable to use a vacuum cleaner in order to thoroughly clean up any remaining debris before proceeding with new floor installation.
FAQs about Removing Engineered Hardwood Floors
Q: Do I need special tools for removing engineered hardwood floors?
A: Yes, you will need several specialized tools in order to safely and effectively remove your engineered hardwood floors including safety goggles, dust mask, hammer, pry bar, chisel, utility knife, putty knife, vacuum cleaner, towels/rags, floor scraper and drop cloths/plastic sheets.
Q : How do I remove adhesive residue from the subfloor?
A: Once all of the individual planks of engineered hardwood have been removed, you may find that there are patches of adhesive residue on the subfloor that need to be removed before new flooring can be installed. This can usually be accomplished by using a utility knife or putty knife in order to scrape up any remaining adhesive residues. It is important to take care when using these tools on delicate surfaces such as plywood or particle board in order to avoid gouging or scratching them while removing remaining adhesive residue.
What tools are needed to remove engineered hardwood floors?
1. Floor scraper2. Pry bar
3. Hammer
4. Utility knife
5. Nail puller
6. Safety glasses
7. Dust mask
8. Vacuum or Shop-Vac
9. Towels or rags
10. Drop cloths or plastic sheets
What is the best way to remove engineered hardwood floors?
The best way to remove engineered hardwood floors is to start by taking out the trim and using a pry bar to slowly lift the planks, working from one end of the room to the other. After all of the planks are removed, you will need to use a floor scraper to remove any remaining adhesive and clean up the subfloor. Make sure you wear safety gear such as gloves and protective eyewear when dealing with old adhesive or nails. Once the subfloor is clean, you can begin installation of your new flooring.What tools are needed to remove engineered hardwood floors?
1. Pry Bar2. Hammer
3. Utility Knife
4. Flathead Screwdriver
5. Safety Glasses
6. Hearing Protection
7. Work Gloves
8. Air Compressor/Nail Gun (for removing nails)
9. Floor Scraper
10. Vacuum/Shop Vac
11. Towels/Rags
12. Drop Cloths/Plastic Sheets