So we've started that the bathroom of yours floor should find a way to be cleaned extensively as well as regularly also as be comfortable under foot and with this in mind I would suggest a tile floor for your bath room. Another promising option is carpet, which has to be resistant to drinking water, stain, as well as mildew in order to survive for a long time.
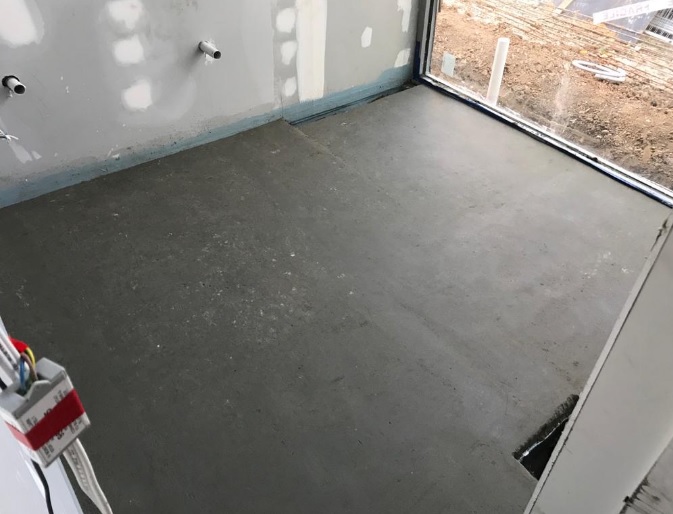
Images about Screeding Concrete Bathroom Floor

If you buy & put in unglazed tiles, they are going to need to be washed often as they absorb stains very easily. When choosing the floor of yours it is essential to be able to keep inside the means of yours, also to find something that you can deal with for a while, since replacing bathroom floors is not an issue that a lot girls do on a routine basis.
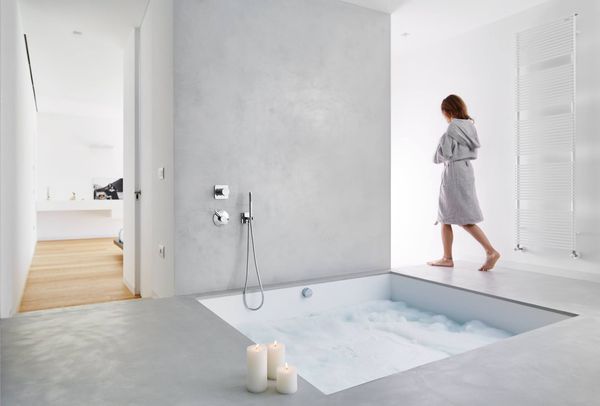
Bathroom design Frameless Screed floors walls, Single Residential

Pebbled flooring get your bathroom a great Aztec era type of look. Wall hung bathroom furniture is an excellent approach to this particular conundrum, combining the practicality of fitted bathroom storage with the attractiveness of a totally clear bathroom floor. Bathroom flooring surfaces usually are carried out in ceramic or perhaps vinyl tiles. Include some potted plants to acquire an all natural and welcoming ambiance.
What is Concrete Screed CivilMint.Com
The Truth About Showers – Universal Tradesman
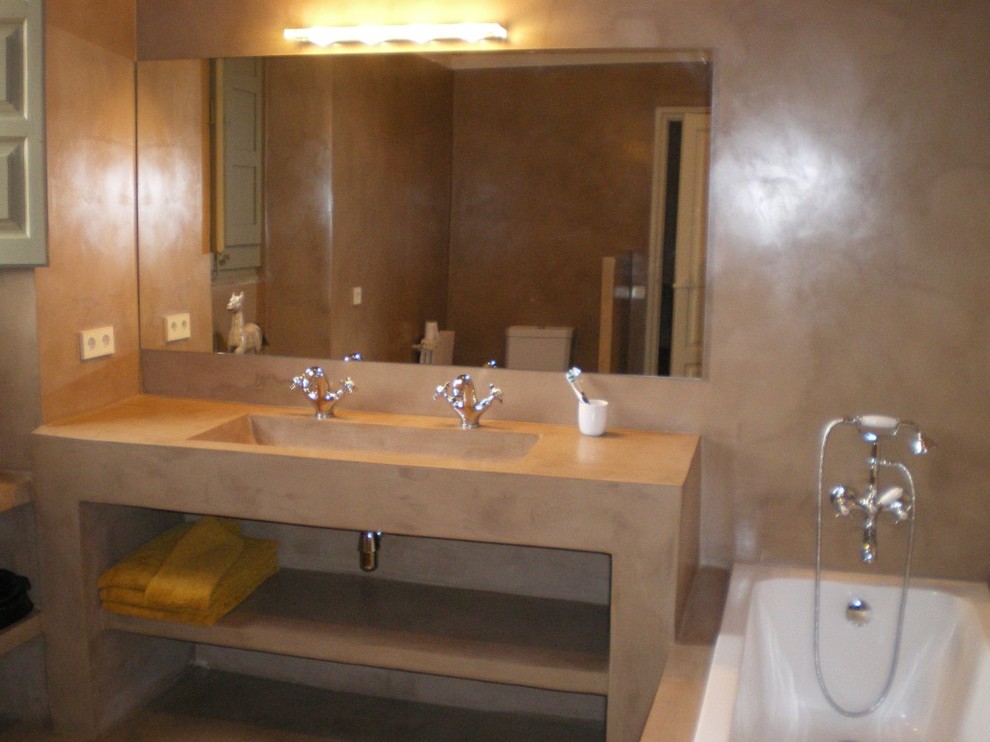
Cemcrete CemCote Skimmed Concrete Grey Walls And Bathroom Vanity

Cement screed walls for bath area Concrete bathroom design

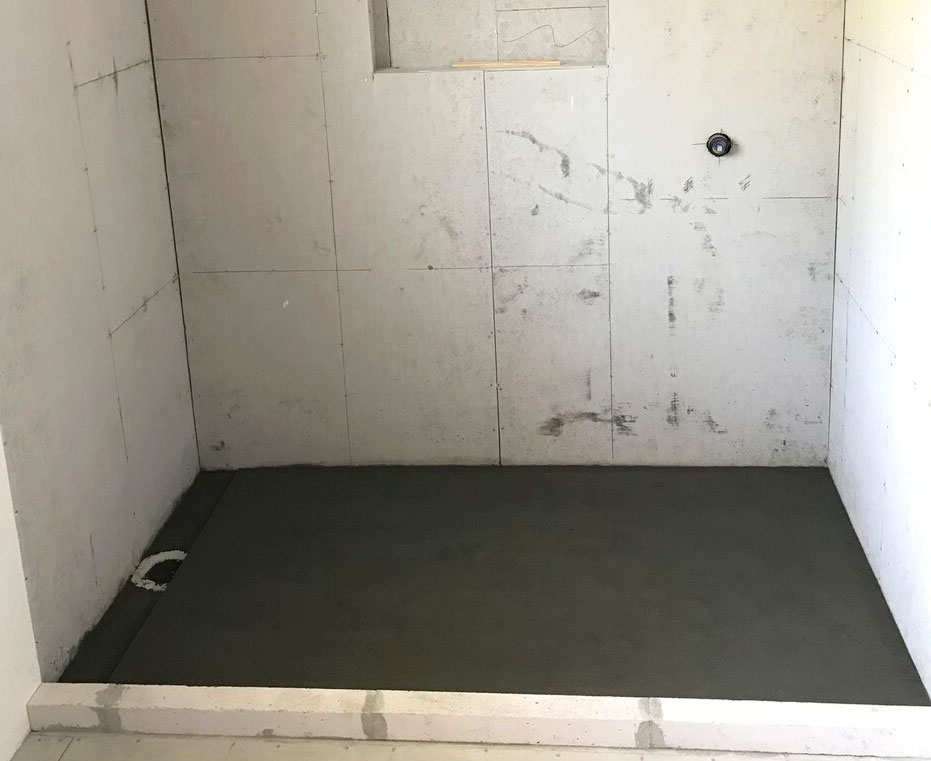
Bathroom – screed instead of paving BOCA Group
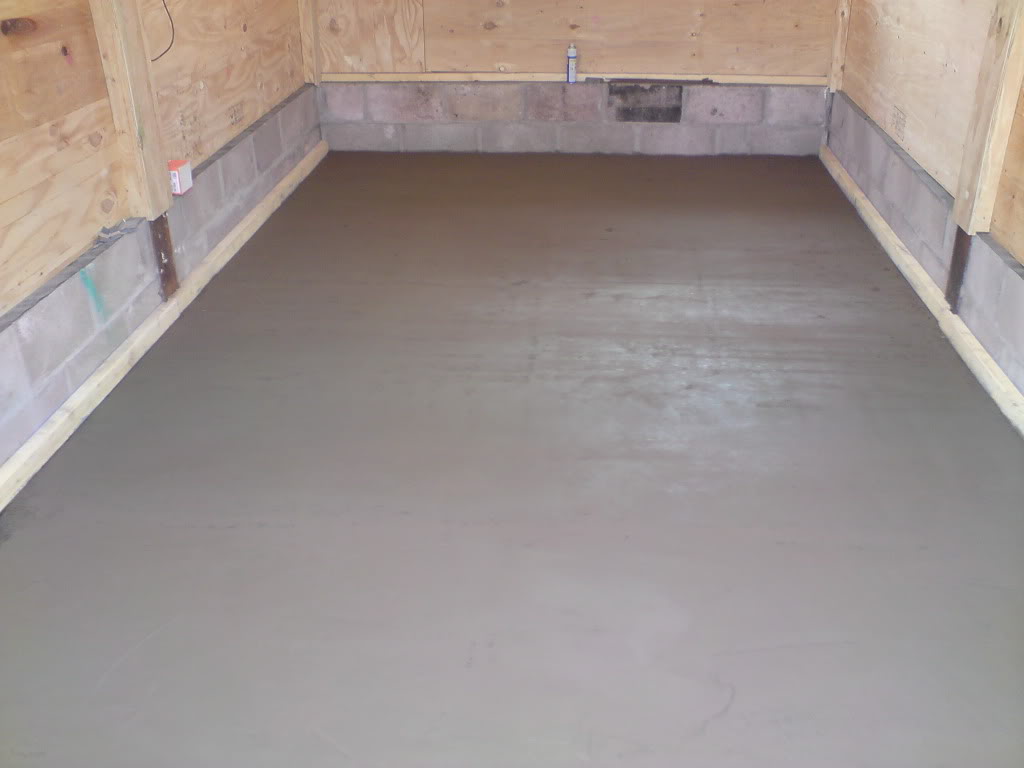
HOME DZINE Bathrooms Self-levelling cement screed floor

Screed Flooring – Concept Flooring

The importance of u0027screedsu0027 Tile Warehouse
Bathroom Concrete flooring screed Bautech

Micro Screed Interior Bespoke Concrete Flooring Systems North East
Cement Based Waterproofing of Toilet Floors – Procedure and

HOME DZINE Bathrooms Self-levelling cement screed floor

Related Posts:
- Gray Slate Bathroom Floor Tile
- Most Durable Tile For Bathroom Floor
- Retro Bathroom Floor Tile Patterns
- Contact Paper Bathroom Floor
- Waterproof Tiles For Bathroom Floor
- Cleaning Marble Bathroom Floor Tiles
- Bathroom Floor Paint Ideas
- Bathroom Floor Plan Layout Tool
- Best Cheap Bathroom Flooring
- Ada Residential Bathroom Floor Plans
Title: Screeding Concrete Bathroom Floor: A Comprehensive Guide to Achieving a Smooth and Durable Surface
Introduction:
When it comes to constructing or renovating a bathroom, ensuring a level and stable floor is essential. One popular method to achieve this is by screeding the concrete floor. Screeding involves leveling and smoothing the surface of the concrete, creating a solid foundation for the installation of tiles or other flooring materials. In this article, we will delve into the process of screeding a concrete bathroom floor in detail, providing step-by-step instructions, addressing common FAQs, and offering useful tips for achieving professional results.
I. Understanding Screeding Concrete Bathroom Floors
Screeding is the process of leveling and smoothing a concrete floor using a screed board or a straightedge. It helps eliminate any unevenness, bumps, or imperfections on the surface before adding tiles or other flooring materials. By creating a smooth and level base, screeding ensures that the final flooring installation is not only aesthetically pleasing but also long-lasting.
II. Materials and Tools Required
Before commencing with screeding, gather the necessary materials and tools to ensure a seamless process. These include:
1. Concrete mix: Choose a high-quality concrete mix suitable for floor applications.
2. Water: Adequate water supply for mixing the concrete.
3. Reinforcement mesh: Optional but recommended for added strength.
4. Screed rails: Metal or wooden guides used to attain an even thickness.
5. Screed board or straightedge: A rigid tool used to level the concrete.
6. Trowel: A handheld tool for smoothing out the surface during finishing.
7. Float: A large flat tool used for initial smoothing before troweling.
8. Spirit level: Essential for checking the levelness of the floor during screeding.
III. Step-by-Step Guide to Screeding Concrete Bathroom Floors
Step 1: Preparation:
– Start by clearing the bathroom floor of any debris, ensuring it is clean and free from dust or loose particles.
– Check for any cracks or damage on the existing concrete. Repair them before proceeding to screeding.
– If desired, lay a reinforcement mesh over the prepared floor to enhance its strength and durability.
Step 2: Mixing the Concrete:
– Follow the manufacturer’s instructions to mix the concrete thoroughly, achieving a workable consistency.
– Add water gradually while mixing until the desired consistency is achieved. Be cautious not to make the mixture too watery.
Step 3: Applying Screed Rails:
– Place screed rails along the walls to act as guides for achieving an even thickness of the screed.
– Ensure that the rails are firmly secured and leveled using a spirit level.
Step 4: Pouring and Leveling:
– Pour the mixed concrete onto the prepared bathroom floor between the screed rails.
– Use a shovel or rake to spread the concrete evenly across the area.
– With a screed board or straightedge, begin leveling the concrete by moving it back and forth in a sawing motion along the top of the screed rails. Gradually remove excess concrete as you go.
– Aim for an even thickness throughout, adjusting as necessary.
Step 5: Smoothing and Finishing:
– Once you have achieved a level surface with the screed board, use a float tool to smooth out any rough patches on the concrete.
– After initial smoothing, switch to a trowel for further refinement. Hold it at an angle and move It in a circular motion to achieve a smooth and polished finish.
– Pay attention to any corners or edges, ensuring they are properly smoothed and leveled.
Step 6: Curing and Drying:
– Allow the screeded bathroom floor to cure for at least 24 to 48 hours before walking on it or placing any heavy objects on it.
– Keep the area well-ventilated and avoid excessive moisture during the curing process.
– After the initial curing period, continue to allow the concrete to dry completely before applying any further finishes or sealants.
IV. Additional Tips and Considerations
– It is important to work efficiently when screeding concrete as it can dry quickly, making it difficult to achieve a smooth finish.
– Avoid overworking the concrete as it can cause cracking or unevenness in the final result.
– If necessary, use a damp cloth or sponge to lightly moisten the surface of the concrete while screeding to prevent it from drying too fast.
– Consider using a self-leveling compound if you are inexperienced with screeding or if you need to level out significant unevenness in the existing floor.
– Properly sealing and waterproofing the screeded bathroom floor is crucial for its long-term durability and resistance to moisture and stains. Choose an appropriate sealant for this purpose.
By following these steps and considering these tips, you can successfully screed your bathroom floor with concrete, achieving a smooth and long-lasting result. Remember to prioritize safety by wearing protective gear such as gloves and safety glasses while working with concrete.