Hiring professional concreters or concrete contractors may cost a little although you are assured of a better result. Concrete floors are greatly recommended by the American Lung Association for folks with allergies and asthma. All of the above types of polished concrete floors may be completed in countless looks & styles.
Images about Stain Indoor Concrete Floors Yourself
The polished floors are actually among the best techniques to preserve a good flooring while inside trying to keep with' green' observance simply because concrete flooring doesn't call for inclusion of other raw materials or maybe substances, which would usually put a force on the environment. Conversely, concrete pulls the heat coming from the sun at the winter months, therefore your flooring continues to be hot.
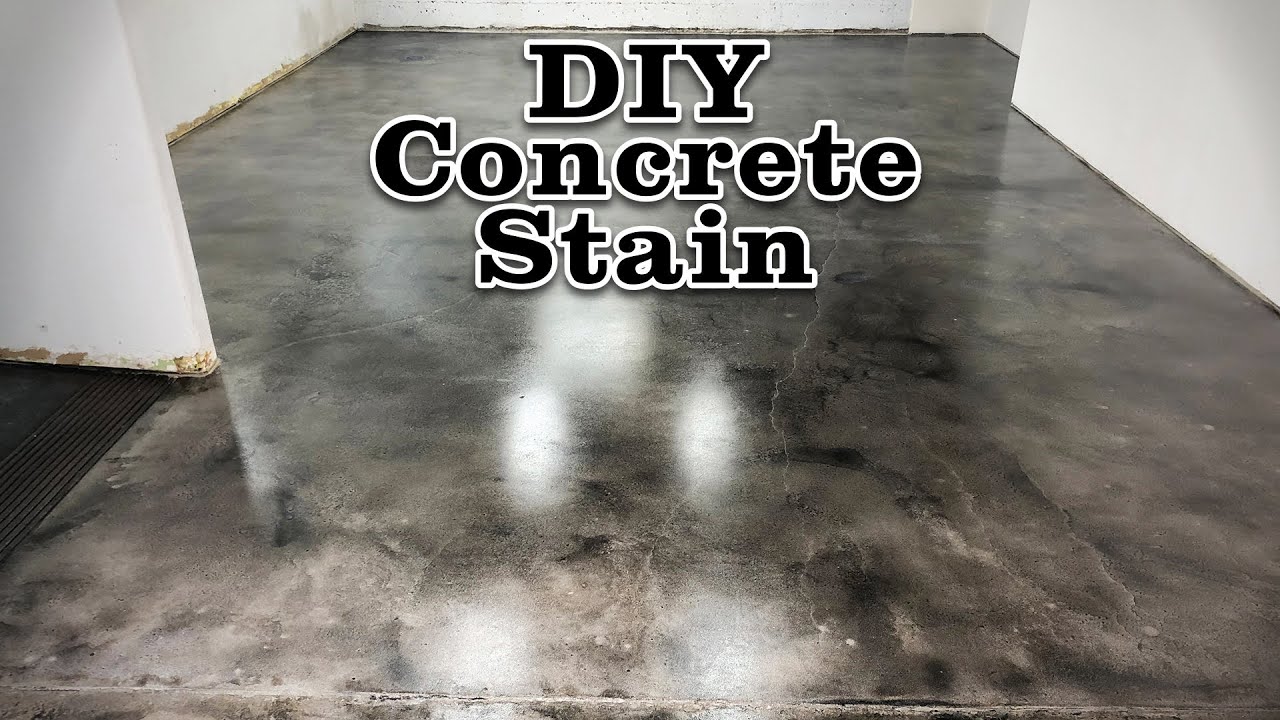
Concrete Stain
The mantra is covering the active concrete floor with a thin cement-based overlay to generate a fresh brand new photo to concentrate on. As soon as they've cured, latest concrete installations are easily and inexpensively brought to a gloss. When putting in polished concrete flooring surfaces, the concrete is sanded with a diamond surfaced polishing machine.
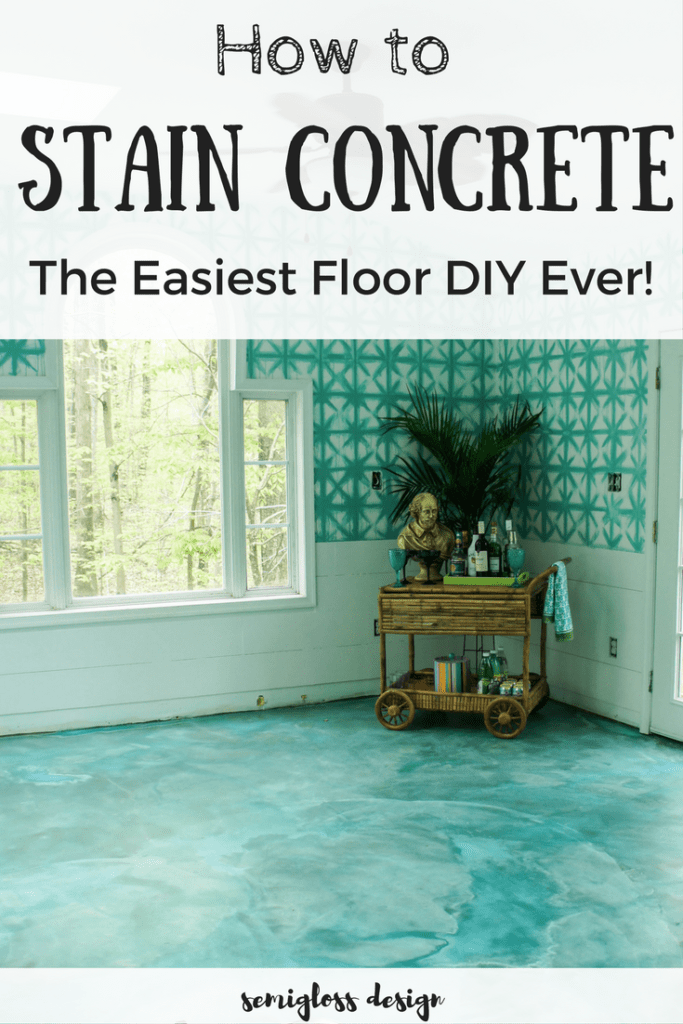
The Beginneru0027s Guide to DIY Stained Concrete, A Step by Step Tutorial

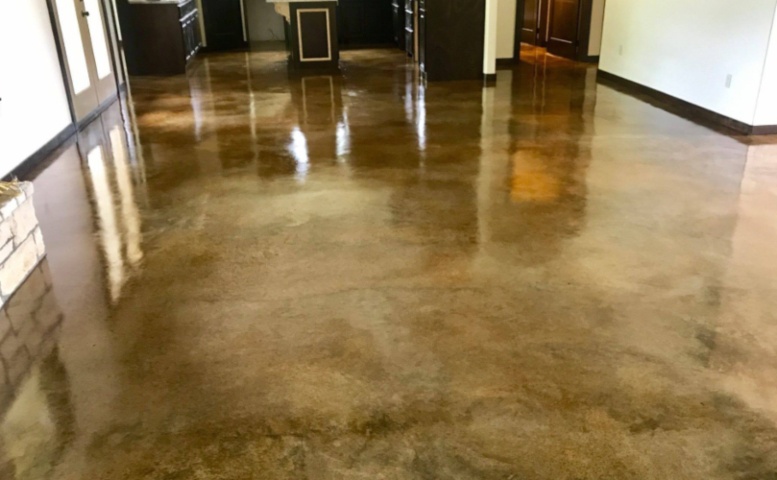
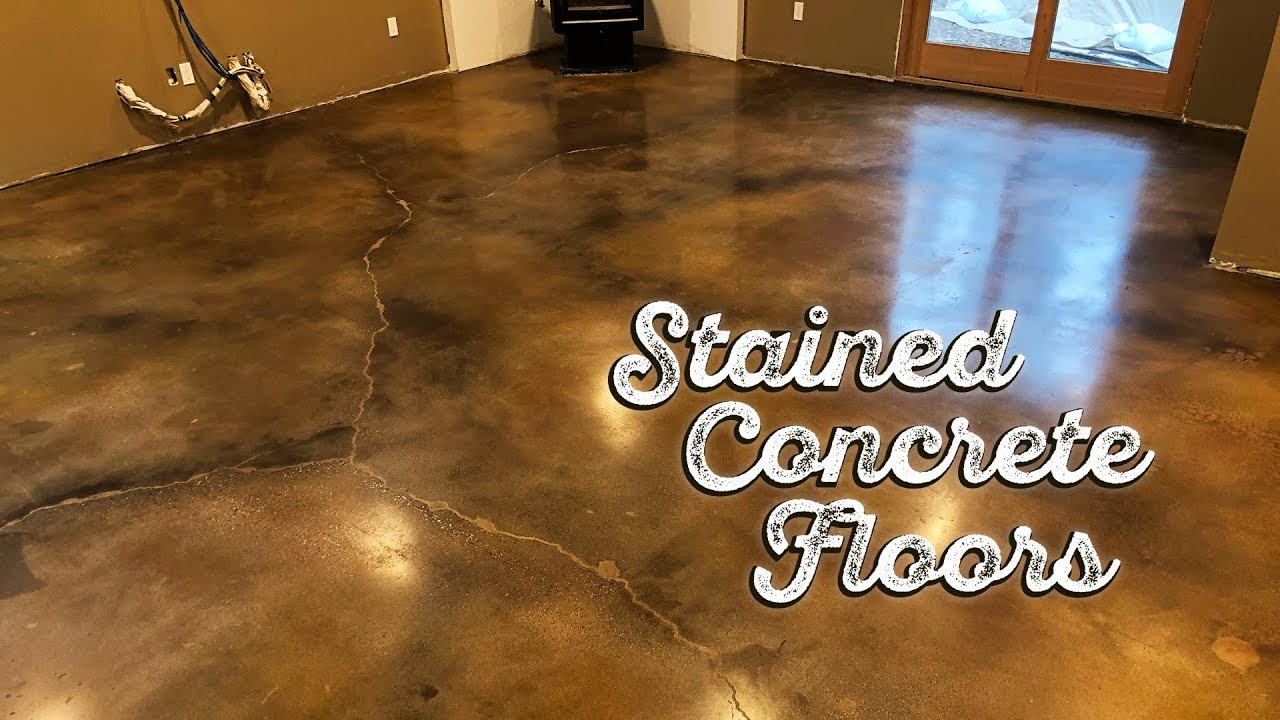
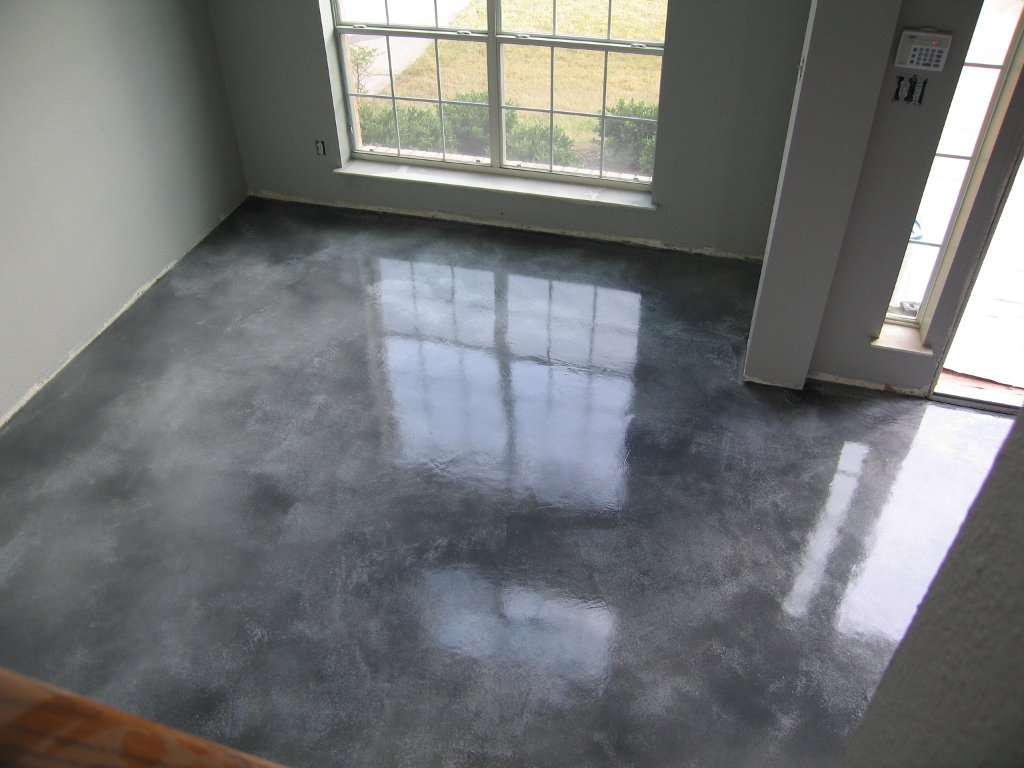
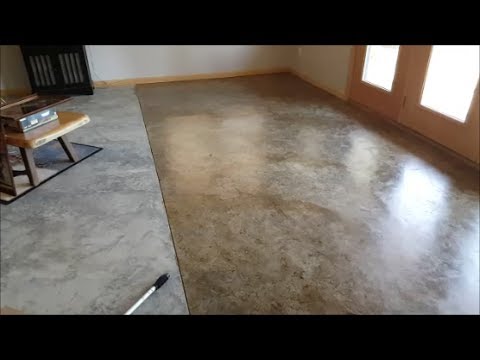
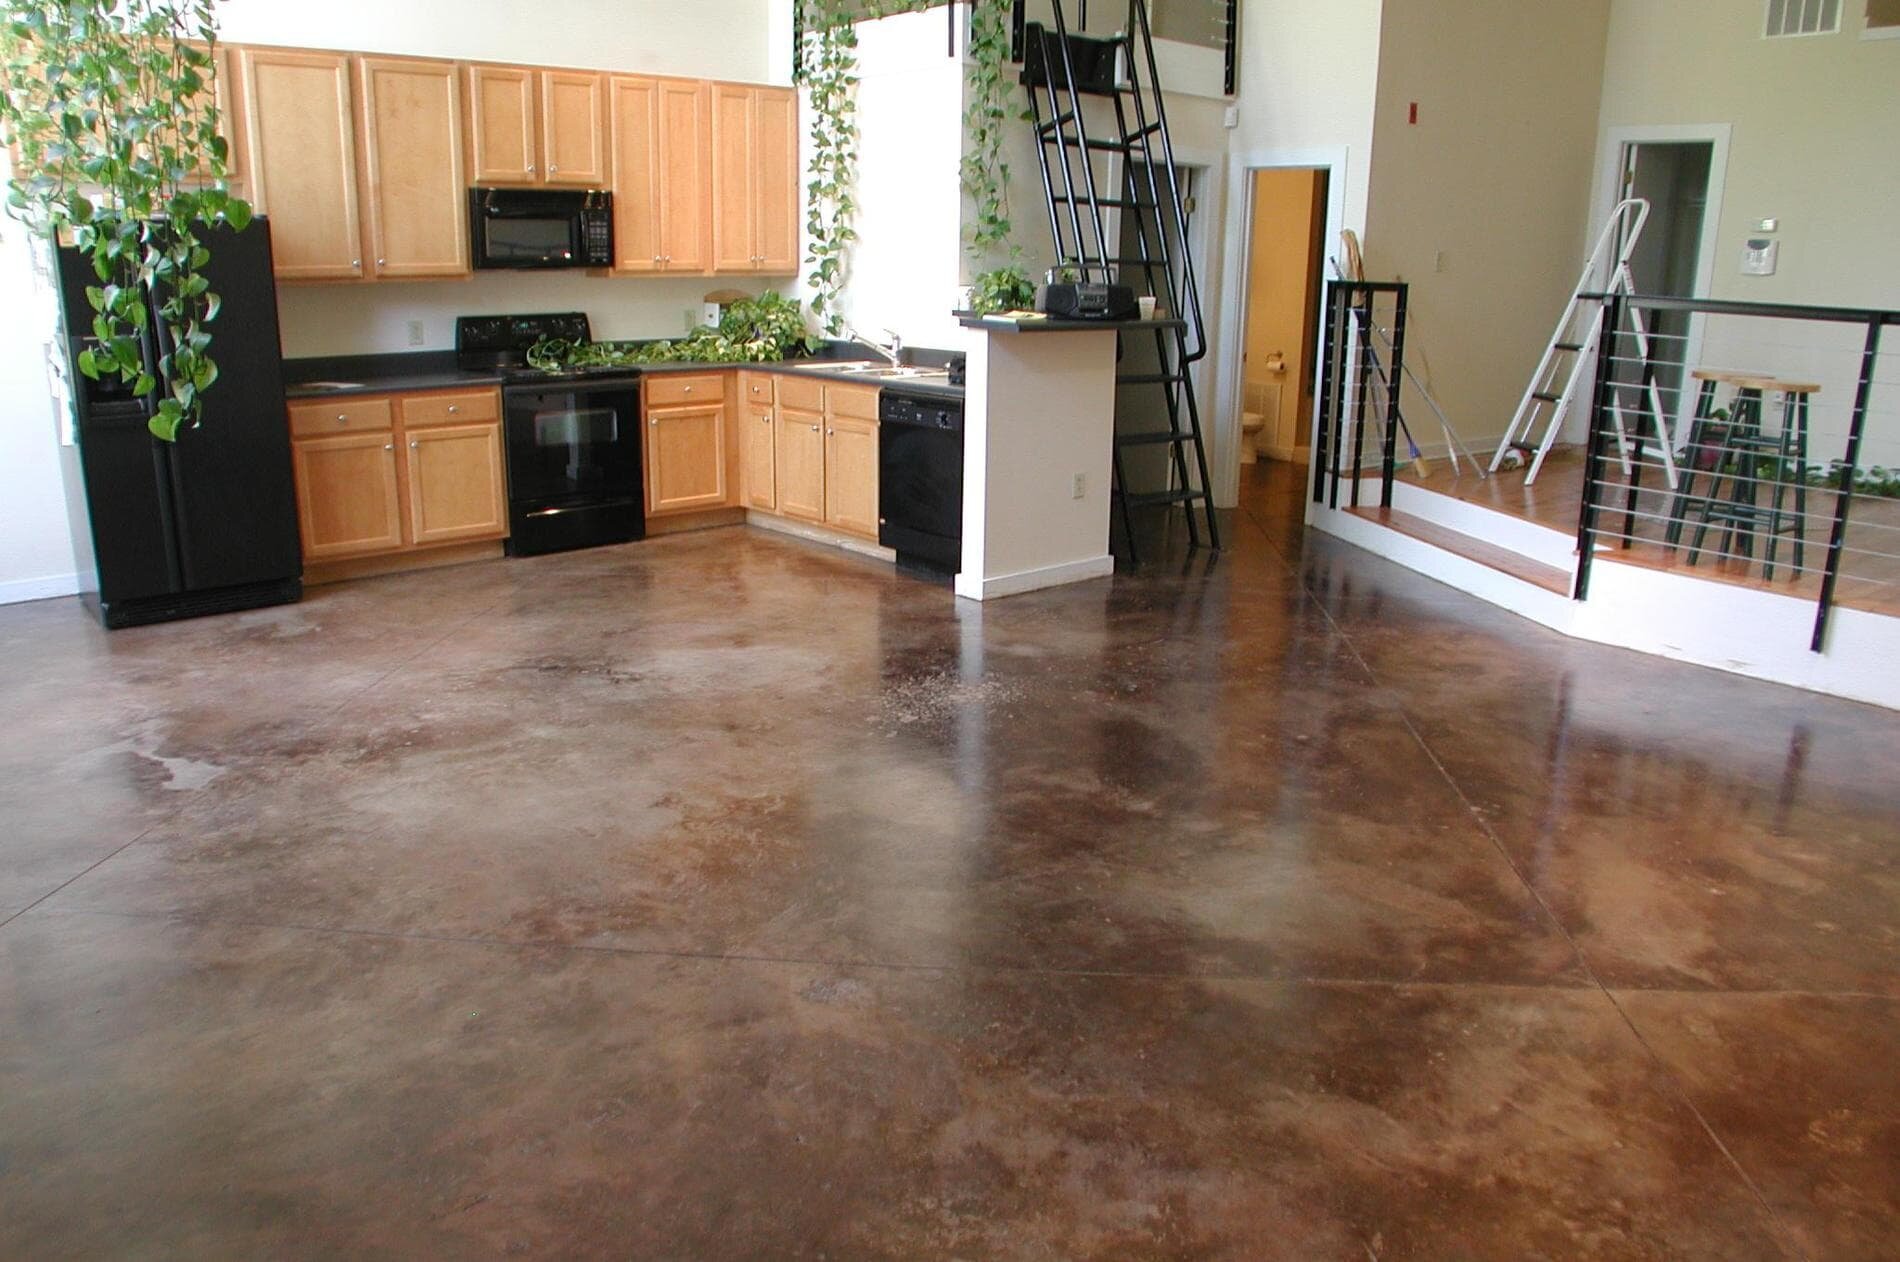
Stained Concrete Floors
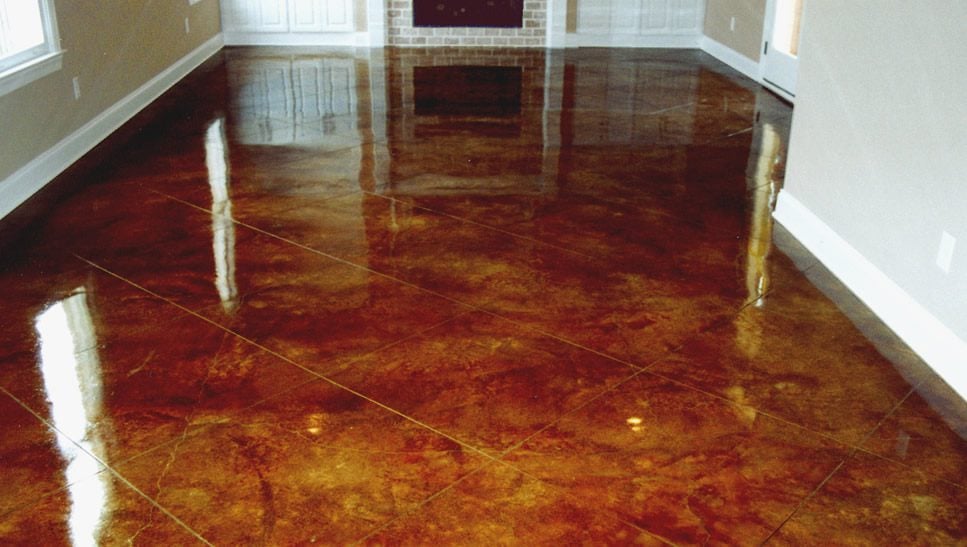
The Beginneru0027s Guide to DIY Stained Concrete, A Step by Step Tutorial
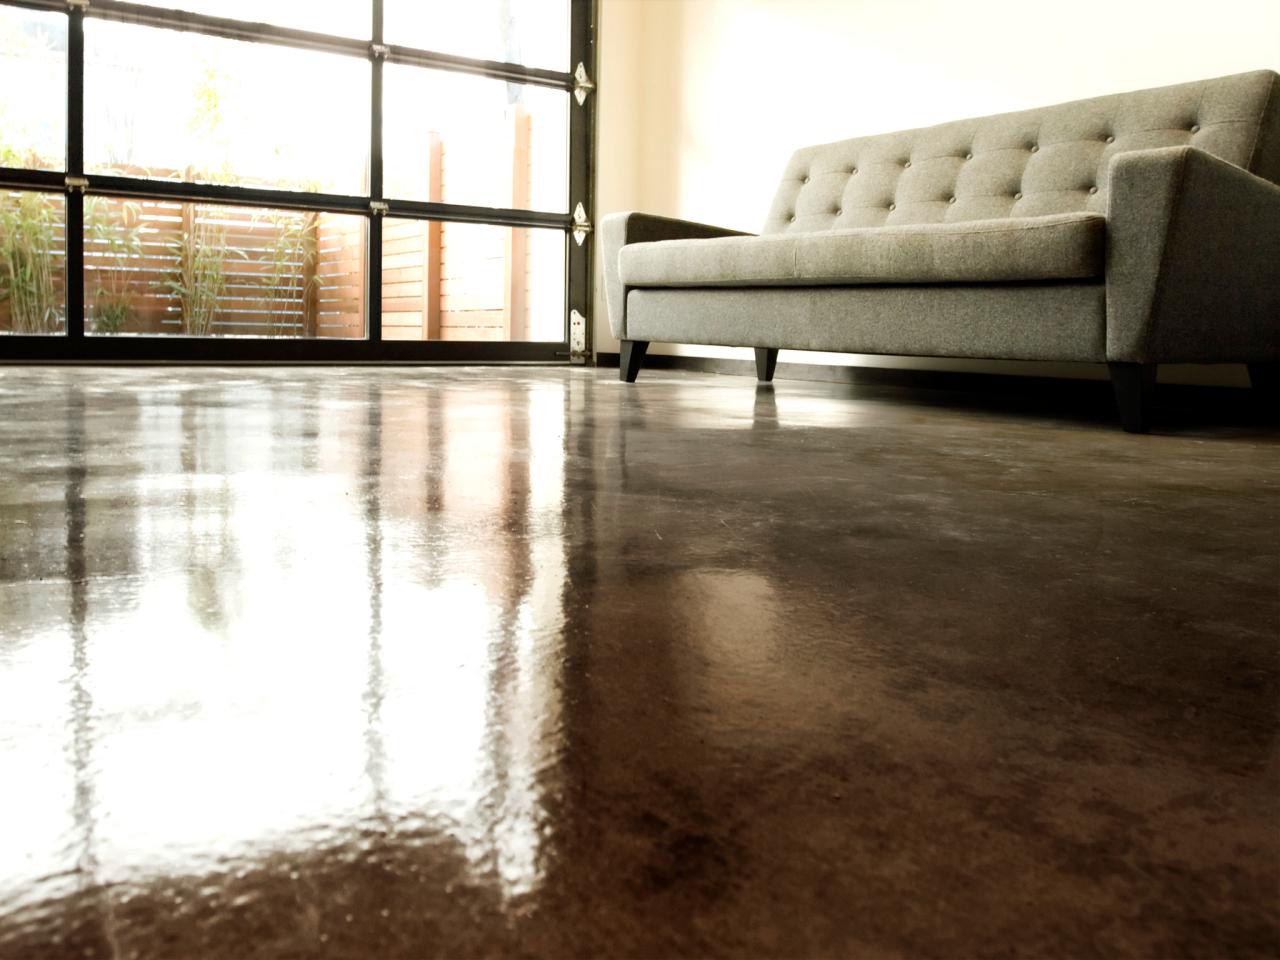
Stained Concrete Floors: Cost, How to Stain DIY, Maintenance Tips
DIY Guide to Stained Concrete Floors Duraamen
How to Acid Stain a Concrete Floor – Plank and Pillow

How to Apply an Acid-Stain Look to Concrete Flooring HGTV
Do it yourself concrete staining: How to stain concrete floors
How to Stain Concrete

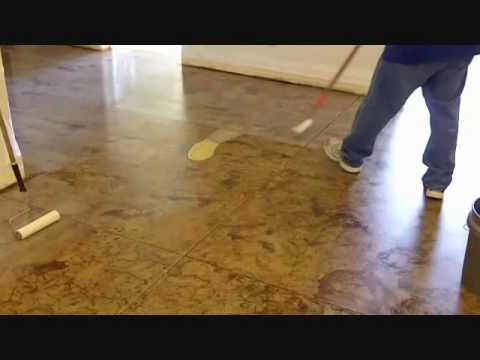
DIY Basement Floor Stain and finish, 2 colors, Without Etching!
Should I Paint That? Painting Concrete Floors u2014 PaintPositive
How to stain interior concrete floors in 5 steps – Prosoco
Related Posts:
- Rugs For Stained Concrete Floors
- Pouring Concrete Floor Slab
- Making Concrete Floors
- How To Seal Old Concrete Floor
- How Do You Paint A Concrete Floor
- How To Stop Water Leak In Concrete Floor
- Textured Concrete Floor Coatings
- How To Stain And Finish Concrete Floors
- Laying Tile On Uneven Concrete Floor
- Concrete Floor Painting Tips
How to Stain Indoor Concrete Floors Yourself
Have you ever wanted to give your indoor concrete floors a makeover? Staining concrete floors is an easy and inexpensive way to give your home a fresh look. With the right tools and techniques, you can quickly and easily stain your concrete floors yourself. Read on to find out how!
Preparing Your Floors for Staining
Before you begin staining your concrete floors, there are a few steps you should take to ensure the best results.
First, make sure the floor is clean and completely free of dirt, dust, and debris. Use a broom or vacuum cleaner to clear away all dirt and debris from the floor, then mop it with a cleaning solution to remove any additional residue. You may also want to consider using an acid-based cleaner specifically designed for concrete floors. Be sure to allow the floor to dry completely before beginning the staining process.
Next, inspect the floor for any cracks or holes that need repair. If necessary, use a patching compound or caulk to fill in any cracks. Allow this patching material to dry completely before continuing with staining.
Finally, use sandpaper or a sanding block to roughen up the surface of the concrete. This will help ensure that the stain will adhere properly and evenly to your concrete floor.
Choosing the Right Stain
When it comes time to choose the stain for your indoor concrete floors, there are several options available. Acrylic stains are often recommended because they are easy to apply and offer long-lasting protection against wear and tear. Water-based stains are also popular because they offer quick drying times and come in a wide variety of colors and shades. If you want a more traditional look, oil-based stains are also available in various hues and tones. No matter which type of stain you choose, be sure to follow all manufacturer’s instructions when applying it to your concrete floors.
Applying the Stain
Once you have chosen your desired stain, it’s time to begin applying it to your floors. Before starting the application process, be sure that the area is well ventilated and protected from direct sunlight or high temperatures. Depending on what type of stain you have chosen, you may need a paint roller or brush for applying it evenly across your floors. Begin by applying a thin layer of stain with long strokes in one direction across the entire surface of the floor before moving on to another section of the room. Make sure that each layer is evenly distributed before moving on; if necessary, use a cloth or brush for touch-ups around corners or edges where needed.
Once all areas of the room have been stained, allow them plenty of time to dry before walking on them again; depending on what type of stain was used, this could take anywhere from 24 hours up to several days. Once your stained floors are completely dry, apply a protective sealant over them for added protection against wear and tear over time; this will help keep your newly stained floors looking great for many years to come!
FAQs About Staining Indoor Concrete Floors Yourself
Q: What type of stain should I use on my indoor concrete floors?
A: When choosing A stain for your indoor concrete floors, you can choose from acrylic, water-based or oil-based stains. Each type of stain offers its own unique benefits, so consider which one is right for your needs before making a purchase.
Q: How do I know if my concrete floors are ready to be stained?
A: Before staining your indoor concrete floors, it is important to make sure that the surface is completely clean and free of any dirt or debris. You should also inspect the floor for any cracks or holes that need repair and use a sanding block to roughen up the surface before applying the stain.
Q: How long will my newly stained floors last?
A: The life expectancy of your newly stained floors will depend on what type of stain was used and how well it was applied. Generally speaking, oil-based stains offer the longest lasting protection against wear and tear, while acrylic and water-based stains should provide you with several years of protection if properly applied.
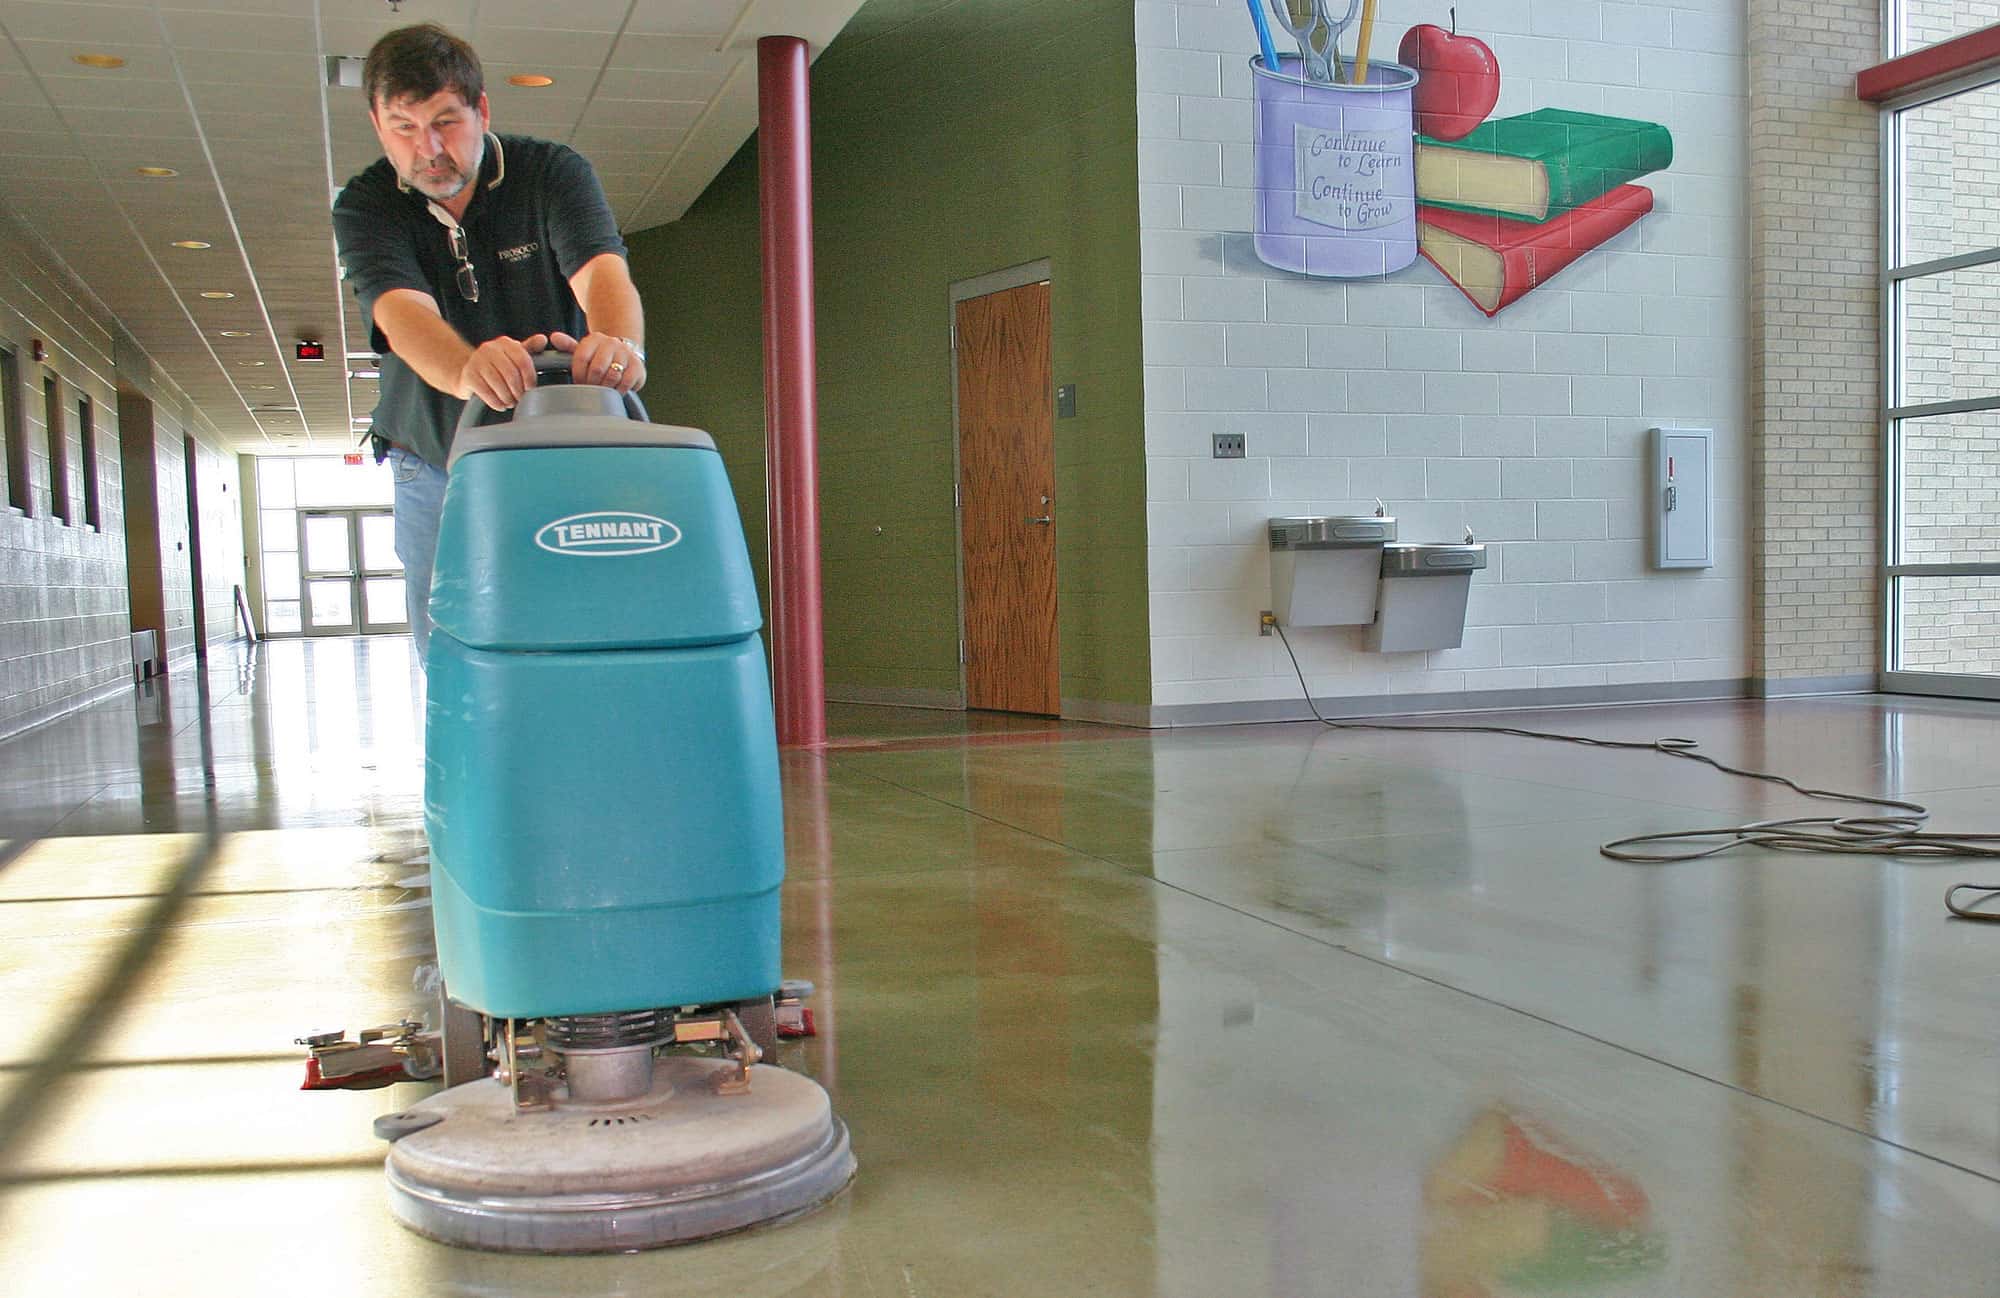
How do I seal indoor concrete floors?
1. Begin by thoroughly cleaning the concrete floor with a vacuum and a broom.2. Repair any cracks or chips in the concrete with a concrete patching compound.
3. If the floor is very porous, you may want to consider applying a concrete sealer to help protect against moisture damage.
4. Apply an acrylic concrete sealer with a roller or paintbrush, working in small sections at a time. Allow each section to dry before continuing onto the next section.
5. Two coats of sealer are recommended for best results, allowing each coat to dry before applying the second one.
6. Once the sealer is completely dry, you can apply a wax or polish to give it extra shine and protection if desired.