We would recommend covering the floor in something durable while you move heavy appliances or furniture round so that you've a defined path to record when carrying heavy objects. There also patterns and a variety of kinds of textures offered in the market which may focus on the taste of yours and to your budget. Nevertheless, the material itself is pretty flexible to step on, making it great to walk on.
Images about Water Vinyl Flooring

How frequently has a homeowner dragged the seat of theirs throughout the floor only to result in the floor to rip and tear? This is an enormous mistake that happens with lots of homeowners. Regardless of the look you're going for, there's a vinyl flooring choice for you. The very first level consists of a backing information that is made from felt or perhaps fiberglass. The floor, where the vinyl type flooring will be placed, has to be evened out right.
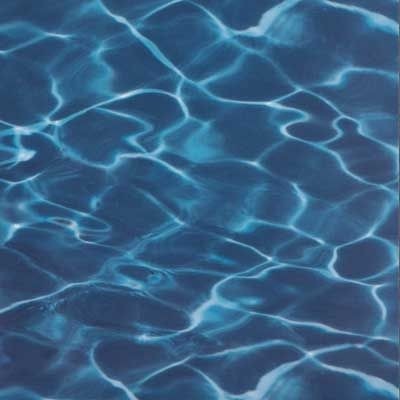
Pacific Water

Aside from being inexpensive, there are a number of colors and designs for you to select from, which could suit the theme that you want for your house. A multitude of colors, patterns as well as textures produce endless possibilities. Vinyl or resilient flooring, as it's also called, can be bought in many patterns, styles and textures. It looks fabulous – you are able to allow them to are like warm natural wood floor or perhaps rich stone floor.
Pacific Water

Water Damaged Vinyl Flooring May be Seen as Staining – Floor Central

3D pvc flooring waterproof water ripples pebbles waterproof self-adhesive 3D wallpaper vinyl flooring bathroom

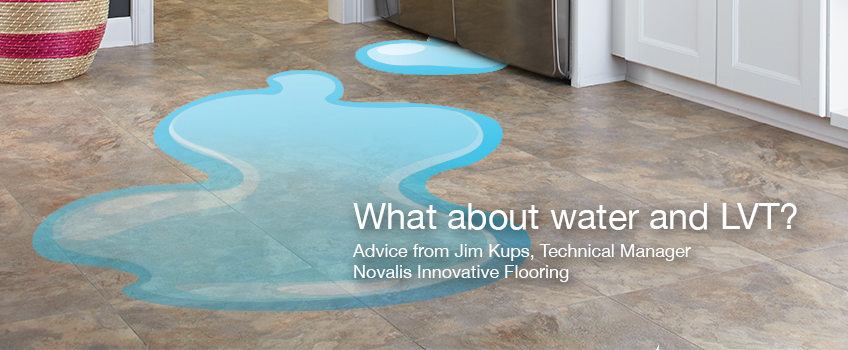
What about water and LVT? NovaFloor Luxury Vinyl Tile
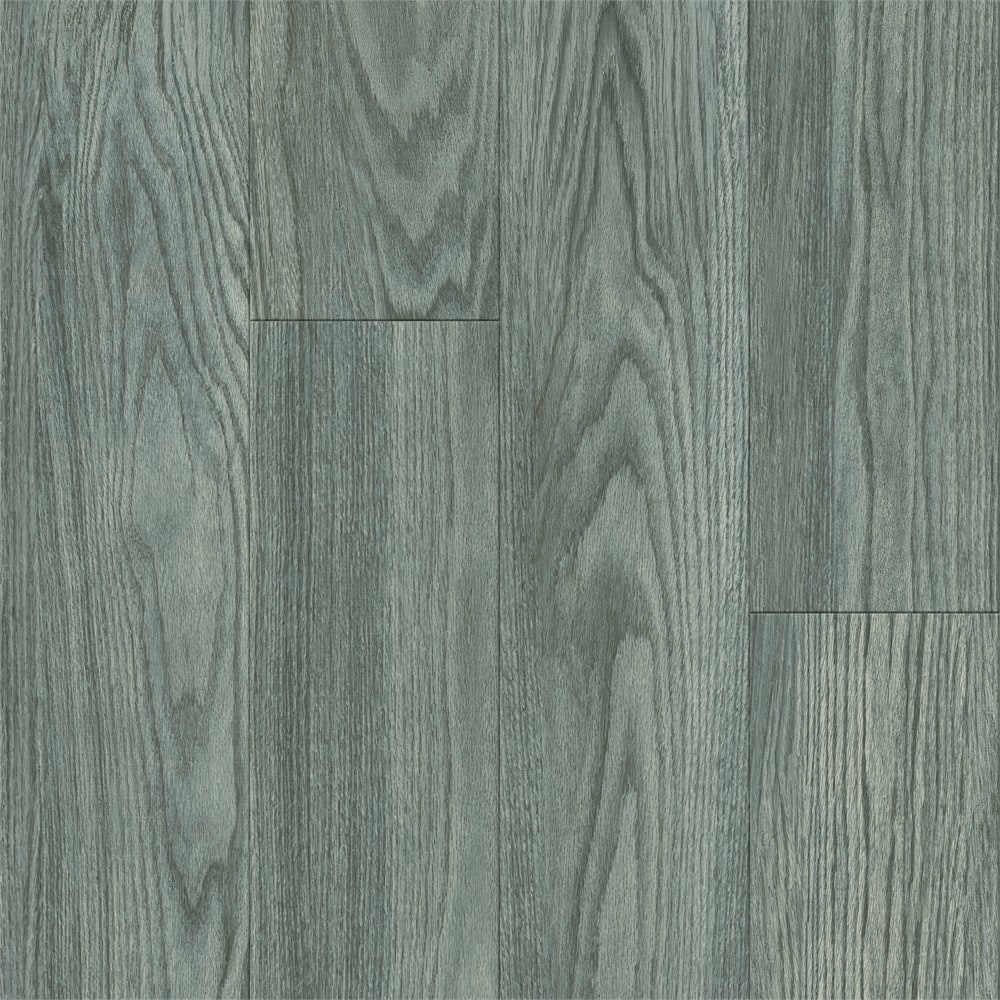
ACQUA FLOORS 7.20 in. W Urban Still Water Waterproof Click Lock
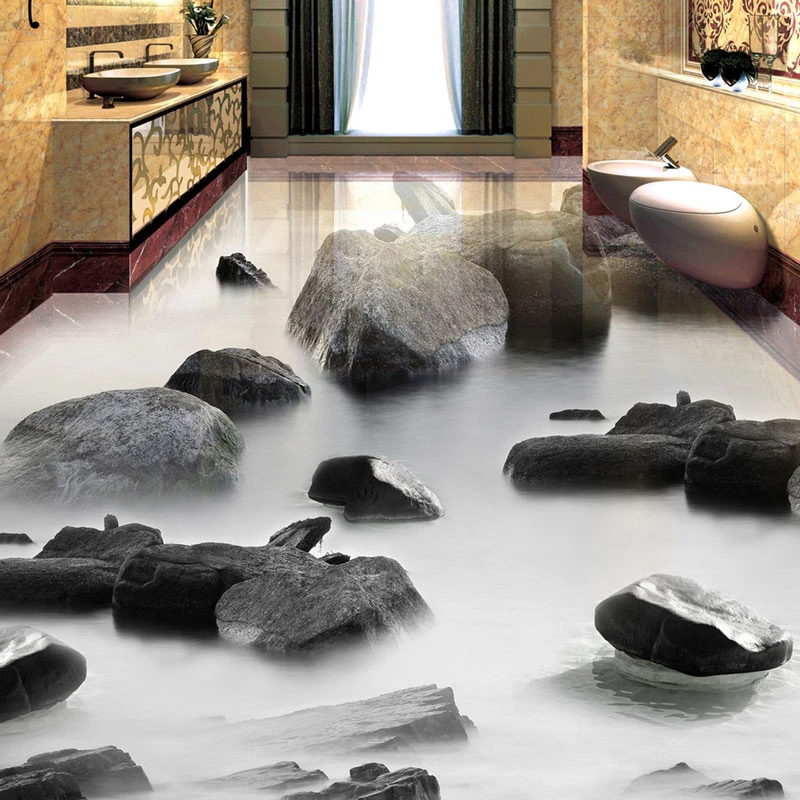
3D Stone Water Floor Tiles Painting Mural Living Room Bathroom Waterproof PVC Self Adhesive Vinyl Flooring Wallpaper Stickers
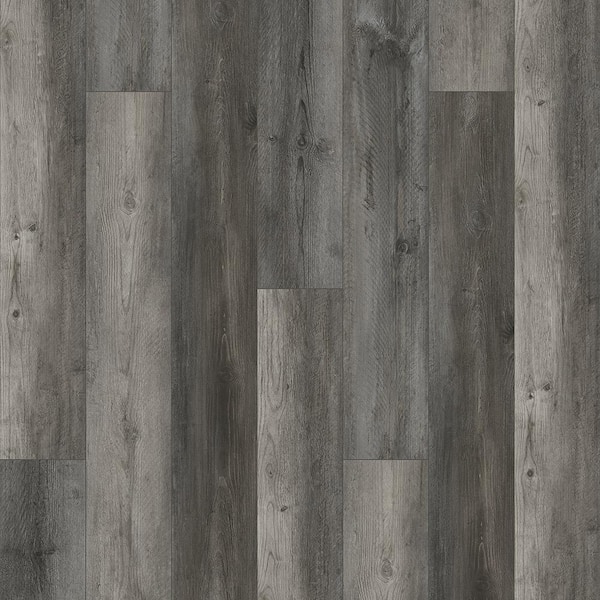
Armstrong Flooring PRO MARK Oxford Oak Heather Gray 6-in Wide x 2-mm Thick Water Resistant Luxury Vinyl Plank Flooring (35.95-sq ft)
Style Selections Ebony Marble 12-in x 12-in Water Resistant Peel and Stick Vinyl Tile Flooring (1-sq ft)

Unique Vinyl Flooring – Ideas on Foter
Anti Wear Floor Stickers Mural Sea Water Ripples Dolphin Photo Wallpaper Bathroom Waterproof PVC Self Adhesive Vinyl Flooring 3D

Kitchen Renovation With Linoleum Flooring Tile Effect Vinyl

Photo Wallpaper Bridge Water Bath 3D Floor Three Dimensional

Related Posts:
- Grip Stick Vinyl Flooring
- 5 Mm Thick Vinyl Flooring
- Lifeproof Vinyl Flooring Heirloom Pine
- Simulated Wood Vinyl Flooring
- Dark Wood Sheet Vinyl Flooring
- Vinyl Floor Cleaner Recipe
- Dynamix Self Adhesive Vinyl Floor Tile
- Shock Absorbing Vinyl Flooring
- Rite Rug Vinyl Flooring
- Waterproof Floating Vinyl Flooring
Water Vinyl Flooring: A Durable and Versatile Choice for Your Home
Introduction:
When it comes to choosing flooring for your home, there are countless options available on the market. From hardwood to carpet to tile, each type has its own unique benefits and drawbacks. However, one option that has been gaining popularity in recent years is water vinyl flooring. This versatile and durable material offers a wide range of benefits that make it an excellent choice for any room in your home. In this article, we will explore the features, advantages, installation process, and maintenance tips for water vinyl flooring. So let’s dive in!
What is Water Vinyl Flooring?
Water vinyl flooring, also known as luxury vinyl flooring (LVF), is a synthetic material designed to mimic the look of natural materials like wood or stone. It is composed of multiple layers of PVC (polyvinyl chloride) and other additives that provide durability, moisture resistance, and visual appeal. The top layer of water vinyl flooring is a clear wear layer that protects the surface from scratches, stains, and fading.
Features and Advantages:
1. Durability: One of the most significant benefits of water vinyl flooring is its exceptional durability. Unlike hardwood or laminate flooring, which can be prone to scratching and damage from moisture, water vinyl flooring is highly resistant to wear and tear. Its multi-layer construction makes it resistant to scratches, dents, and stains caused by everyday use.
2. Moisture Resistance: Another advantage of water vinyl flooring is its ability to withstand moisture. Unlike hardwood or carpeting that can warp or mold when exposed to water, water vinyl flooring is entirely waterproof. This makes it an ideal choice for areas prone to spills or high humidity levels such as kitchens, bathrooms, and basements.
3. Easy Installation: Water vinyl flooring comes in various installation options that cater to different needs and preferences. The most popular types include click-lock or floating installation systems that allow for easy, DIY-friendly installation. These systems eliminate the need for adhesives and can be installed over existing flooring, saving time and money.
4. Versatility: Water vinyl flooring offers a wide range of design options to suit any interior style. Whether you prefer the rustic charm of reclaimed wood or the sleek elegance of polished stone, you can find water vinyl flooring that mimics the look and texture of these natural materials. Additionally, it comes in various sizes, patterns, and colors, allowing you to create unique designs that reflect your personal taste.
Installation Process:
1. Preparing the Subfloor: Before installing water vinyl flooring, it is crucial to prepare the subfloor properly. Ensure that it is clean, dry, and level. Remove any existing flooring and repair any imperfections or cracks in the subfloor.
2. Acclimation: Like many other types of flooring, water vinyl should be acclimated to the room’s temperature and humidity before installation. Store the planks or tiles in the room where they will be installed for at least 48 hours to allow them to adjust to the environment.
3. Underlayment: Depending on the type of water vinyl flooring you choose, an underlayment may be necessary. Some luxury vinyl planks come with an attached underlayment layer that provides additional comfort and sound absorption. If not included, a separate underlayment may need to be installed before laying down the water vinyl flooring.
4. Installation: Begin by determining the layout of your water vinyl flooring, considering factors such as lighting, Traffic patterns, and the direction of the planks or tiles. Start in a corner of the room and work your way towards the opposite wall. Use spacers to maintain an even gap between the flooring and the walls. For click-lock or floating installation systems, simply click the planks or tiles together, ensuring a tight fit. For adhesive installation, apply the recommended adhesive to the subfloor and press the planks or tiles firmly into place.
5. Finishing Touches: Once all the water vinyl flooring is installed, remove the spacers and trim any excess material from the edges. Install baseboards or molding to cover any gaps between the flooring and walls. Finally, clean the floor thoroughly to remove any debris or residue from installation.
Maintenance Tips:
– Regularly sweep or vacuum your water vinyl flooring to remove dirt and debris.
– Wipe up spills immediately to prevent staining.
– Use a damp mop or cloth with mild soap and water for regular cleaning.
– Avoid using abrasive cleaners or scrub brushes that can scratch the surface of the flooring.
– Place mats at entryways to trap dirt and moisture before it reaches the floor.
– Use furniture pads or felt protectors on the legs of chairs, tables, and other furniture to prevent scratching.
– Avoid dragging heavy objects across the floor as it can cause damage.
By following these maintenance tips and properly caring for your water vinyl flooring, you can ensure its longevity and keep it looking beautiful for years to come.