Purchase them pre cut to the requirements of yours since they need a gem wheel for cutting. It is going to take a few of hours when the mortar is totally dry. For some individuals garage tile flooring is the sole option and they also see it as the smartest choice. Knowing the sort of subfloor you'll be installing ceramic tile flooring over is important. Their colors tones are light gray to good black.
Images about What Is Lvt Tile Flooring
/how-does-luxury-vinyl-flooring-differ-from-standard-vinyl-4119903_hero_0391-8254adb9618a4005b9638b4b86e0262b.jpg)
Many men and women are getting away from carpeting due to the dust mites that can accumulate in the carpet, so the possibilities are limitless as to how and where you can install floor tile flooring. After cleaning you are able to then begin to move the remainder of the furniture of yours in, then take it easy, relax as well as admire the rewards of the hard work of yours.
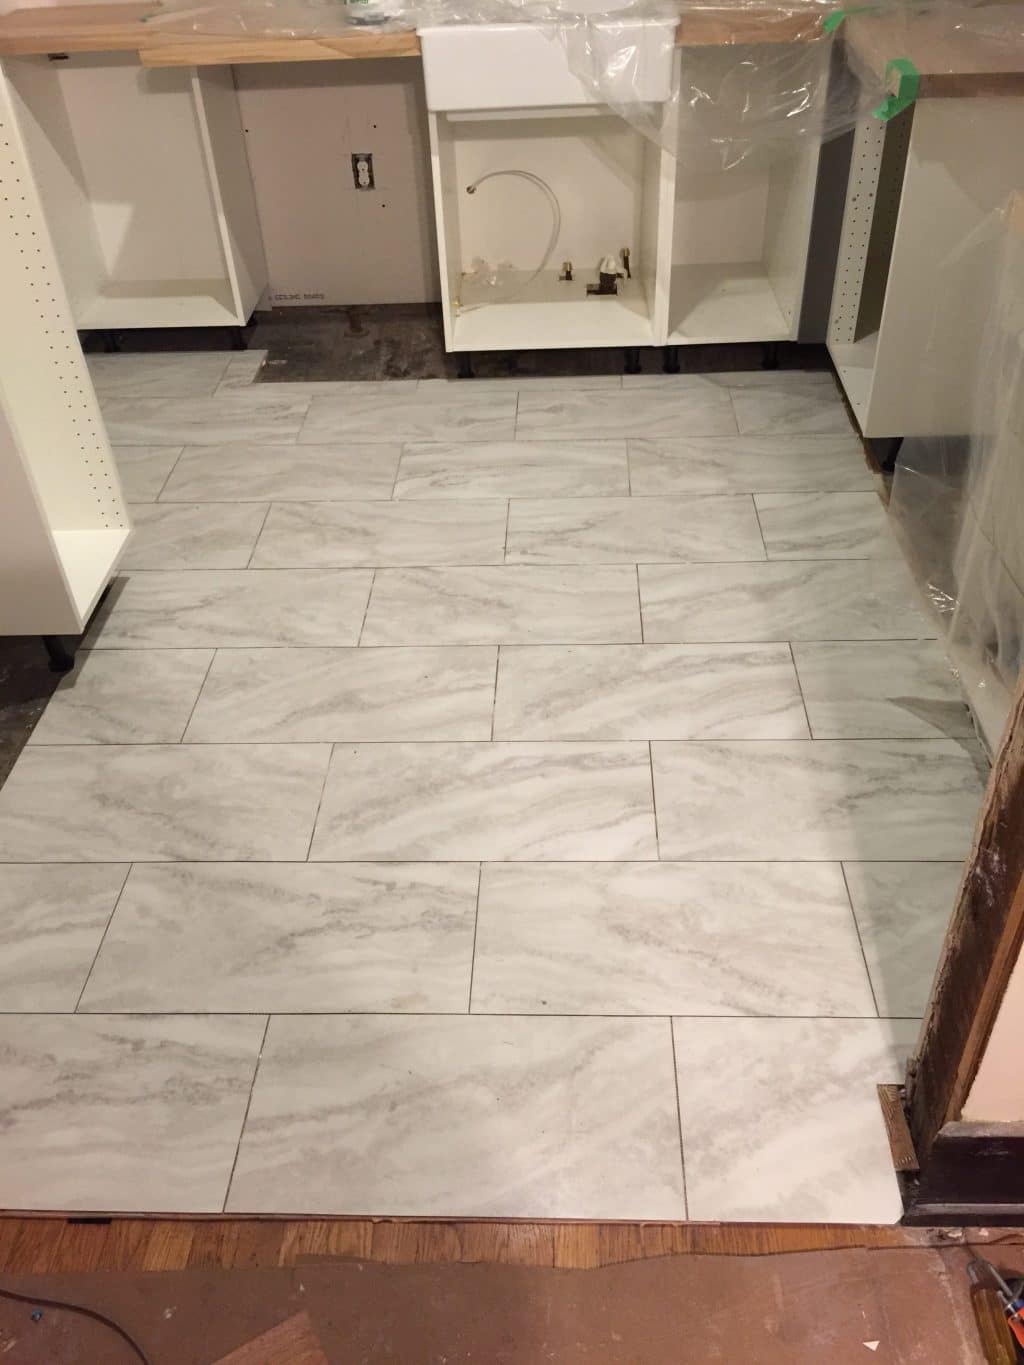
How to Lay Luxury Vinyl Tile Flooring (LVT) + a feature in TABLE
If you're not sure, and you've an older house, you might want to have a lot that done be a professional just in case there's asbestos in the product. Just wipe it with a wet cloth and you are done. Apply firm and also pressure after measuring the size that needs to be cut. When you understand what the existing flooring is done from, this might be a very good deal. Scrubbing or the usage of sanitizers might not generally help eliminate germs.
The Best Luxury Vinyl Tile

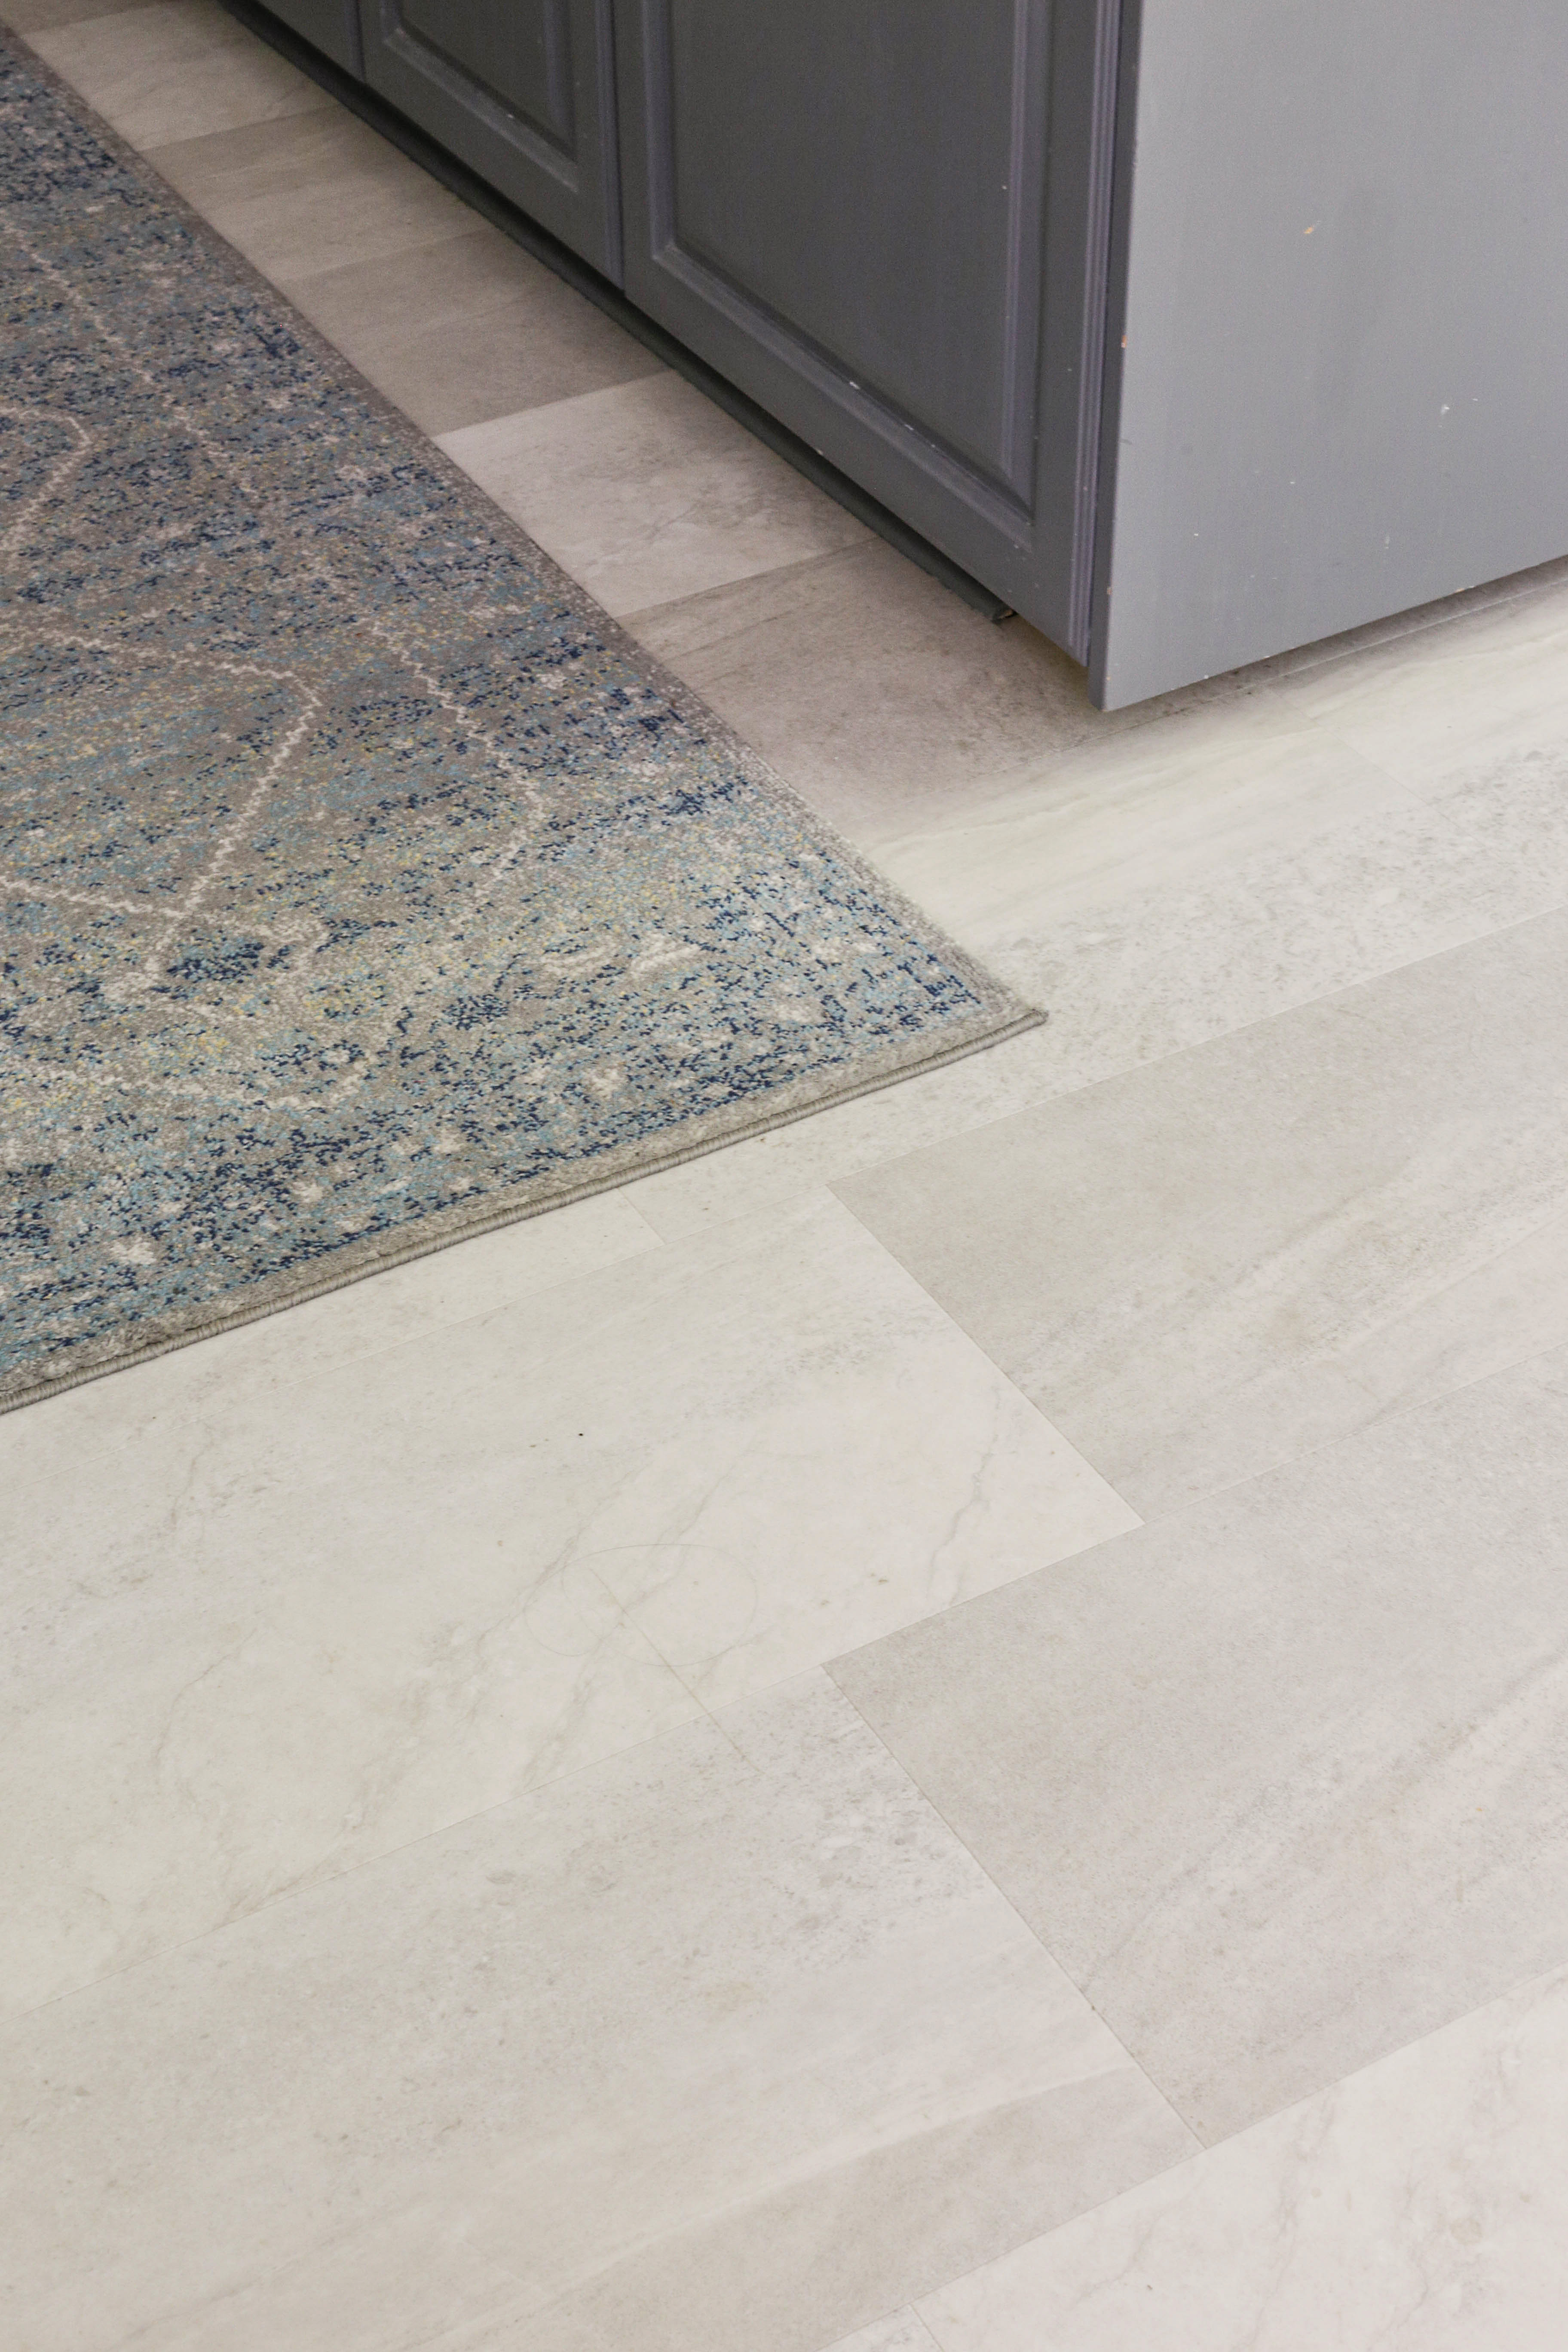
Luxury Vinyl Tile Over Existing Flooring- One Year Review
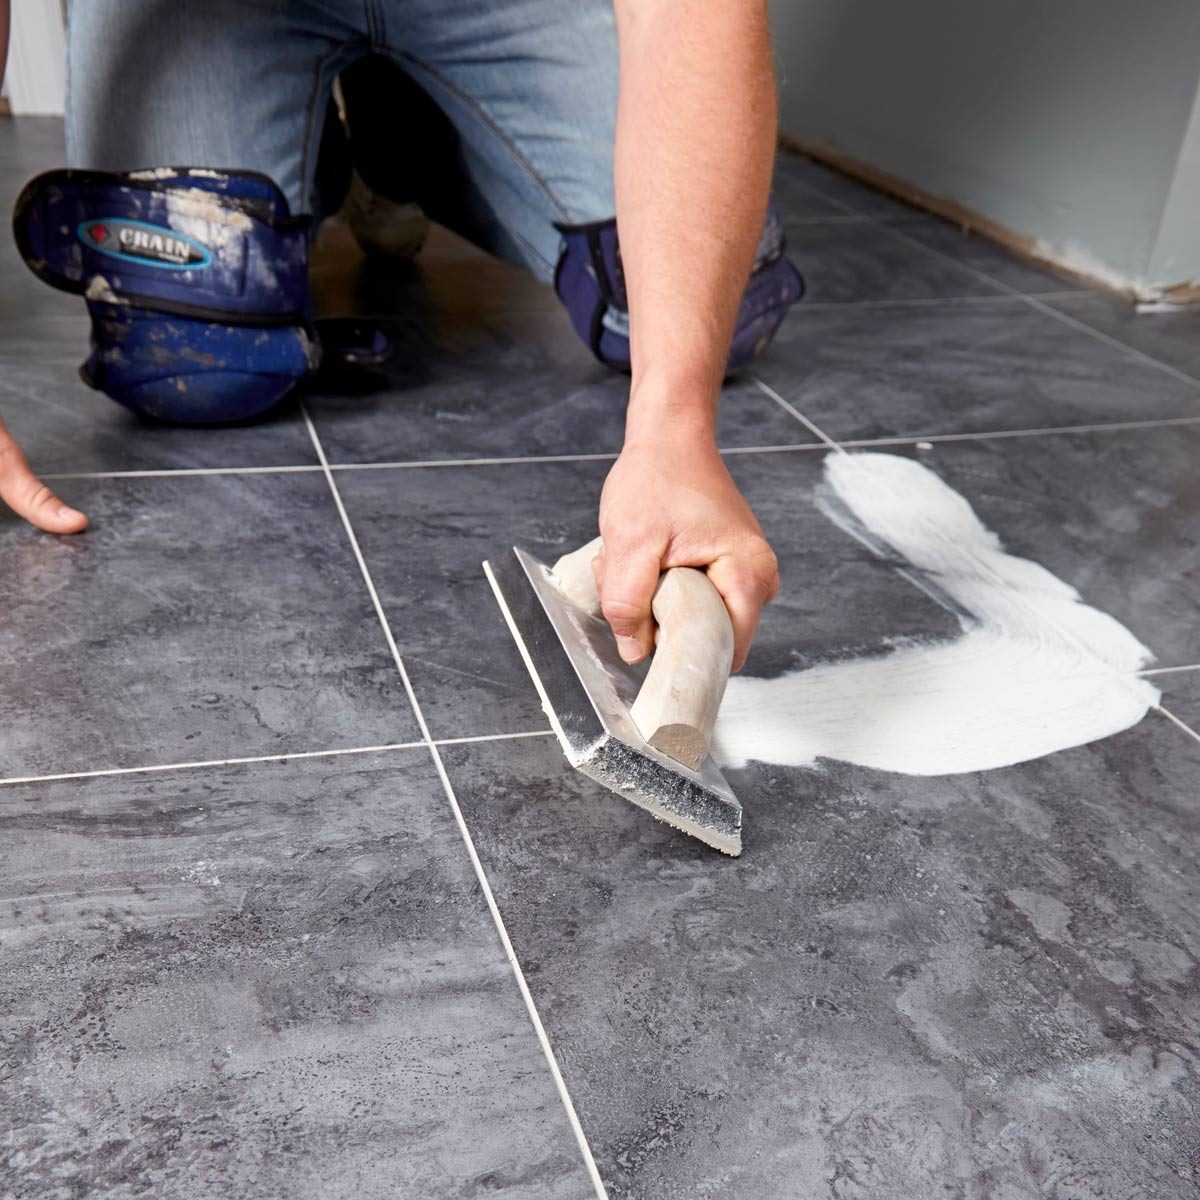
Does luxury vinyl tile need to be grouted?

Multi-Clean Luxury Vinyl Tile Flooring: How to protect and
Luxury Vinyl Plank u0026 Vinyl Tile Slaughterbeck Floors Campbell, CA
Luxury Vinyl Tile DeMar Flooring in Albany NY

Luxury Vinyl vs. Standard Vinyl Flooring Guide
:max_bytes(150000):strip_icc()/how-does-luxury-vinyl-flooring-differ-from-standard-vinyl-4119903_clean-588ca3d591054c3f8bd4a9c5c4ef1218.jpg)
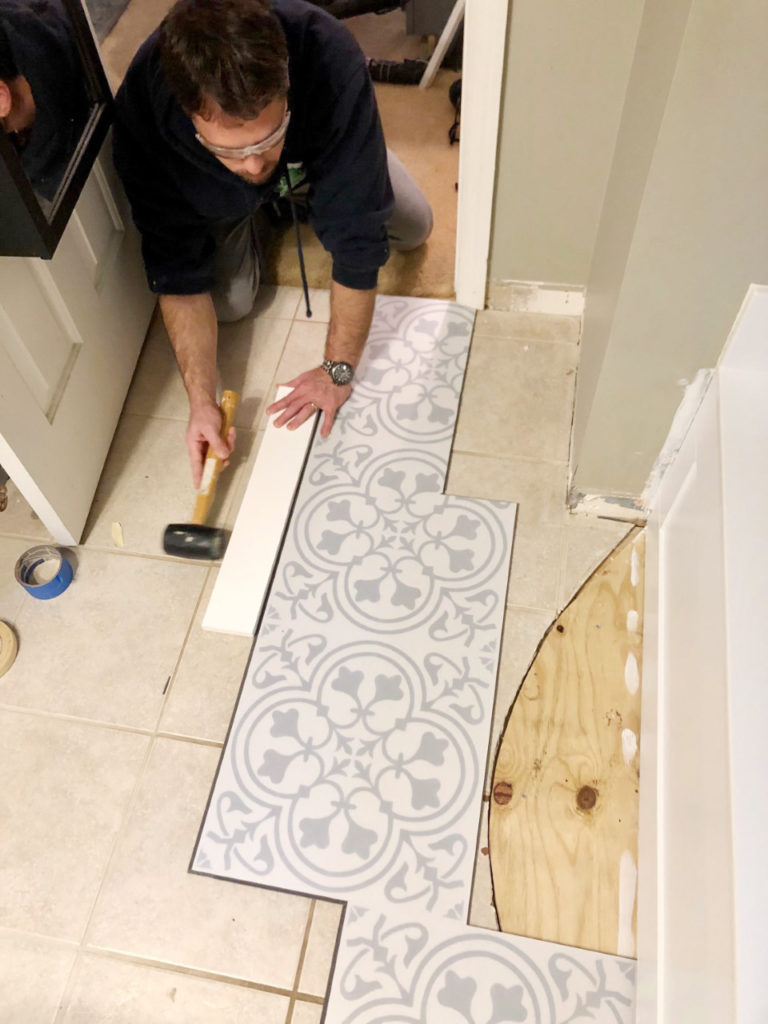
Luxury Vinyl Tile Installation (DIY) Family Handyman
LVT vs. Tile: Which is Better – Home Inspection Insider

Luxury Vinyl Plank Tile Flooring – HappiHomemade with Sammi Ricke
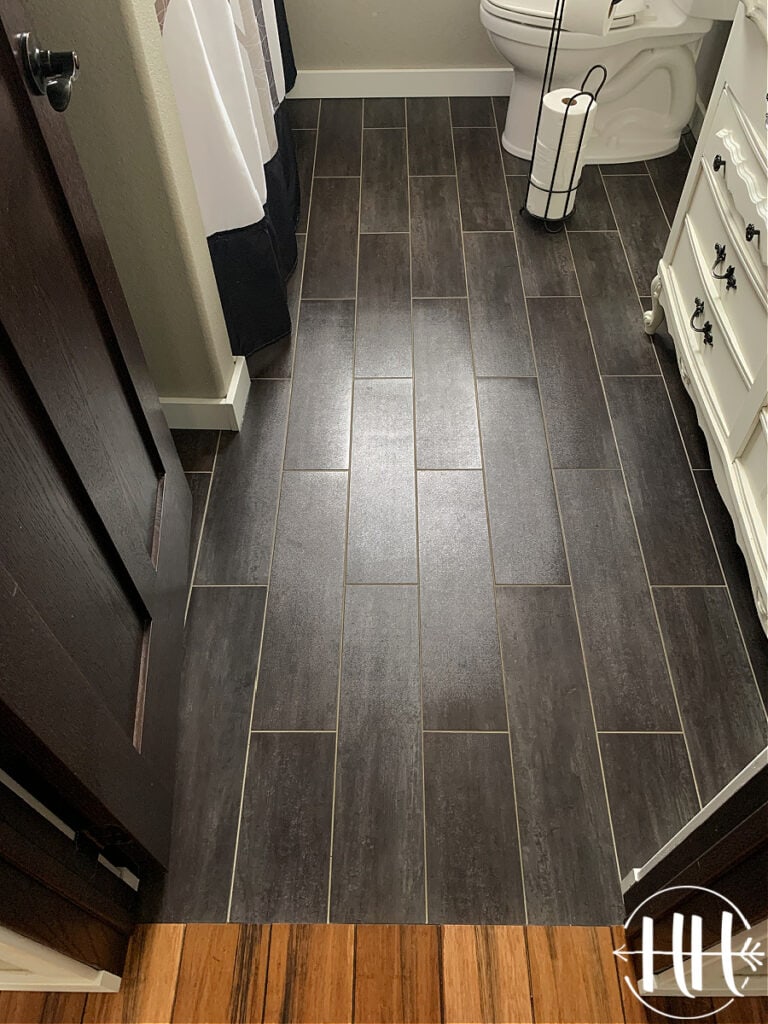
LVT Flooring Over Existing Tile the Easy Way – Vinyl Floor
Groutable Luxury Vinyl Tile Floor {an Update} – Jenna Burger

Related Posts:
- Slippery Tile Floor Solutions
- Can You Put Linoleum Over Tile Floor
- Backer Board Thickness For Tile Floor
- Best Spin Mop For Tile Floors
- Sweep Or Vacuum Tile Floors
- Black Linoleum Tile Flooring
- Cleaning Products For Porcelain Tile Floor
- Woven Tile Flooring
- How Do You Clean A Tile Floor With Grout
- White Penny Tile Floor
What Is LVT Tile Flooring?
When it comes to choosing the right flooring for your home or commercial space, there are countless options available in the market. One popular choice that has gained significant popularity in recent years is LVT tile flooring. But what exactly is LVT tile flooring? In this article, we will delve into the details of LVT tile flooring, its benefits, installation process, and address some frequently asked questions to help you make an informed decision.
1. Introduction to LVT Tile Flooring
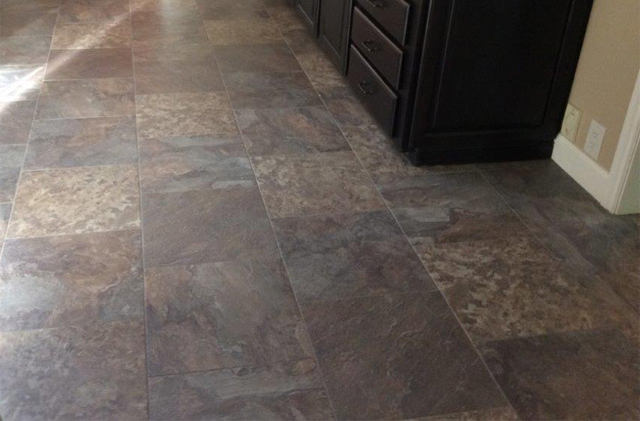
LVT stands for Luxury Vinyl Tile, which is a type of resilient flooring that mimics the appearance of natural materials like wood, stone, or ceramic tiles. Unlike traditional vinyl flooring, LVT tile flooring consists of multiple layers that provide enhanced durability and an authentic look. The top layer, known as the wear layer, is made from a protective coating that makes the surface resistant to scratches, stains, and wear over time. This makes LVT tile flooring an excellent option for high-traffic areas such as kitchens, bathrooms, and commercial spaces.
2. Benefits of LVT Tile Flooring
LVT tile flooring offers numerous advantages over other flooring options. Here are some key benefits:
a) Durability: The multi-layer construction of LVT tile flooring makes it highly durable and resistant to daily wear and tear. It can withstand heavy foot traffic without showing signs of damage or fading.
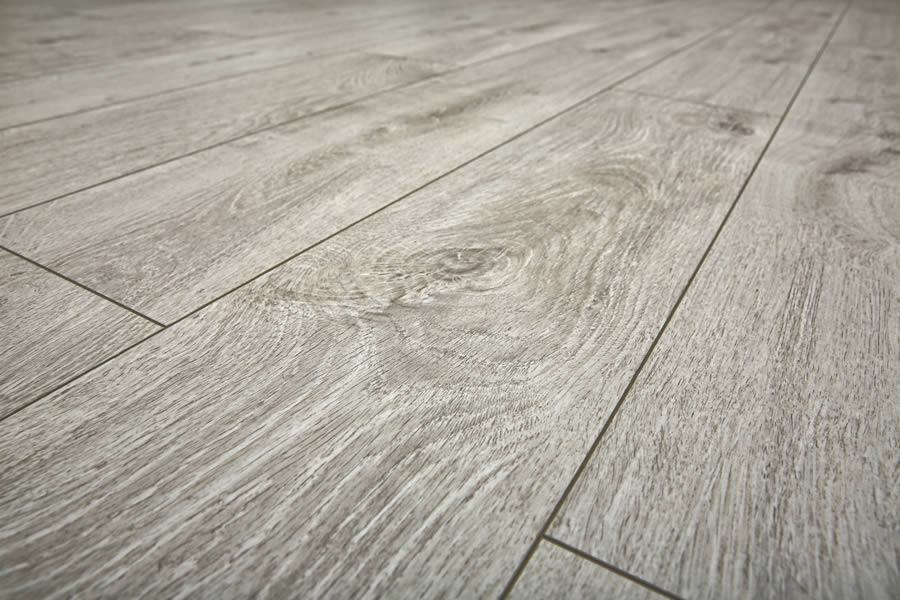
b) Realistic Appearance: Thanks to advancements in technology, LVT tile flooring closely resembles natural materials like wood or stone. The high-resolution prints and embossed textures give it a realistic look that can fool even the most discerning eye.
c) Easy Maintenance: Unlike hardwood or natural stone floors that require regular maintenance and refinishing, LVT tile flooring is incredibly easy to maintain. Simply sweeping or vacuuming regularly and occasional damp mopping will keep it looking pristine for years.
d) Water Resistance: One of the standout features of LVT tile flooring is its water resistance. Unlike hardwood or laminate flooring, LVT tiles can withstand exposure to moisture and are suitable for areas prone to spills or high humidity, such as bathrooms or kitchens.
e) Comfort and Noise Reduction: LVT tile flooring offers a comfortable underfoot feel due to its resilient nature. It also helps in reducing noise transmission, making it an ideal choice for multi-story buildings or rooms where noise reduction is desired.
3. Installation Process of LVT Tile Flooring
Installing LVT tile flooring requires careful preparation and attention to detail. Here’s a step-by-step guide to the installation process:
a) Surface Preparation: The first step is to ensure that the subfloor is clean, level, and free from any imperfections. Any existing flooring should be removed, and the subfloor should be thoroughly cleaned and repaired if necessary.
b) Underlayment Installation: Depending on the type of subfloor, an underlayment may be required to provide additional cushioning, moisture barrier, or soundproofing. Follow the manufacturer’s instructions for installing the appropriate underlayment.
c) Tile Layout: Plan the layout of the tiles by starting from the center of the room and working your way towards the walls. Use chalk lines or a laser level to create reference lines that will guide you during installation.
d) Adhesive Application: Apply a recommended adhesive to the subfloor using a notched trowel. Work in small sections to ensure that the adhesive doesn’t dry out before laying the tiles.
e) Tile Installation: Carefully Place the LVT tiles onto the adhesive, starting from the center and working towards the walls. Use a rolling pin or a flooring roller to firmly press the tiles into place, ensuring proper adhesion.
f) Cutting and Trimming: Use a utility knife or a vinyl tile cutter to cut the tiles to fit around edges, corners, or obstacles like doorways. Make sure to leave a small gap between the tiles and walls to accommodate for expansion.
g) Finishing Touches: Once all the tiles are installed, use a roller to go over the entire floor to ensure proper adhesion and eliminate any air pockets. Install baseboards or transition moldings to cover the gaps between the tiles and walls.
h) Cleaning and Maintenance: After installation, thoroughly clean the floor to remove any adhesive residue or debris. Follow the manufacturer’s instructions for regular maintenance, including cleaning products and methods.
Overall, LVT tile flooring offers durability, realistic appearance, easy maintenance, water resistance, comfort, and noise reduction. With proper installation and maintenance, it can provide a beautiful and long-lasting flooring solution for any space. LVT tile flooring is a popular choice for its many benefits, including durability, realistic appearance, easy maintenance, water resistance, comfort, and noise reduction. The installation process requires careful preparation and attention to detail.
The first step in installing LVT tile flooring is surface preparation. The subfloor should be clean, level, and free from any imperfections. Any existing flooring should be removed, and the subfloor should be thoroughly cleaned and repaired if necessary.
Depending on the type of subfloor, an underlayment may be required to provide additional cushioning, moisture barrier, or soundproofing. Follow the manufacturer’s instructions for installing the appropriate underlayment.
Next, plan the layout of the tiles by starting from the center of the room and working your way towards the walls. Use chalk lines or a laser level to create reference lines that will guide you during installation.
Apply a recommended adhesive to the subfloor using a notched trowel. Work in small sections to ensure that the adhesive doesn’t dry out before laying the tiles.
Carefully place the LVT tiles onto the adhesive, starting from the center and working towards the walls. Use a rolling pin or a flooring roller to firmly press the tiles into place, ensuring proper adhesion.
Use a utility knife or a vinyl tile cutter to cut the tiles to fit around edges, corners, or obstacles like doorways. Make sure to leave a small gap between the tiles and walls to accommodate for expansion.
Once all the tiles are installed, use a roller to go over the entire floor to ensure proper adhesion and eliminate any air pockets. Install baseboards or transition moldings to cover the gaps between the tiles and walls.
After installation, thoroughly clean the floor to remove any adhesive residue or debris. Follow the manufacturer’s instructions for regular maintenance, including cleaning products and methods.
Overall, with proper installation and maintenance, LVT tile flooring can provide a beautiful and long-lasting flooring solution for any space.