Reclaimed wood is generally graded several times at sawing, after kiln drying, after milling and lastly during packaging to ensure that you will get the grade you purchased. Not too much time ago, the sole choice you'd was the old-fashioned solid wood tongue as well as groove strips in oak or maple. You will not need to cope with the mess and clean up that complements a wood floor installation.
Images about White Wood Floor Tile Bathroom
Consists of several levels of laminate material, vinyl wood flooring wood-like appearance stays inexpensive, answering the need for cheap hardwood flooring covering information that can be bought in a wide variety of colors, finishes and simulated timber specie finishes at realistic, down-to-earth prices that are affordable under any current budget restrictions. This is just where living green is necessary.
Wood Tile Bathroom Floor Flash Sales, 52% OFF www.ingeniovirtual.com
A number of reliable wood reclaimed floors have warped and twisted boards, spaces between rows, height difference between rows, holes, along with other "nostalgia and romance" that could turn out to be unwelcome after living with the floor for some time. You'll could have wood laminate flooring, which isn't wood, but looks like wood in a much lower cost. Maintenance may be fairly costly in case the floor needs the latest finish.
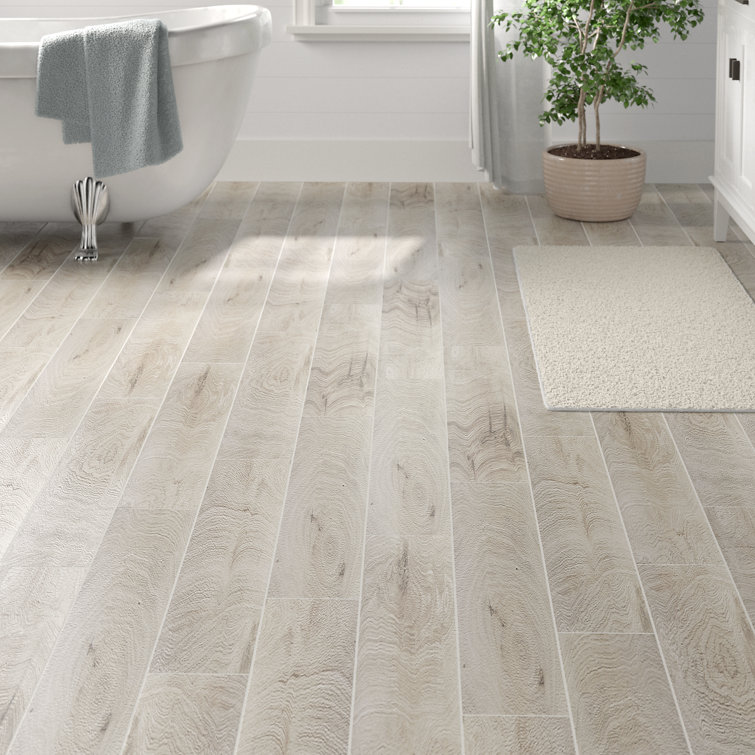
Bathroom Floor Tile White Wood Wayfair
Épinglé par From SF With Love sur Home: Bathroom Parquet salle

5.9″ x 35.4″ Olson Blanco Wood Tile Floor and Wall Tile Club

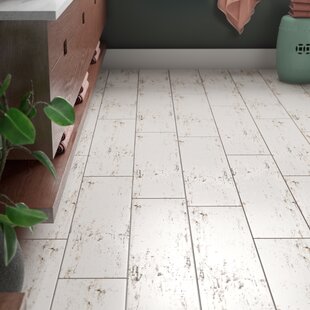
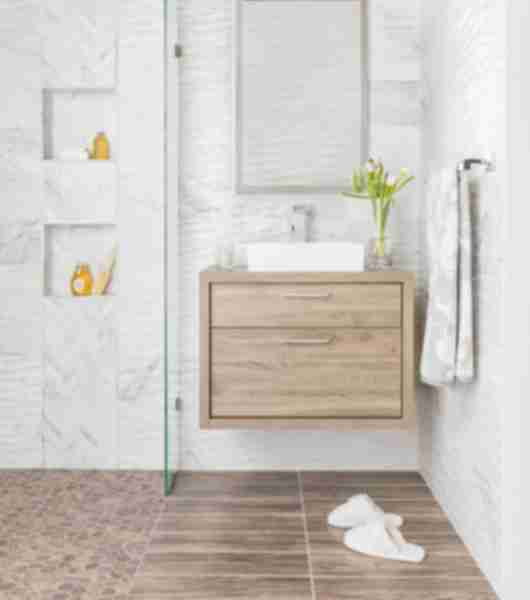
White Washed Faux Wood Tile – The Lilypad Cottage
5 Irresistible Wood-Look Porcelain Tile Doppelgangers
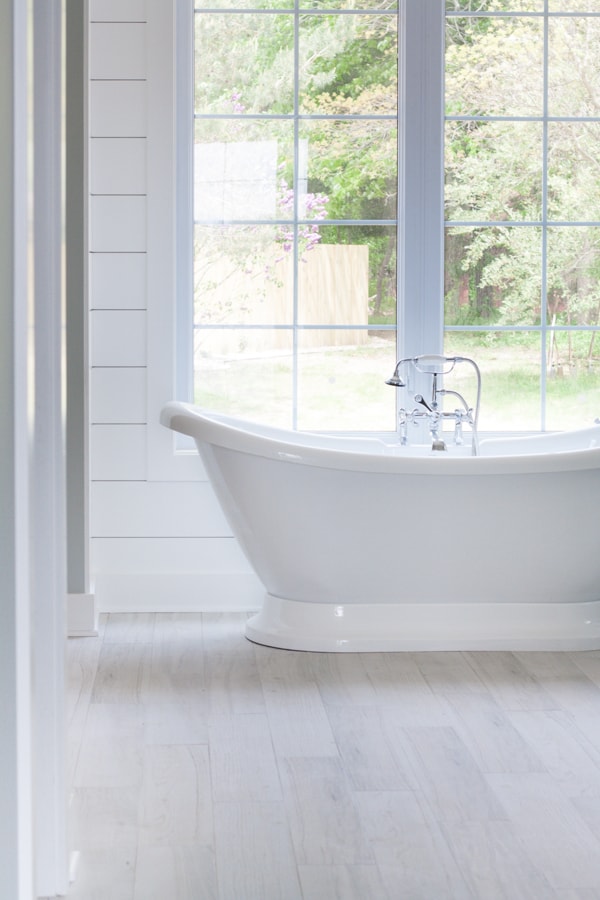
Marthas Vineyard Cottage White Wood Plank Porcelain Tile

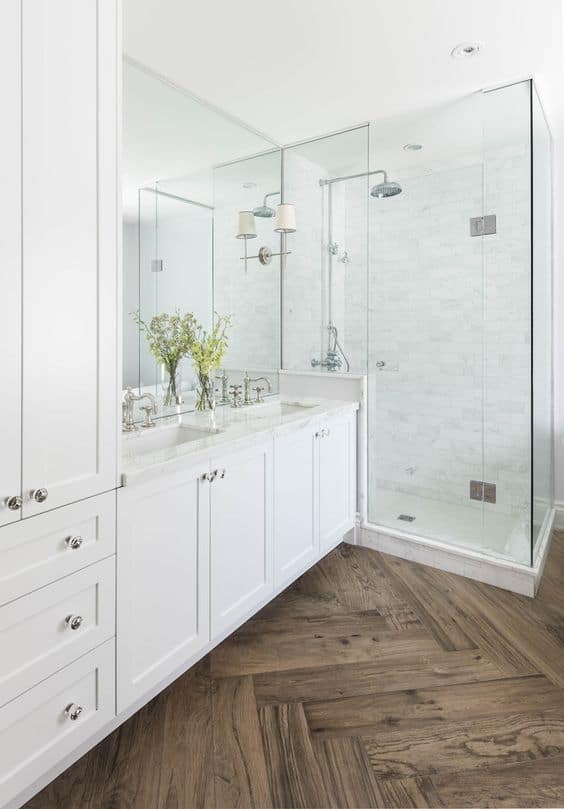
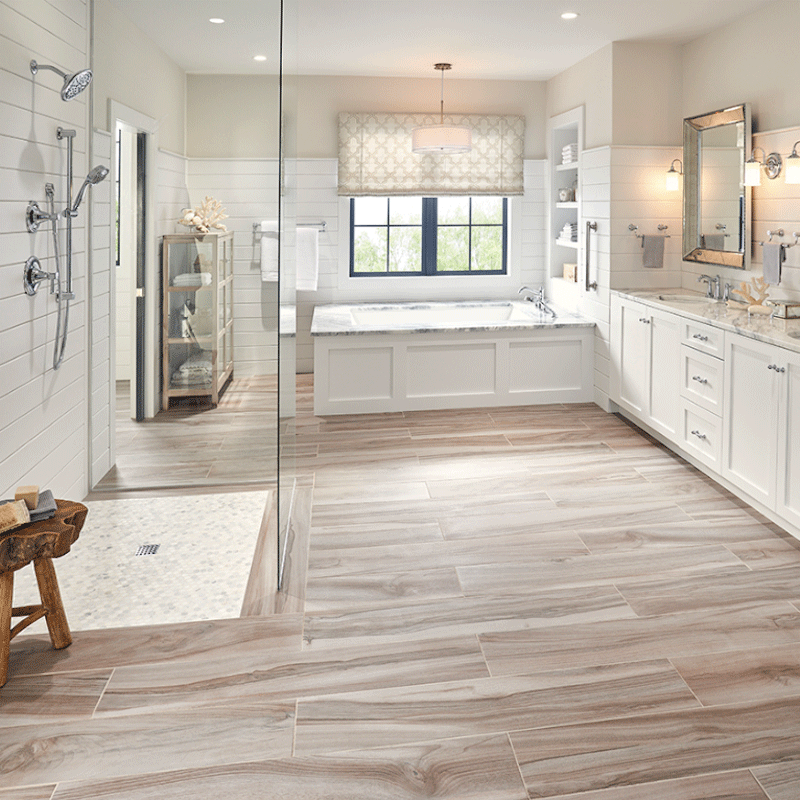
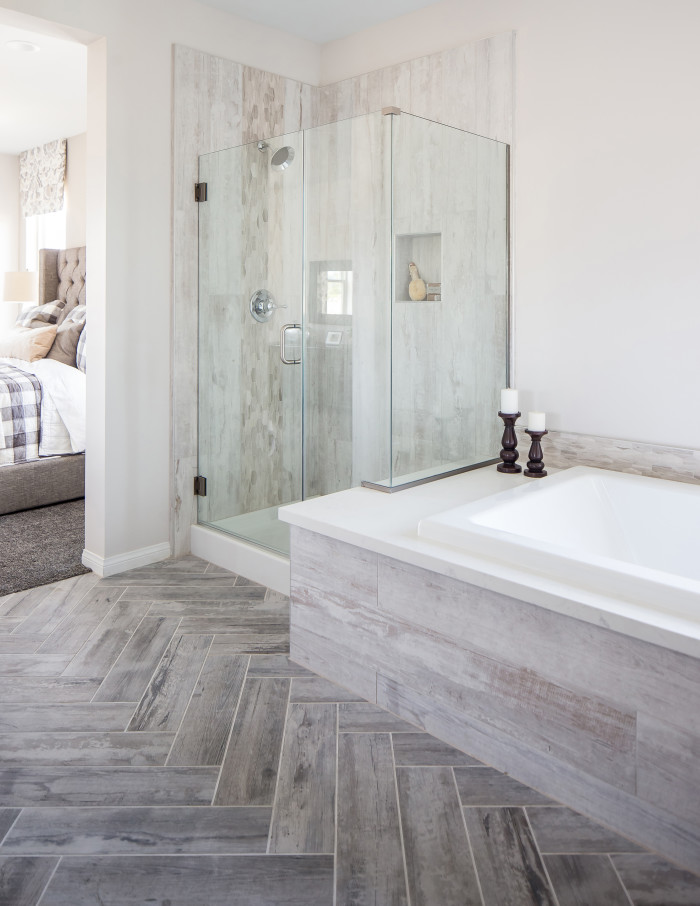
15 Ideas for Wood Floors in Bathrooms
![]()
Wood Look Tile u2013 The Tile Shop
Wood-Look Floor Tile at the Festive Farmhouse Atlas Concorde USA

Why Wood-Look Porcelain Works Bedrosians Tile u0026 Stone
Lifeproof Shadow Wood 6 in. x 24 in. Porcelain Floor and Wall Tile
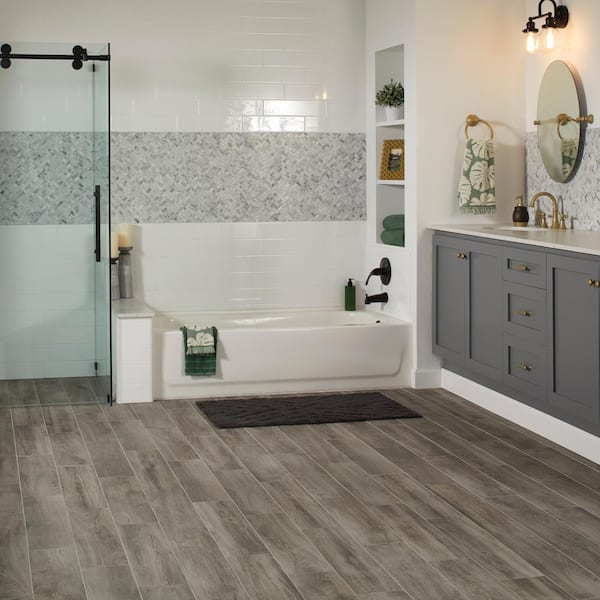
48 Bathroom with wood floor ideas bathrooms remodel, tile

Related Posts:
- Wood Floor Water Stain
- Jatoba Solid Wood Flooring
- Engineered Wood Flooring Veneer Thickness
- Engineered Oak Wood Flooring Howdens
- Hawk Wood Flooring Walnut Ca
- Wide Plank Wood Flooring Ideas
- Popular Wood Floor Stain Colors
- Laybond Wood Flooring Adhesive
- Natural Wood Floor Stain
- Wood Floor Vacuum Cleaner Reviews
White Wood Floor Tile Bathroom: The Perfect Blend of Elegance and Functionality
Introduction:
When it comes to designing a bathroom, choosing the perfect flooring material is crucial. It not only determines the overall aesthetic appeal of the space but also plays a significant role in ensuring durability and ease of maintenance. One flooring option that has gained immense popularity in recent years is white wood floor tiles. Combining the timeless charm of wood with the clean, bright look of white, these tiles offer a unique blend of elegance and functionality. In this article, we will delve into the various aspects of white wood floor tile bathrooms, including their advantages, installation process, maintenance tips, and frequently asked questions.
Advantages of White Wood Floor Tiles:
1. Aesthetic Appeal: White wood floor tiles exude an aura of sophistication and elegance that instantly elevates the overall design of any bathroom. The combination of white color and wood grain patterns creates a visually pleasing effect that adds warmth and character to the space.
2. Versatility: One of the major advantages of white wood floor tiles is their versatility. They complement a wide range of interior design styles, from contemporary to rustic, making them suitable for any bathroom theme or decor.
3. Durability: Unlike natural wood flooring, white wood floor tiles are highly durable and resistant to wear and tear. They can withstand heavy foot traffic, moisture, and regular cleaning without losing their charm or functionality.
4. Easy Maintenance: Maintaining white wood floor tiles is relatively easy compared to other flooring options. Regular sweeping or vacuuming followed by mopping with a mild cleaner is usually sufficient to keep them clean and looking new. Additionally, their smooth surface makes it difficult for dirt or grime to accumulate.
Installation Process:
Installing white wood floor tiles in your bathroom requires careful planning and execution to ensure a seamless finish. Here’s a step-by-step guide on how to install these tiles:
1. Prepare the Surface: Start by preparing the bathroom floor surface. Remove any existing flooring material and ensure that the subfloor is clean, dry, and level.
2. Measure and Plan: Measure the dimensions of your bathroom to determine the quantity of tiles required. Plan the layout by marking the center of the room and creating a grid pattern using chalk lines.
3. Apply Adhesive: Begin by applying a thin layer of tile adhesive to a small section of the floor using a trowel. Make sure to spread the adhesive evenly to ensure proper bonding.
4. Lay the Tiles: Carefully place each white wood floor tile onto the adhesive, pressing it firmly to ensure a strong bond. Use spacers between tiles to maintain consistent spacing.
5. Cut Tiles for Edges: When reaching the edges or corners, measure and mark the tiles accordingly. Cut them using a wet saw or tile cutter to fit perfectly into the designated areas.
6. Allow for Drying Time: After completing the tile installation, allow sufficient time for the adhesive to dry completely before proceeding with grouting.
7. Grout the Tiles: Apply grout between the tiles using a rubber float, making sure to fill all gaps and joints. Wipe off excess grout with a damp sponge and allow it to cure as per manufacturer instructions.
8. Clean and Seal: Once the grout has dried, clean any residue from the tiles using a damp cloth or sponge. Apply a sealant over the entire tiled surface to protect it from moisture and stains.
Maintenance Tips:
To keep your white wood floor tile S looking their best, follow these maintenance tips:
1. Regular Cleaning: Sweep or vacuum the floor regularly to remove dirt and debris. Mop with a mild cleaner and water as needed.
2. Avoid Harsh Chemicals: Avoid using harsh chemicals or abrasive cleaners as they can damage the tiles. Stick to mild cleaners specifically designed for tile floors.
3. Clean Spills Immediately: If any spills occur, clean them up immediately to prevent staining or damage to the tiles.
4. Protect from Scratches: Place protective pads under furniture legs to prevent scratches on the tiles. Avoid dragging heavy objects across the floor.
5. Maintain Grout Lines: Regularly inspect and clean the grout lines between the tiles. If needed, reapply grout sealer to prevent moisture penetration and discoloration.
6. Prevent Moisture Damage: Keep the bathroom well-ventilated to prevent excessive moisture build-up, which can cause damage to the tiles over time.
7. Address Any Damage: If any tiles become damaged or cracked, replace them promptly to maintain the overall appearance and functionality of the floor.
By following these maintenance tips and properly caring for your white wood floor tiles, you can ensure that they stay beautiful and last for many years to come.