You are going to need to get every one of the measurements and figure just a little greater than you might need which means you don't run short. They're ideal for restaurants and also other food processing business organizations, and are also widely used in industrial situations. Apply a layer of epoxy on the spot where by there was the stain.
Images about Best Way To Clean Garage Floor Before Epoxy
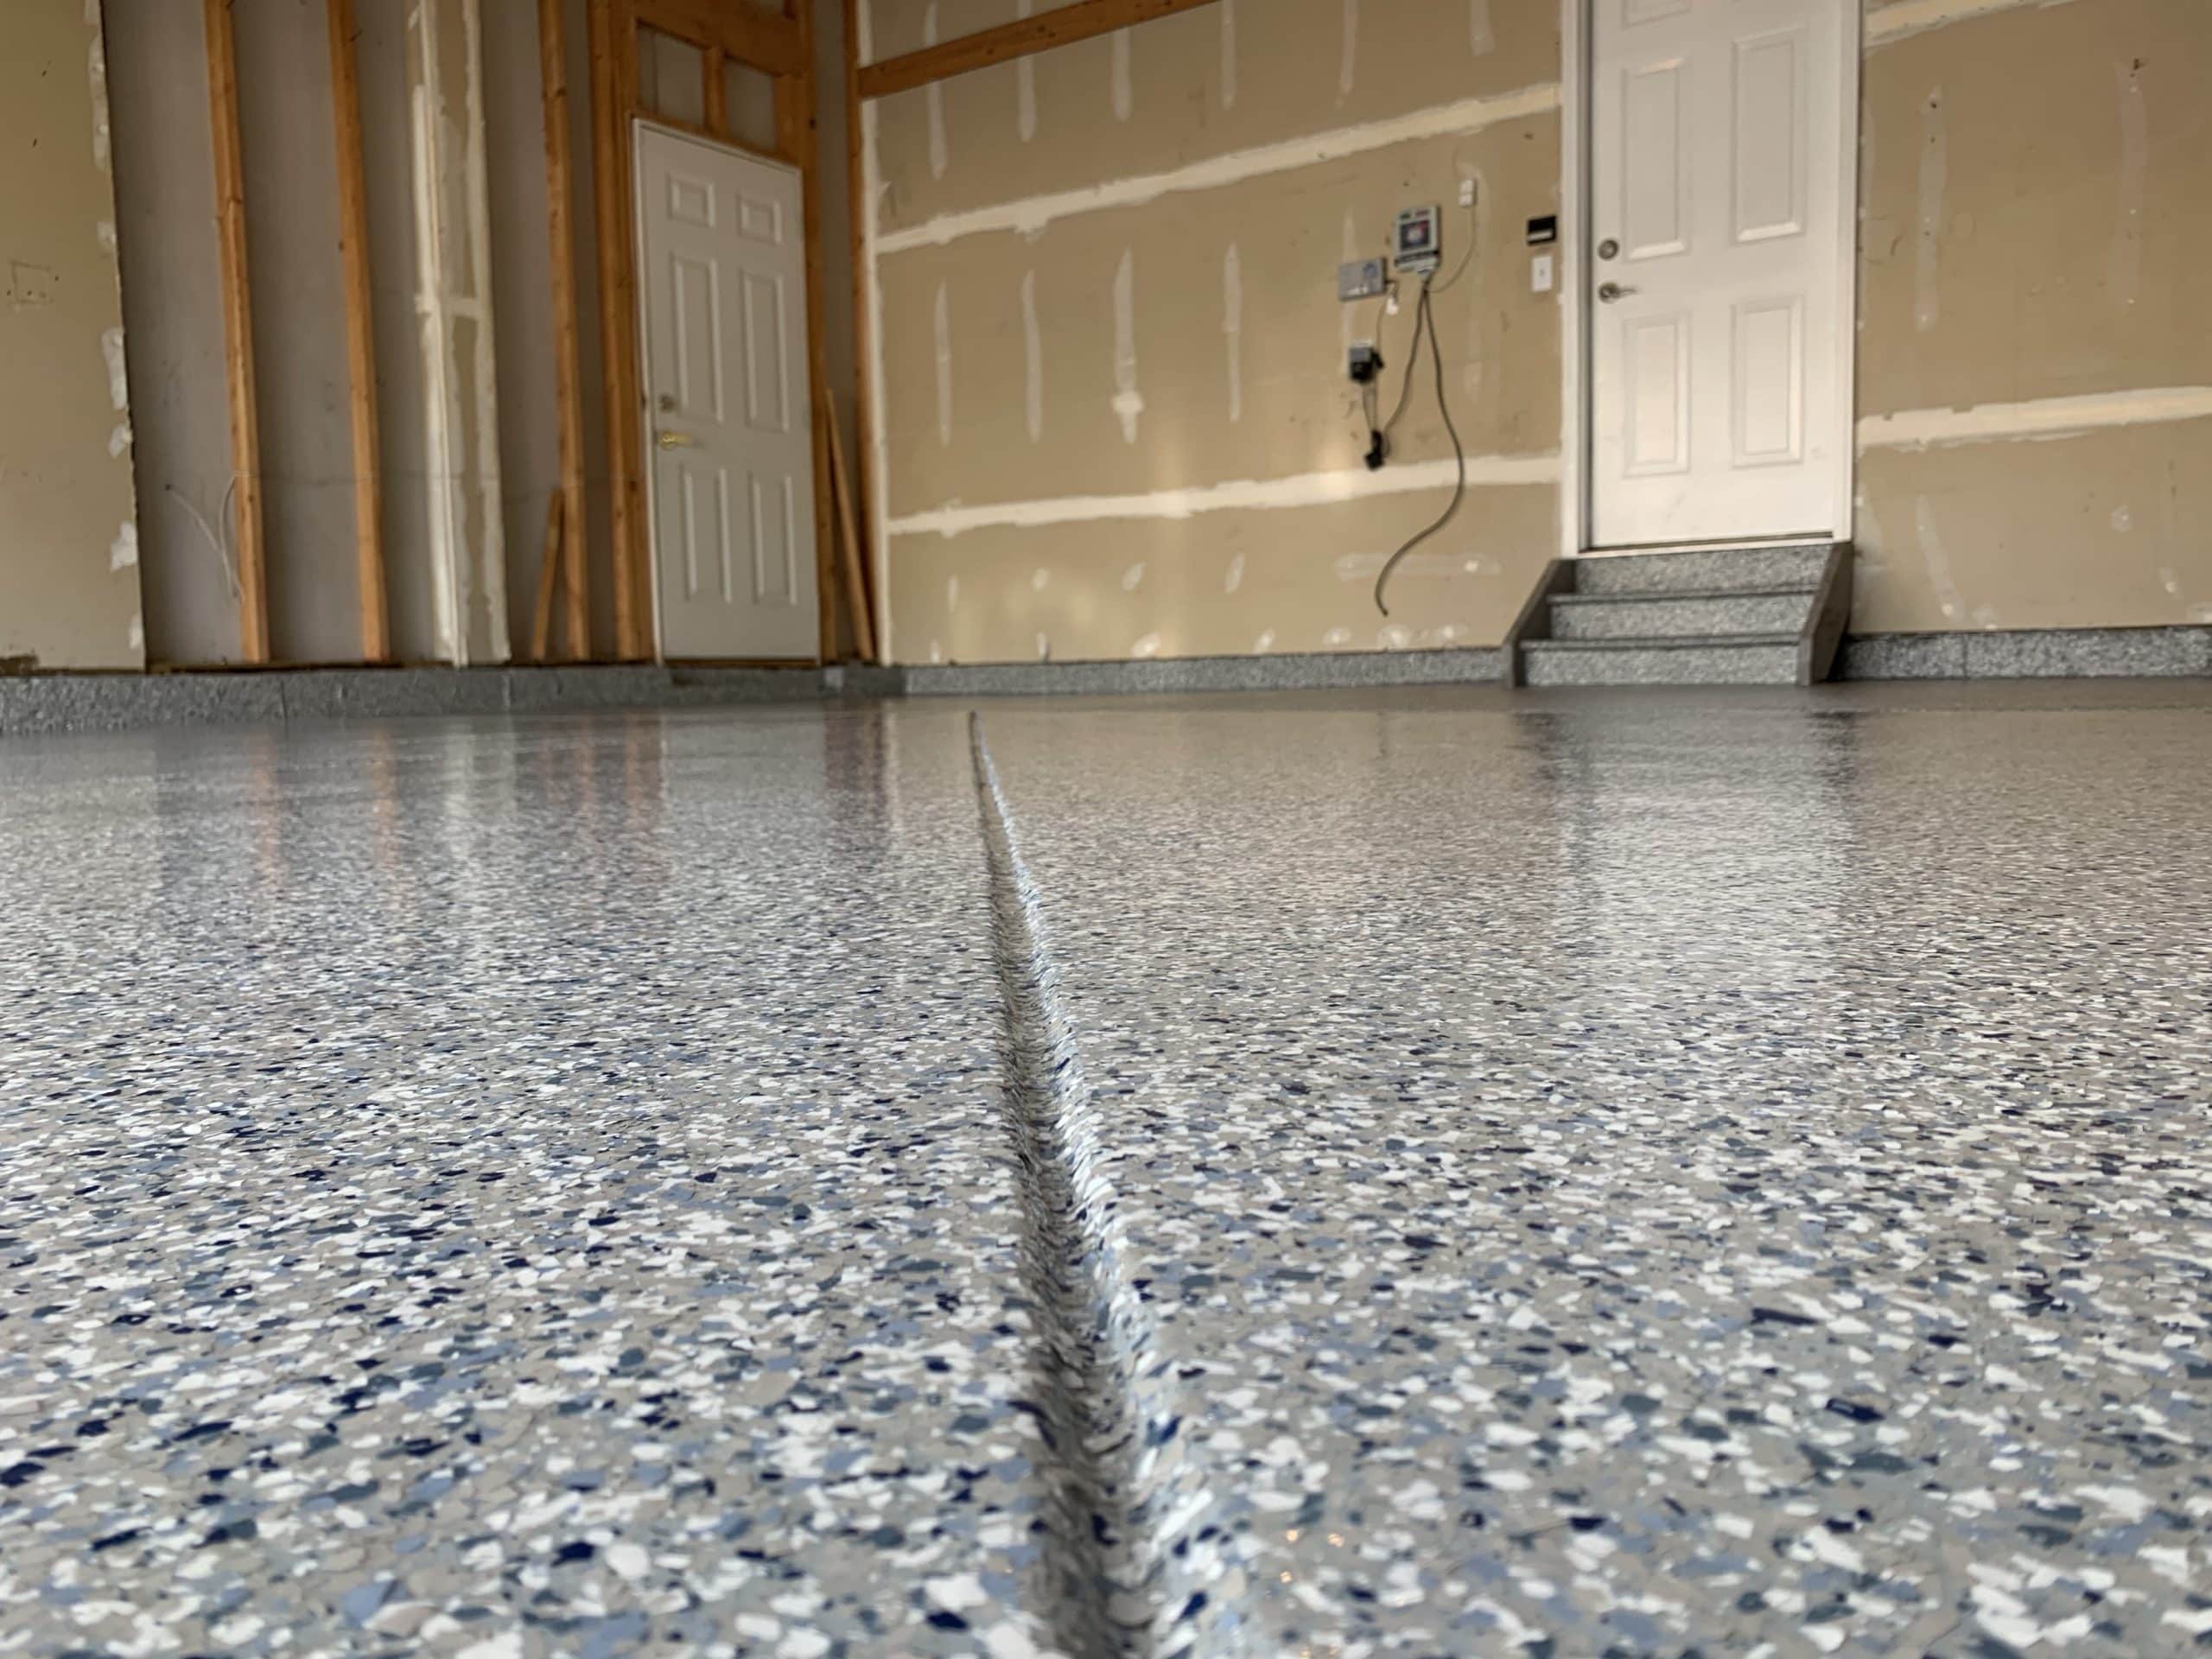
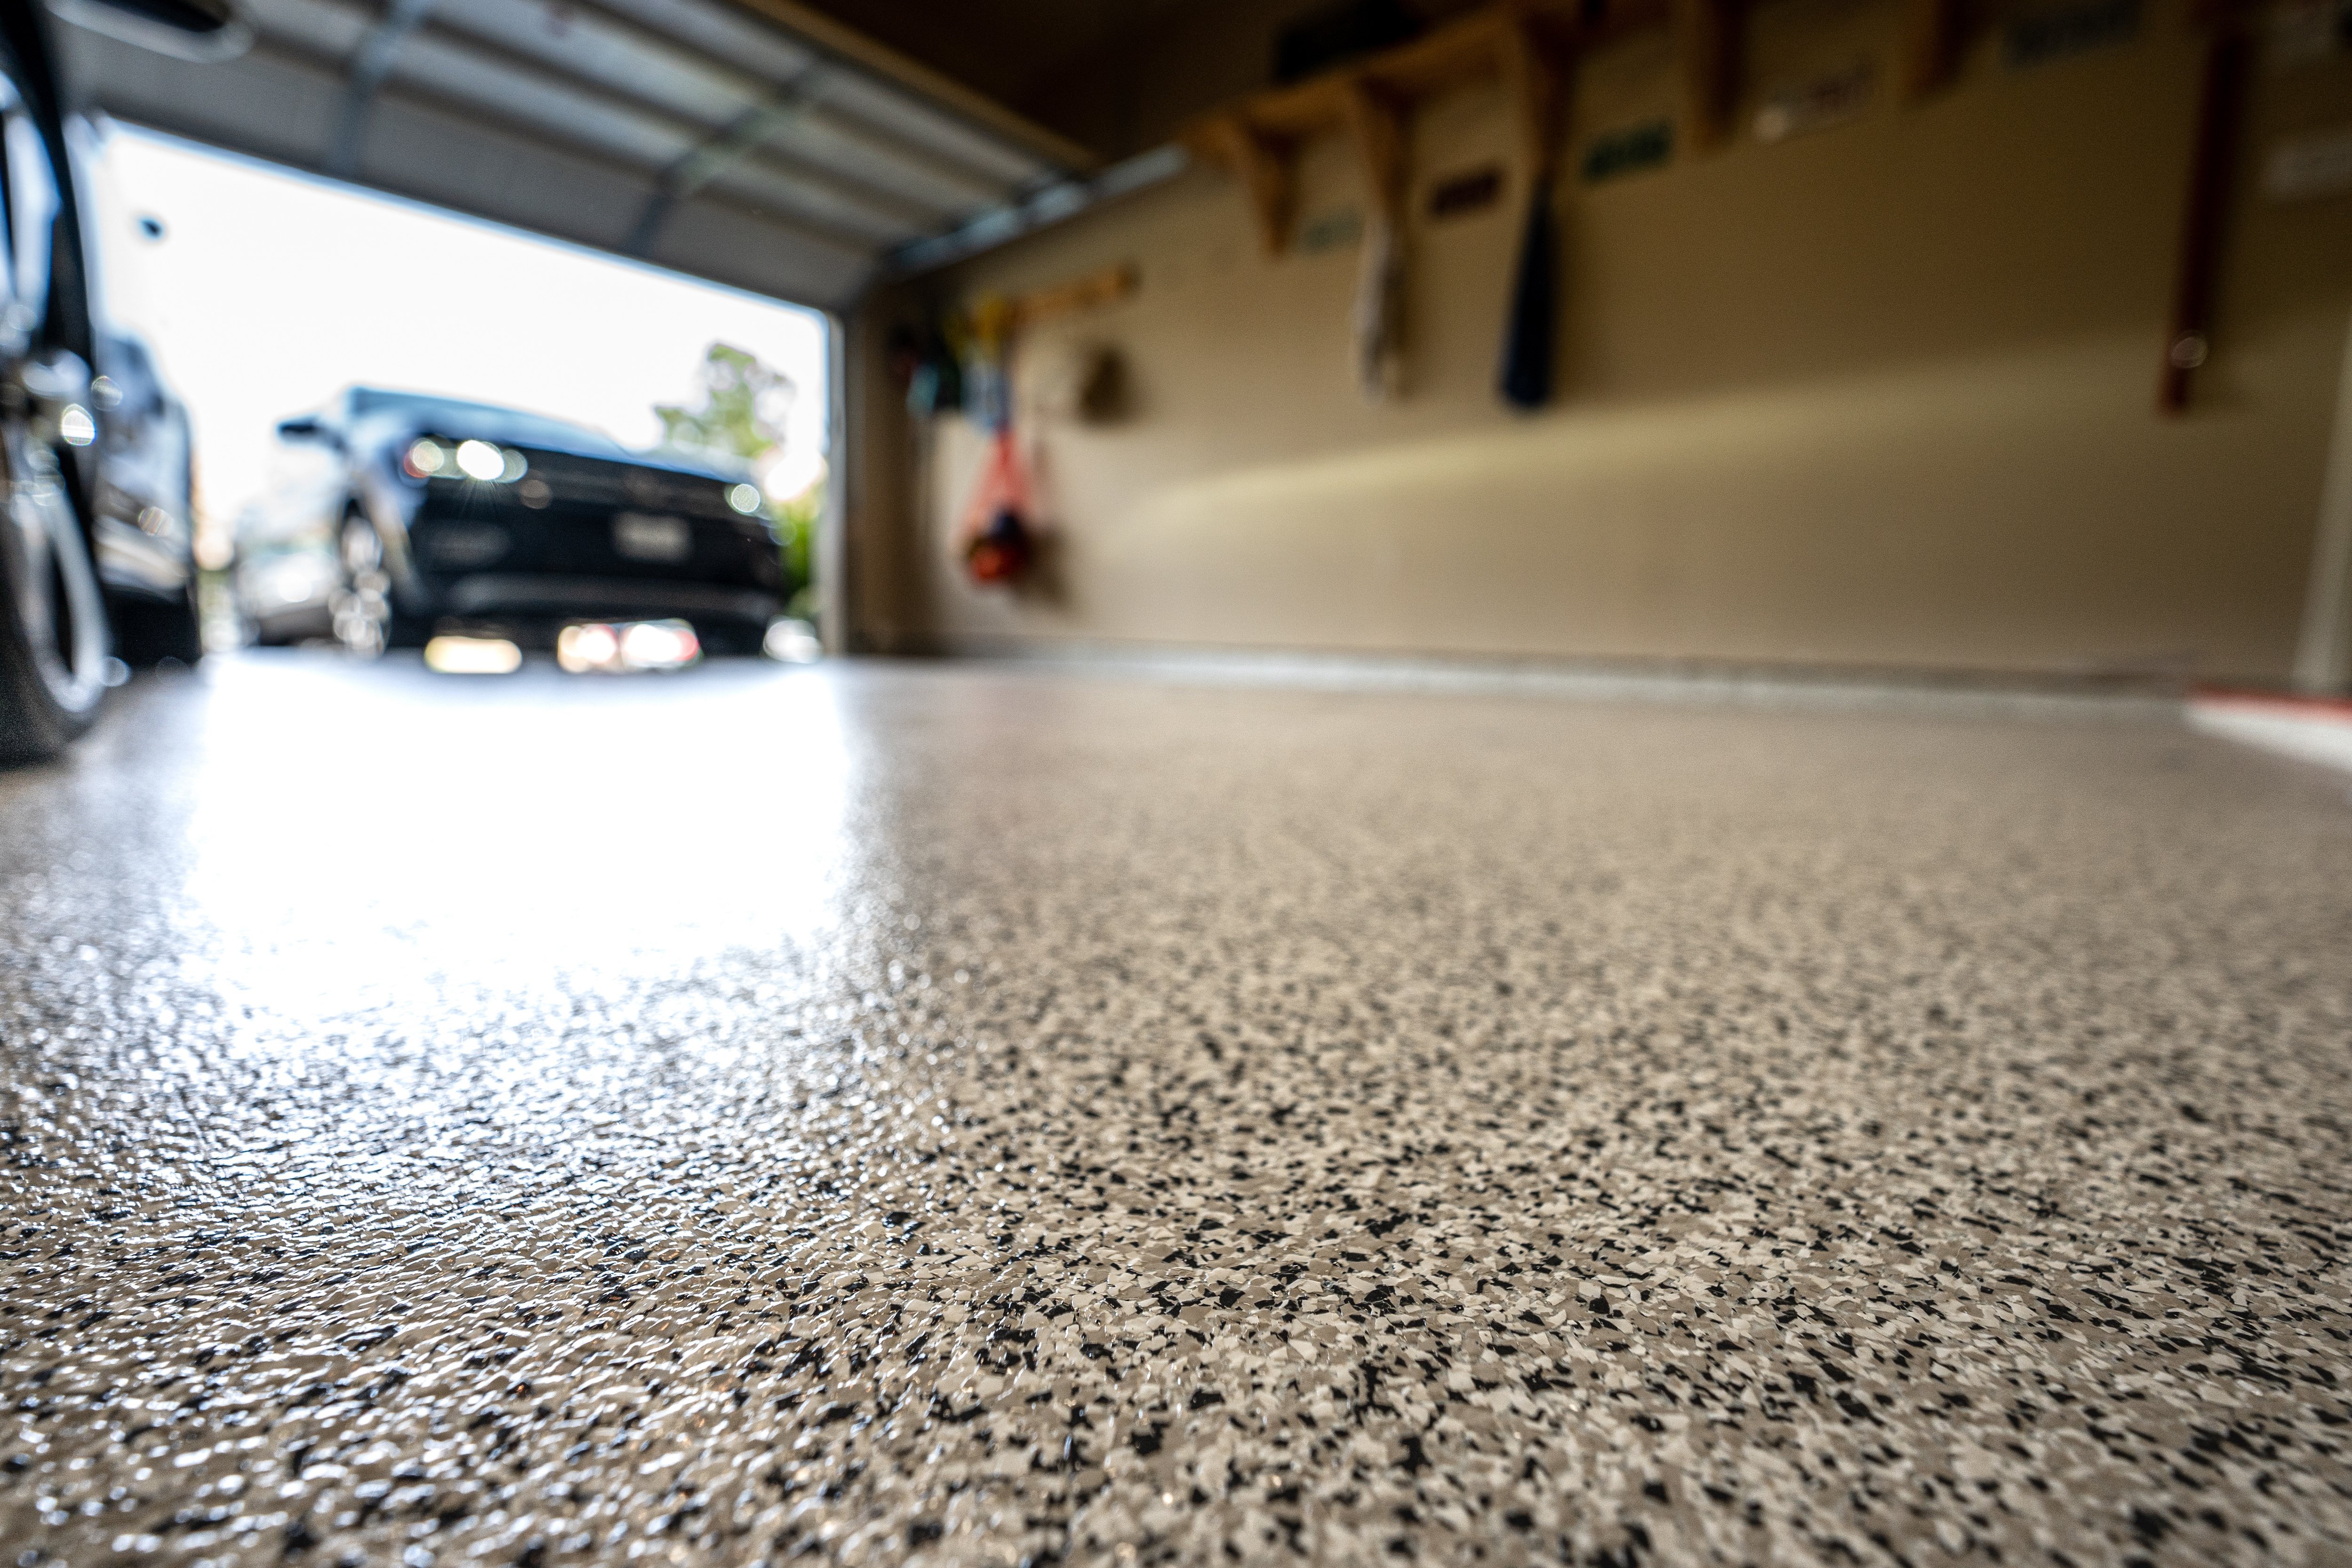
The floors are waterproof and stop water from assaulting the substrate beneath. Sometimes and attractive flooring surfaces with epoxy polished concrete offer a superior visual appeal. It will help the home owner contain the surfacing that perfectly complements the home of his or perhaps company interiors. Readily available in a rainbow of colors, these flecks, in conjunction with the base coats, give epoxy flooring a burst of color.
How to Prep Your Floor for an Epoxy Coating
This forms a rigid plastic material which is actually strong, reluctant to degradation, and that bonds extremely well to the substrate of its. Thus, before you implement epoxy on your flooring, it is best to evaluate initially the state of the concrete of yours if it makes moisture or even not. Of the 3, hundred % solids epoxy is the perfect option as it performs probably the best.
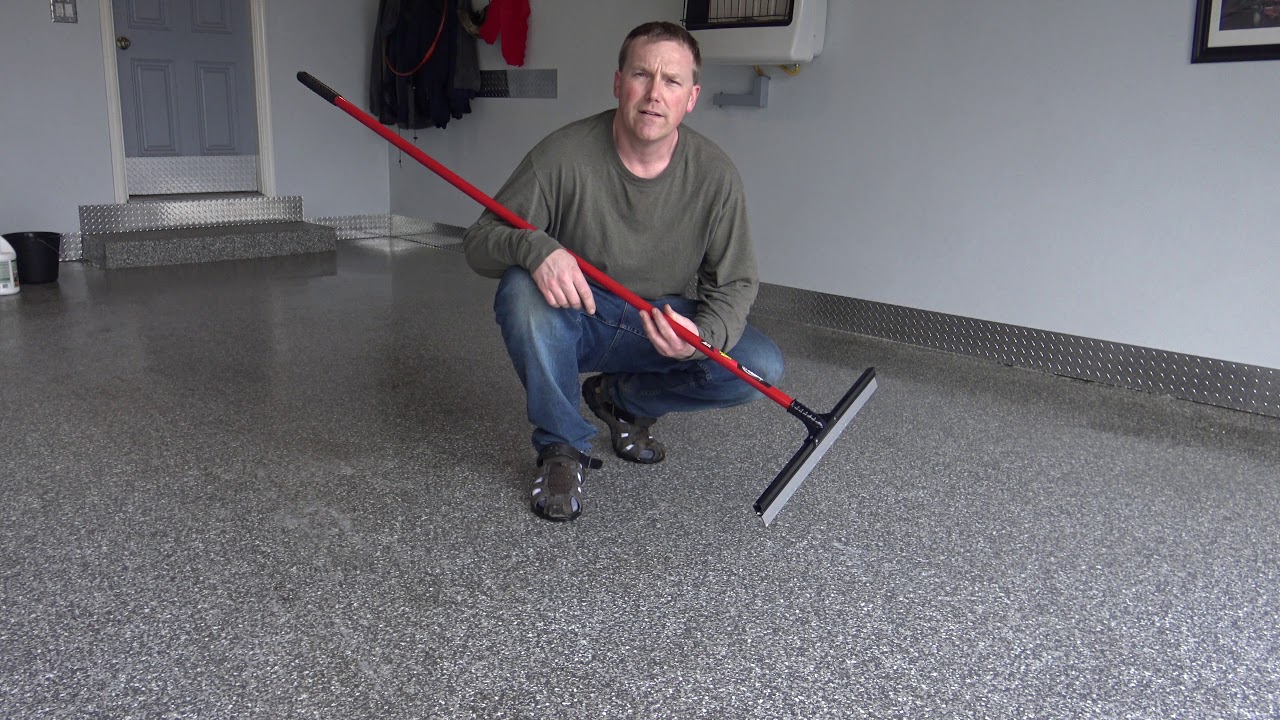
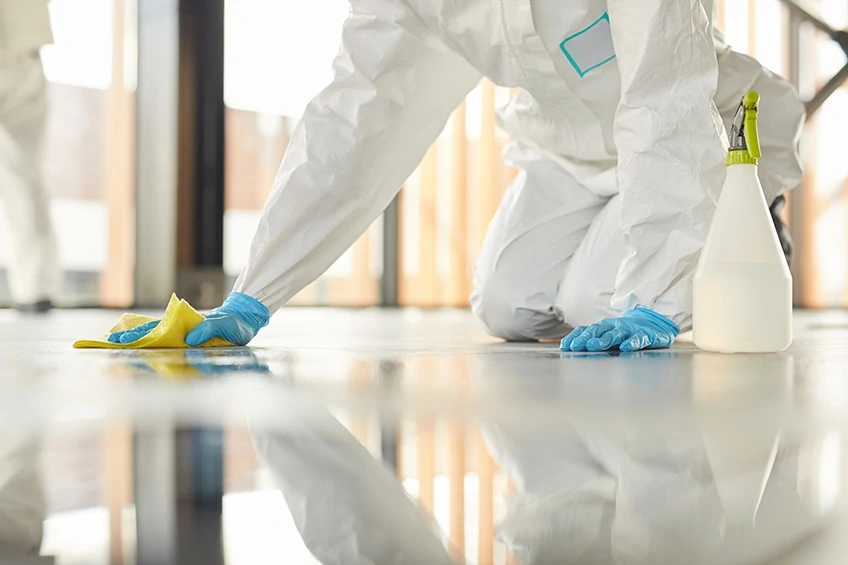
How To Clean Your Epoxy Garage Floor / Epoxy Floor Maintenance

Its longevity and reliability can endure damages and still keep the look of its. The aesthetics of flooring further improves with incredible possibilities of color combinations. They are tough, enduring, and comes in colors which are many. The chemical layer doesn't just makes the floor look good but also raises the longevity of the floors consequently reducing the maintenance cost.
How to Prep Garage Floor for Epoxy Coating One Day Custom Floors

Cleaning Garage Floor Before Epoxy – Ultimate Epoxy Flooring

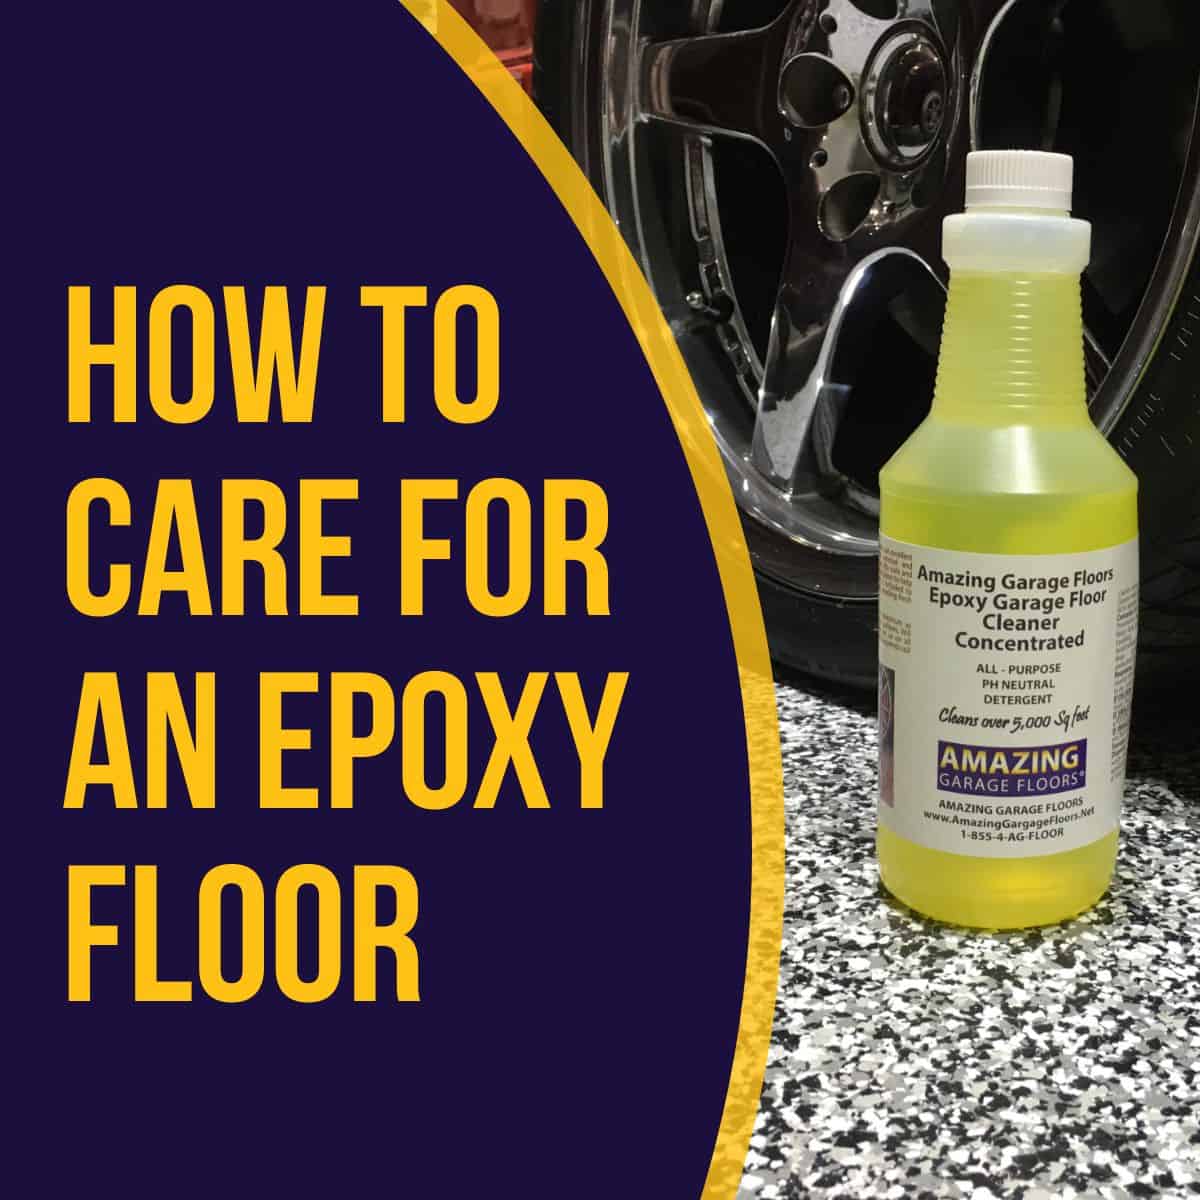
How To Care For An Epoxy Floor? Garage Floor Cleaner
How To Clean Your Epoxy Garage Floor
How To Care For An Epoxy Floor? Garage Floor Cleaner

10 Tips on How to Clean and Maintain Epoxy Garage Floor Coatings

How to Apply Epoxy Coating to a Garage Floor
/clean-garage-178594527-ed57fd7843ba42f59bb637cf7cf5d47d.jpg)
How to Epoxy Your Garage Floor in 9 Steps
How to clean Epoxy Floor – Helpful Guide for Epoxy Floor Maintenance
How to Paint Garage Floors With 1-Part Epoxy Paint Garage floor

How to Clean Your Epoxy Garage Floor – Decorative Concrete

Related Posts:
- Ppg Epoxy Floor Paint
- High Gloss Epoxy Floor Coating
- Kilz 1 Part Epoxy Concrete & Garage Floor Paint Reviews
- Epoxy Stain Concrete Floors
- Epoxy Resin Floor Repair
- Rustoleum Garage Floor Epoxy Metallic
- DIY Epoxy Flooring Systems
- Epoxy Floor Covering Basement
- How To Install Epoxy Flooring In Basement
- Epoxy Floor Paint On Plywood
Best Way To Clean Garage Floor Before Epoxy
If you are planning to apply an epoxy coating to your garage floor, it is crucial to thoroughly clean the surface beforehand. Cleaning the garage floor before applying the epoxy ensures proper adhesion and a longer-lasting finish. In this article, we will discuss the best way to clean your garage floor before epoxy, including step-by-step instructions, tips, and frequently asked questions.
1. Clear the Garage Floor
Before you start cleaning your garage floor, it is essential to remove all items from the area. This includes vehicles, tools, storage boxes, and any other objects that could impede your cleaning process. By clearing the floor, you create a safe and unobstructed space for thorough cleaning.
2. Sweep or Vacuum the Surface
The first step in preparing your garage floor for epoxy application is to remove loose dirt, dust, and debris. Start by sweeping the entire surface with a broom or using a shop vacuum to collect any loose particles. Pay close attention to corners and edges where dirt tends to accumulate.
3. Power Wash the Floor
After sweeping or vacuuming, it is time to power wash your garage floor. A power washer is an effective tool for deep cleaning concrete surfaces as it uses high-pressure water to remove stubborn stains and grime. Follow these steps for an efficient power washing process:
a) Wet the Entire Surface: Begin by wetting down the entire floor with water using a hose or sprinkler attachment. This initial rinse helps loosen dirt and prepares the surface for thorough cleaning.
b) Apply Concrete Cleaner: Once the surface is wet, apply a quality concrete cleaner according to the manufacturer’s instructions. Use a sprayer or a watering can with a sprinkle attachment to evenly distribute the cleaner across the garage floor.
c) Scrub with a Stiff Bristle Brush: After applying the concrete cleaner, use a stiff bristle brush or a push broom to scrub the floor thoroughly. Focus on areas with stains, oil spots, or other stubborn marks. This step helps break down the dirt and grime for easier removal during the power washing process.
d) Power Wash the Floor: Once you have scrubbed the entire floor, it’s time to power wash. Attach a high-pressure nozzle to your power washer and start from one corner, working your way across the floor in a consistent pattern. Maintain a distance of about 12 inches from the surface to avoid damaging the concrete.
e) Rinse the Floor: After power washing, rinse the entire garage floor with clean water to remove any remaining cleaner residue. Ensure that all debris and cleaning solution have been thoroughly washed away.
4. Allow Sufficient Drying Time
After completing the power washing process, it is crucial to allow sufficient drying time before proceeding with epoxy application. Depending on weather conditions and humidity levels, this can take anywhere from 24 to 72 hours. It is essential to wait until the floor is completely dry to ensure proper adhesion of the epoxy coating.
5. Inspect for Remaining Stains or Imperfections
Once your garage floor is dry, carefully inspect the surface for any remaining stains or imperfections. If you come across stubborn stains that were not removed during the power washing process, you may need to treat them separately using appropriate stain removers or degreasers. Follow the manufacturer’s instructions and ensure that these products are safe for use on your specific flooring material.
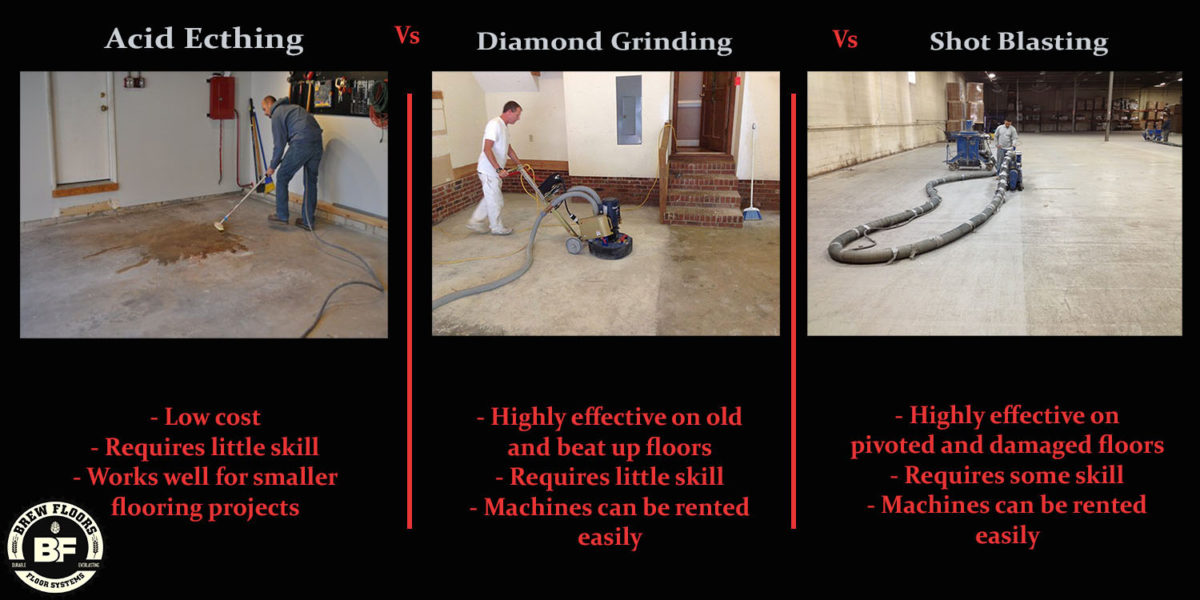
6. Etch the Surface (If Necessary) If you notice that there are still stains or imperfections on your garage floor after power washing, you may need to etch the surface. Etching is a process that involves using an acid-based solution to create a rough texture on the concrete, which helps the epoxy coating adhere better. Follow these steps to etch your garage floor:
a) Prepare the Etching Solution: Purchase an etching solution from a home improvement store, following the manufacturer’s instructions for mixing ratios. Typically, you will need to dilute the solution with water in a plastic bucket.
b) Apply the Etching Solution: Pour the diluted etching solution onto the garage floor, starting from one corner and working your way across. Use a stiff bristle brush or a push broom to spread the solution evenly and scrub it into the surface.
c) Let it Sit: Allow the etching solution to sit on the floor for the recommended amount of time specified by the manufacturer. This usually ranges from 10 to 20 minutes.
d) Scrub Again: After letting the solution sit, use the stiff bristle brush or push broom to scrub the floor once more. This step helps further break down any remaining dirt or stains.
e) Rinse Thoroughly: Finally, rinse the entire floor with clean water to remove any residue from the etching solution. Ensure that all debris and cleaning solution have been thoroughly washed away.
By following these steps, you can effectively prepare your garage floor for epoxy application. Remember to wear protective gear such as gloves and goggles when handling cleaning solutions or power washing equipment.