One more reason this- Positive Many Meanings- epoxy flooring is on a quick list for designers is that it can be conveniently personalized. Epoxy floorings are actually floorings applied with levels of tough, long lasting coating referred to as epoxy. The homeowner can even enjoy a definite epoxy coating poured over ready hardwood floors. It’s important that the epoxy is mixed correctly to be certain of correct curing.
Images about Do It Yourself Epoxy Floor Coating
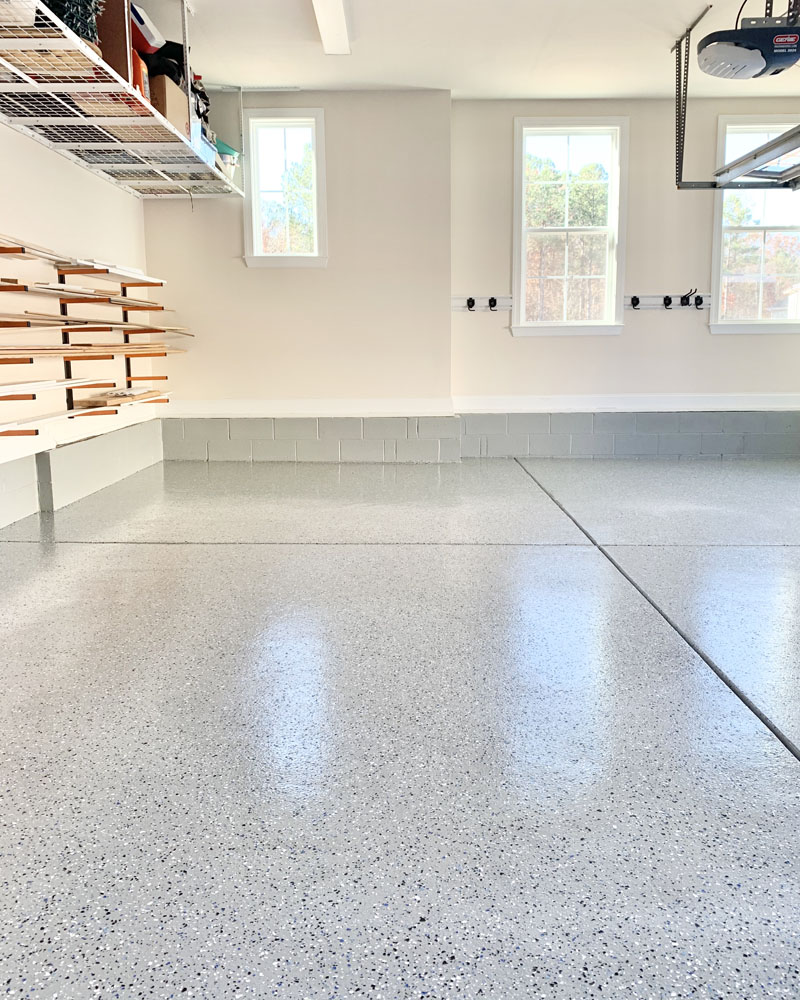
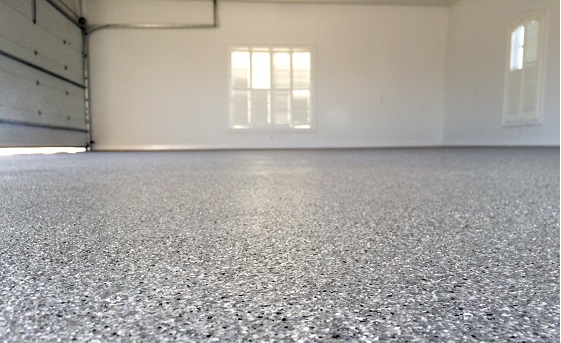
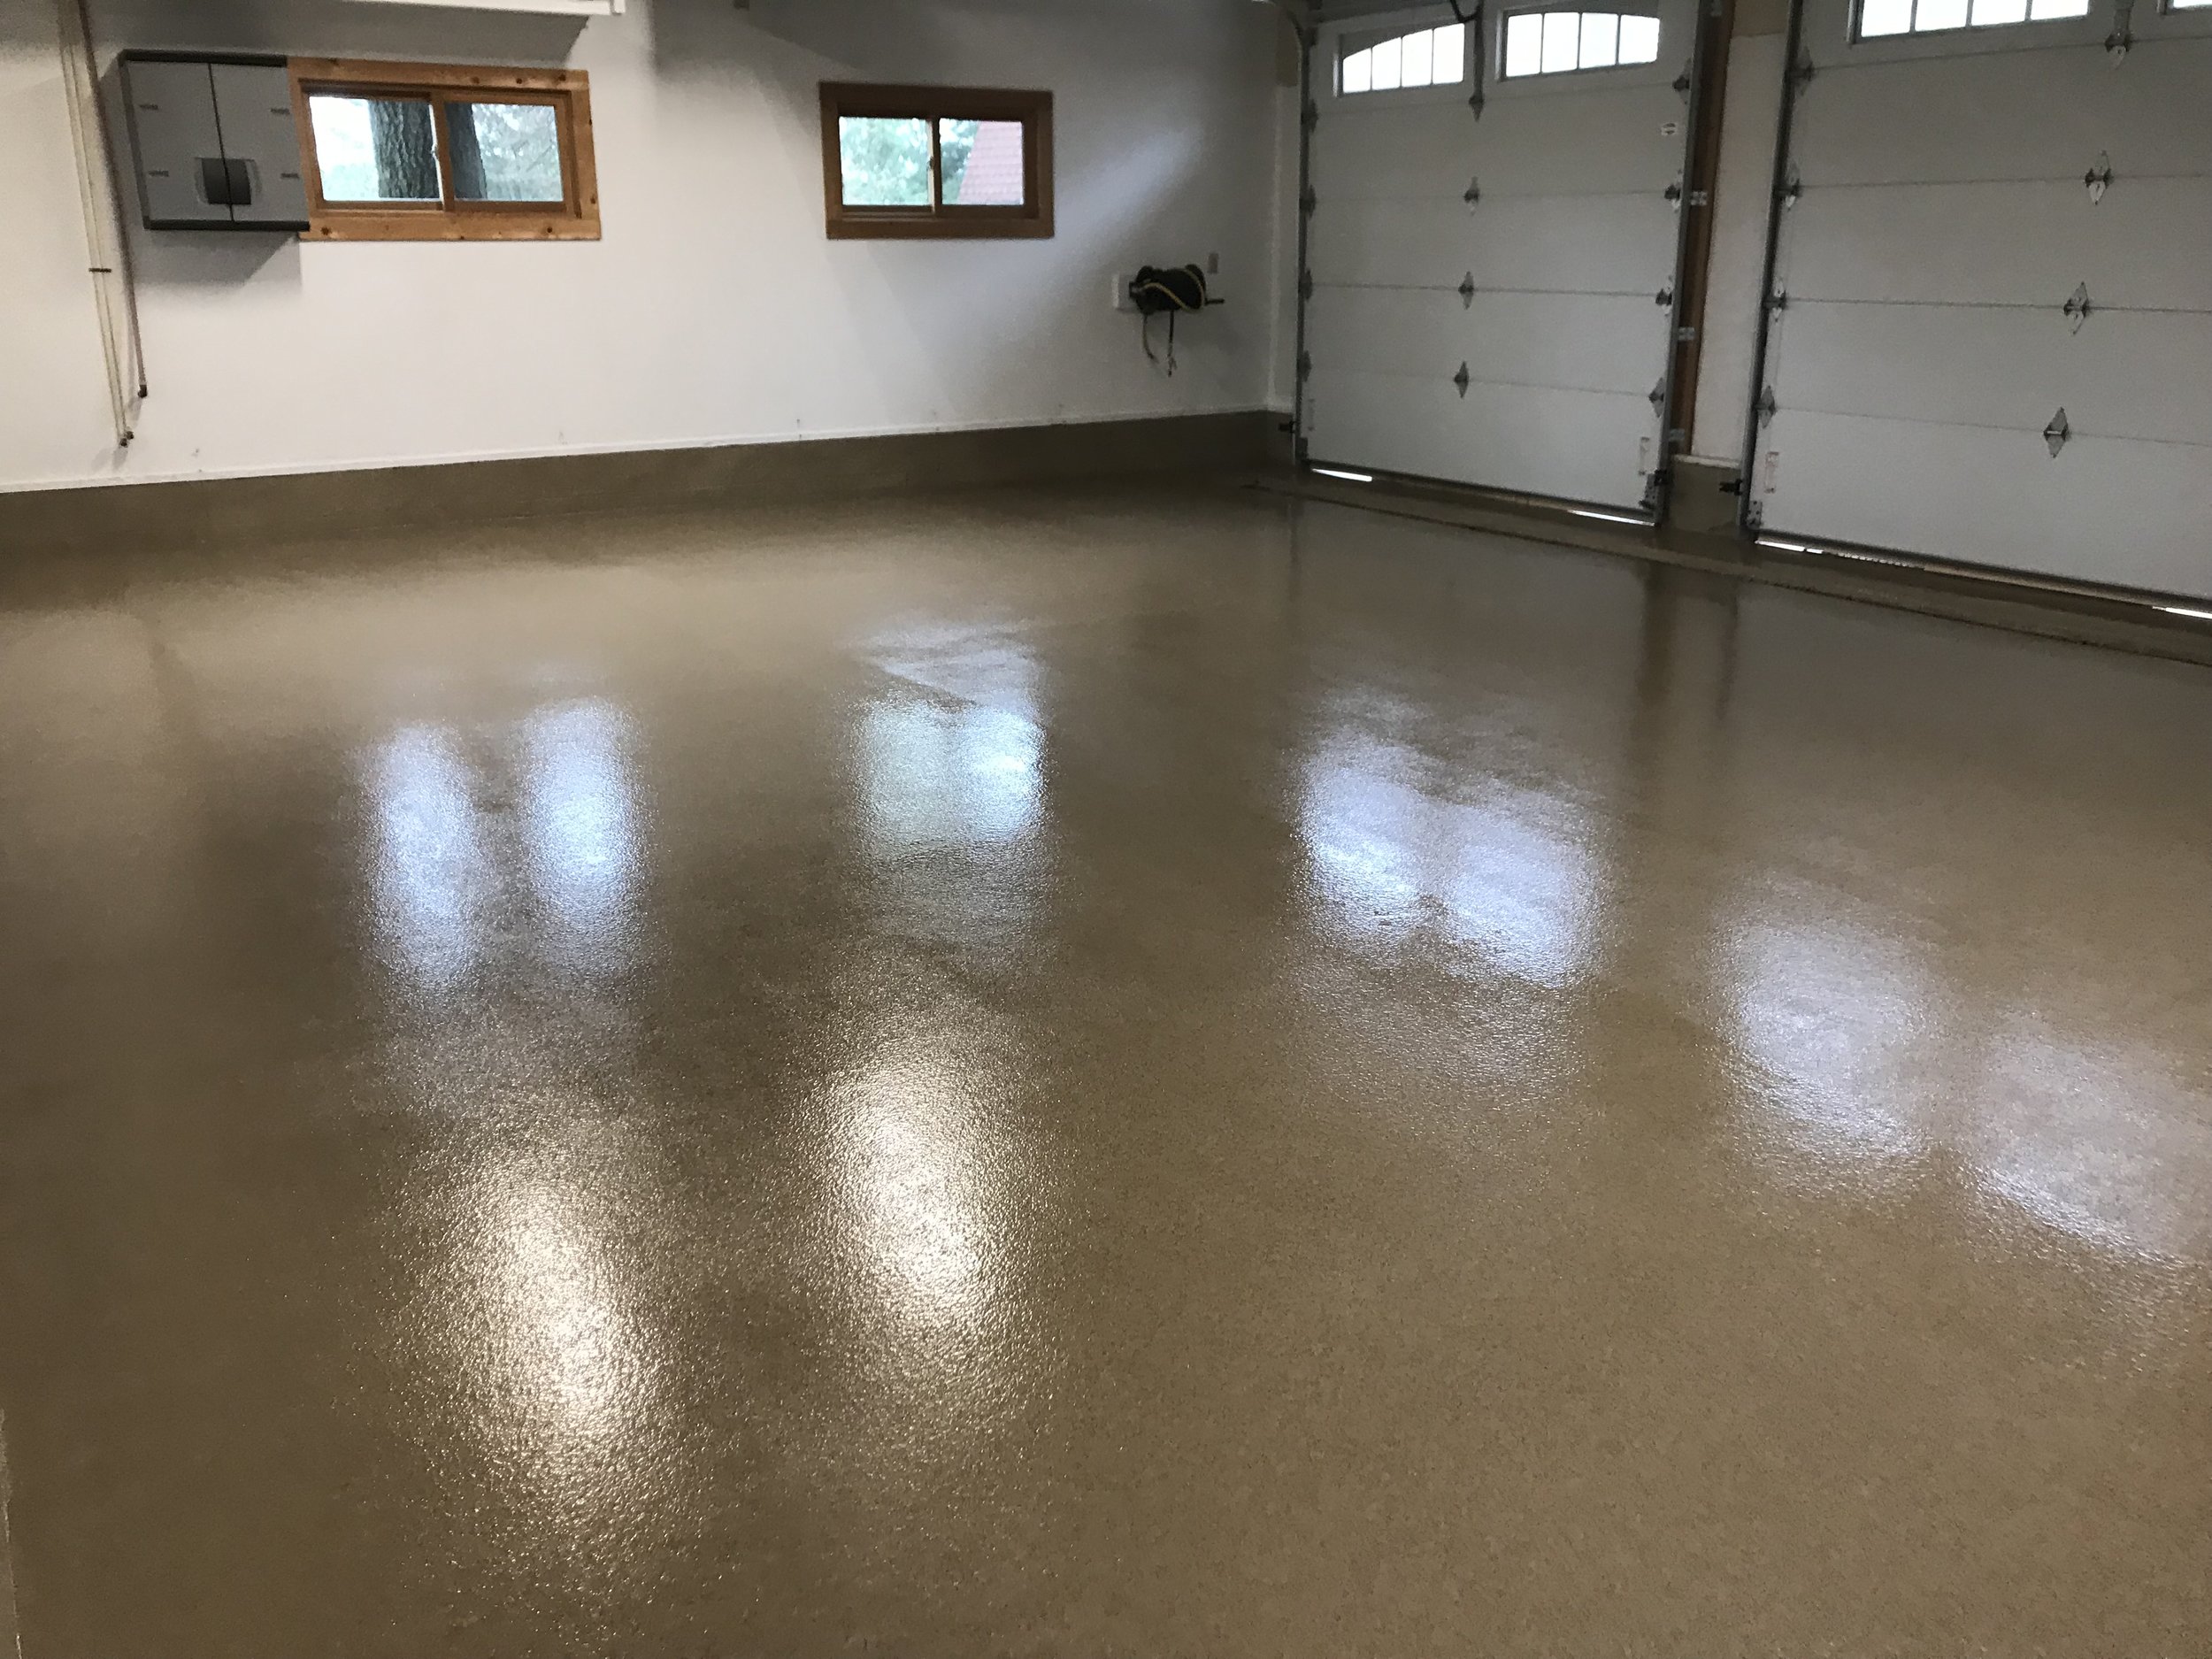
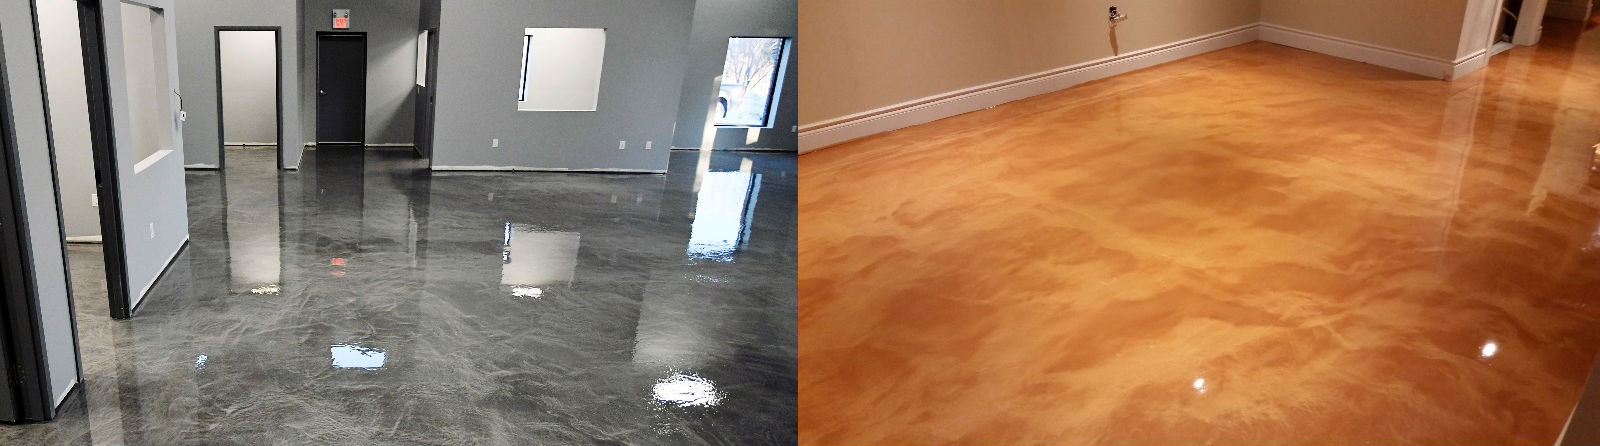
Epoxy flooring coating is providing very durable as well as striking choices for residential, industrial and commercial flooring purposes. Epoxy flooring is one of the most popular finishes for concrete floors. Epoxy flooring is perfect for home use, particularly for kitchens. It is a highly effective waterproof sealer, as well as it reduces the discharge of radon fuel. Visual designs might be incorporated, if necessary.
Coatings Pro v. DIY Epoxy Garage Floor Kits CoatingsPro Magazine
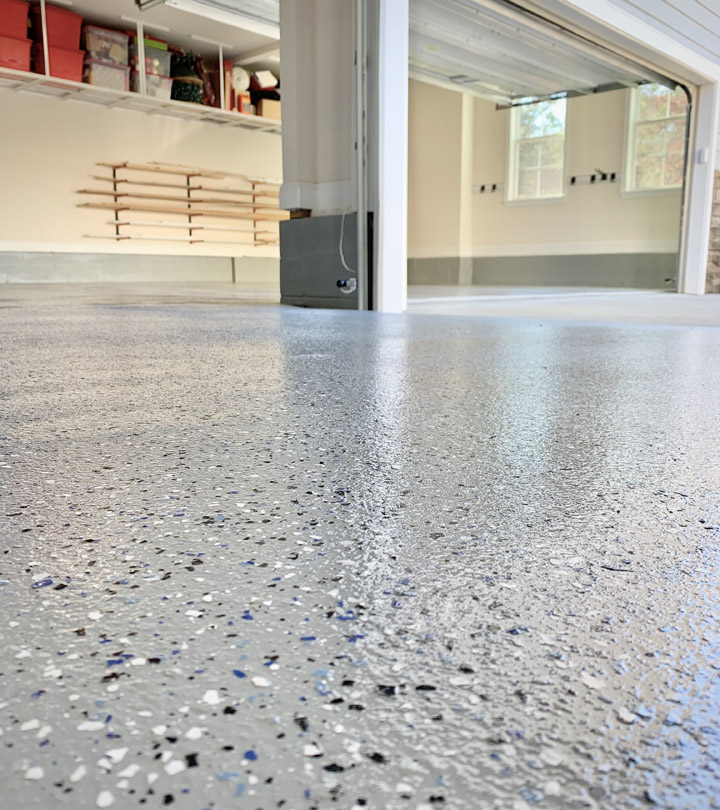
The colors create a very sharp pristine area look that goes very well with the majority of all garage decor. For factories and workshops, epoxy flooring could be strong adequate to hold a truck without any cracking, but additionally functional for storage, as well as staff. Further, epoxy floors in common are abrasion resistant, waterproof, heat resistant, and resistant to the activity of corrosives like acids and alkalis.
4 Reasons your DIY garage epoxy flooring may fail Epoxy Blog
Epoxy works as concrete finishes, or perhaps high coats which improve the look of manufacturing floor finishes. This type of flooring is not hard to install, and can be performed by a professional or perhaps a driven do-it-yourselfer by following a number of easy directions. Quite a few painters find that it’s not user friendly for these reasons.
Coatings Pro v. DIY Epoxy Garage Floor Kits CoatingsPro Magazine
DIY vs. Professional Garage Floor Coatings u2014 Advanced Flooring Systems
DIY Epoxy Floor Metallic Installation Guide
DIY Epoxy Garage Floors
Our DIY Rust-Oleum RockSolid Garage Floor u2013 Love u0026 Renovations
DIY Money Floor Using Clear Resin Epoxy Coatings XPS Blog

DIY How-To Renew a Pitted Garage Floor with a Nohr-S Coating All
EASY How to DIY Epoxy on Garage Floor Part 5: Applying the Epoxy GOT2LEARN
How to Apply Epoxy Coating to a Garage Floor – This Old House

Easy How To Diy Epoxy On Garage Floor Part 5 Applying The Epoxy

How to Apply Metallic Epoxy Floors DIY Instructions by EpoxyPRO

Related Posts:
- Quikrete Garage Floor Epoxy Kit
- Vinyl Chips For Epoxy Floors
- Garage Floor Paint Epoxy Problems
- Epoxy Guard Floor Coating
- Pure Metallic Epoxy Floor Coating Systems
- Garage Floor Leveling Epoxy
- Is Epoxy Floor Paint Waterproof
- Valspar Garage Floor Epoxy Colors
- How To Epoxy Garage Floor DIY
- Glass Cast Floor Epoxy
Do It Yourself Epoxy Floor Coating: Everything You Need To Know
Epoxy floor coatings are a popular choice for many home and commercial property owners. These coatings provide an attractive finish that is both durable and easy to maintain. Additionally, they come in a variety of colors and styles, so you can customize your flooring to match your decor. Installing epoxy floor coating yourself can save you time and money. However, it’s important to understand the process before beginning. In this article, we’ll discuss everything you need to know about do-it-yourself epoxy floor coating.
What Is Epoxy Floor Coating?
Epoxy floor coating is a two-part system consisting of an epoxy resin and a hardener. When mixed together, these components form a durable, chemical-resistant coating that bonds to the surface of concrete or other materials. The result is a glossy finish that is both attractive and resistant to damage from everyday wear and tear.
Benefits of Epoxy Floor Coating
Epoxy floor coatings offer several benefits over traditional paint or sealers:
– Durability: Epoxy coatings are extremely durable, making them ideal for areas with high foot traffic or heavy equipment use. They’re also resistant to chipping, scratching, and staining.
– Safety: Epoxy coatings are slip-resistant, making them a great choice for areas with the potential for wet conditions.
– Easy Maintenance: Since epoxy coatings are nonporous, they’re easy to clean and maintain with regular sweeping and mopping.
– Aesthetic Appeal: Epoxy coatings come in a variety of colors and styles, so you can customize your floors to match your decor.
Preparing the Surface
Before applying an epoxy coating, it’s important to prepare the surface properly. Begin by cleaning the surface thoroughly with a degreaser or detergent solution to remove any dirt or debris. Next, sand down any rough spots with coarse sandpaper or an orbital sander and vacuum up any dust or residue. Finally, apply an etching solution to the surface to create a slightly roughened texture that will help the epoxy bond better. Allow the etching solution to sit for 10–15 minutes before rinsing it off with clean water. Once the surface is dry, you’re ready to begin applying the epoxy coating.
Applying the Epoxy Coating
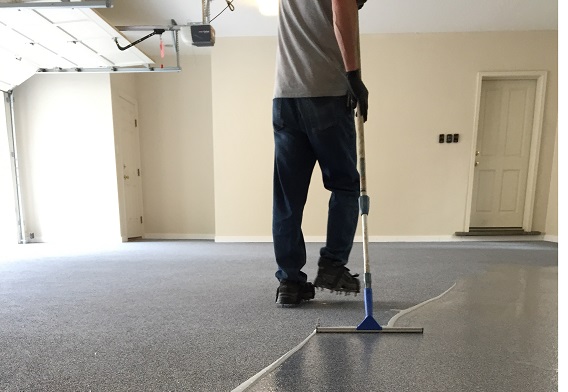
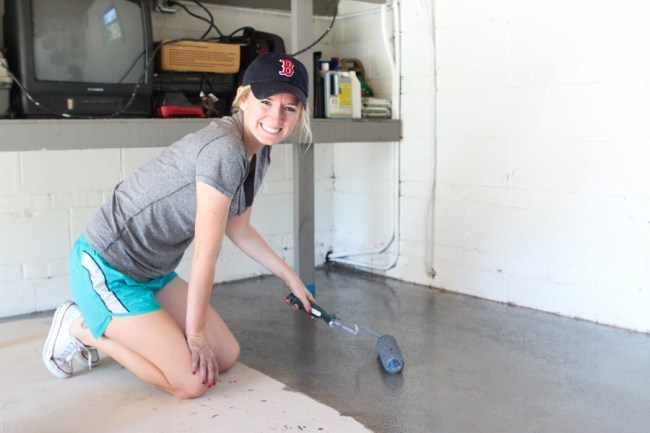
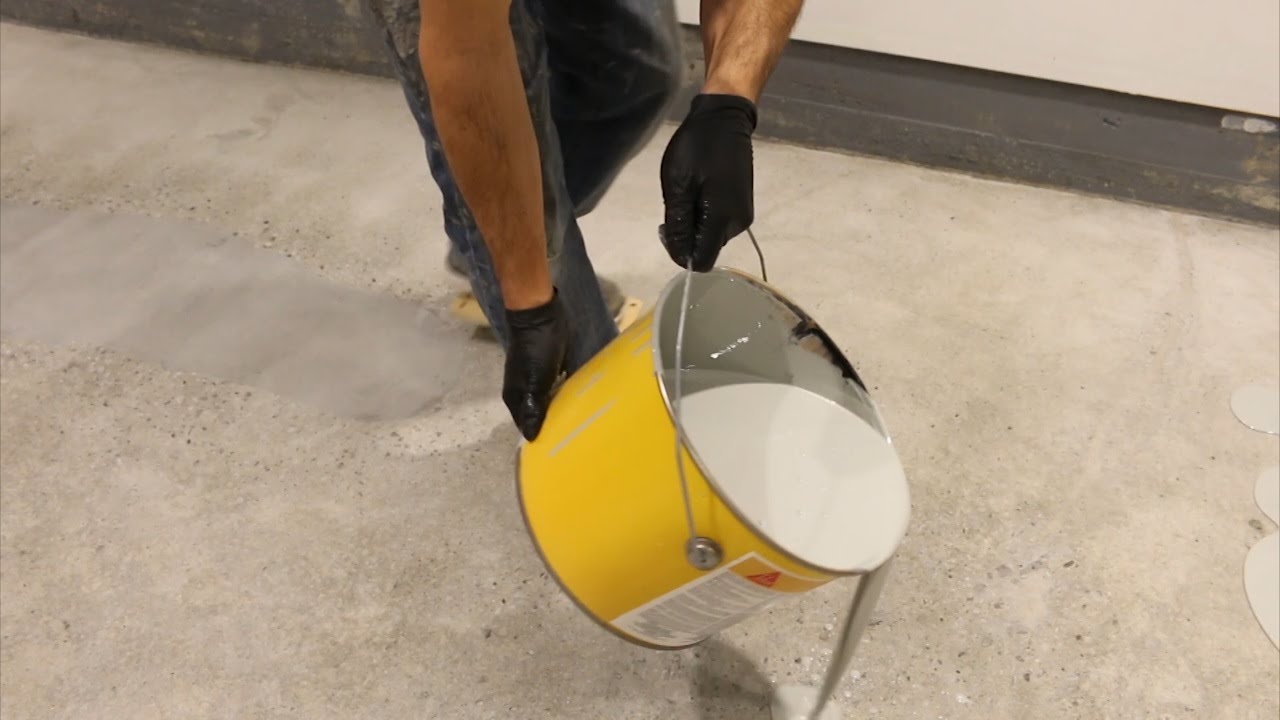
Once the surface has been prepared, it’s time to apply the epoxy coating. Begin by mixing together equal parts of the epoxy resin and hardener in a plastic bucket using a paint stirrer or electric mixer. Stir for two minutes until the mixture is homogenous (uniformly mixed). Then pour out enough of the mixture onto the surface to cover it completely—you don’t want any puddles or pools forming on top of the coating as it dries. Now use a long-handled roller or brush to spread out the mixture evenly across the surface in one direction (either up and down or side-to-side). Make sure you work quickly so that you don’t leave streaks in the coating as it dries—if necessary , you can go back and touch up any areas that need it later.
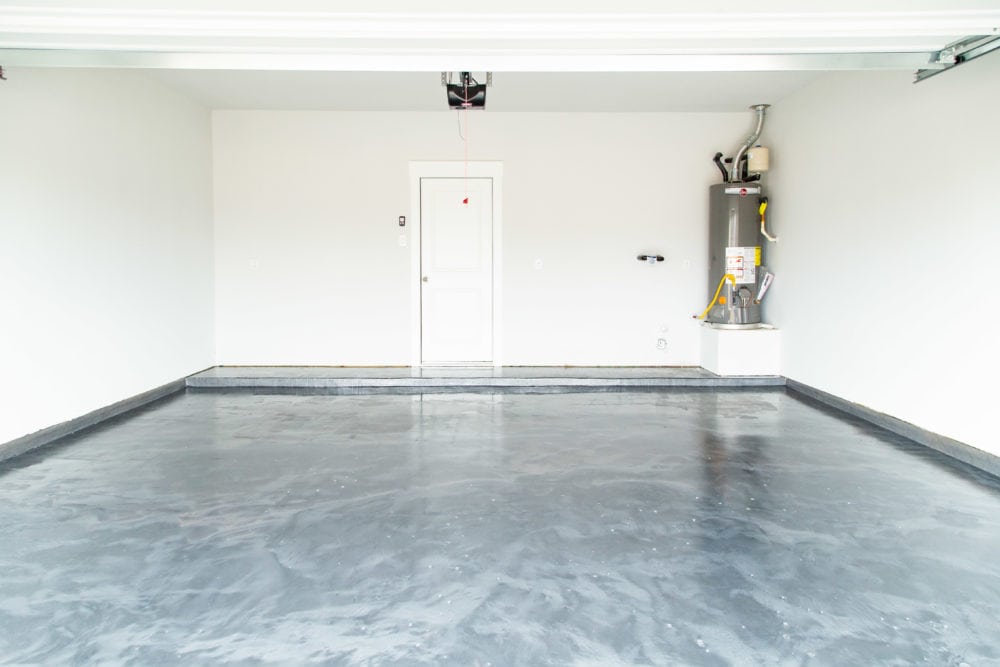
Once the epoxy coating has been applied, you’ll need to wait at least 24 hours for it to dry completely before walking on it or putting any furniture or equipment back in place. If you’d like, you can even add a second or third coat of epoxy for extra durability and protection. With proper preparation and application, do-it-yourself epoxy floor coating can be an easy and affordable way to update the look of your home or business.
What type of epoxy should be used for a do-it-yourself epoxy floor coating?
The type of epoxy used for a do-it-yourself epoxy floor coating will depend on the specific project. Generally, two-part epoxy kits are the best option for DIYers. These kits typically contain a basecoat, a clear topcoat, and an activator or catalyst. The basecoat is usually either a water-based or solvent-based epoxy, while the topcoat is usually a clear polyurethane or acrylic finish. It’s important to read the instructions carefully and follow the manufacturer’s recommendations when using any type of epoxy.
What is the best way to prepare a concrete floor for epoxy coating?
The best way to prepare a concrete floor for epoxy coating is to thoroughly clean and etch the surface. This involves sweeping, vacuuming, and scrubbing the floor to remove any dirt, dust, or debris. Once the floor is free of any contaminants, it should be etched with a muriatic acid solution to open up the pores of the concrete and create a surface that is more receptive to the epoxy coating. After etching, be sure to rinse the surface with water and allow it to dry completely before applying the epoxy.
What kind of surface preparation is needed before applying epoxy coating to a concrete floor?
Before applying epoxy coating to a concrete floor, the surface should be thoroughly cleaned, free of dust, dirt, grease and other contaminants. Any existing coatings should be removed and any cracks or holes should be filled and repaired. The surface should then be roughened with a grinder or shot blaster to provide a good bonding surface for the epoxy. Finally, the surface should be vacuumed and wiped down with a damp cloth to ensure that all dust and debris is removed before the epoxy coating is applied.