Another kind of tile you can use as flooring is metal tile. Natural stone tiles for example marble floor tiles can easily be stained by spilled liquids like soft drinks, juices or acids. While ceramic tile flooring isn't the most affordable choice available on the market, it's one of the finest. You can place mats are certain locations which have a better amount of foot website traffic.
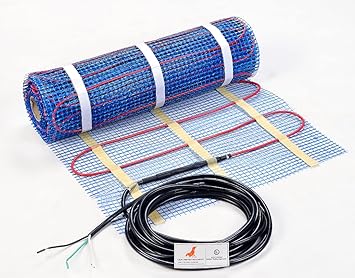
Images about Heated Tile Floor Kit

You can get a handcrafted look for your floors with this particular sort of tile. Mortar will come up over the sides of the tile, but this could conveniently be wiped away. They have the matte finish, clear, opaque, see through, shiny, frosted , plain and with other etchings. Wood floors having a high gloss appear lovely but imagine that floor usually getting wet and spilled on! It'll quickly warp and rot. Ceramic tiles are a great add-on to each house.
Schluter Systems White 120-Volt Digital Floor Heating Kit in the

Or maybe you are able to for seek expert guide for your interior design on your marble floors tiles that may match all the design from your kitchen, bathroom, and flooring. Floor tiles usually are thicker compared to wall tiles so make certain you use the proper tiles for the appropriate platform. Picture a color and texture and you will almost certainly check it out on the market today.
Schluter®-DITRA-HEAT-E-KIT 26.7 Sq. Ft. w/ Touchscreen Thermostat

SunTouch TapeMat Electric Under Floor Heating Kit with Command

Warmquest Heated floors, Floor remodel, Heated tile floor

SunTouch TapeMat WiFi u2022 45 Sq Ft Radiant Floor Heating Kit (120V

SEAL 20 Sqft 120V Electric Radiant Floor Heating Mat, for Ceramic, Tile, Mortar, Easy to Install Self-Adhesive Floor Heating System Kit
Warm Tiles™ 120V Electric In-Floor Heat Mat Kit at Menards®

Heatwave Mat Floor Heating Kit w/ Thermostat
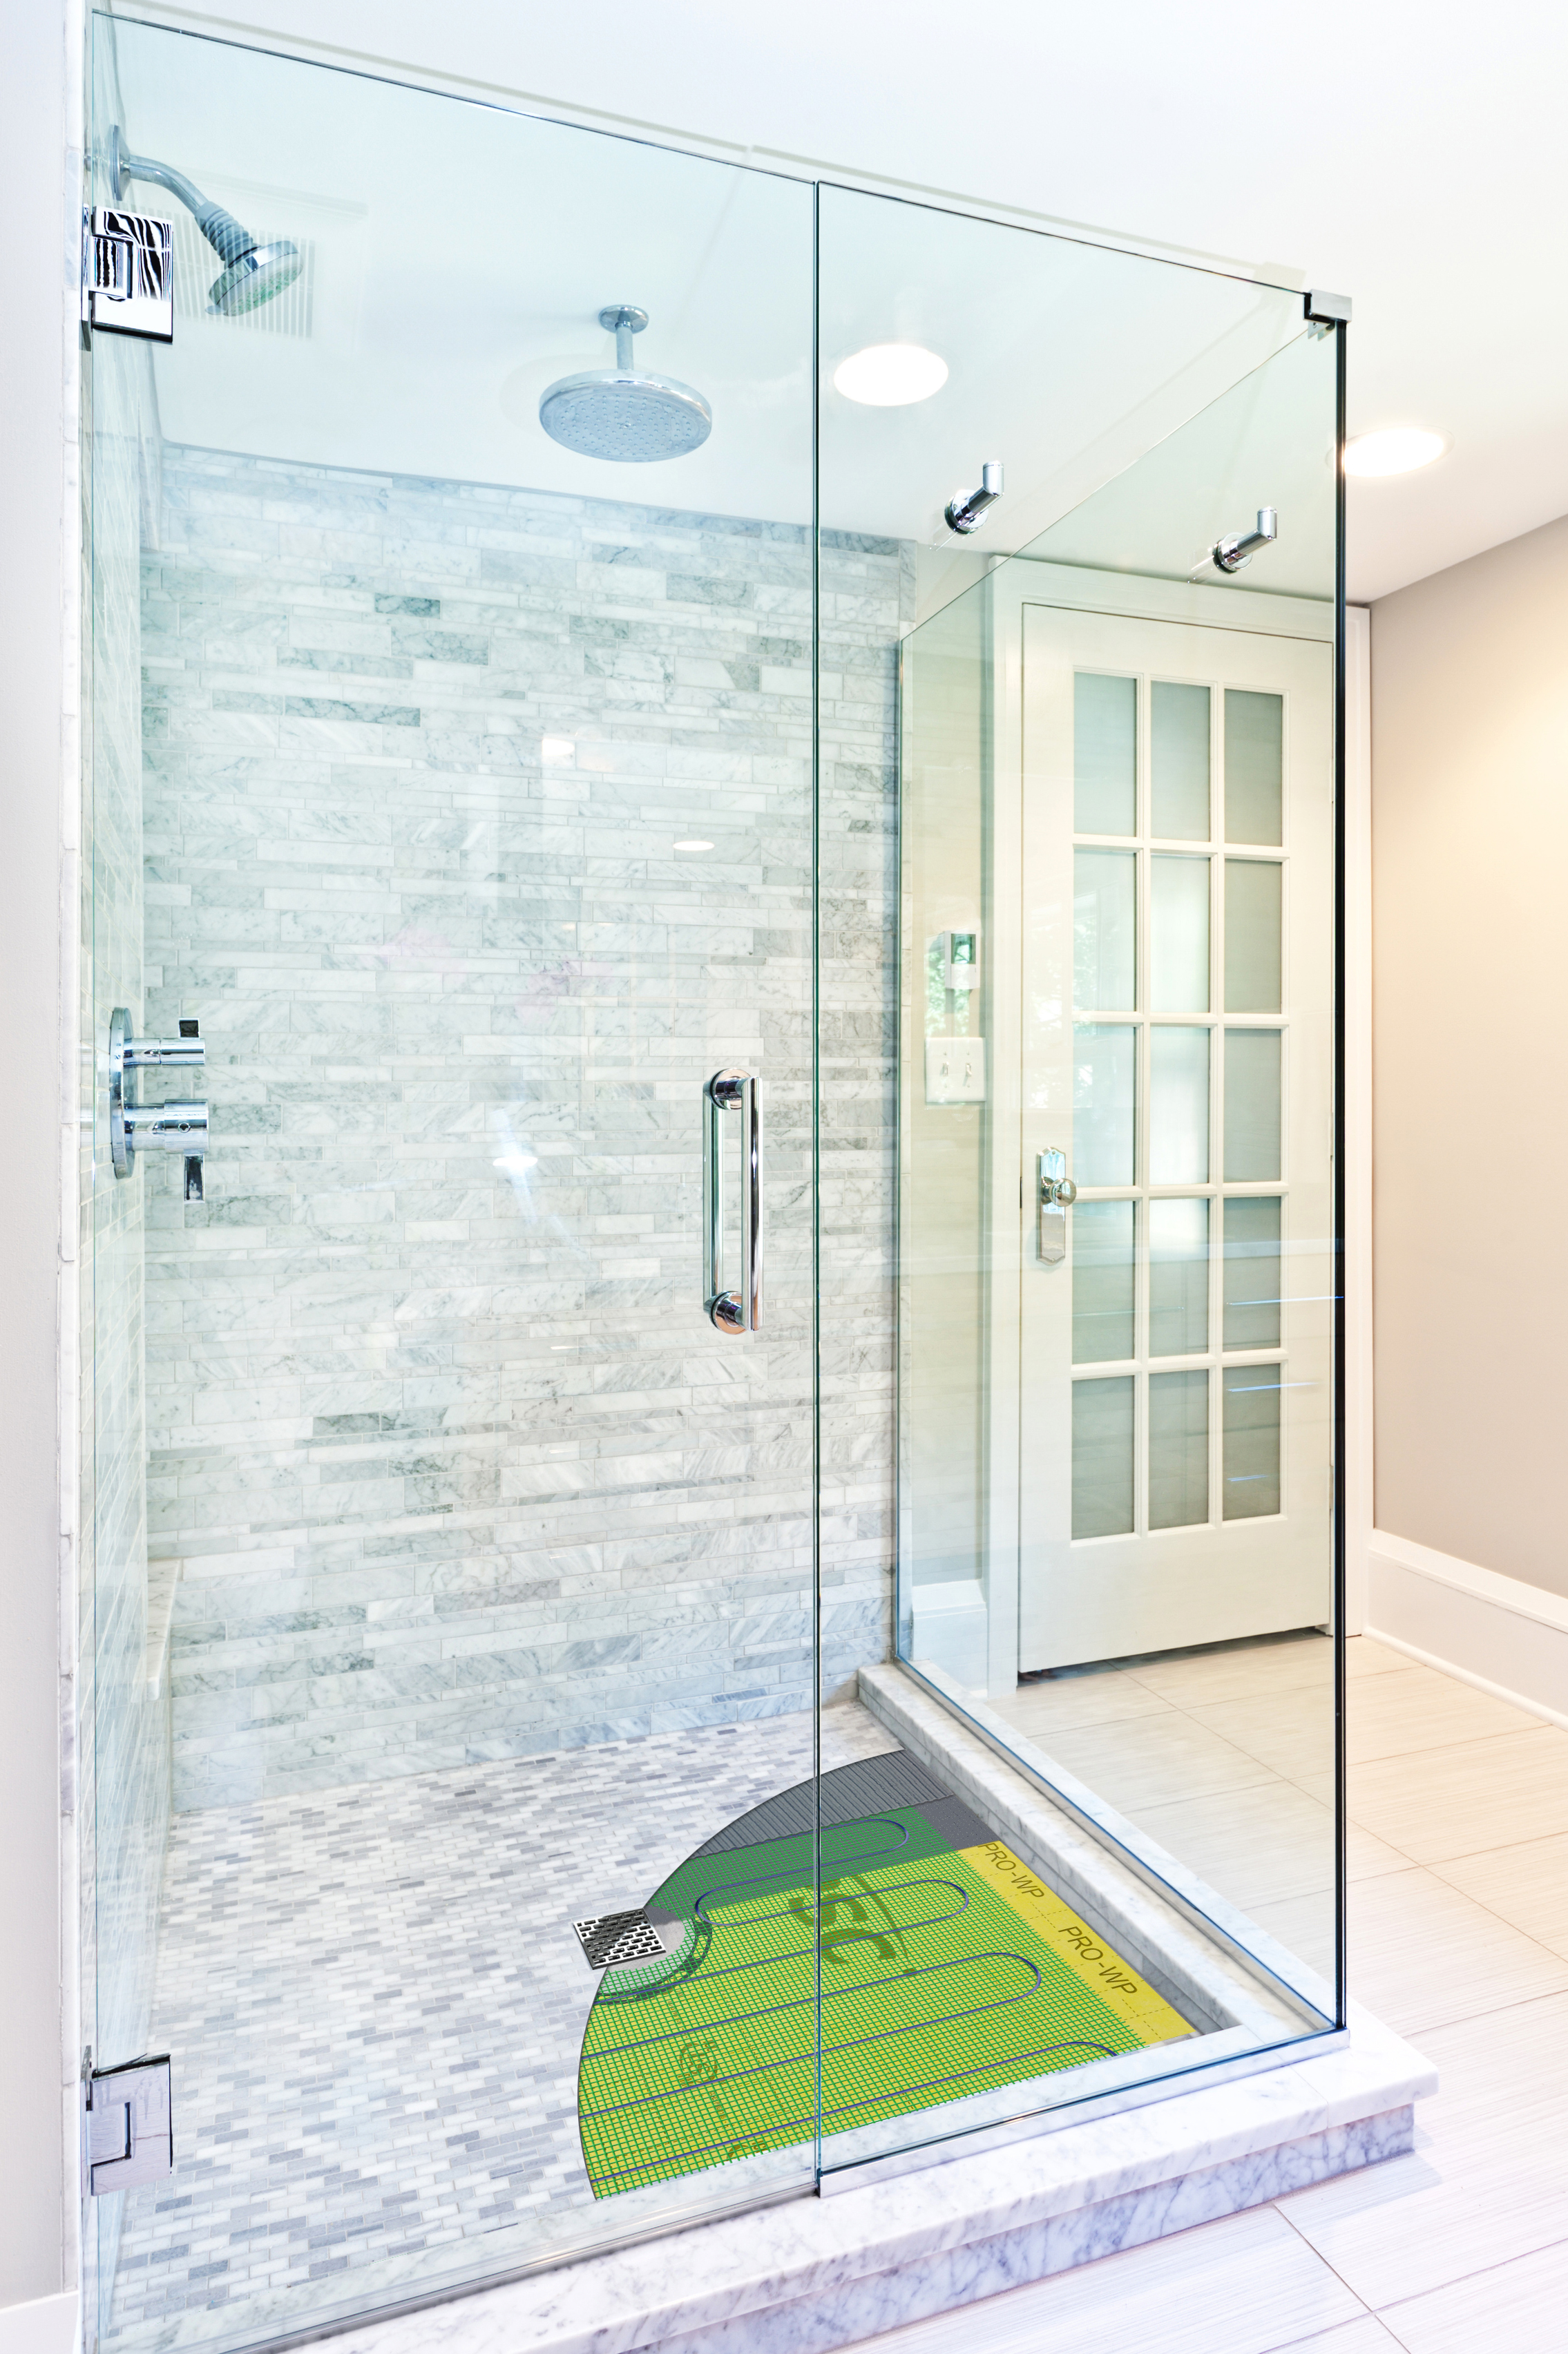
Tile Shower Kits Shower Waterproofing Kits
Heated Floors schluter.com

Install WARMUP Electric Floor Heating Mat Using Edge Strip Kits

Heated Floors schluter.com

WARMUP Radiant Floor warming mat

Related Posts:
- Navy Blue Tile Floor
- Isolation Membranes For Tile Floors
- Floating Laminate Tile Floor
- Rubber Tile Flooring For Kitchen
- Redoing Tile Floor
- Chiaro Tile Flooring
- Squeaky Bathroom Tile Floor
- Best Cleaning Product For Porcelain Tile Floors
- Waxing Porcelain Tile Floor
- Best Steam Cleaner For Tile Floors And Grout
Introduction to Heated Tile Floor Kit
Heated tile flooring has become increasingly popular in recent years as homeowners look for ways to save energy and keep their feet warm on cold winter days. A heated tile floor kit is an easy-to-install solution that can provide luxurious warmth and comfort to any room. The kits come with everything you need to install a heated tile floor, including the heating element, thermostat, timer, insulation, and everything else you need to get your tile floor up and running. Read on to learn about the benefits of a heated tile floor kit and the installation process.
Advantages of Installing a Heated Tile Floor Kit
A heated tile floor kit offers many advantages over traditional heating systems. For starters, it is much more energy efficient than electric or gas heating systems. In addition, it is relatively easy to install and does not require any special tools or expertise. Finally, it can add a luxurious touch to any room in the house, providing a comfortable atmosphere during cold winter months.
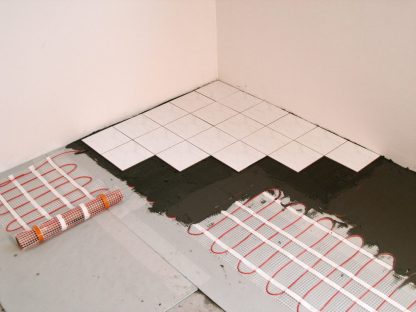
Installation Process for Heated Tile Floor Kit
The installation process for a heated tile floor kit is relatively simple and does not require any specialized tools or knowledge. First, you will need to measure the area where you plan to install your heated tile flooring and then purchase the appropriate sized kit for your needs. Next, you will need to lay down the insulation before laying the heating element on top of it. You should also ensure that the wiring is properly connected before placing the tiles on top of the heating element. Finally, mount your thermostat and timer according to the instructions provided with your kit and then enjoy your newly installed heated tile floor!
FAQs About Heated Tile Floor Kit
Q: How long does it take to install a heated tile floor kit?
A: Depending on the size of your project, installing a heated tile floor kit can take anywhere from two hours up to a day or two for larger projects. The exact amount of time needed depends largely on how much preparation work needs to be done before beginning installation.
Q: What kind of tiles can I use with a heated tile floor kit?
A: Most ceramic tiles are suitable for use with a heated tile floor kit. However, if you are looking for more flexibility in terms of design options, you can also use porcelain tiles or even natural stone tiles such as marble or slate. Just make sure that whatever type of tiles you choose, they are properly sealed before installation so as not to detract from their aesthetic appeal.
Q: Is there any maintenance required with a heated tile floor?
A: Yes, just like any other type of heating system, regular maintenance is required in order for your heated tile floors to function properly and safely over time. This includes checking regularly for signs of wear and tear or damage as well as cleaning the tiles regularly using appropriate cleaning products that won’t damage them or their finish.
Q: How much does a heated tile floor cost?
A: The cost of installing a heated tile floor varies depending on factors such as the size of your project, type of tiles used, and additional features included in your kit such as timers or motion sensors. Generally speaking however, you can expect to pay anywhere from $2-$5 Per square foot for a basic installation.
Q: How long does it take to install a heated tile floor kit?
The installation time of a heated tile floor kit will depend on the size of the room, the type of flooring, and the experience level of the installer. Generally, it can take anywhere from one day to a few days to install a heated tile floor kit.Q: What are the steps to install a heated tile floor kit?
1. Start by laying down a layer of uncoupling membrane to the subfloor, which will help protect against moisture damage. Use a utility knife to cut the membrane to fit around obstacles like cabinets and pipes.2. Cover the membrane with a thin layer of thinset mortar and then lay your heating elements in the desired pattern on top of the mortar. Make sure the heating wires are evenly spaced, with no overlapping or gaps between them. Secure them in place with low-voltage cable ties.
3. Install any necessary thermostats and temperature sensors, as per the manufacturer’s instructions.
4. Spread a layer of self-leveling cement over the heating elements, making sure it’s level and that it covers all parts of each element completely. Allow this to dry for at least 24 hours before proceeding.
5. Apply thinset mortar to the floor, using a trowel or roller, and then lay down your tile in whatever pattern you prefer. Make sure to properly space each tile so that no grout lines are wider than 1/8”.
6. Allow everything to dry overnight, then grout the joints as normal (using an appropriate heat-resistant type of grout).
7. Once you’ve finished grouting, you’ll need to connect all the components and turn on power to the system according to manufacturer’s instructions so that you can test it before use.
8 Finally, allow your heated tile floor system to run for at least 24 hours before walking on it or putting any heavy objects on top of it.