Vinyl has gone through wonderful modern changes. The ultimate level is called a "wear layer", and also it is also produced from vinyl. Traditionally, vinyl type flooring is mainly chosen because it's easy and cheap to put in but quite a few households find them to be really thin, not good to walk on as well as that it's apparently cheap-looking. The thicker the use level, the more long lasting the floor is going to be.
Images about Best Way To Install Vinyl Flooring

You have the possibility of using loose-fitting vinyl tiles or planks. Not only the durability & affordability is the major reason but additionally it's a wide selection to decide on from. In case you're planning to renovate your room within a limited budget, then vinyl flooring is intended especially for you. When the time of its for a make over of your house, budget is an thing that affects the decision making.
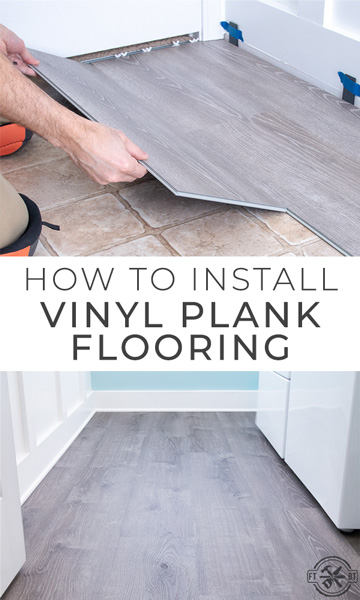
How to Install Vinyl Plank Flooring
:max_bytes(150000):strip_icc()/easy-install-plank-vinyl-flooring-1822808-06-3bb4422ca1bd49b080bfa73bce749acc.jpg)
You will find a number of styles, colors and types and the prices depend on the quality and substance used in manufacturing. Thus, everything about the home of ours has to be simply perfect in order to get relaxation. House would be the place just where we go back at the conclusion of a tiring as well as busy day. The web has also numerous websites where you are able to compare discounted and regular vinyl flooring prices.
How to Install Vinyl Plank Flooring
/easy-install-plank-vinyl-flooring-1822808-10-6cfb7acfac434155a53e0ef80bfbc825.jpg)
Installing Vinyl Plank Flooring – How To FixThisBuildThat
How to Install Vinyl Plank Flooring
/easy-install-plank-vinyl-flooring-1822808-05-91e4c44966a145a39ad38430e4f7cc45.jpg)
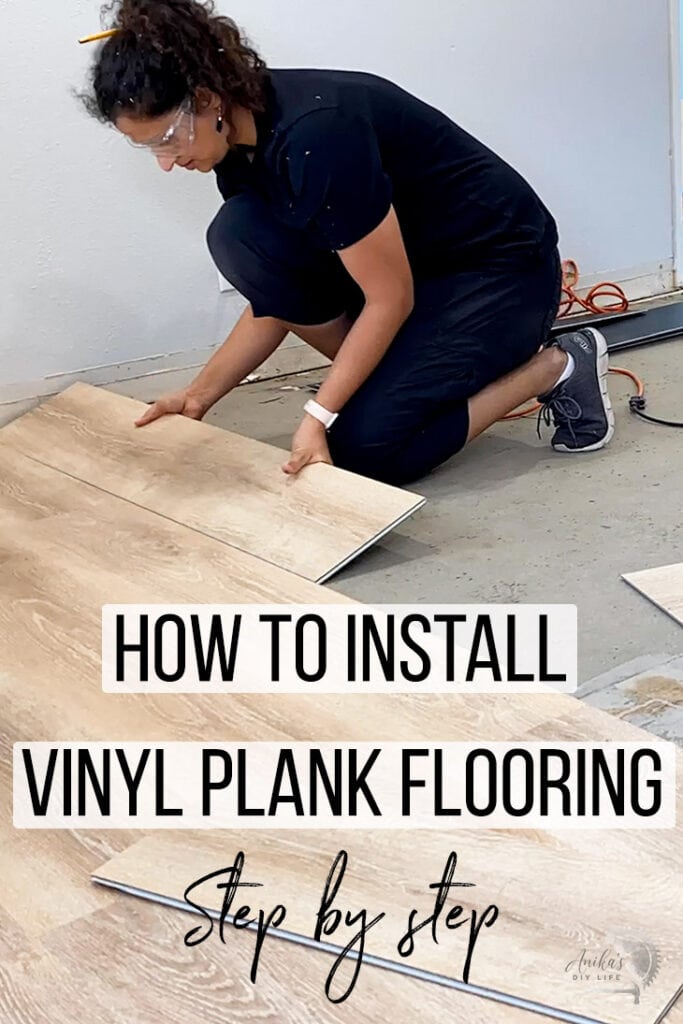
Installing Vinyl Plank Flooring For Beginners – Anikau0027s DIY Life
How to Install Vinyl Plank Flooring
How to Install Vinyl Plank Flooring
How to Install Vinyl Plank Flooring
/easy-install-plank-vinyl-flooring-1822808-hero-cefa2d84f781434b9e1e73a0c44e3a5c.jpg)
How to Install Vinyl Plank Flooring Loweu0027s
How To Install Luxury Vinyl Plank Flooring – Bower Power
10 Beginner Mistakes Installing Vinyl Plank Flooring – YouTube

How to Install Vinyl Plank Flooring Loweu0027s

How To Install Vinyl Flooring How Tos Diy u2013 Otosection

Related Posts:
- Domo Vinyl Flooring
- Plank Style Vinyl Flooring
- About Luxury Vinyl Flooring
- How To Trim Vinyl Flooring
- Grey Vinyl Flooring Roll
- Vinyl Flooring Bathroom Reviews
- Extra Thick Vinyl Flooring
- How Long Does Vinyl Flooring Off Gas
- Self Adhesive Vinyl Flooring Roll
- Black Vinyl Floor Tiles Self Adhesive
Best Way To Install Vinyl Flooring
Installing vinyl flooring is a great way to update any room in your home. Vinyl flooring is available in a variety of styles and colors, making it easy to find the perfect fit for your decor. Although installing vinyl flooring can seem intimidating at first, it’s actually a fairly straightforward process that anyone can do with the right tools and supplies. In this article, we’ll discuss the best way to install vinyl flooring so you can enjoy your new floor for years to come.
What You’ll Need for Installation
Before you start installing your new vinyl floor, make sure you have all the necessary materials on hand. You’ll need:
– Vinyl planks or tiles
– Tape measure
– Marker or chalk line
– Utility knife
– Padding
– Underlayment
– Adhesive or glue
– Spacers
– Carpet tacks (optional)
– Seam sealer (optional)
Once you have all of these items in place, you’re ready to begin the installation process.
Steps to Installing Vinyl Flooring
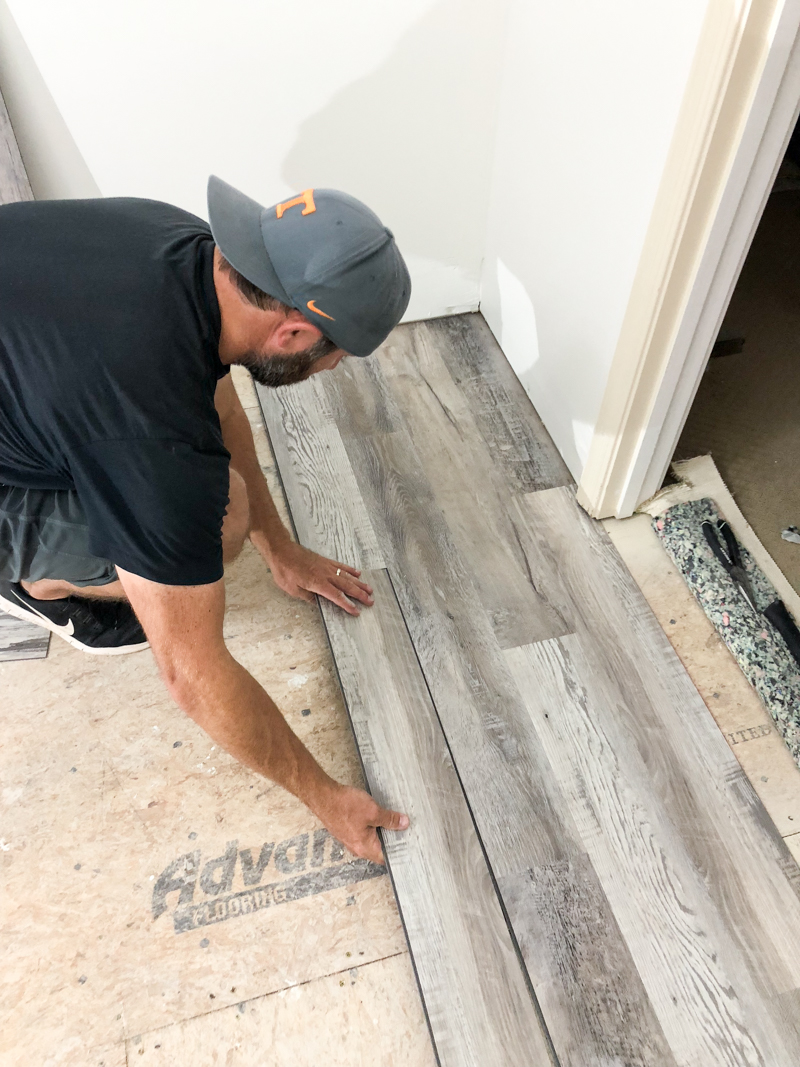
The first step in installing vinyl flooring is to prepare the subfloor. Make sure it’s clean and free of debris, then use a tape measure to check its levelness. If it isn’t level, use self-leveling compound to fix any dips or bumps in the surface. Once the subfloor is ready, it’s time to start laying down the vinyl planks or tiles. Here are the steps for doing that:
1. Determine which direction you want to lay the vinyl planks or tiles in. It’s usually best to lay them perpendicular to any natural light sources (e.g., windows).
2. Use a marker or chalk line to mark off an area where you want to start laying your planks or tiles. This will help ensure that everything is laid out evenly and correctly.
3. Lay down your padding and underlayment, then use spacers around the edges to keep them from shifting while you install the vinyl planks or tiles.
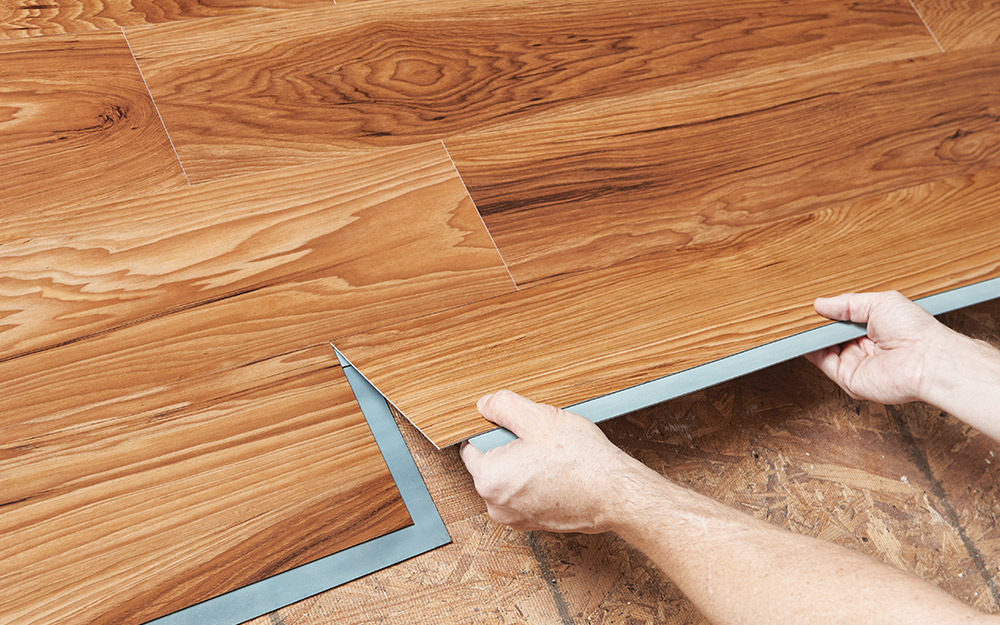
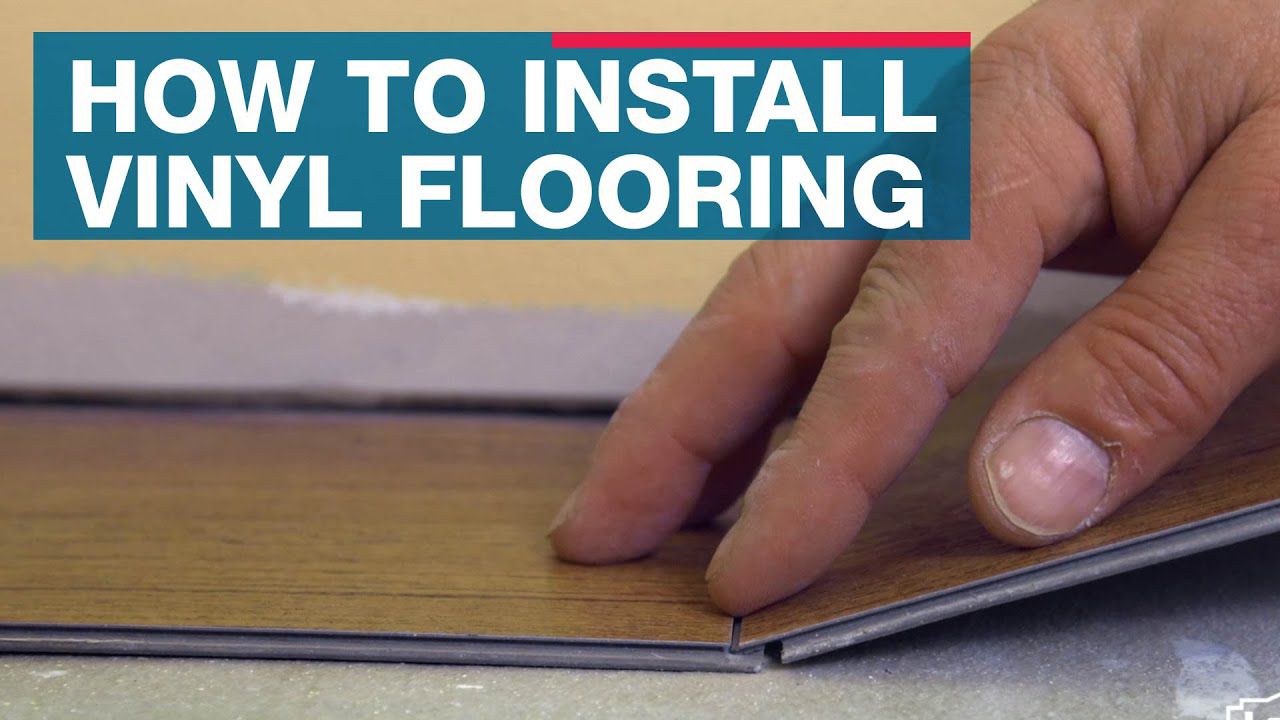
4. Start laying your planks or tiles from one side of the room to the other, making sure they fit tightly together and don’t leave any gaps between them.
5. Use adhesive or glue on each plank/tile as you go along, then press firmly into place with a roller or other heavy object.
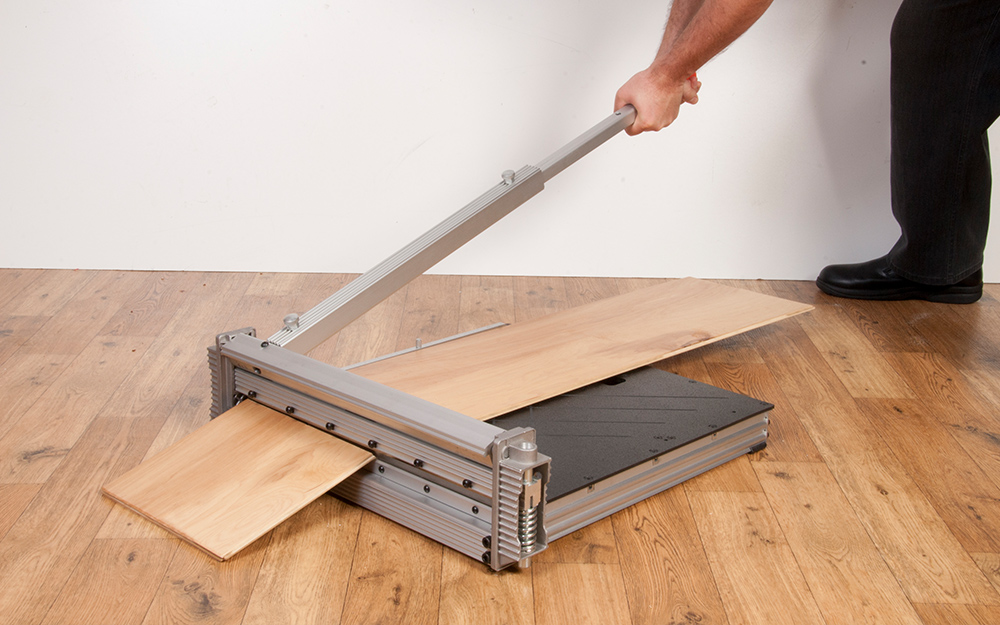
6. Once all of your planks/tiles are laid out and securely in place, use a utility knife to trim off any excess pieces around door frames and other obstacles in the room.
7. Finally, if desired, you can use carpet tacks along the edges of your vinyl flooring for extra stability, and use seam sealer along all seams where two planks/tiles meet for added protection against water damage over time.
And that’s it! With these steps completed, you’ll have a beautiful new vinyl floor that will last for years with proper care and maintenance.
FAQs about Installing Vinyl Flooring
Q: How long does it take to install vinyl floor Ing?
A: The amount of time it takes to install vinyl flooring depends on the size of the room and the type of planks or tiles you choose. Generally speaking, however, a typical installation should take no more than a few hours.
Q: What type of adhesive/glue should I use for vinyl flooring?
A: When installing vinyl flooring, it’s important to use an adhesive/glue that is specifically designed for vinyl planks or tiles. This will ensure that your flooring is secure and won’t come apart over time.
What tools are needed to install vinyl flooring?
1. Tape measure2. Utility knife
3. Straight edge
4. Vinyl flooring adhesive
5. Notched trowel
6. Hammer and/or tapping block
7. Seam roller
8. Putty knife
9. Caulk gun (for vinyl baseboard molding)
10. Adhesive remover (if necessary)
What types of vinyl flooring are available?
1. Solid Vinyl Plank: This type of vinyl flooring is made from one solid piece and is available in a variety of colors, textures, and finishes. It is durable and easy to install.2. Vinyl Sheet: Vinyl sheet flooring comes in large rolls, which makes it great for covering large areas quickly. It is available in a variety of colors, textures, and finishes.
3. Vinyl Tile: Vinyl tile flooring is made up of individual pieces that can be installed to create unique patterns and styles. It is available in a variety of colors, textures, and finishes.
4. Luxury Vinyl Plank (LVP): Luxury vinyl plank flooring is a high-end option that looks more like real wood than other types of vinyl flooring. It is extremely durable and easy to clean.
5. Luxury Vinyl Tile (LVT): Luxury vinyl tile flooring is another high-end option that looks more like real stone or ceramic tile than other types of vinyl flooring. It is extremely durable and easy to clean.
What are the benefits of vinyl flooring?
1. Durability: Vinyl flooring is highly durable and resistant to scratches, scuffs, and chips. It can stand up to heavy foot traffic and is easy to clean and maintain.2. Cost: Vinyl flooring is an affordable flooring option that is usually much less expensive than other types of flooring like hardwood or tile.
3. Versatility: Vinyl flooring comes in a variety of colors, patterns, and styles so you can customize your look. There are also options for different installation methods, like loose lay or self-adhesive tiles.
4. Water Resistance: Vinyl is waterproof, making it ideal for areas prone to moisture or spills. It’s also a great option for bathrooms and kitchens where spills are common.
5. Comfort: Vinyl flooring is comfortable underfoot and provides some cushioning to help reduce fatigue from standing for long periods of time.