Besides a mirror-like gloss, concrete flooring could be spruced up with embedded patterns, lines, images, grids and other designs. They impart a luxurious richness that can't be achieved by any other flooring. With more properties being built in a modern style, concrete polishing floors is actually growing in bounds and leaps. Abrasive pads file down the top surface of the concrete.
Images about Building A Shed With Concrete Floor

Polished concrete floors are an excellent method of flooring that are more and more becoming a method of life for many room as well as business people. Polished concrete floors also have a number of benefits making them an environmentally friendly, affordable and practical method for apartments and housing. In home and shop options, concrete floor is less noisy than floorboards of tiles.
Concrete Shed Foundation, Shed Floor
This simple cleaning method is certain to stay polished concrete floors essential and appealing for a long time on end. Everyone wants an alternative appearance for the home of theirs and thus is concrete floors, they provide variety of options at cheapest rates. You can put in the concrete flooring by yourself to be able to save some money, but do a careful job.
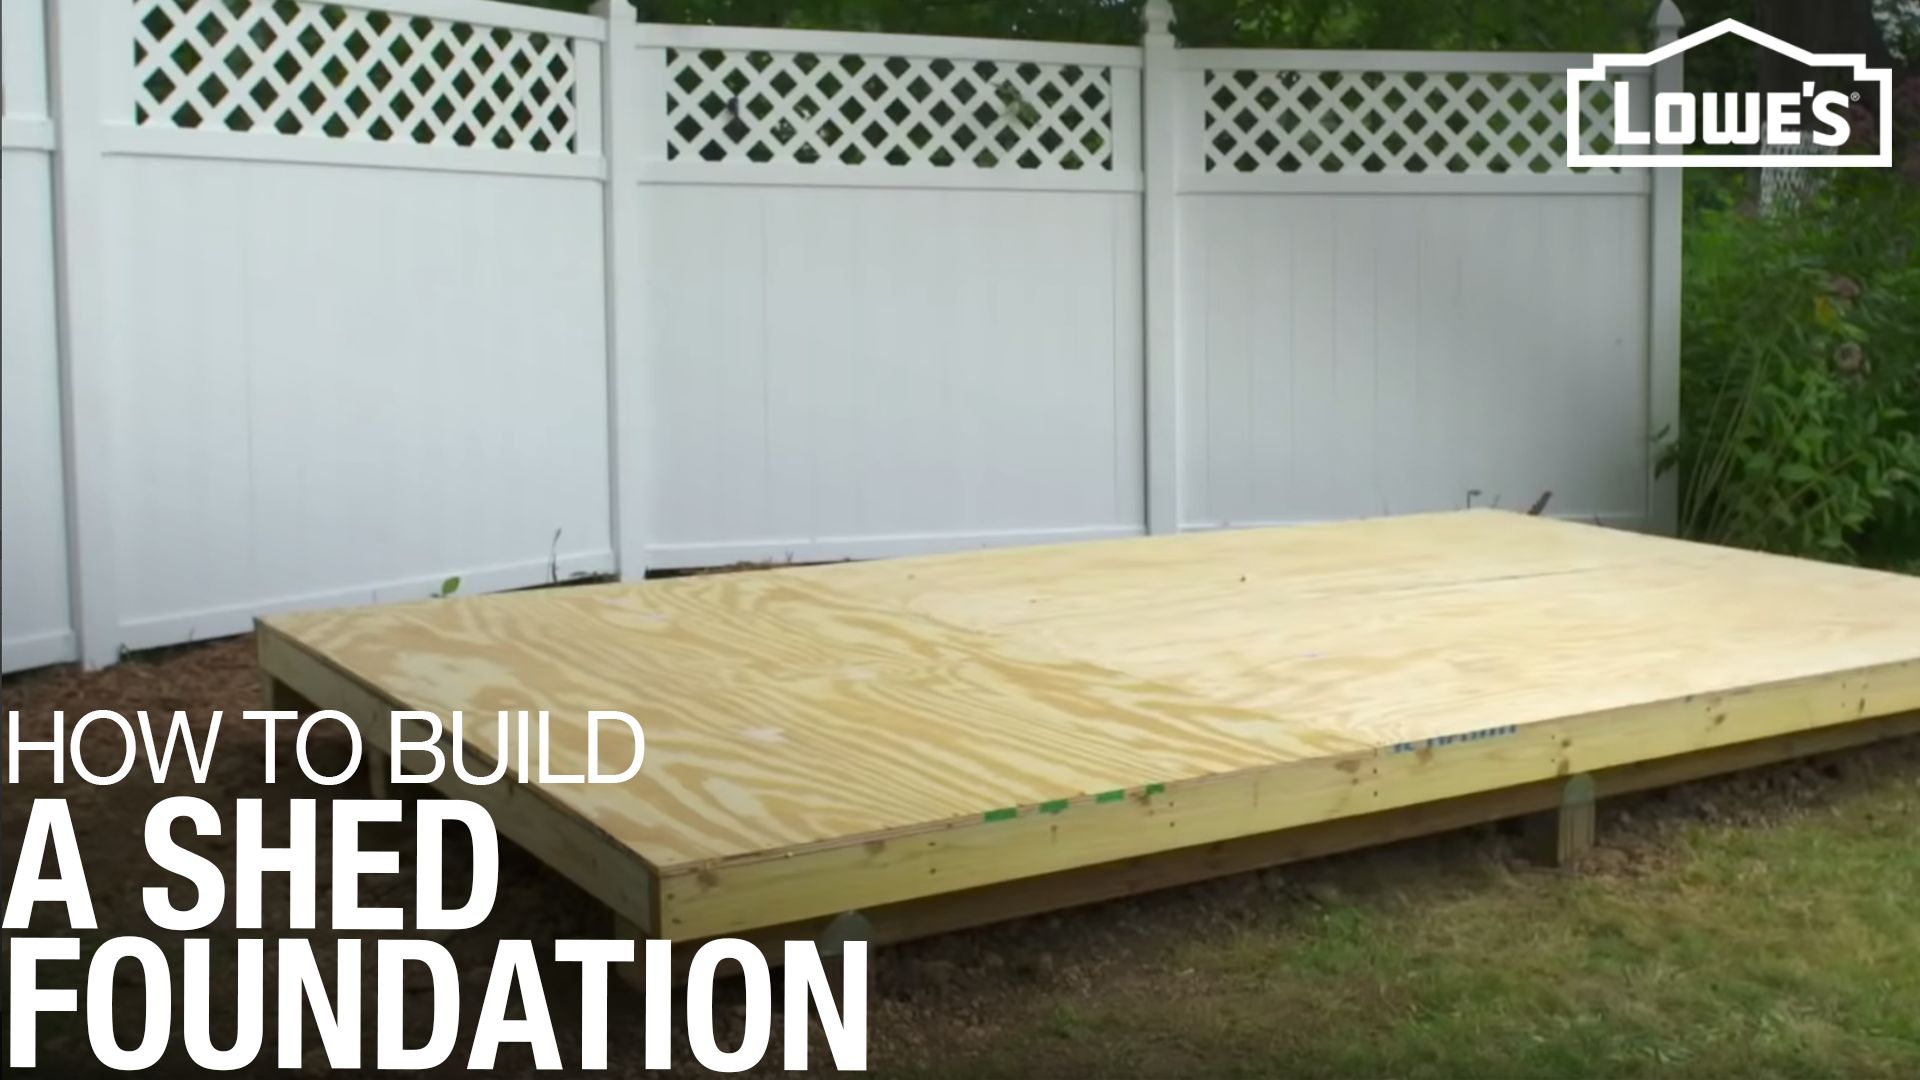
How to make a concrete shed base
Concrete Thickness For A Shed How Much Do You Need
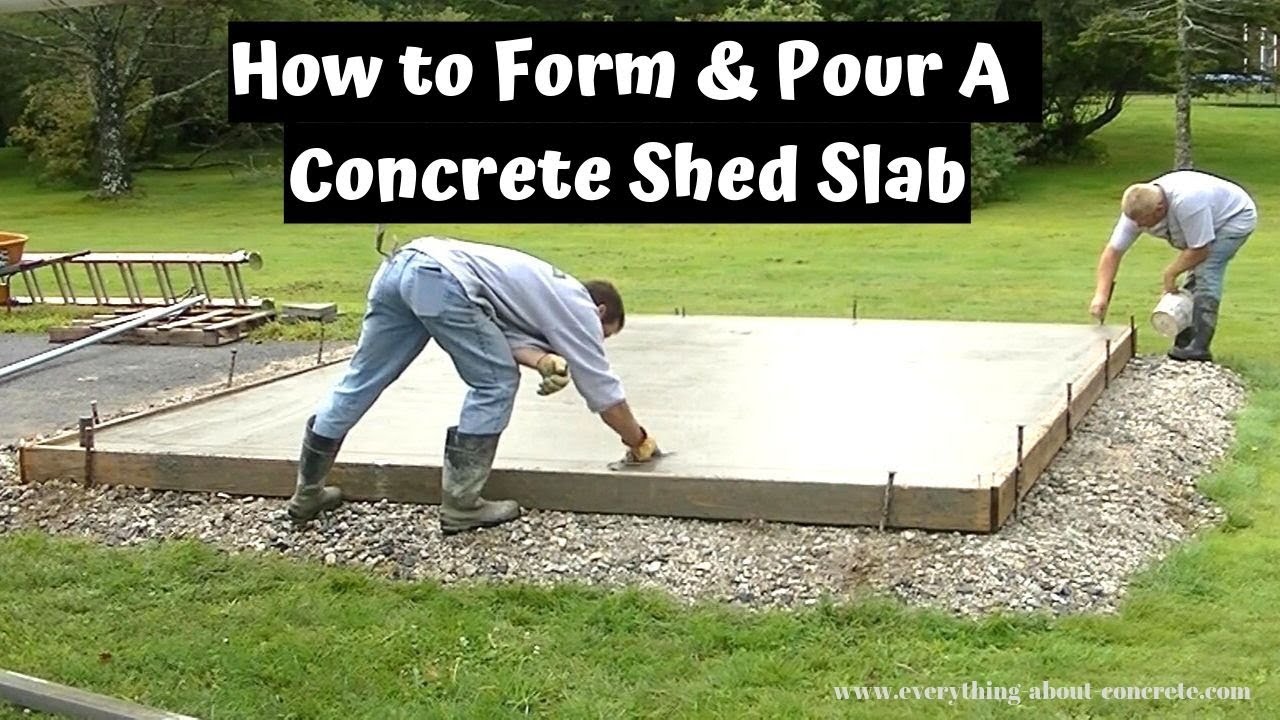
How to Pour a Concrete Shed Slab for Tuff Sheds DIY!

Atlantic Shed, Concrete Slab Info
How To Form, Pour, And Finish A Concrete Shed Slab! DIY! – YouTube
Concrete Shed Foundation, Shed Floor
How Much Does a Concrete Slab for Shed Cost?

Build Your Shed On A Concrete Slab

Concrete, treated wood can seal shed floor

Is a Concrete Shed Base what you need?

How to Level and Install a Shed Foundation
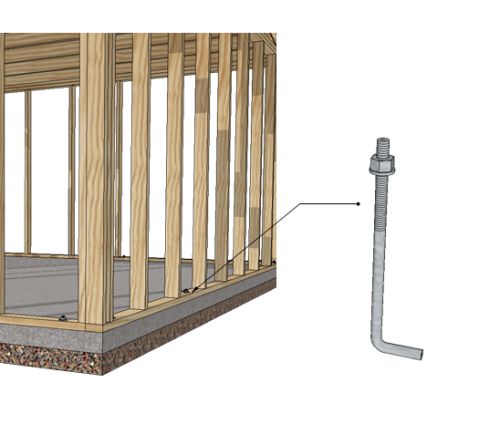
How to Anchor a Shed to a Concrete Slab – Handymanu0027s World

Related Posts:
- Concrete Floor Damage
- Building Up A Concrete Floor
- Concrete Floor Vismat
- How To Remove Pet Odors From Concrete Floors
- Concrete Floor In Garage
- Crack In Concrete Floor Repair
- Drylok E1 Concrete Floor Paint
- How To Level A Concrete Floor For Engineered Hardwood
- Warehouse Concrete Floor Finishes
- Scored And Stained Concrete Floors
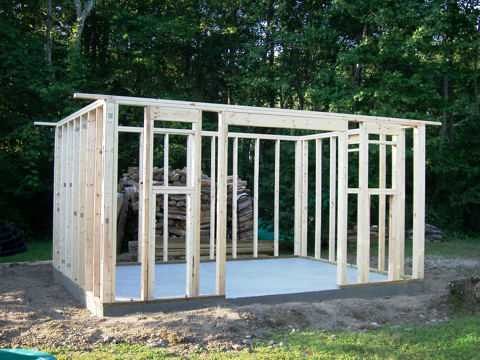
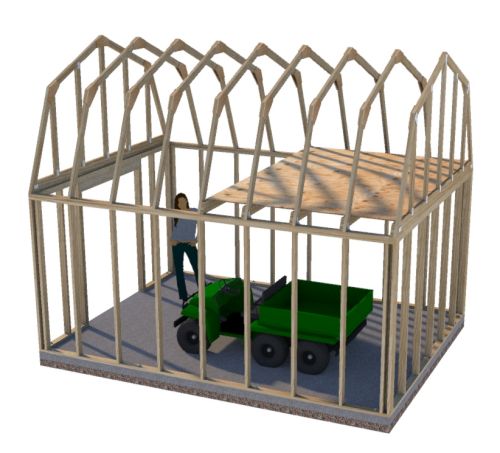
Building A Shed With Concrete Floor
When it comes to building a shed, one of the most important decisions you’ll have to make is choosing the type of flooring. While there are various options available, a concrete floor offers numerous advantages that make it a popular choice among homeowners. In this article, we will delve into the process of building a shed with a concrete floor, providing step-by-step instructions and addressing common questions along the way.
1. Planning and Preparation
Before diving into the construction process, careful planning and preparation are essential. Start by determining the size and layout of your shed, as well as its purpose. Consider any additional features you may want to include, such as windows or electrical outlets. Once you have a clear idea of your shed’s specifications, it’s time to gather the necessary tools and materials.
FAQ: What tools and materials do I need for building a shed with a concrete floor?
Answer: Some essential tools include a shovel, wheelbarrow, level, trowel, tape measure, and a power drill. As for materials, you will need concrete mix, gravel or crushed stone for the base, lumber for framing purposes, rebar or wire mesh for reinforcement, and waterproofing membrane or sealer.
2. Site Preparation
Before pouring the concrete floor, proper site preparation is crucial. Start by clearing the area where the shed will be located. Remove any vegetation or debris and ensure that the ground is level. It’s also important to check local building codes and obtain any necessary permits before proceeding.
FAQ: How do I ensure that my shed is built in compliance with local building codes?
Answer: Building codes can vary significantly depending on your location. It’s best to consult with your local building department or hire a professional contractor who is familiar with the regulations in your area. They can guide you through the process to ensure your shed meets all necessary requirements.
3. Excavation
Once the site is cleared, it’s time to excavate the area where the shed will be placed. Dig a hole that is slightly larger than the dimensions of your shed. The depth of the excavation will depend on the frost line in your region and the desired height of your shed. It’s important to dig below the frost line to prevent frost heave, which can damage the concrete floor over time.
FAQ: What is the frost line, and why is it important?
Answer: The frost line refers to the depth at which groundwater in the soil freezes during winter. It is crucial to dig below the frost line when building a shed with a concrete floor to prevent damage caused by freezing and thawing cycles. This ensures that your shed remains stable and structurally sound.
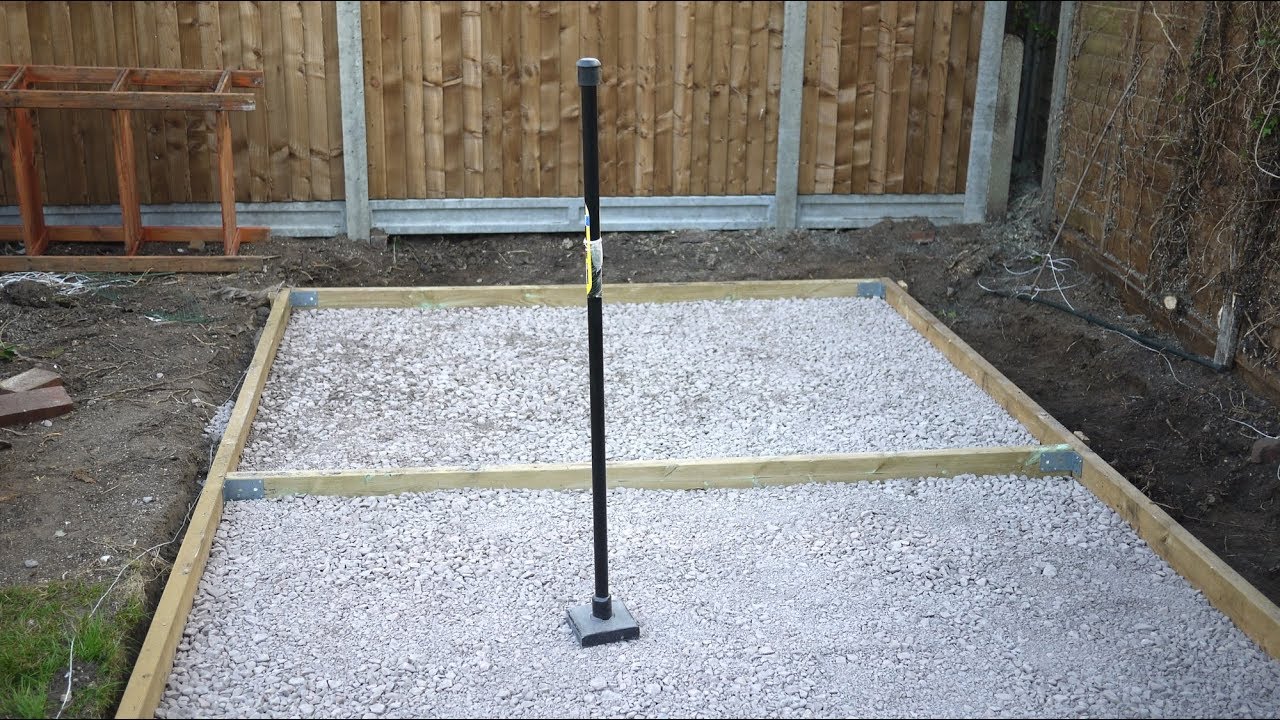
4. Base Preparation
With the excavation complete, it’s time to prepare the base for your shed’s concrete floor. Start by adding a layer of gravel or crushed stone to create a stable foundation. This will help with drainage and prevent water from accumulating under the shed. Compact the gravel using a plate compactor or by repeatedly tamping it down with a hand tamper.
FAQ: How thick should my base of gravel or crushed stone be?
Answer: The thickness of the base will depend on various factors, including soil conditions and climate. A general guideline is to have a minimum base thickness of 4 inches (10 cm). However, if you live in an area with poor soil drainage or harsh weather conditions, you may need to increase the thickness accordingly.
5. Building Forms
Before pouring The concrete, you will need to build forms to contain it. Use lumber and a level to create the perimeter of the forms, ensuring they are square and level. Secure the forms in place with stakes or screws. It’s important to make sure the forms are tightly sealed to prevent any leakage of the concrete.
FAQ: How high should I build my forms?
Answer: The height of your forms will depend on the desired thickness of your concrete floor. Typically, forms are built to be slightly higher than the desired height of the finished floor. This allows for any settling or compacting that may occur during the pouring and curing process.
6. Reinforcement
To reinforce your concrete floor, you will need to add rebar or wire mesh. This helps to prevent cracking and increases the overall strength of the floor. Place the reinforcement material within the forms, ensuring it is evenly distributed throughout the area.
FAQ: How much rebar or wire mesh do I need for my shed’s concrete floor?
Answer: The amount of reinforcement material needed will depend on several factors, including the size of your shed and local building codes. It’s best to consult with a professional contractor or engineer who can determine the appropriate amount based on your specific requirements.
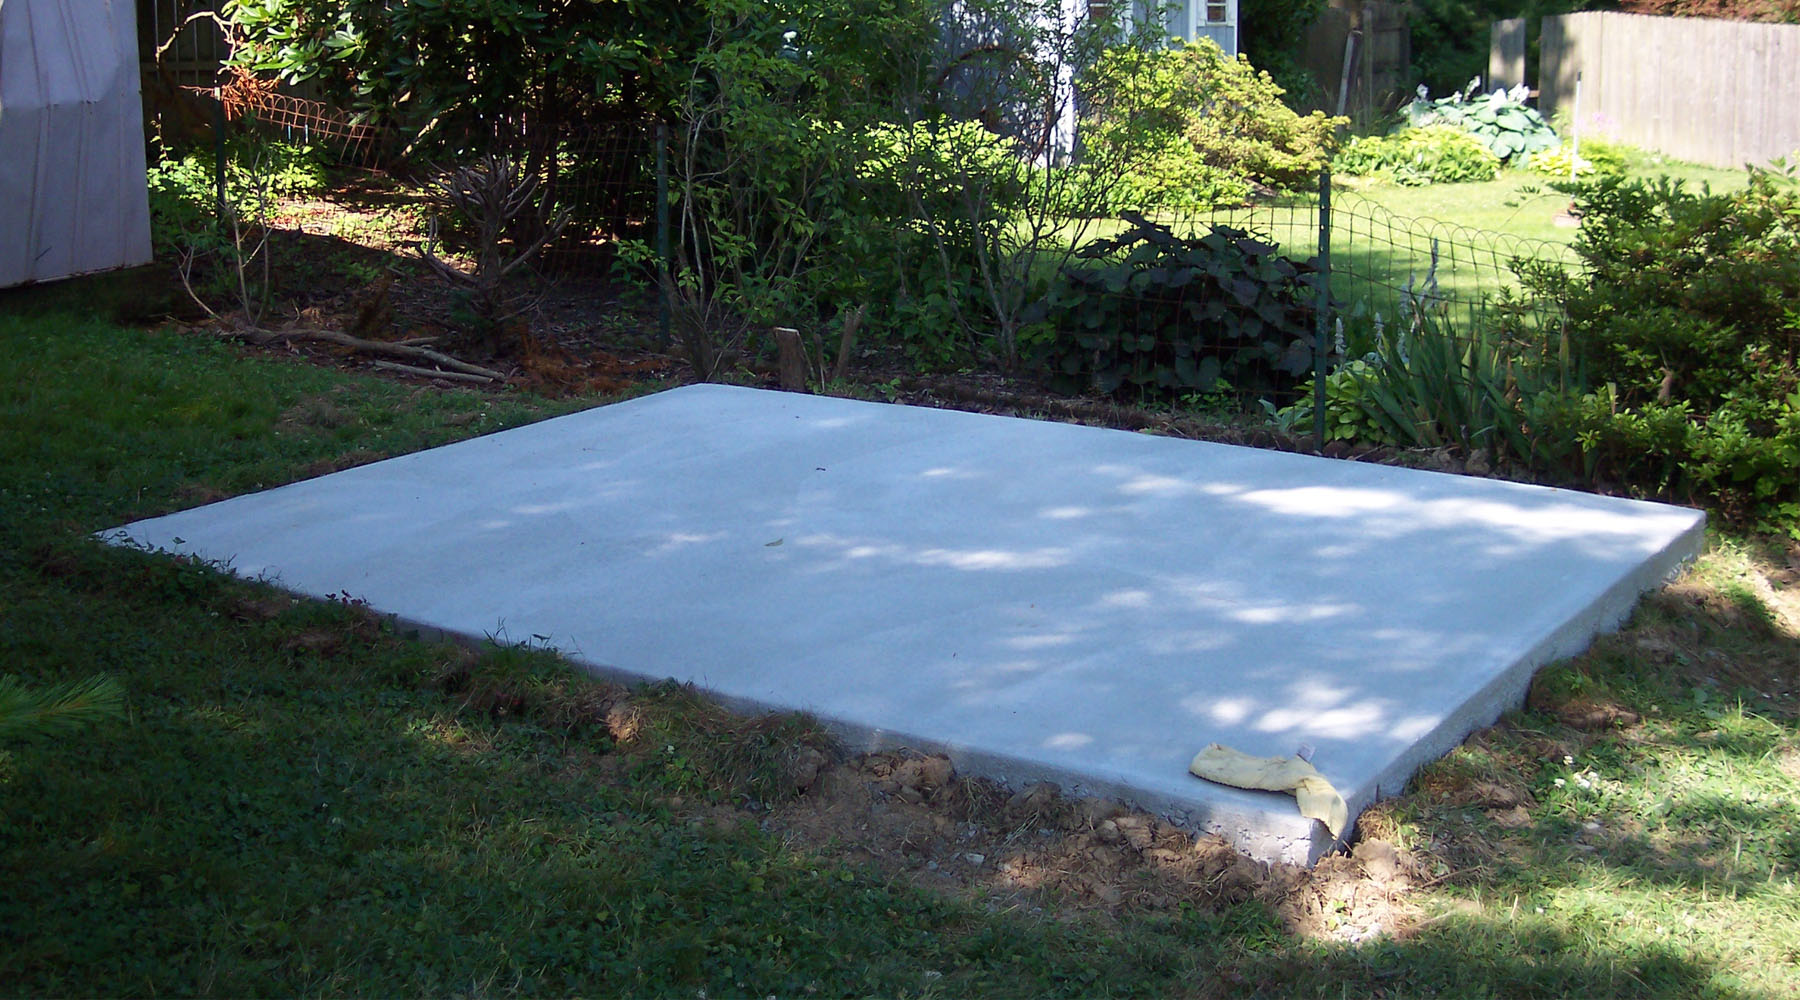
7. Pouring Concrete
Once everything is prepared, it’s time to pour the concrete for your shed’s floor. Mix the concrete according to the instructions on the bag, ensuring a smooth and consistent consistency. Use a wheelbarrow or mixer to transport and pour the concrete into the forms.
FAQ: How long does it take for concrete to cure?
Answer: The curing time for concrete can vary depending on several factors, including temperature and humidity. In general, concrete takes about 28 days to fully cure. However, it will be strong enough to walk on after about 24-48 hours. It’s important to avoid placing heavy loads on the floor until it has fully cured.
8. Finishing Touches
After pouring the concrete, you can use a trowel or float to smooth and level the surface. This will help to create a finished look and ensure that the floor is even and free of any imperfections. You may also choose to add a waterproofing membrane or sealer to protect the concrete from moisture and extend its lifespan.
FAQ: Do I need to seal my shed’s concrete floor?
Answer: While not always necessary, sealing your shed’s concrete floor can provide additional protection against moisture and staining. It can also make the floor easier to clean and maintain. If you plan on using your shed for storage or as a workspace, sealing the floor is recommended.
By following these steps and taking necessary precautions, you can ensure that your shed’s concrete floor is properly constructed and built to last. Remember to always consult with professionals when needed and adhere to local building codes for a safe and sturdy structure.