Few are left turned into participating in areas or into game rooms with dart boards or pool tables. A lot of men and women use epoxy to cover their garage floors, since the material resists hot, lubricants, chemicals, and solvents tire marks. For those structures housing significant machinery succeeds, epoxy floor covering is able to tolerate any quantity of sensible impact without charring.
Images about DIY Epoxy Kitchen Floor

Epoxy is able to withstand even the heaviest of automobile consumption, including forklifts as well as other heavy warehouse equipment. This is ideal for warehouses, garages, industrial plants and other high traffic areas. In residential homes many homeowners made use of epoxy flooring coating for their garages if the flooring is made of concrete. If in need for a much more durable combination, then one can simply modify it and have the mixture which they want.
DIY Designer Epoxy Resin Floor : 7 Steps (with Pictures

Depending upon the mix as well as style and color of epoxy, the durable completed product can stand up to between 800 4000 psi. One frequent solution to each of these flooring difficulties, which can satisfactorily succeed in a variety of scenarios, is epoxy flooring. For each and every room in the home there is a form of epoxy program. Another plan is to have it mixed to ensure that you can just apply it on the floor.
Before and After! Beautiful floor resurface was done with our FX

This's a solvent based epoxy as well as once again is thin but comes with an anti slip grit blended into it. Epoxy coatings have a recognition for resilience especially with an ability to withstand heat of as much as 140 degrees Fahrenheit which makes it ideal for winter exposures. Instead of tearing up the floor and beginning all over, or even putting down flooring that won't last or even look good for a long time, epoxy floor paint is a simpler and cheaper way to go.
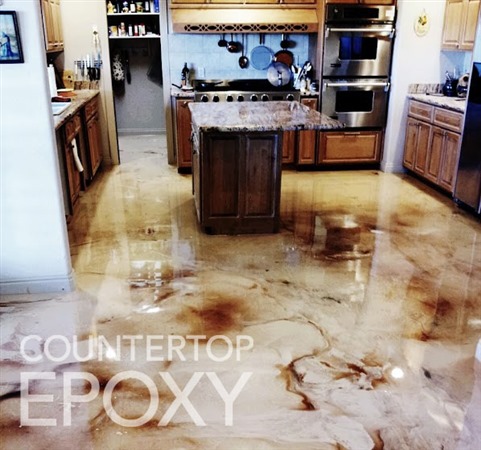
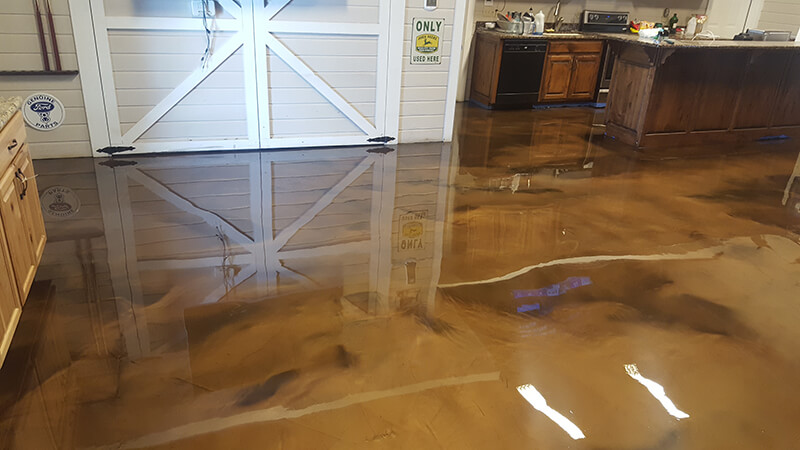
Refinish Your Kitchen Flooring with High Gloss, Durable Epoxy

Refinish Your Kitchen Flooring with High Gloss, Durable Epoxy
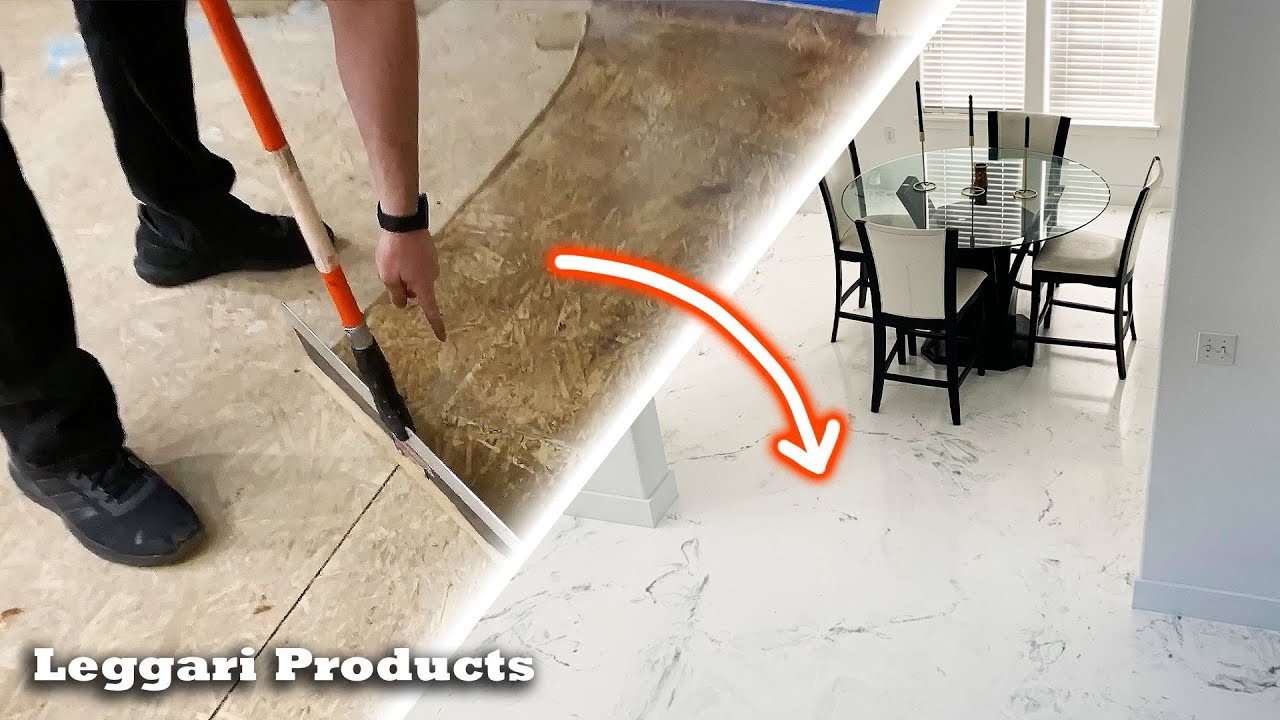
You Would Never Guess Itu0027s Over Wood Subfloor DIY Faux White Marble Luxury Floor Using Epoxy Resin
DIY Epoxy Stone Flooring » Everlast® Editorial

Learn how to design and install an epoxy floor in our most recent

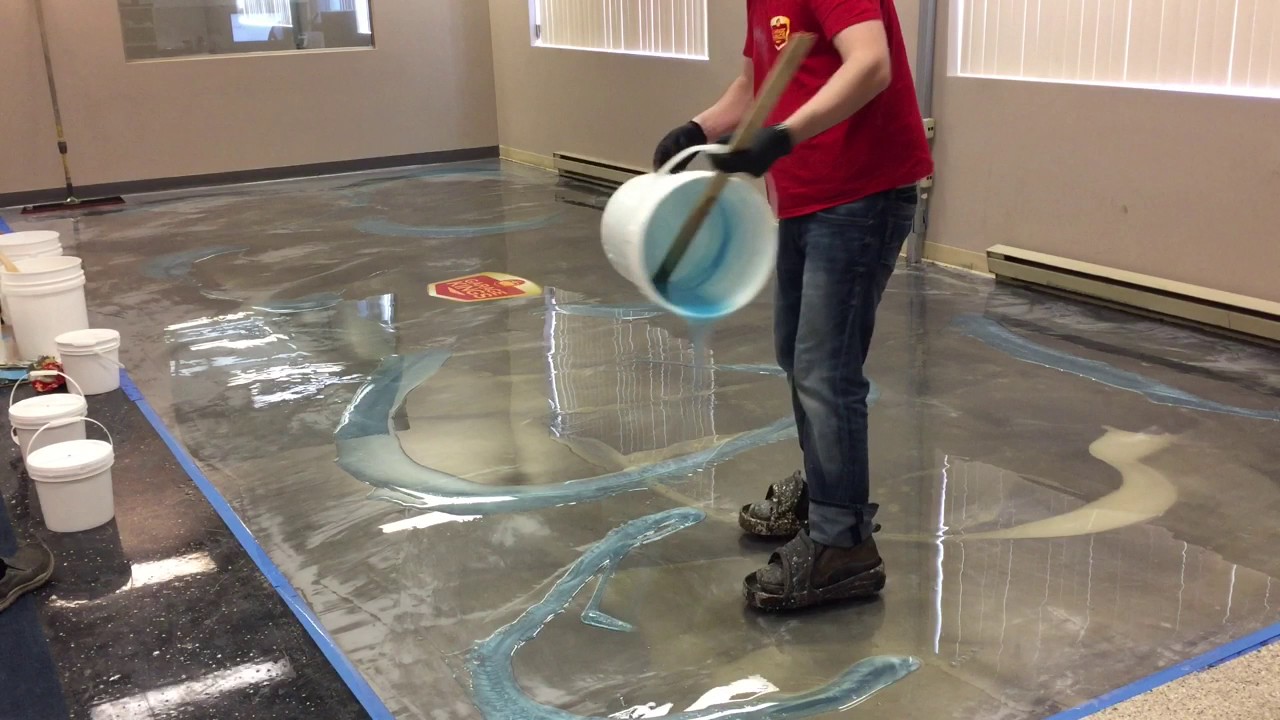
How To Do Amazing Metallic Epoxy Floor!
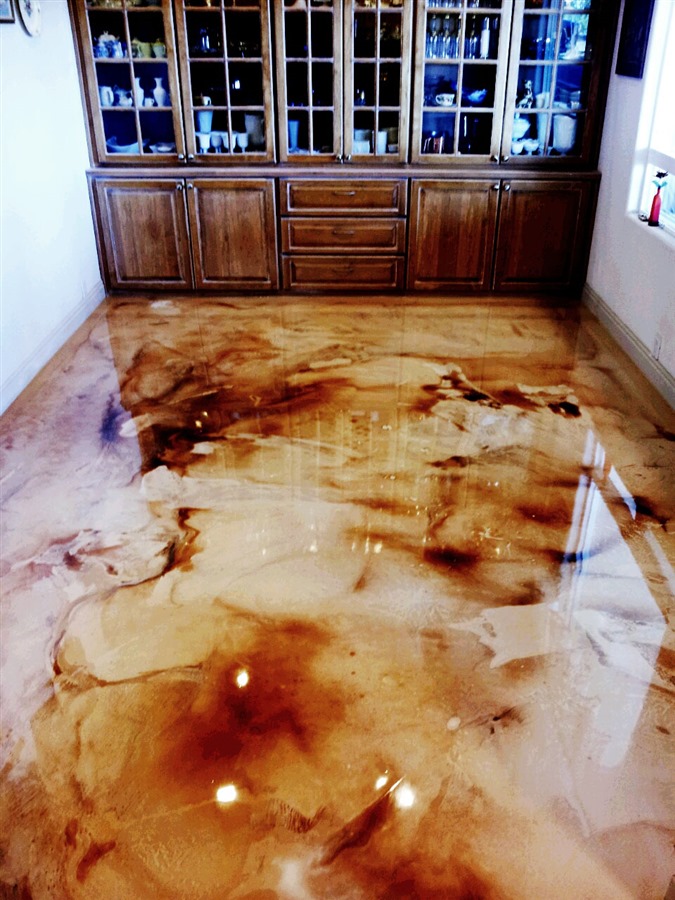
Refinish Your Kitchen Flooring with High Gloss, Durable Epoxy
30 Epoxy floor diy ideas stained concrete, concrete floors, flooring

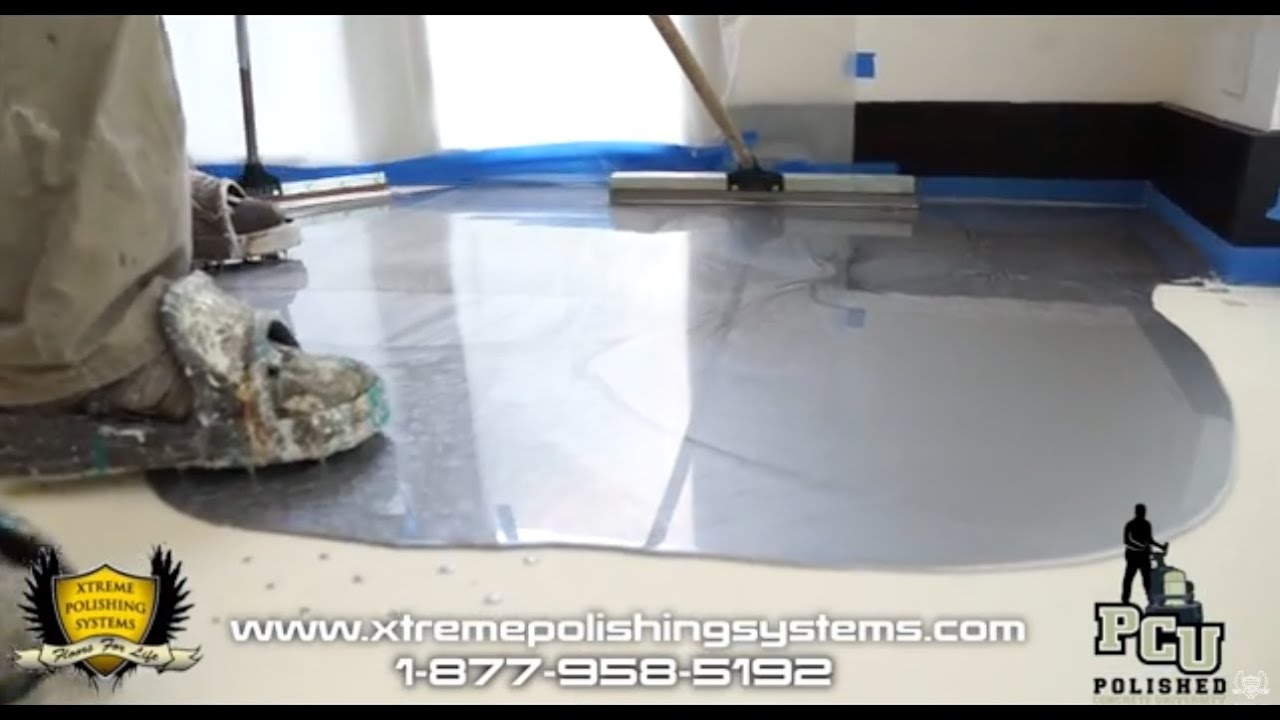
How to Residential Metallic Epoxy Floor Installation Start to Finish Xtreme Polishing Systems
DIY Metallic Epoxy Floor
Metallic Epoxy Flooring Is Beautiful And Extremely Durable – Elite
Related Posts:
- Garage Floor Epoxy Temperature
- Heavy Duty Epoxy Floor Paint
- Epoxy Floor Texture
- Benefits Of Epoxy Garage Floor
- Epoxy Flooring Thickness
- Behr Epoxy Floor Paint
- Best Epoxy Floor Covering
- Rustoleum Epoxy Floor Kit
- Epoxy Trailer Floor
- Drylok Garage Floor Epoxy
DIY Epoxy Kitchen Floor: A Step-by-Step Guide
The kitchen is the heart of the home and the floor is often the first thing that people notice when they walk in. Upgrading your kitchen with a durable, stylish epoxy flooring is an exciting and rewarding DIY project that can make your space look amazing and last for years to come. In this article, we will provide a step-by-step guide on how to install an epoxy floor in your kitchen.
What Is Epoxy Flooring?
Epoxy flooring is a resilient surface coating made from a combination of epoxy resin and hardening agents. It is highly durable, waterproof, and resistant to scratches, stains, and chemical spills. Epoxy flooring is also easy to clean, making it ideal for busy kitchens that require frequent mopping and cleaning.
Preparing the Surface
Before installing an epoxy floor in your kitchen, you need to prepare the surface by ensuring it is clean, dry, and free from dust, dirt, grease, and other debris. Start by sweeping the entire area with a broom or vacuum cleaner to remove any loose particles. Next, use a degreaser or detergent solution to scrub away any grease or oil residue from the surface. Finally, rinse the area with clean water and allow it to dry completely before proceeding with installation.
Mixing the Epoxy Resin
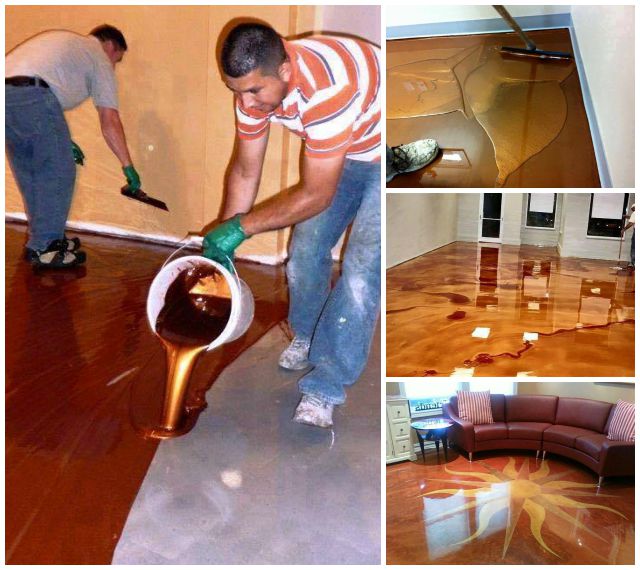
Once you have prepared the surface for installation, it’s time to mix your epoxy resin. The resin will come in two separate containers – one containing the resin itself and another containing a hardening agent or catalyst. Carefully measure equal amounts of both components according to the instructions on the packaging and mix them thoroughly until well blended.
Applying the Epoxy Resin
Now you’re ready to apply the epoxy resin to your kitchen floor. Start by pouring a thin layer of mixed resin across one corner of the room and spread it evenly with a paint roller or brush. Then continue rolling or brushing out thin coats of mixed epoxy until you have covered the entire floor surface. Make sure to work quickly as epoxy dries quickly and may become difficult to work with once it starts setting up.
Seamless Finishing
Once you have applied all of your coats of epoxy resin, use a heat gun or blow torch to melt any seams between coats for a smooth finish without visible lines or gaps. This will also help ensure that your epoxy floor is waterproof and airtight without any weak spots where moisture can get through. Allow your newly installed epoxy kitchen floor to dry overnight before walking on it or using it for regular activities in your home.
FAQs
Q1: How long does an epoxy kitchen floor last?
A1: With proper care and maintenance, an epoxy kitchen floor can last up to 10 – 15 years before needing replacement or refinishing. However, this may vary depending on factors such as foot traffic volume in your home and general wear and tear over time.
Q2: Can I install an epoxy kitchen floor myself?
A2: Yes! Installing an epoxy kitchen floor is actually quite simple as long as you follow instructions carefully and take all necessary Safety precautions. However, if you are unsure or uncomfortable with the task, it is best to hire a professional to ensure a high-quality finish and longer lifespan for your epoxy floor.
What are the benefits of a DIY epoxy kitchen floor?
1. Durable: Epoxy kitchen floors are extremely durable and easy to clean, making them ideal for high-traffic areas of the home. They are resistant to scratches, stains, grease, and moisture, making them a great choice for busy households.2. Cost-effective: DIY epoxy kitchen floors are an affordable option compared to other flooring materials. The cost will depend on the size of the floor and the type of epoxy used.
3. Customizable: With a DIY epoxy kitchen floor you can choose from a variety of colors and finishes to create a unique look that suits your home’s style. You can also create custom designs with stencils or inlays.
4. Easy installation: Installing an epoxy kitchen floor is relatively straightforward and can be completed in a matter of hours with the right supplies and tools.