With present day state wood flooring stains and finishes, the washing of wood floors has by no means been easier. Application of an inappropriate or unapproved hardwood wax/cleaner combination will harm the producer applied sealer dulling the luster, leaving steaks which are clearly apparent. This generates an incredibly durable exterior which is going to stand up to a great deal of visitors. All engineered floors comes prefinished from the factory.
Images about Hardwood Floor Nailing Pattern

Right after a few years, when the natural wood has weathered a little, it is going to be necessary to get the floors resurfaced. Though it's crucial to determine with the manufacturer specifications for this procedure and it is every bit as important if no more so that the present sub-floor is stable and properly adhered to the joists to avoid shifting, breakage or heaving of the recently installed product.
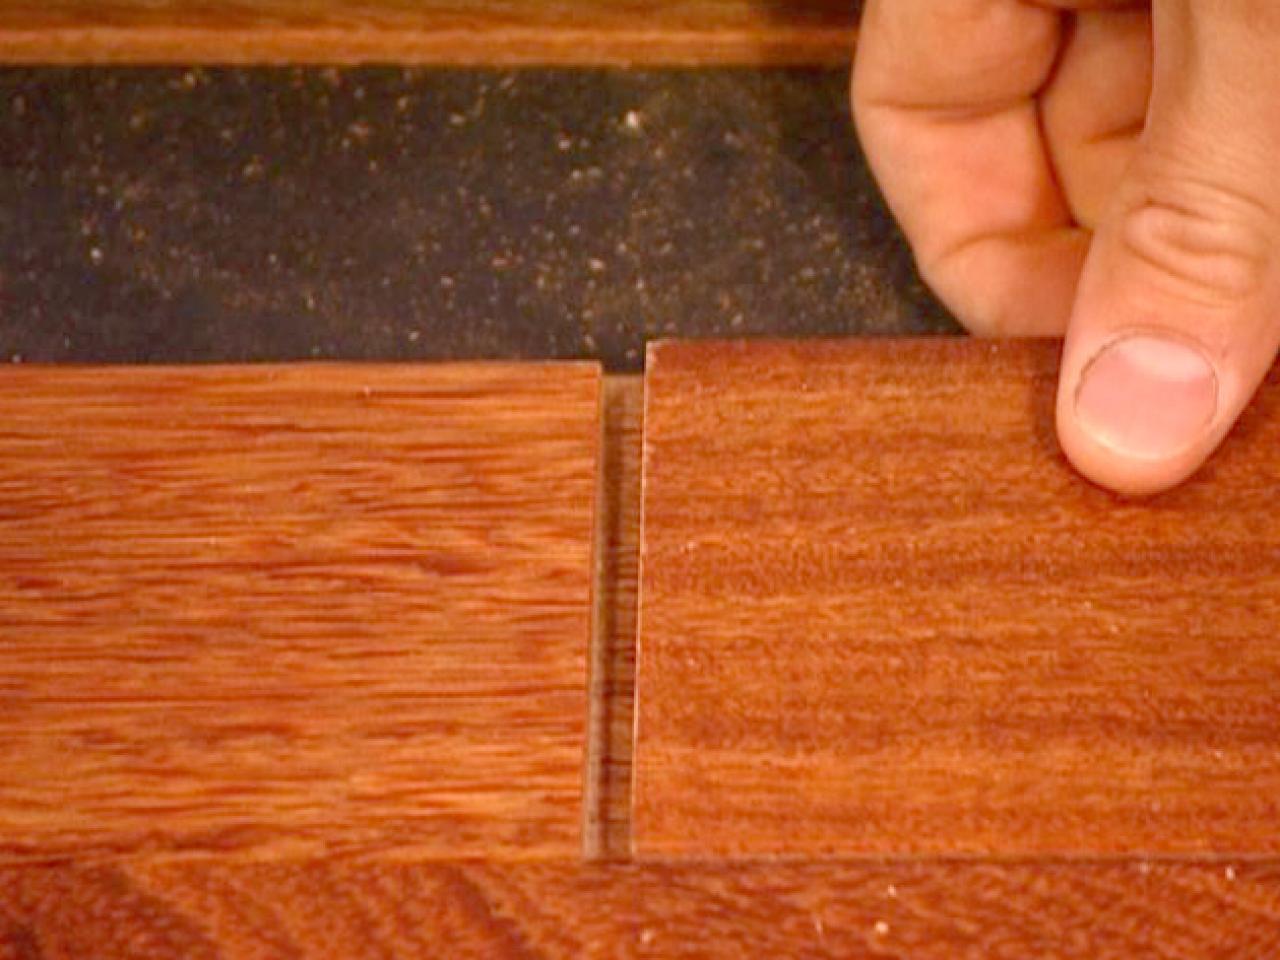
How to Face Nail Wide-Plank Wood Flooring Flooring Projects

You also need to be persistent, patient, and willing to try out things which are new in case you would like to find out how to install hardwood floor. The excellent thing about hardwood floors is they're a great investment and will pay dividends in the end with only the least care and maintenance needed. Sanding floors is actually easiest to do using a drum sander as well as an edging machine for the sides and corners of the room.
How to Properly Mechanically Fasten (Nail) a Wood Floor Wood

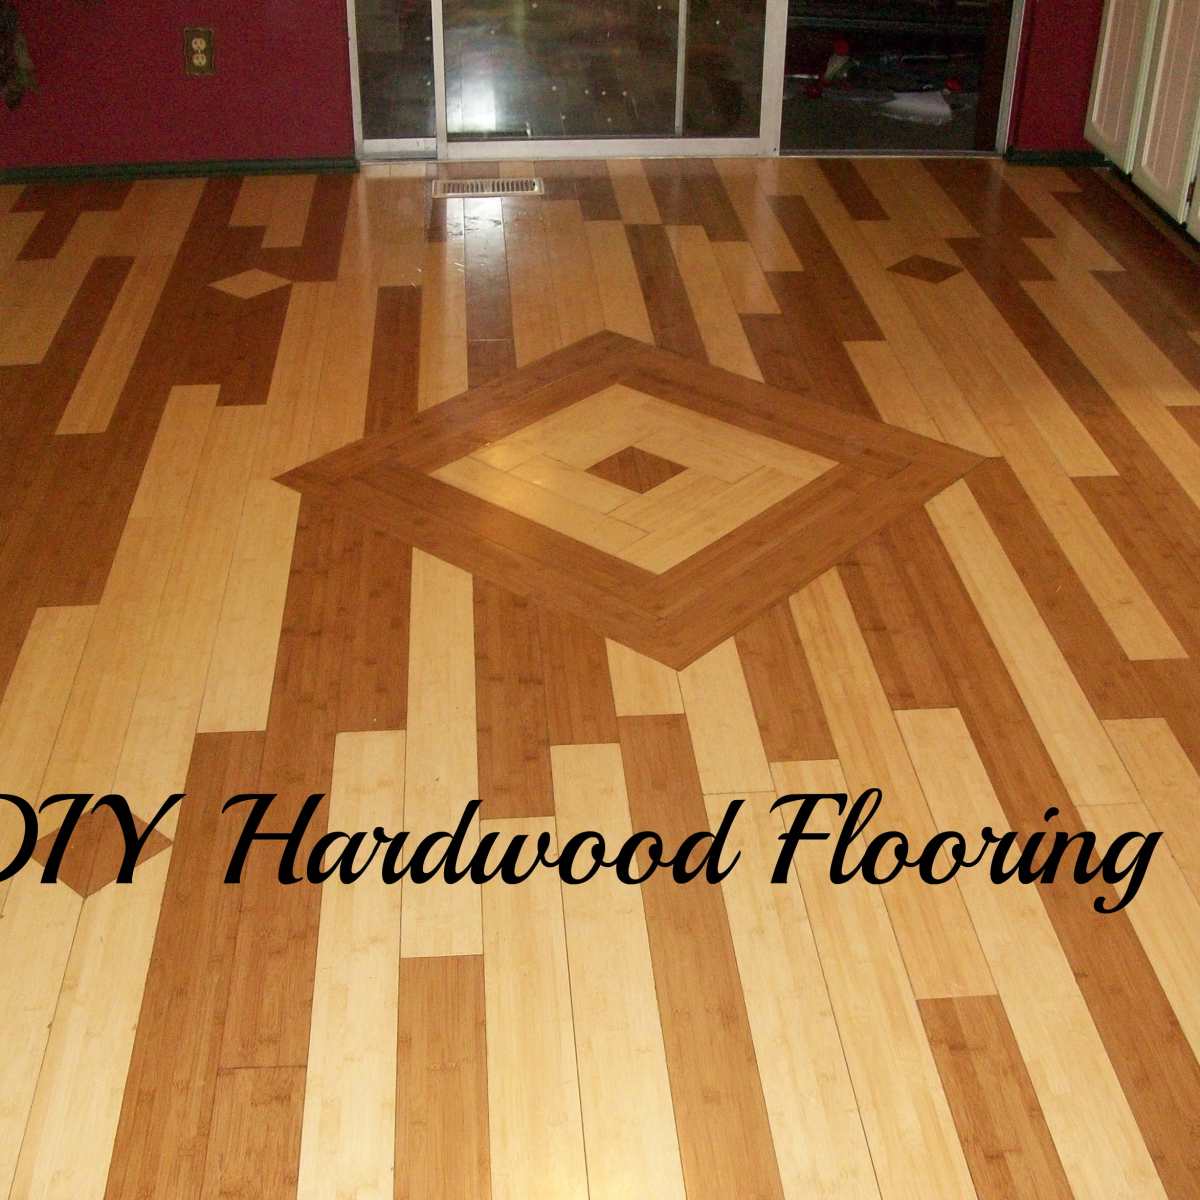
How To Install Hardwood Flooring Young House Love
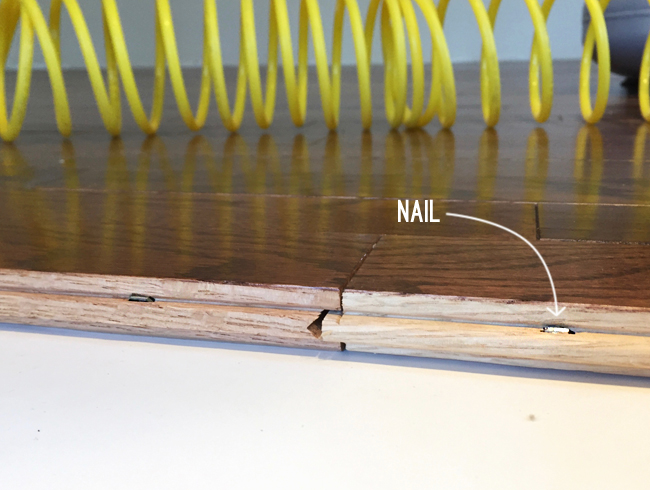
How to Nail Down Hardwood FlooringLearning Center

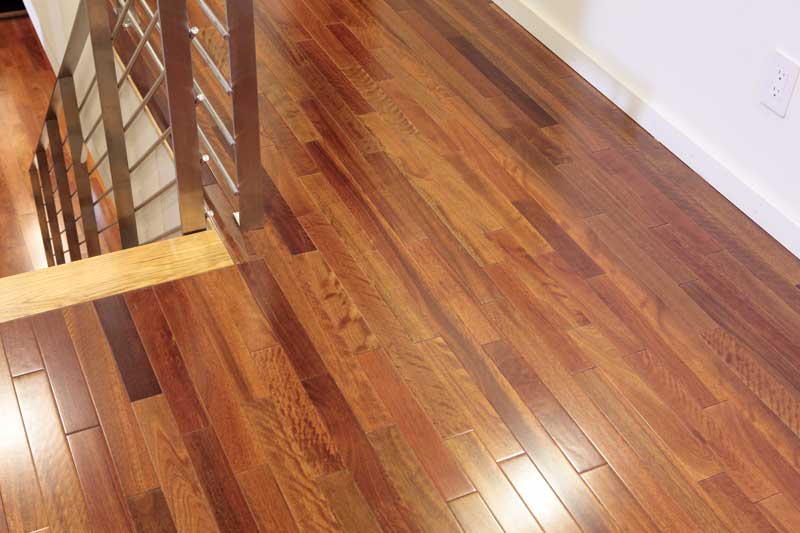
A Hardwood Floor Installation Guide for Both Engineered and Non
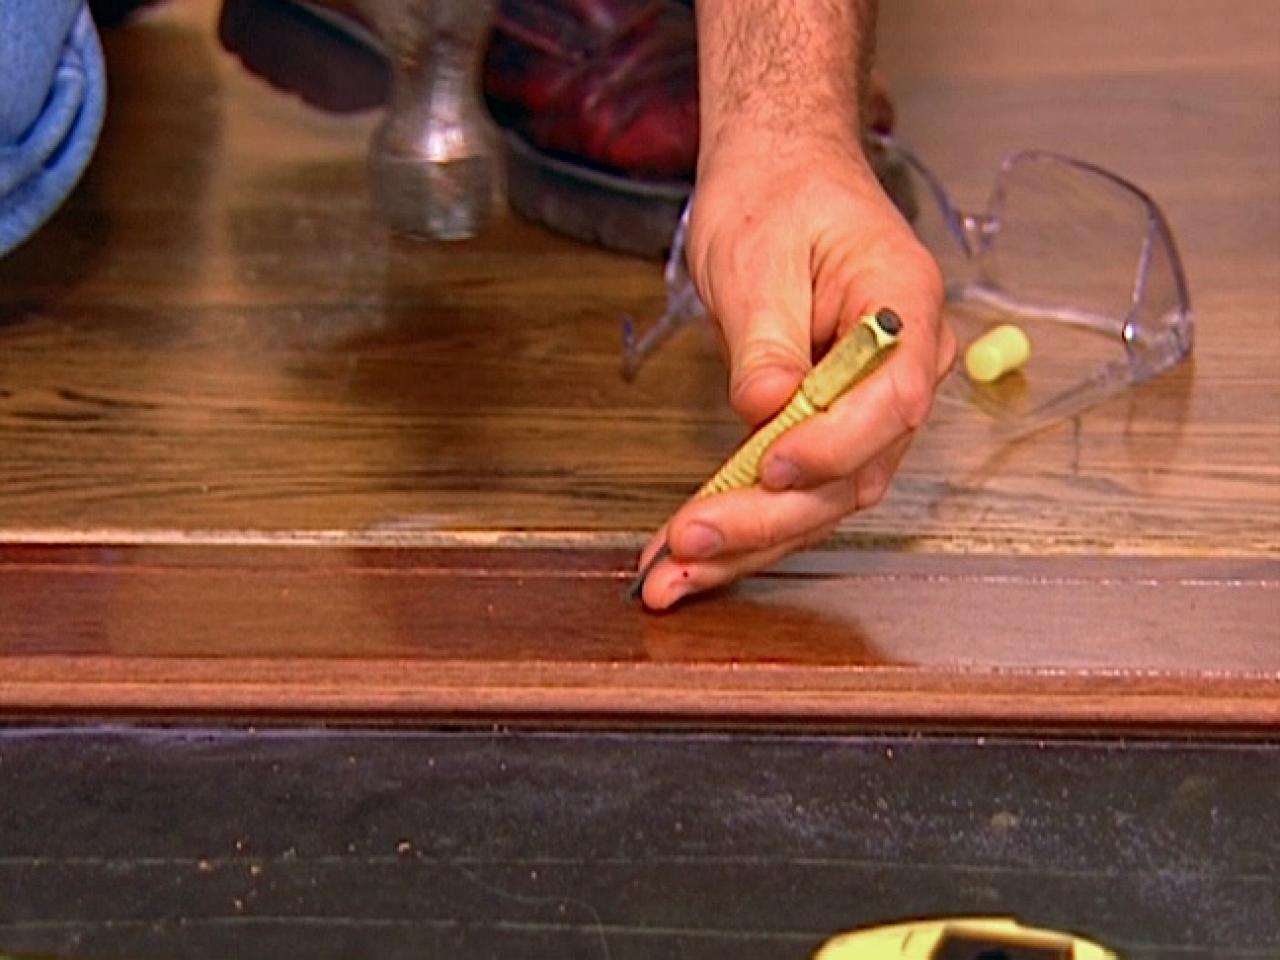
How to Install a Hardwood Floor HGTV
How Much Does Hardwood Flooring Cost? A Guide to Wood Flooring

Nailing down a quality hardwood floor with OSB – Construction Canada
Install an Engineered Floor (Nail Down) – WoodGuys

Types of Nails for Laying Hardwood Floor

How to Install a Hardwood Floor HGTV
Standard Hardwood Flooring Nail Patterns

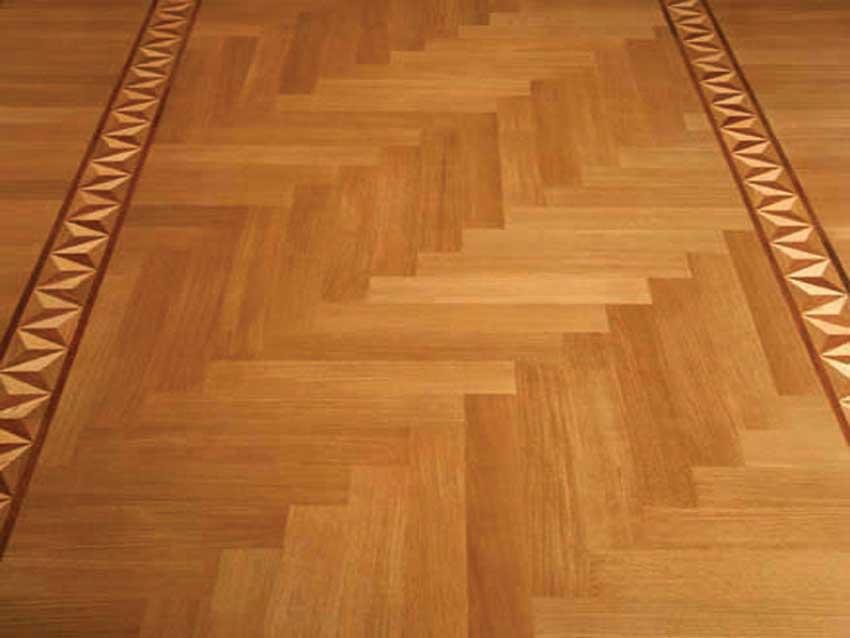
Herringbone flooring, Chevron hardwood parquet – solid or engineered
Related Posts:
- Hardwood Floor Washer And Dryer
- Where To Find Bona Hardwood Floor Cleaner
- Hardwood Floor Refinishing Fredericton
- Engineered Hardwood Flooring Made In China
- Hardwood Flooring At Lumber Liquidators
- Handscraped Maple Hardwood Flooring
- Engineered Hardwood Floor Scratch Repair
- Bostitch Hardwood Flooring Tool
- Hardwood Floor Edge Types
- Tips For Laying Hardwood Flooring
Title: Mastering the Art of Hardwood Floor Nailing Pattern: A Comprehensive Guide
Introduction:
Hardwood floors not only add timeless beauty and elegance to any space but also provide durability and longevity. One crucial aspect of installing hardwood floors is the nailing pattern, which determines the stability, aesthetics, and overall quality of the finished product. In this comprehensive guide, we will delve into every aspect of hardwood floor nailing patterns, exploring the techniques, benefits, FAQs, and everything you need to know to achieve a flawless installation.
I. Understanding Hardwood Floor Nailing Patterns
A. Importance of Nailing Patterns
Proper nailing patterns are vital for securing hardwood flooring to subfloors effectively. A well-executed nailing pattern ensures stability, minimizes squeaks or movement, and enhances the overall performance and lifespan of your wood floor.
B. Types of Flooring Nails
1. Cleat Nails:
Cleat nails are specifically designed for hardwood flooring installation. They feature serrated edges that grip the wood fibers tightly, providing excellent holding power.
2. Staple Nails:
Staple nails are another popular option for nailing hardwood floors. They come in various lengths and gauges and offer quick installation with minimal damage to the wood surface.
II. Common Nailing Patterns
A. Straight Pattern
The straight pattern is the most commonly used nailing pattern for hardwood flooring installations. It involves driving nails or staples in a straight line at regular intervals along each board’s length.
FAQ: What is the recommended nail spacing for a straight pattern?
For most installations, it is recommended to space nails or staples every 6-8 inches along the board’s length.
B. Staggered Pattern
The staggered pattern is an alternative to the straight pattern that provides additional stability and reduces the risk of long-term floor movement. In this pattern, nails or staples are placed at alternating distances along each board, creating a staggered effect.
FAQ: What is the benefit of using a staggered pattern?
The staggered pattern minimizes the chances of all nails or staples loosening at once, reducing the risk of floor movement and potential squeaks over time.
C. Random Pattern
A random nailing pattern involves placing nails or staples at irregular intervals and angles, creating a more natural, rustic appearance. This pattern is commonly used for distressed or reclaimed hardwood floors.
FAQ: Can I use a random pattern for all types of hardwood floors?
While a random pattern can add character to distressed or reclaimed wood floors, it is generally not recommended for standard hardwood flooring installations. The stability and longevity of the floor may be compromised if the nails or staples are not properly spaced.
III. Preparing for Nailing
A. Acclimation and Moisture Testing
Before installation, it is crucial to acclimate the hardwood flooring to the environment where it will be installed. This process allows the wood to adjust to the temperature and humidity levels, minimizing potential expansion or contraction issues later on. Additionally, moisture testing should be conducted to ensure that the wood’s moisture content falls within the manufacturer’s recommended range.
B. Subfloor Preparation
The subfloor must be clean, level, and dry before installing hardwood flooring. Remove any existing flooring materials, adhesive residue, or debris that could interfere with proper installation. If necessary, use a leveling compound to correct any uneven areas in the subfloor.
IV. Nailing Techniques and Best Practices
A. Starting Rows and Reference Lines Before nailing the first row of hardwood flooring, it is important to establish a straight reference line. This line will serve as a guide for the rest of the installation. Measure the width of the room and mark the center point. Use a chalk line or laser level to create a straight line parallel to one wall.
B. Pre-Drilling and Countersinking
For solid hardwood flooring, pre-drilling pilot holes before nailing can help prevent splitting. Use a drill bit slightly smaller than the diameter of the nails or staples being used. Additionally, countersinking the nails or staples slightly below the surface of the wood will allow for proper wood filler application later on.
C. Angle and Placement of Nails or Staples
When nailing or stapling, aim for a 45-degree angle towards the tongue of each board. This helps ensure a secure connection between boards. Place nails or staples approximately 1-2 inches from each end of the board and every 6-8 inches along its length.
D. Power Tools and Manual Tools
Nails can be driven using either a pneumatic nail gun or a manual nailer. Staple guns are commonly used for engineered hardwood flooring installations. It is important to follow manufacturer instructions and adjust air pressure settings accordingly when using power tools.
E. Finishing Rows
When installing subsequent rows, use a flooring mallet and tapping block to ensure tight joints between boards. Avoid using excessive force that could damage the wood surface.
F. Trim and Baseboard Installation
After completing the hardwood flooring installation, install trim pieces or baseboards to cover any expansion gaps around the perimeter of the room. These finishing touches provide a polished look while allowing for natural expansion and contraction of the wood.
V. Maintenance and Care
To maintain hardwood flooring’s beauty and durability, regular maintenance is essential.
A. Cleaning
Regularly sweep or vacuum hardwood floors to remove dirt and debris that can scratch the surface. Use a damp mop with a mild hardwood floor cleaner for deeper cleaning when necessary. Avoid using excessive water or harsh cleaning chemicals.
B. Preventive Measures
Place mats or rugs in high-traffic areas to protect the wood surface from wear and tear. Use furniture pads under the legs of heavy furniture to prevent scratches. Wipe up spills immediately to prevent water damage.
C. Refinishing
Over time, hardwood floors may show signs of wear or damage. Depending on the thickness of the wood, they can be refinished multiple times to restore their original beauty. Consult a professional for refinishing services.
In conclusion, nailing patterns and techniques play a crucial role in the successful installation of hardwood flooring. Proper preparation, including acclimation and subfloor preparation, is essential for long-term stability. Regular maintenance and care will ensure that hardwood floors remain beautiful and durable for years to come.