Polished concrete flooring can be the initial step on to creating an allergy free setting. Polished concrete is turning into a favorite office floor choice due to the longevity of its, simple upkeep, and wide choice of styles as well as decorative options. You can likewise mop it using warm, soapy water, but only utilizing a mild detergent.
Images about How To Get Polished Concrete Floor
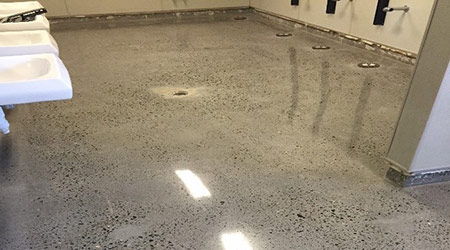
The mantra is to cover the current concrete floor with a small cement based overlay to produce a fresh brand new photo to concentrate on. Once they’ve cured, latest concrete installations are easily and inexpensively brought to a gloss. When setting up polished concrete floors, the concrete is sanded with a diamond surfaced polishing machine.
Polishing Existing Concrete Floors – Can You Polish Old Concrete

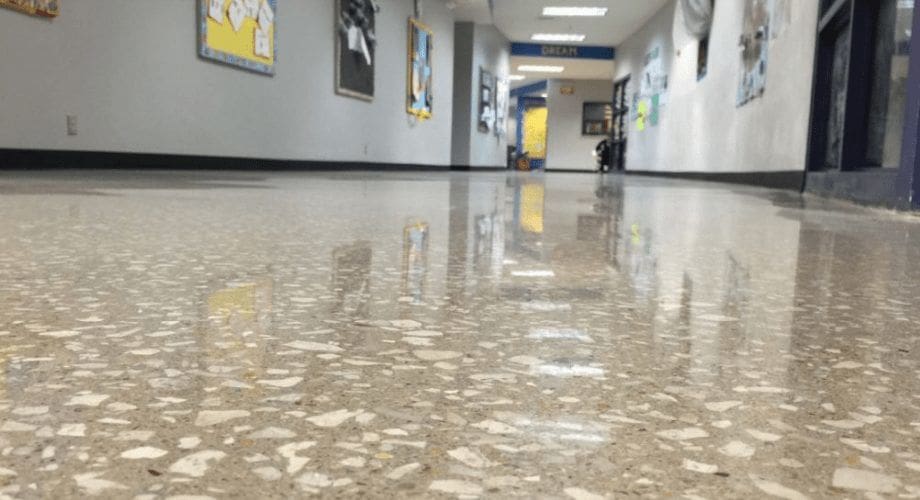
The labor involved in matching a concrete floor is extremely substantial, nevertheless, the price of the items is lower than for many other sorts of flooring. This’s because of the stylish looks and effects that may be produced, but also within part to the many pros that polished concrete has over other flooring selections.
What Is Polished Concrete? Your Concrete Flooring Guide AllStar Blog
Common issues with cleaning polished concrete flooring.

Can All Concrete Be Polished? All Things Flooring
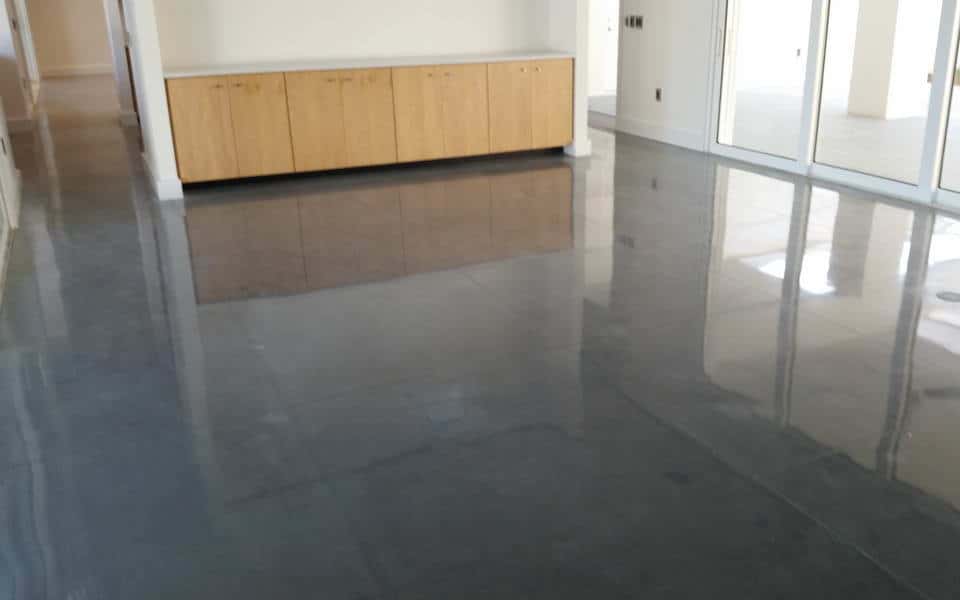
8 Benefits of Building a Home with Polished Concrete Floors [2022
The Rise (and Shine) of Mechanically Polished Concrete Floors

Ugly, unacceptable polished concrete What are my options? And
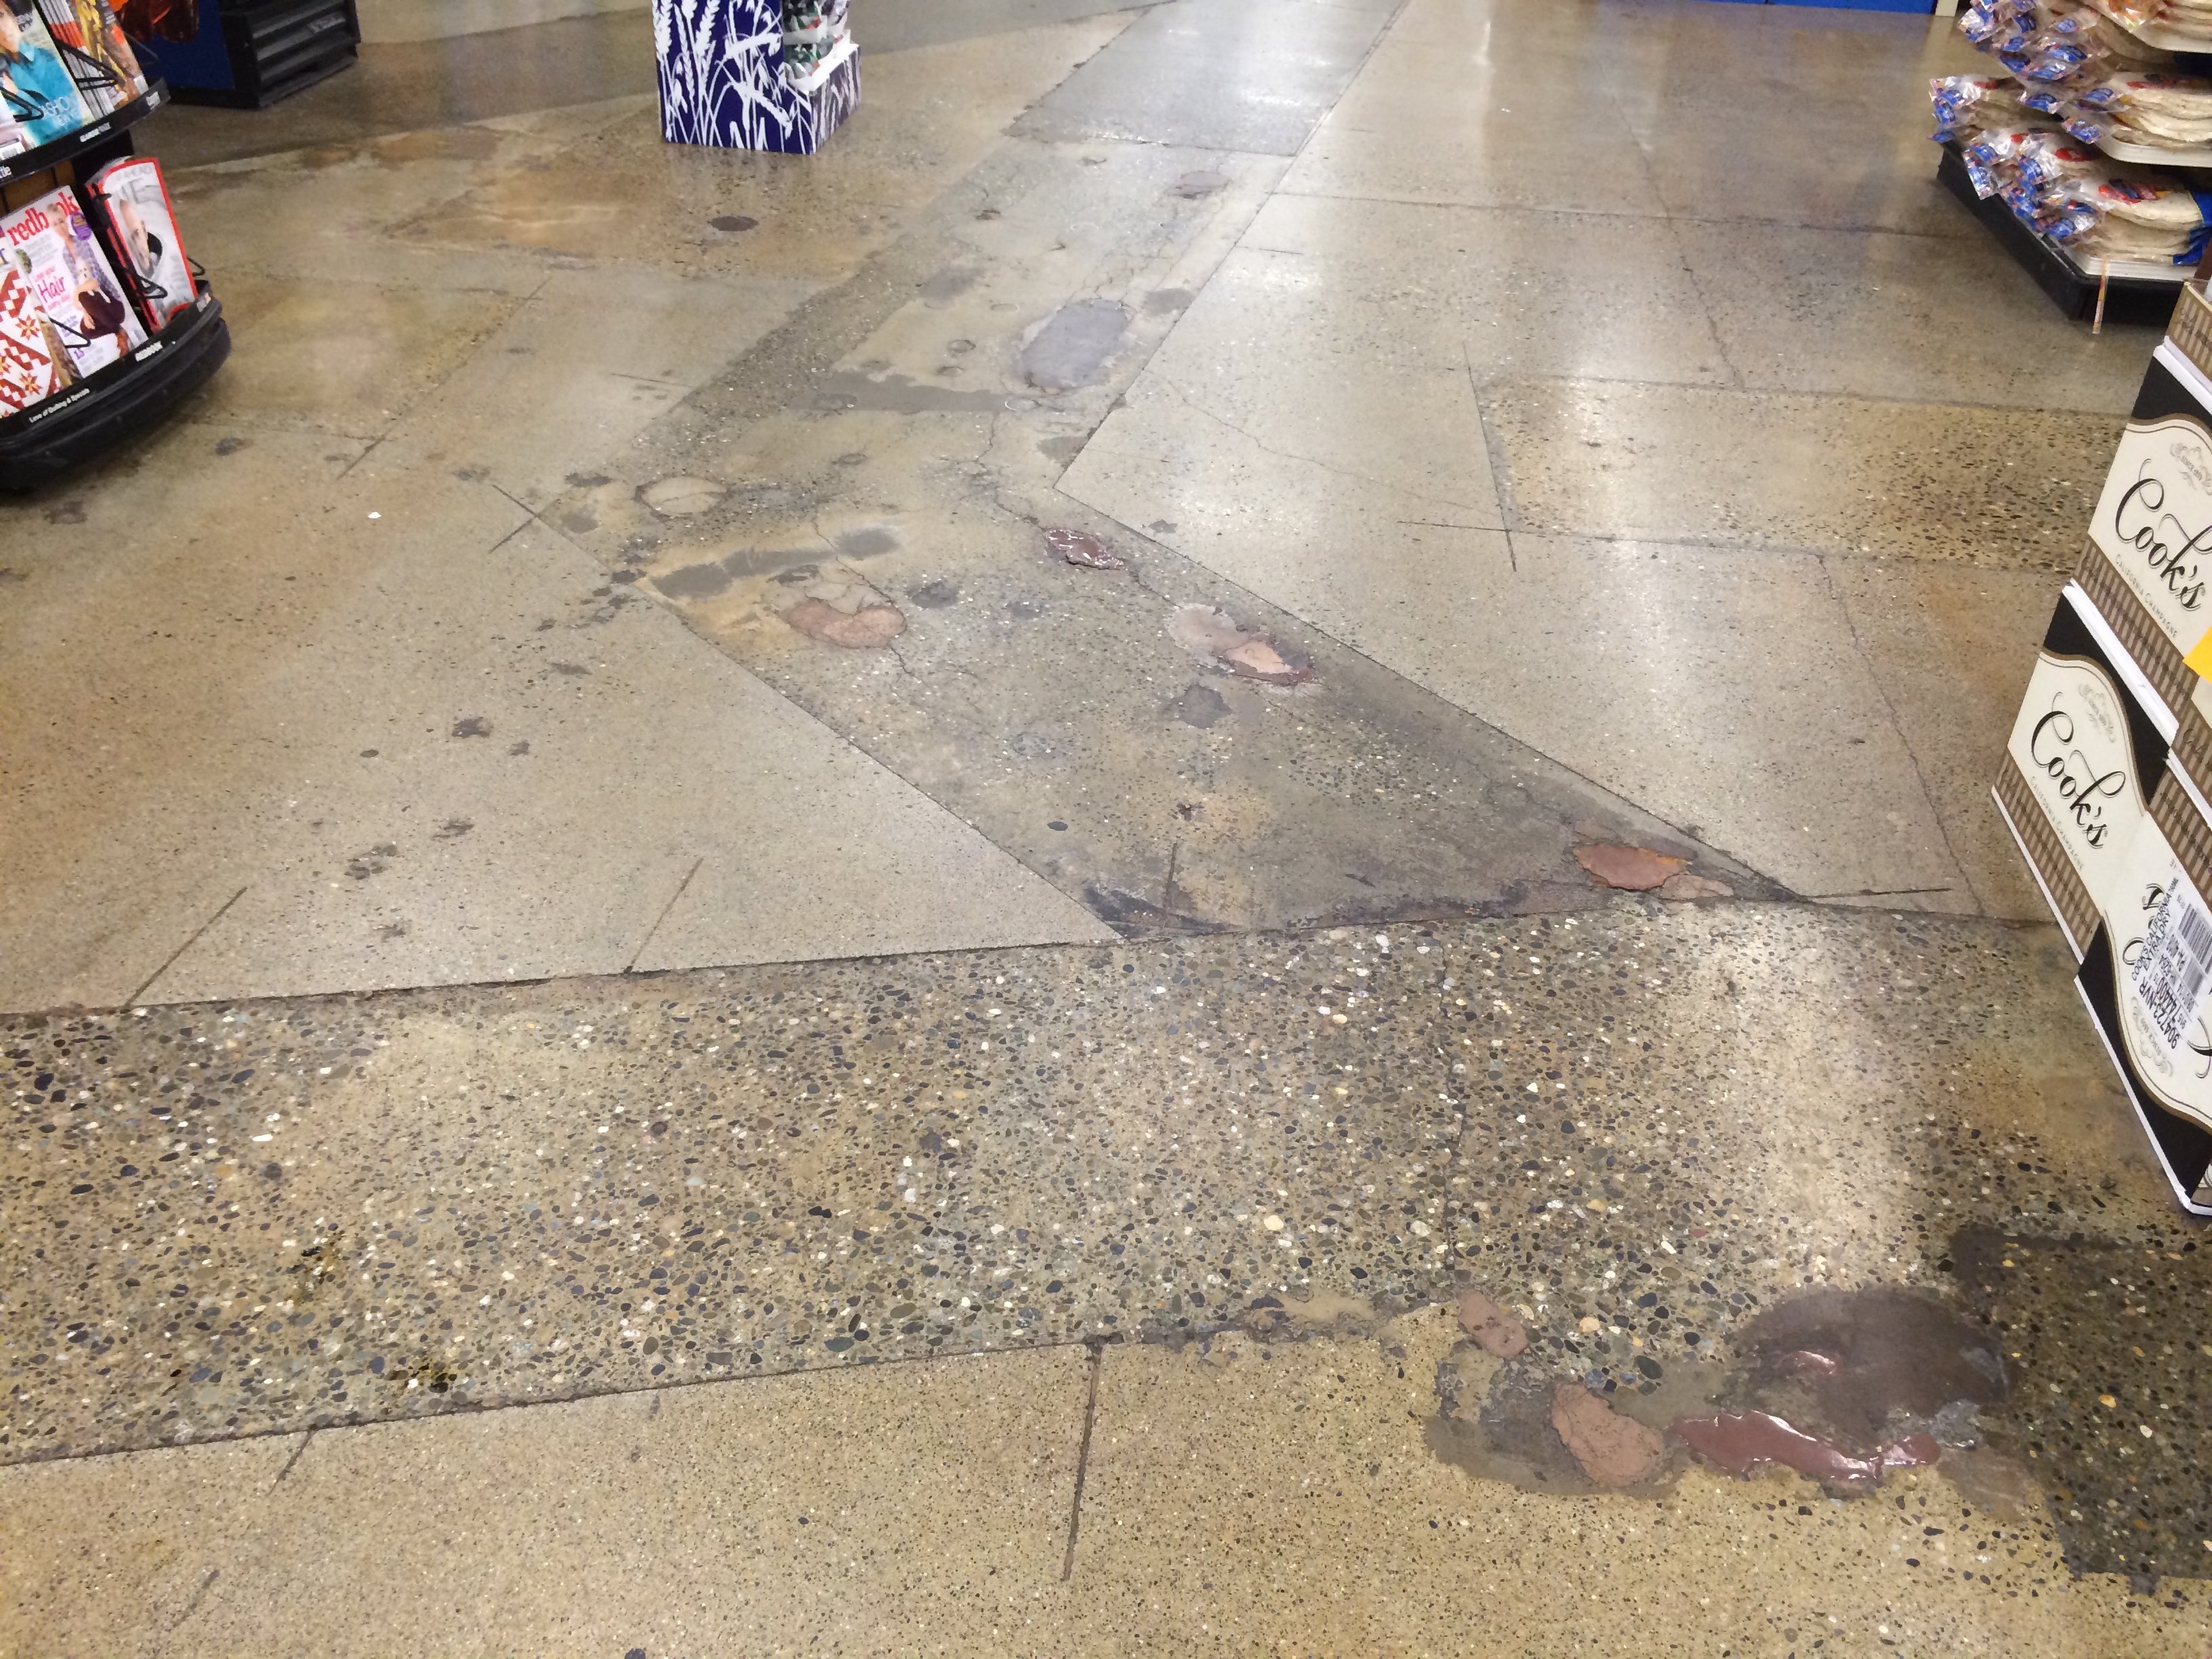
Concrete polishing reality check
How to Polish Concrete Floors Concrete Densifier and Floor Sealer

Polished Concrete Guide

Polished Concrete – Danek Flooring Inc. Flooring Contractor

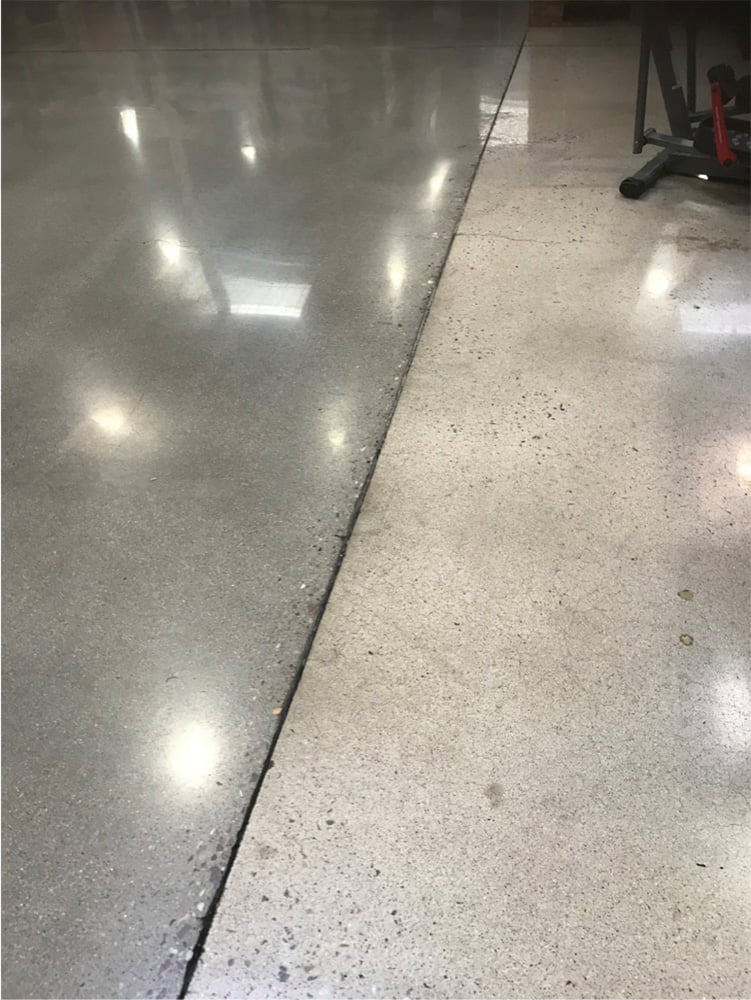
Stained Concrete vs. Polished Concrete Floors – Advance Industrial
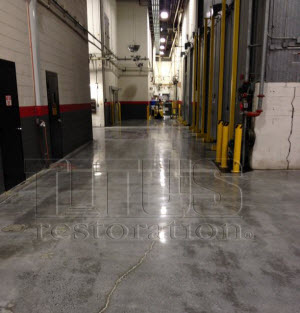
Cleaning Polished Concrete Floors Titus Restoration
Related Posts:
- Concrete Floor Uneven How To Fix
- Fixing Sole Plate To Concrete Floor
- How To Repair Hairline Cracks In Concrete Floor
- How To Marbleize Concrete Floors
- Concrete Floor Bearers
- How To Pour Concrete Floor With A Drain
- Dap Concrete Floor Leveler And Patch
- Polished Concrete Floor Designs
- Tiling A Concrete Floor Leveling
- Concrete Floor Interior Design
How to Get Polished Concrete Floor
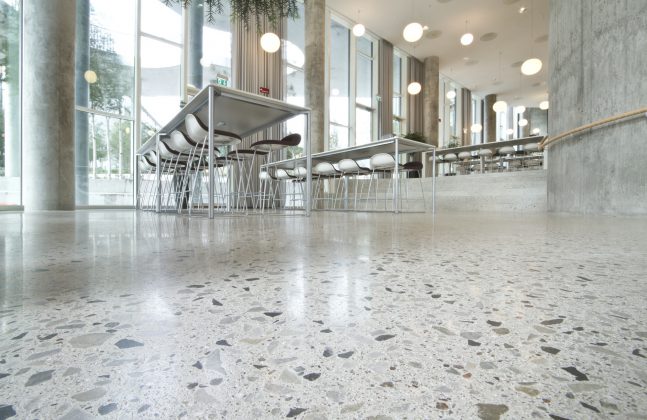
If you are looking to enhance the aesthetics of your space while also improving its durability and sustainability, a polished concrete floor is an excellent choice. Polished concrete floors offer a sleek, modern look that can complement any style of decor. Additionally, they are highly durable, easy to maintain, and environmentally friendly. In this article, we will guide you through the process of getting a polished concrete floor, from surface preparation to final polishing.
1. Surface Preparation:
Before the polishing process can begin, it is crucial to prepare the concrete surface properly. This step ensures that the final result will be flawless. Here are the steps involved in surface preparation:
a) Cleaning: Start by thoroughly cleaning the floor to remove any dirt, dust, grease, or other contaminants. Sweeping and vacuuming the area will help eliminate loose debris.
b) Repairing Cracks and Imperfections: Inspect the floor for any cracks, chips, or other imperfections. Fill these areas using an epoxy or other suitable repair material. This step is crucial as it ensures a smooth and even surface for polishing.
c) Grinding: The next step in surface preparation is grinding the concrete floor. This process removes any existing coatings or sealers and levels out uneven spots on the floor. It is typically done using a diamond grinding machine equipped with various grit sizes of diamond tooling. The grinding process may need to be repeated multiple times with progressively finer grits until the desired level of smoothness is achieved.
d) Densifying: After grinding, it is common practice to apply a concrete densifier to the surface. A densifier chemically reacts with the concrete, filling in pores and making it more resistant to staining and wear. It also helps improve the overall hardness of the concrete.
2. Polishing Process:
Once the surface has been properly prepared, it is time to proceed with the actual polishing process. This involves several steps that gradually refine the surface to achieve the desired level of shine. Here’s how it is done:
a) Initial Polishing: Begin by using a coarse-grit diamond abrasive to remove any remaining scratches or imperfections from the grinding process. The machine used for polishing is typically a planetary grinder, which spins multiple diamond discs in different directions to achieve even and consistent results.
b) Transitional Polishing: After the initial polishing, switch to finer grit abrasives to further refine the surface. This step removes the scratches left by the previous grit and begins to create a smoother, more polished appearance.
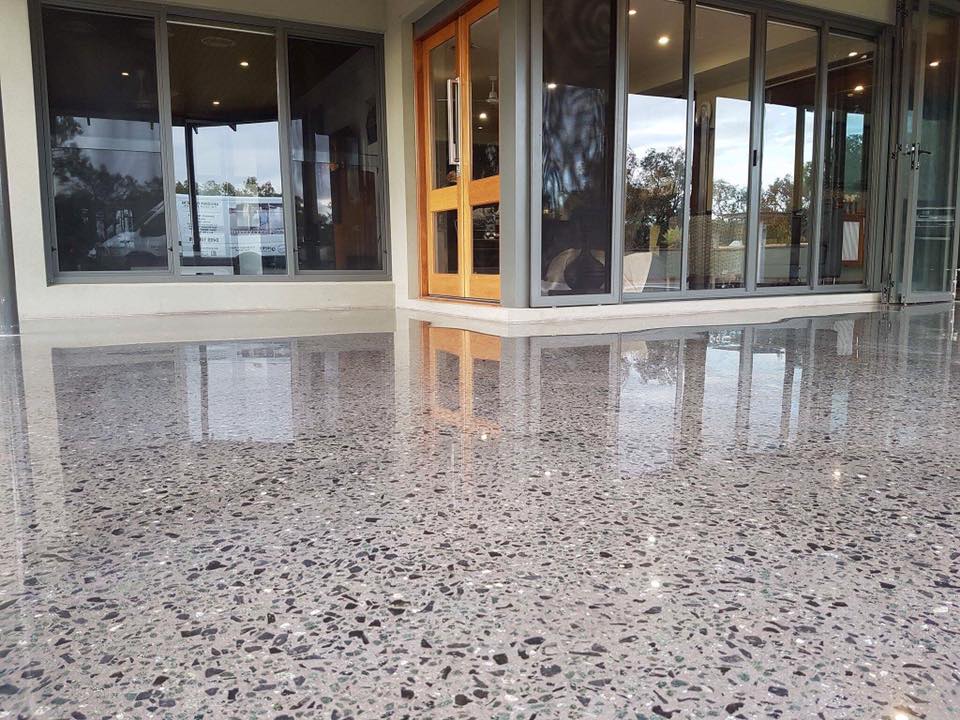
c) Final Polishing: In this stage, progressively finer grits of diamond abrasives are used to achieve the desired level of gloss and reflectivity. The final polishing steps can include up to 3,000-grit resin-bonded diamond discs or even diamond impregnated pads. The result is a highly reflective, mirror-like finish that enhances the natural beauty of the concrete.
d) Staining or Dyeing (Optional): If you desire a colored polished concrete floor or want to enhance the existing color of your concrete, staining or dyeing can be applied at this stage. Stains penetrate into the concrete surface, creating rich, translucent colors, while dyes provide more vibrant and uniform hues. Once applied, stains or dyes should be sealed with an appropriate sealer to protect them from wear and fading.
3. Sealing and Maintenance:
To ensure your polished concrete floor remains in pristine condition for years to come, it is essential To properly seal and maintain it. Here are the steps to follow:
a) Cleaning: Regularly clean the floor using a pH-neutral cleaner and a soft mop or microfiber cloth. Avoid using harsh chemicals or abrasive cleaners, as they can damage the surface.
b) Sealing: Apply a high-quality concrete sealer to protect the polished surface from stains, spills, and wear. There are various types of sealers available, such as acrylic, epoxy, or urethane. Choose a sealer that is specifically designed for polished concrete floors and follow the manufacturer’s instructions for application.
c) Maintenance: Periodically inspect the floor for any signs of wear or damage. If necessary, touch up any areas with a suitable repair material. Additionally, consider applying a maintenance coat of sealer every few years to maintain the floor’s appearance and protection.
By following these steps and properly maintaining your polished concrete floor, you can enjoy its beauty and durability for many years to come. Polished concrete floors have become a popular choice for both residential and commercial spaces due to their sleek, modern appearance and durability. To achieve the perfect polished finish, it is important to follow a systematic process. Here are the steps involved in polishing concrete floors:
1. Surface Preparation: Before polishing the concrete floor, it is crucial to prepare the surface properly. This involves removing any existing coatings or sealers, repairing cracks or damages, and thoroughly cleaning the floor.
2. Grinding Process: The grinding process consists of using diamond abrasive pads or discs of varying grits to remove any imperfections from the concrete surface. The process typically starts with a coarse grit and gradually progresses to finer grits to achieve a smooth and even surface.
a) Initial Grinding: Use coarse-grit diamond abrasives to remove any major imperfections such as rough patches or deep scratches.
b) Fine Grinding: Switch to finer grit abrasives to further refine the surface and remove the scratches left by the coarse-grit abrasives. This step helps create a smoother and more polished appearance.
c) Final Grinding: Use progressively finer grits of diamond abrasives to achieve the desired level of gloss and reflectivity. This stage can involve using up to 3,000-grit resin-bonded diamond discs or diamond impregnated pads for a highly reflective finish.
3. Staining or Dyeing (Optional): If desired, stains or dyes can be applied at this stage to add color or enhance the existing color of the concrete. Stains penetrate into the concrete surface, creating rich translucent colors, while dyes provide vibrant and uniform hues. It is important to seal stained or dyed surfaces with an appropriate sealer to protect them from wear and fading.
4. Sealing and Maintenance: To ensure your polished concrete floor remains in pristine condition, it is essential to properly seal and maintain it.
a) Cleaning: Regularly clean the floor using a pH-neutral cleaner and a soft mop or microfiber cloth. Avoid using harsh chemicals or abrasive cleaners that can damage the surface.
b) Sealing: Apply a high-quality concrete sealer designed for polished floors to protect the surface from stains, spills, and wear. Acrylic, epoxy, or urethane sealers are commonly used options. Follow the manufacturer’s instructions for proper application.
c) Maintenance: Periodically inspect the floor for signs of wear or damage. Touch up any areas as needed with suitable repair materials. Consider applying a maintenance coat of sealer every few years to maintain the floor’s appearance and protection.
By following these steps and properly maintaining your polished concrete floor, you can enjoy its beauty and durability for many years to come.