With modern advanced wood flooring discolorations as well as finishes, the washing of wood floors has in no way been easier. Application of an inappropriate or unapproved hardwood wax/cleaner mixture will damage the producer put on sealer dulling the sheen, leaving steaks that are clearly noticeable. This creates a really durable exterior that will stand up to a good deal of traffic. All engineered floors comes prefinished from the factory.
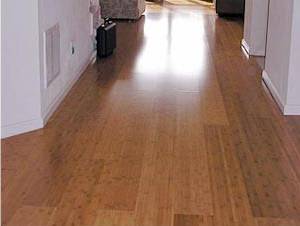
Images about Hardwood Flooring Installation Direction
With the numerous stratum of engineered hardwood pressed and glued together in reverse directions, under extraordinary pressures, the dimensional stability of engineered wood floors is a superior product for installation on un-even floors, transferring a dull and inefficient room into an area with charm and character. And also for your sake, I truly hope you followed the instructions closely & picking out high quality flooring.
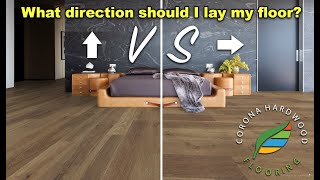
Which direction to run hardwood flooring
Although, there's a little truth to this concept, depending on the choice of flooring material, failure to offer sufficient safety to any floor will result in harm and deterioration of the flooring surface area at an accelerated rate with probable replacement in just 5 seasons. In the past, presumptions have indicated that all the maintenance that is recommended for a wood floor is actually light mopping as well as sweeping.
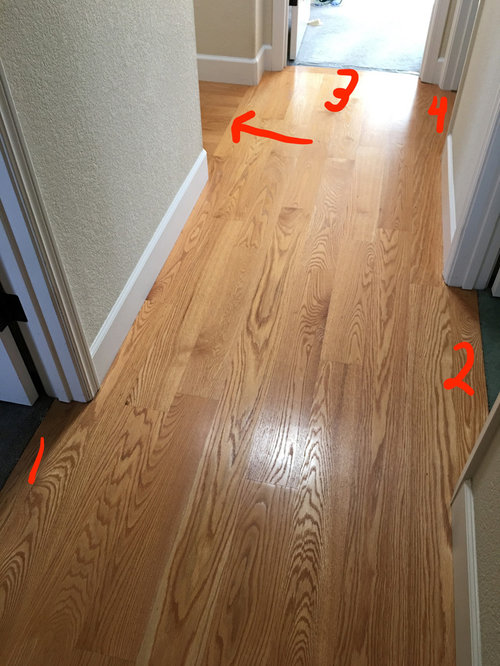
Determining the direction to lay/install Hardwood, Laminate, or

Which Direction To Lay Your Hardwood Flooring RiteRug Flooring

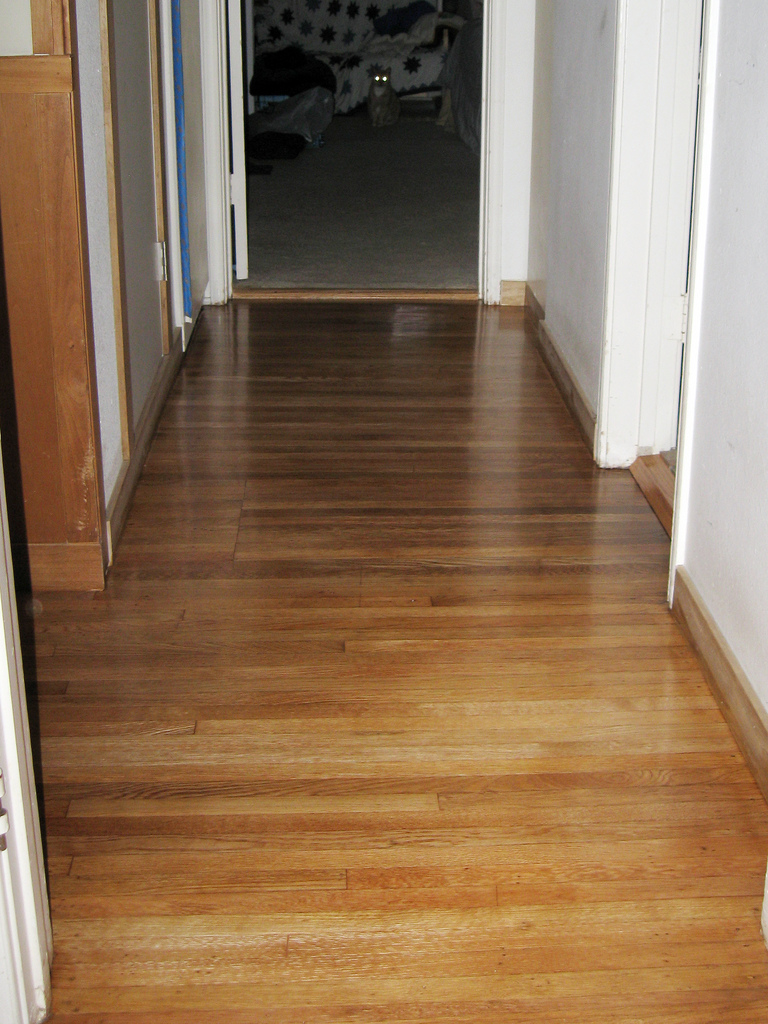
Hardwood Floor Slats: Which Direction Should They Go? – Hardwood

Which Direction Should My Hardwood Floors Be Installed? – Elegant

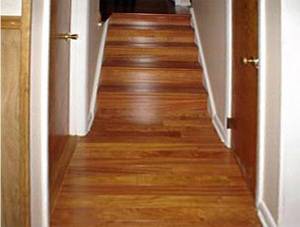
Are Your Hardwood Floors Headed in the Right Direction? You Tell Us.
Choosing The Direction For Installing Your New Hardwood Flooring
Hardwood Floor Direction Guide: How to Lay Wood Flooring

Which Direction Should You Run Your Wood Flooring? Well u2014 DESIGNED

Choosing The Direction For Installing Your New Hardwood Flooring
What Direction Should You Run Your Hardwood Floor? – Builders Surplus

Which Direction To Lay Your Hardwood Flooring RiteRug Flooring
DIRECTION CHANGE IN WOOD FLOORING Wood floor design, Laying wood

Related Posts:
- Anderson Hardwood Floor Dealers
- Hardwood Flooring Installation Procedures
- Hardwood Floor Nailer Or Stapler
- White Oak Select Hardwood Flooring
- Hardwood Floor Grey Oak
- Vintage Hardwood Flooring Company
- What Is Acacia Hardwood Flooring
- Decorating With Hardwood Flooring Ideas
- Hardwood Floors To Match Maple Cabinets
- Engineered Hardwood Flooring Best Brands
Introduction to Hardwood Flooring Installation Direction
Installing hardwood flooring is an exciting project that will result in a beautiful and timeless addition to any home. Whether you are a do-it-yourselfer or hiring a professional, the basic steps for hardwood floor installation remain the same. Knowing the right guidelines and direction before you begin this project can make all the difference for a successful outcome.
Steps for Preparing Your Floor
Before you install your hardwood floor, it is important to properly prepare the subfloor beneath it. Check that the subfloor is level and free of any debris, dust, or dirt. If there is any damage or water stains, repair them before proceeding with installation. Make sure there is no moisture present; you can use a moisture meter to check. Once the subfloor is ready to go, lay down an underlayment such as foam padding between the subfloor and the hardwood.
Installing Your Hardwood Flooring
When installing your hardwood floor, determine which direction you want the boards to run in. Typically, it is best to install them perpendicular to the joists running through your home. Once you’ve determined which way they should run, you will need to measure and cut each board accordingly. Start with the longest wall and work your way towards the doorways and other obstacles such as staircases or pillars. You may need to use a jigsaw or circular saw for this step.
It is important to leave at least ¼” expansion gap around all edges of the room when installing your hardwood flooring. This allows for natural expansion due to temperature changes and helps protect against buckling or warping of the wood over time. Use spacers between boards during installation if necessary for keeping even spacing between each board during installation. Lay down adhesive if needed according to manufacturer instructions and place boards into position one at a time, tapping them into place with a mallet or hammer if needed. Make sure boards are flush together on each side before moving onto the next board.
Finishing Your Hardwood Floor Installation
Once your hardwood floor has been installed, you may need to sand it down if adhesive was used during installation process. This helps ensure that all boards are level and even with one another after installation has been completed. You can also choose to stain and finish your floors then if desired; follow manufacturer instructions when applying any type of finish or sealant to your floors. Finally, install any mouldings such as baseboards along with shoe moulding along doorways as desired for a finished look around your new hardwood floors.
FAQs About Hardwood Floor Installation Direction
Q: What tools do I need for installing my hardwood floors?
A: Common tools needed for installing hardwood floors include measuring tape, circular saw or jigsaw, hammer or mallet, foam padding for underlayment (if desired), adhesive (if needed) and spacers (if needed). Other tools such as sanders may be needed depending on how you choose to finish your floors after installation has been completed.
Q: What type of adhesive should I use when installing my hardwood floors?
A: Generally speaking, most types of hardwoods can be installed using either nails Or an adhesive such as a urethane-based glue. It is best to check with the manufacturer of your hardwood flooring for the appropriate adhesive to use during installation.
What tools are needed for hardwood flooring installation?
1. Tape measure2. Hammer
3. Nail gun and nails
4. Chalk line
5. Pry bar
6. Circular saw
7. Jigsaw
8. Electric screwdriver
9. Safety glasses
10. Knee pads or foam underlayment
11. Adhesive or nails, depending on your flooring type
12. Tapping block
13. Sander (optional)
14. Stain (optional)
15. Finish (optional)