In the event you choose to do your floor in a single solid color, try using colored grout which contrasts with the color of the tile. Pick prints which blend best with the theme of the bathroom and the home on the whole. Simple, affordable, tough, durable and liquid resistant, these tiles are a good choice for almost any type of bathroom.
Images about How To Clean Grout In Bathroom Floor
If you buy and put in unglazed tiles, they are going to need to be cleansed often as they absorb stains quite easily. In choosing the floor of yours it is crucial to remain inside the means of yours, also to choose something which you can deal with for a while, since replacing bathroom floors is not something that a lot girls do on a routine basis.
How to Clean Grout: Tile u0026 Grout Cleaning Tips – Simply Spotless
As soon as you get past looks, durability, cost and other commonalities, you need to contemplate one component that not one other area of your house has (except the basement) – water. The cost range in addition varies. They also give excellent grip and stop one from slipping. One other good suggestion will be to randomly intersperse brightly colored tiles on a white colored tiled floor.
8 Super Effective Methods for Cleaning Grout – Bob Vila
How to deep clean grout lines in tile u2014 Sno-King Carpet
8 Super Effective Methods for Cleaning Grout – Bob Vila
How to Clean Grout Cleaning Grout Stains HGTV
The Ultimate Guide to Cleaning Grout: 10 DIY Tile u0026 Grout Cleaners
How to Clean Tile Grout (with Homemade Solutions)
How to Clean Grout (Easy Household Cleaning Ideas That Save Time u0026 Money) Clean My Space

The 5 Best Grout Cleaners – This Old House
/cdn.vox-cdn.com/uploads/chorus_asset/file/19928166/Grout_Cleaner_iStock_1186431301.jpg)
Cleaning Tip: How to clean tile floors and white grout linesFast and easy!

How to Clean, Refresh, and Seal Your Grout (Easily and Cheaply!)

5 Brilliant Ways to Clean Floor Grout without Scrubbing
Advantages of Professional Tile u0026 Grout Cleaning
Related Posts:
- How Do You Clean A Bathroom Floor
- Cheap Ideas For Bathroom Flooring
- Bathroom With Blue Tile Floor
- Square Bathroom Floor Tiles
- Classic Bathroom Tile Floors
- Bathroom Floor And Shower Tile Ideas
- How To Tile A Wooden Bathroom Floor
- How To Design A Bathroom Floor Plan
- Best Way To Clean Bathroom Floor Tile Grout
- Terracotta Bathroom Floor Tiles
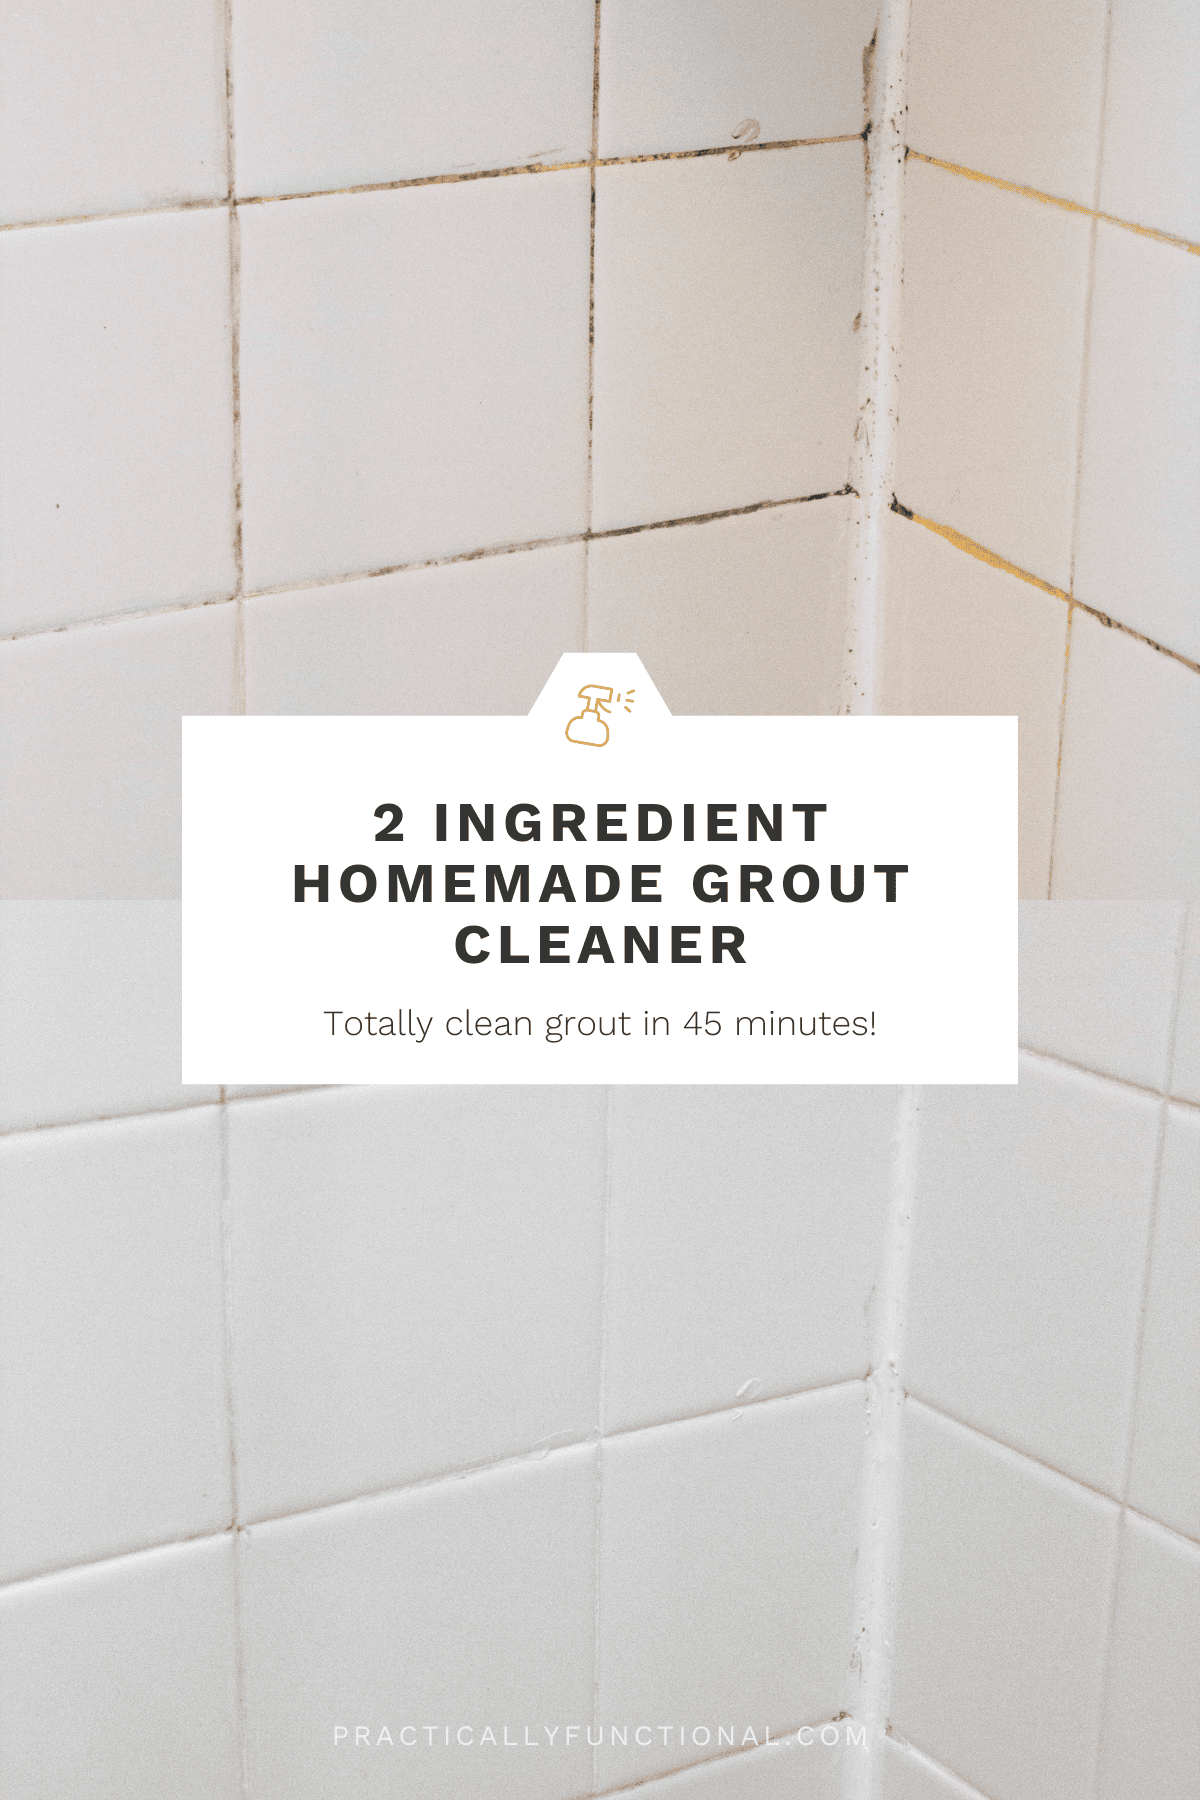
How to Clean Grout in Bathroom Floor
Introduction:
Maintaining a clean and hygienic bathroom is essential for a healthy living environment. One of the areas that often gets neglected during cleaning routines is the grout in bathroom floors. Grout, the material used to fill the gaps between tiles, can accumulate dirt, grime, and mold over time if not properly cleaned. However, with the right techniques and tools, cleaning grout in a bathroom floor can be a relatively easy task. In this article, we will provide you with a step-by-step guide on how to clean grout in your bathroom floor effectively.
I. Gather the necessary supplies:
Before embarking on the grout cleaning process, gather all the necessary supplies to ensure that you have everything you need at hand. Here are some items you will need:
1. Baking soda: Baking soda is an excellent natural cleaner that can effectively remove stains from grout without causing any damage.
2. Vinegar: Vinegar is another natural ingredient that works wonders when it comes to removing dirt and grime from grout lines.
3. Hydrogen peroxide: Hydrogen peroxide is particularly effective in eliminating mold and mildew growth in grout.
4. A small brush or an old toothbrush: A small brush or an old toothbrush will allow you to scrub the grout thoroughly.
5. Hot water: Hot water helps to loosen dirt and stains from the grout lines.
6. Microfiber cloth or mop: A microfiber cloth or mop will help you wipe away the loosened dirt after cleaning.
II. Preparing the cleaning solution:
Now that you have gathered all your supplies, it’s time to prepare an effective cleaning solution for your grout. Follow these steps:
1. Mix baking soda and water: In a small bowl, combine baking soda with enough water to form a thick paste-like consistency.
2. Apply the paste to the grout lines: Using your finger or a small brush, apply the baking soda paste onto the grout lines. Ensure that all the grout lines are covered with the paste.
3. Let it sit: Allow the baking soda paste to sit on the grout for at least 15 minutes. This will give it time to penetrate and break down any stains or dirt.
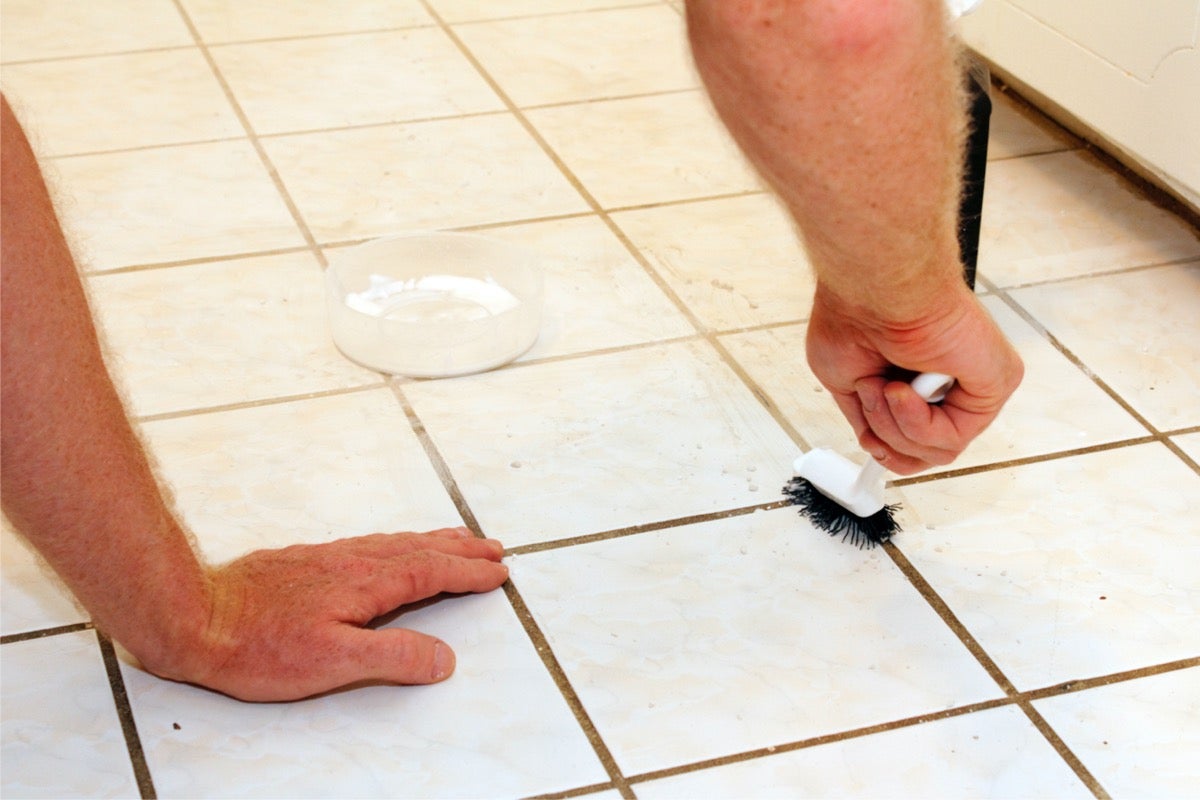
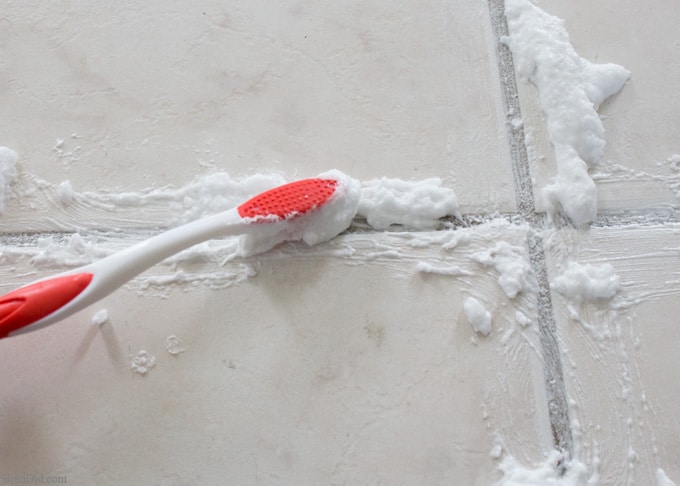
III. Scrubbing the grout:
After allowing the baking soda paste to sit for some time, it’s time to start scrubbing the grout. Follow these steps:
1. Start scrubbing: Using a small brush or an old toothbrush, begin scrubbing the grout lines in a circular motion. Apply gentle pressure to avoid damaging the grout.
2. Focus on stubborn stains: For stubborn stains, you can apply some vinegar directly onto the grout lines before scrubbing. The vinegar will help break down tough stains and make them easier to remove.
3. Rinse with hot water: Once you have thoroughly scrubbed all the grout lines, rinse with hot water to remove any remaining residue.
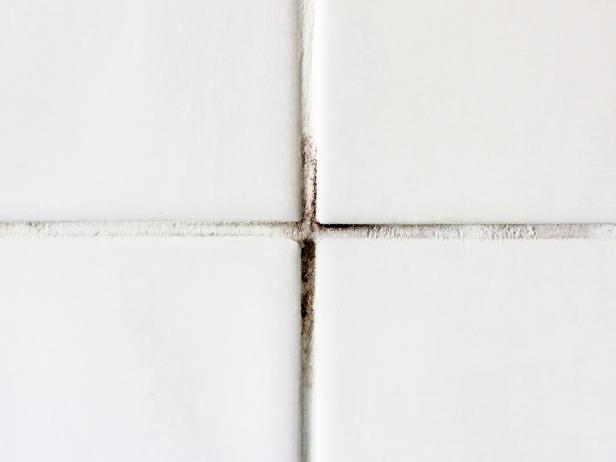
IV. Treating mold and mildew:
If you notice mold or mildew growth in your grout, it’s important to take immediate action to prevent it from spreading further. Here’s what you can do:
1. Mix hydrogen peroxide and water: In a spray bottle, mix equal parts hydrogen peroxide and water.
2. Spray onto moldy areas: Spray the hydrogen peroxide solution directly onto the moldy areas of your Grout. Make sure to fully saturate the affected areas.
3. Let it sit: Allow the hydrogen peroxide solution to sit on the moldy areas for at least 10 minutes to allow it to penetrate and kill the mold and mildew.
4. Scrub with a brush: After letting the solution sit, use a small brush or toothbrush to scrub the moldy areas. Apply gentle pressure to avoid damaging the grout.
5. Rinse with hot water: Once you have scrubbed the moldy areas, rinse with hot water to remove any remaining residue and kill any remaining mold spores.
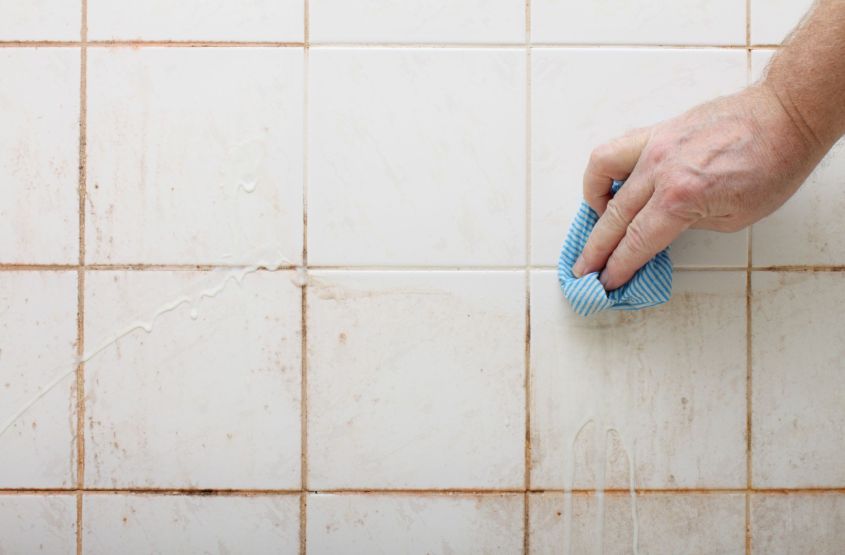
V. Wiping away excess moisture:
After cleaning your grout, it’s important to remove any excess moisture to prevent future mold or mildew growth. Follow these steps:
1. Use a microfiber cloth or mop: Wipe down the grout lines with a microfiber cloth or mop to absorb any excess moisture.
2. Allow it to air dry: Leave your grout lines to air dry completely before sealing or applying any protective coating.
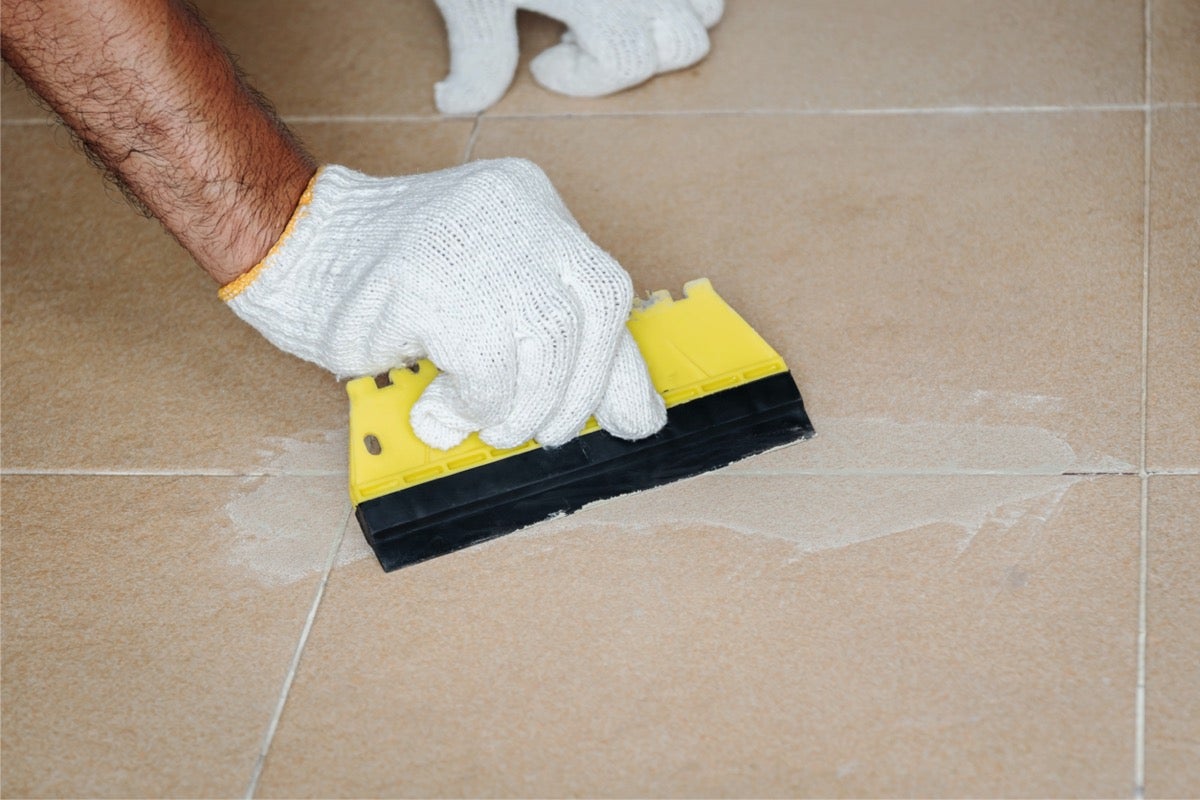
VI. Sealing the grout (optional):
To provide extra protection and prevent future stains, you may choose to seal your grout after cleaning. Follow these steps:
1. Choose a grout sealer: Visit a hardware store and choose a grout sealer that is suitable for your specific type of grout.
2. Apply the sealer: Follow the instructions on the grout sealer packaging and apply it evenly onto the grout lines using a brush or sponge. Make sure to cover all the grout lines.
3. Let it dry: Allow the grout sealer to dry completely before using the tiled area. This can take anywhere from 24 to 48 hours, depending on the product.
Remember, regular maintenance and cleaning of your grout will help keep it looking clean and prevent any buildup of dirt, stains, or mold.