One other way to strengthen a concrete garage floor is actually by using tiles. However, just like with painting wall surfaces in a home, the real attempt is within the preparation. If you've a garage floor coating, you are going to be able to eliminate some stains without a headache. In the event that this's the case, you will want to consider a few throw rugs for the garage area flooring area you are going to be most walking on.
Images about Garage Floor Filler
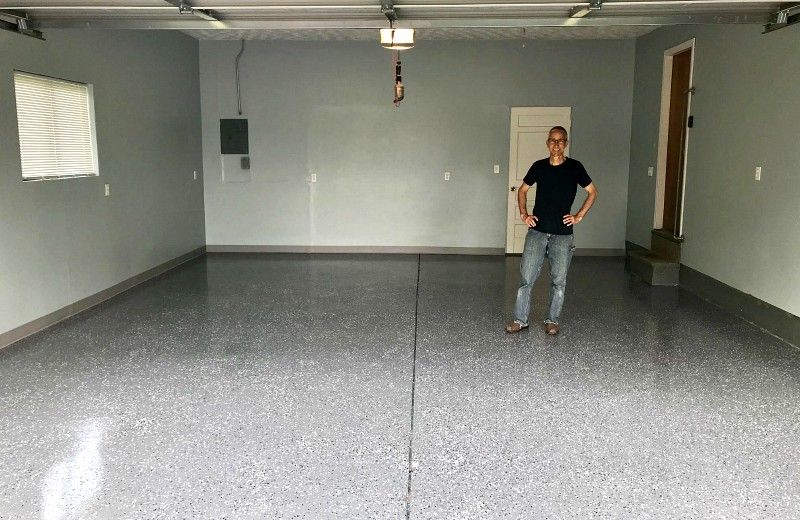
You've various options to perk up the visual appeal of your garage by altering the storage area flooring. If you are into concentrating on Harley Motorcycles you are able to add some orange paint chips or even splatter on a black colored flooring coating can go with any Harley themed storage area. One of the primary benefits of garage floor mats is the potential to cover unattractive floors with anything so visually appealing.
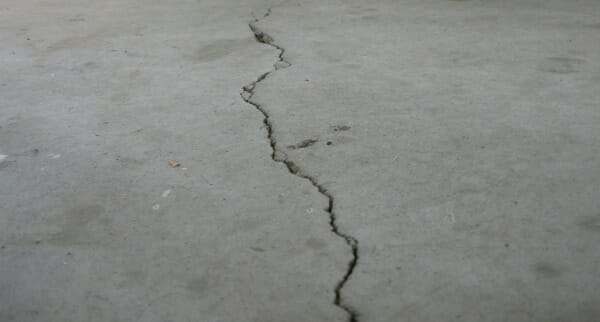
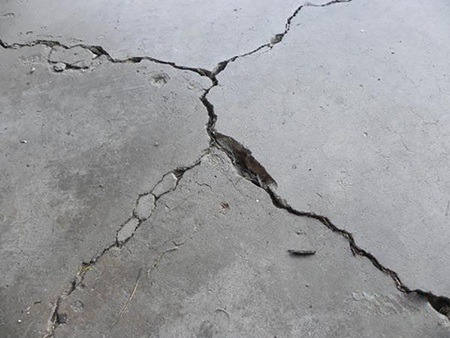
How to Repair Garage Floor Cracks and Pitting All Garage Floors
Which can accommodate several items on the wall, thereby protecting the floor from getting damaged. The investment in your garage floor is usually a good strategy to add value to your place and garage while indulging the creative side of yours. Multiple varieties of this kind of tile can be found. Garage flooring is just like the finishing touches on a master piece.
How to Repair Garage Floor Cracks and Pitting All Garage Floors
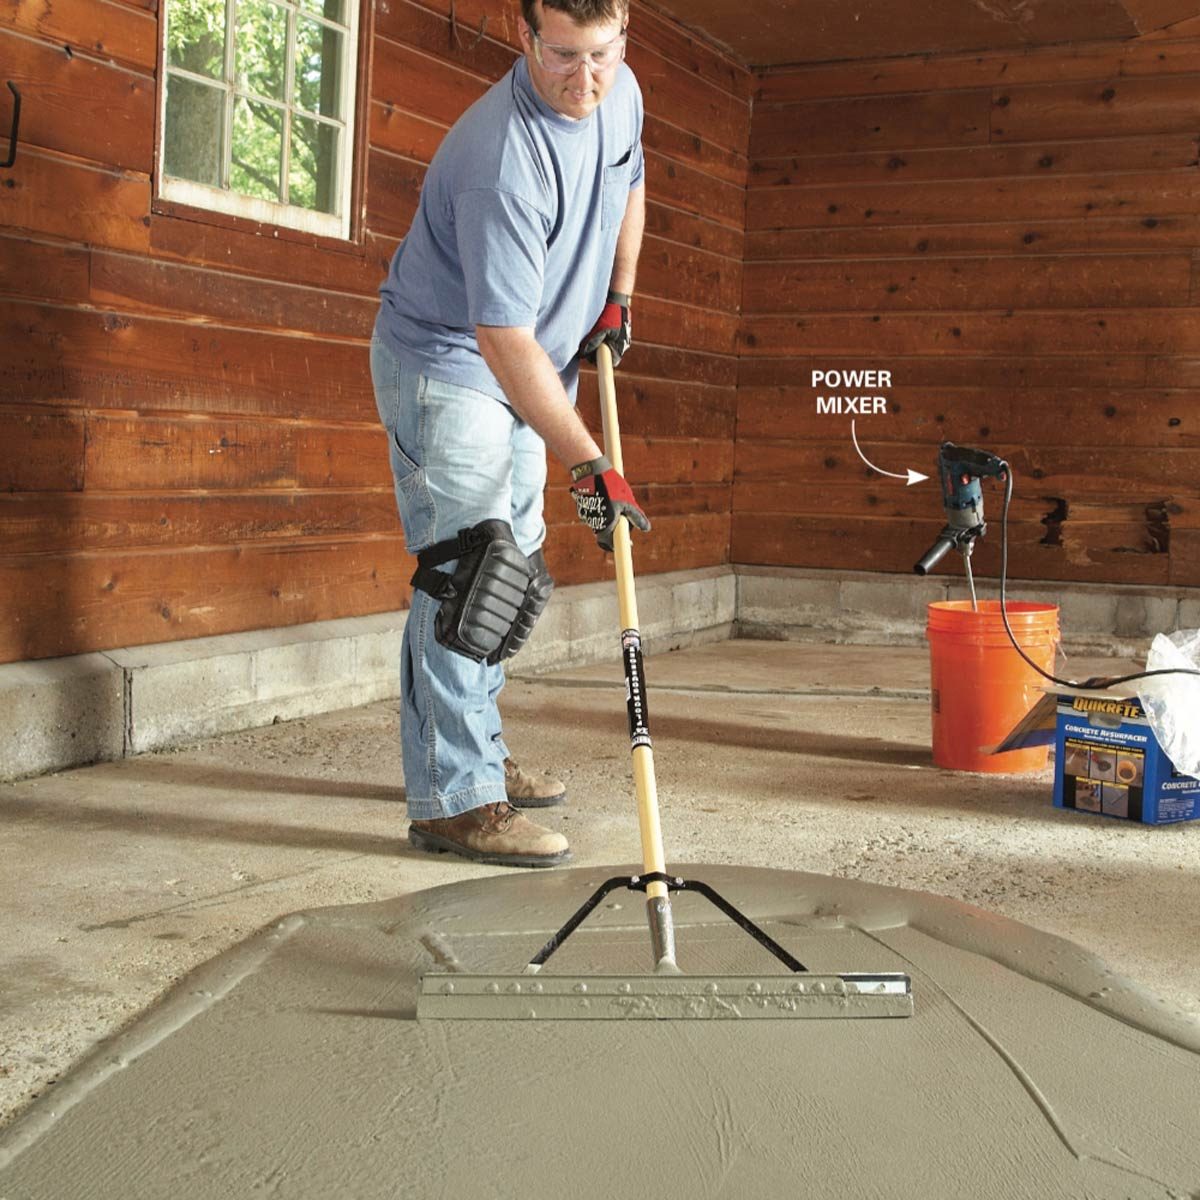
Garage Floor Resurfacing: Fix a Pitted Garage Floor (DIY) Family

Concrete Repair Materials Expansion Joint Filler u0026 Crack Repair

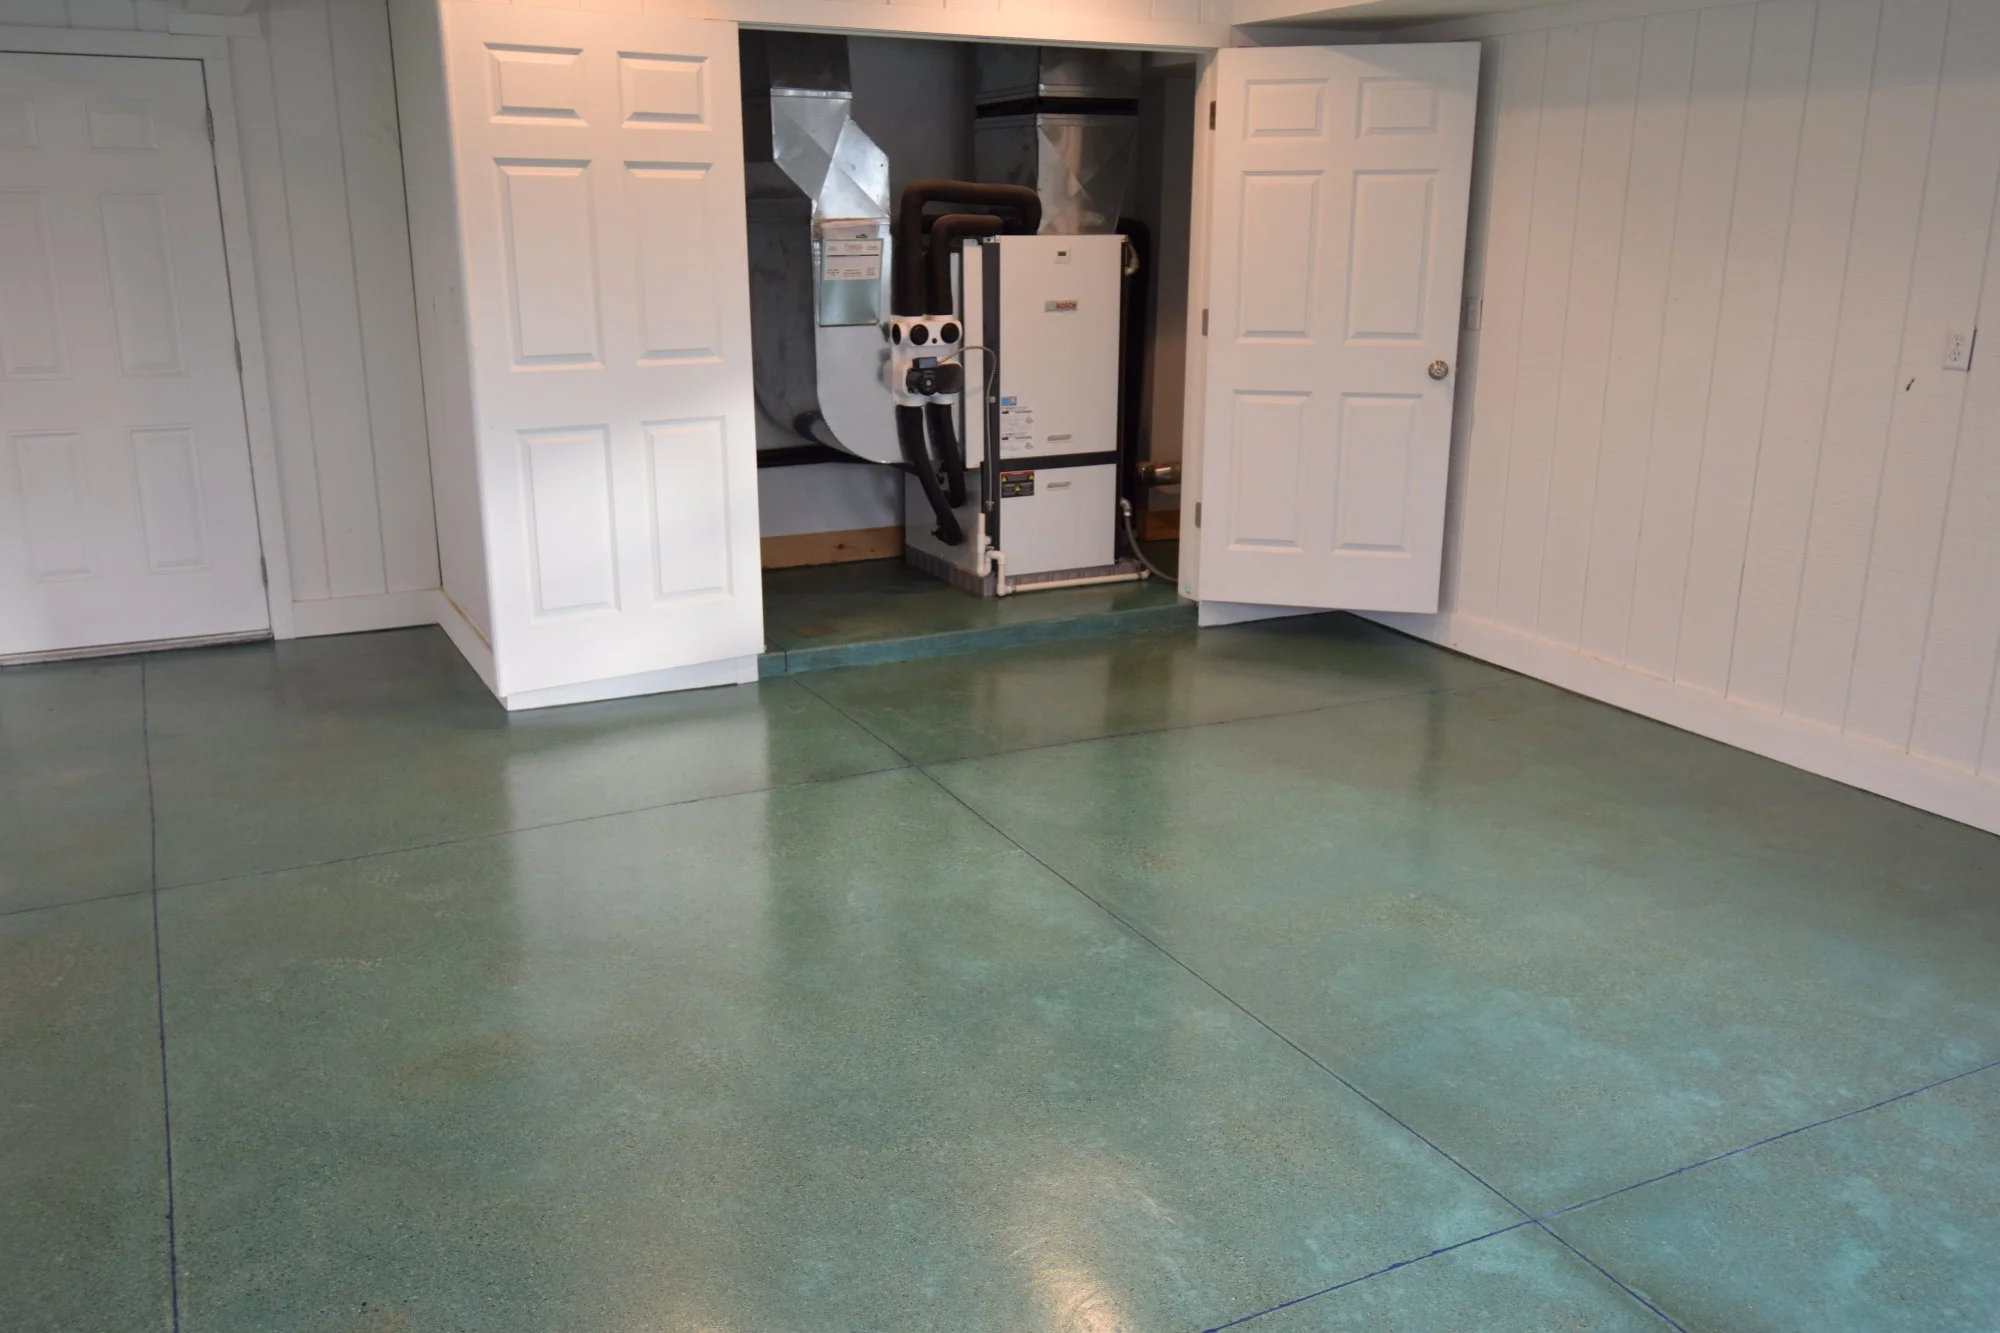
Garage Epoxy Flooring Concrete Repair Resurfacing

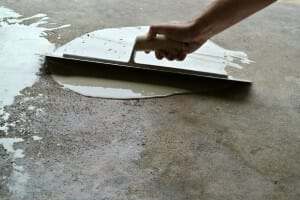
Garage Floor Resurfacing: 4 Simple Steps My Decorative
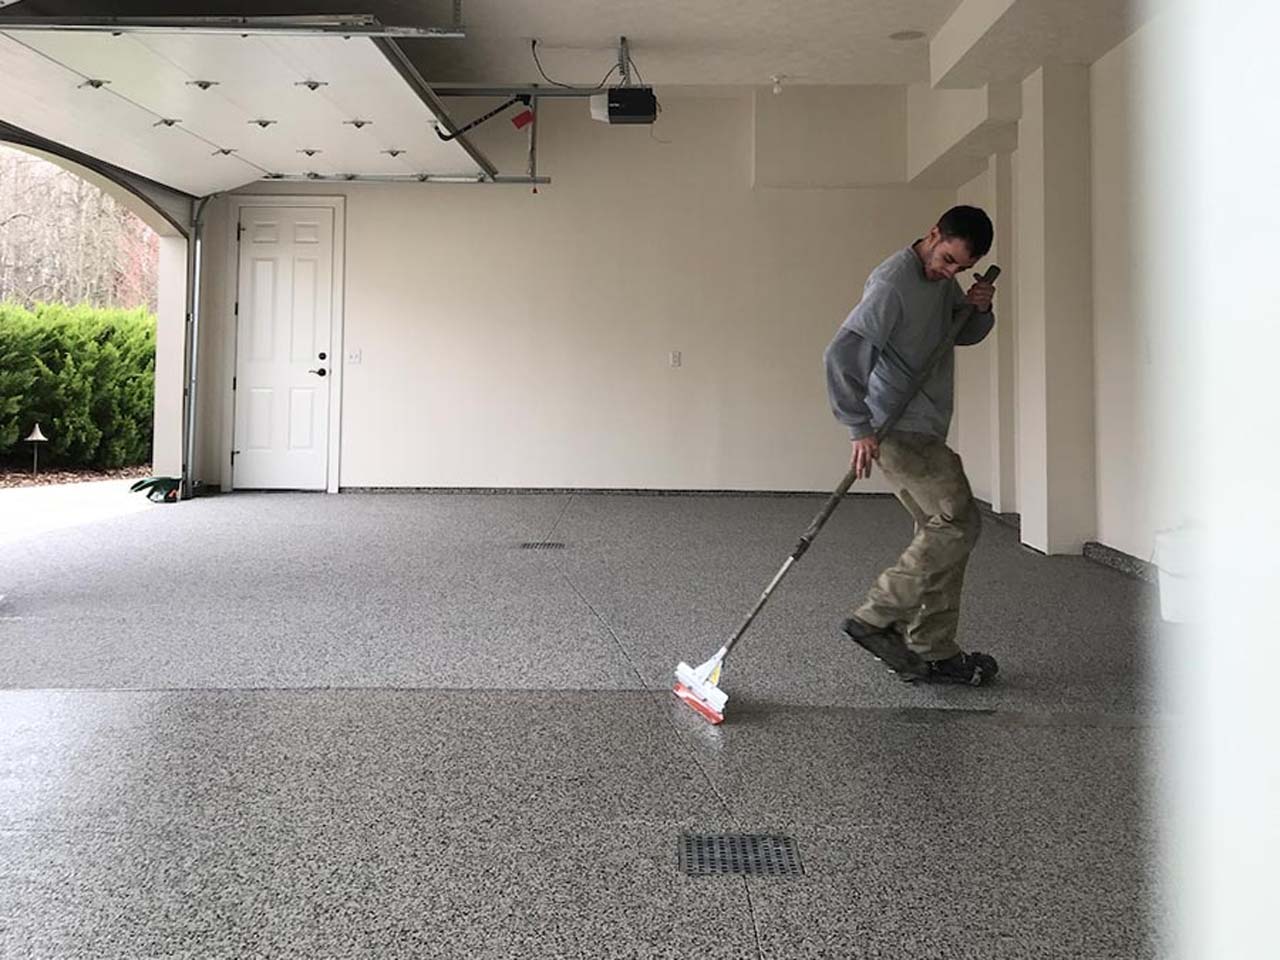
DIY How-To Renew a Pitted Garage Floor with a Nohr-S Coating All
Garage Floor Resurfacing: Fix a Pitted Garage Floor (DIY) Family

Garage Floor Crack Repair 101 (Plus When to DIY u0026 When to Call a Pro)
Concrete Floor Repair: Steps for Patching Concrete – This Old House

Fill Concrete Joints with Joint Filler u0026 Sealant Premier Veneers
Foundation Crack Repair in 8 Steps – This Old House
/cdn.vox-cdn.com/uploads/chorus_image/image/65891854/00_concrete_xl.0.jpg)
garage floor joint filler

Related Posts:
- Garage Floor Slippery When Wet
- Custom Garage Floor Paint
- Wheel Stops For Garage Floor
- Quikrete Garage Floor Sealer
- Behr Concrete And Garage Floor Paint Reviews
- Best Garage Floor Paint Kit
- Garage Floor Covering Rolls
- Weathertech Garage Floor Liner
- Versaroll Pro PVC Garage Flooring Review
- Garage Floor Protect
Garage Floor Filler: A Comprehensive Guide to Repairing and Restoring Your Garage Floor
Introduction:
Your garage floor withstands a significant amount of wear and tear, from heavy vehicles to chemical spills. Over time, cracks, holes, and uneven surfaces can emerge, compromising both the appearance and functionality of your garage space. This is where garage floor filler comes into play. In this comprehensive guide, we will delve into the world of garage floor fillers, exploring their uses, benefits, application techniques, and more. Whether you are a DIY enthusiast or a professional contractor, this article will provide you with all the information you need to successfully repair and restore your garage floor.
I. Understanding Garage Floor Filler:
Garage floor filler is a versatile substance that is specifically designed to repair cracks, holes, and imperfections in concrete floors. It acts as a bonding agent that not only fills in gaps but also creates a strong and durable surface. This product is typically made from a combination of cementitious materials, such as Portland cement or epoxy resin. The choice of filler depends on the severity of the damage and the desired finish.
FAQs:
1. What are the main types of garage floor fillers?
There are two main types of garage floor fillers – cement-based fillers and epoxy-based fillers. Cement-based fillers are ideal for small repairs and have excellent adhesion properties. On the other hand, epoxy-based fillers provide superior strength and durability, making them suitable for larger repairs or high-traffic areas.
2. Is it necessary to use a primer before applying garage floor filler?
Using a primer before applying the filler is highly recommended as it enhances adhesion and ensures a long-lasting repair. The type of primer required depends on the specific filler being used and the condition of the concrete surface.
II. Benefits of Using Garage Floor Filler:
Repairing your garage floor with high-quality filler offers numerous benefits, both in terms of functionality and aesthetics. Let’s explore some of the key advantages:
1. Enhanced Durability: Garage floor fillers are designed to withstand heavy loads and resist wear and tear. By filling in cracks and holes, the filler reinforces the structural integrity of the concrete, preventing further damage.
2. Seamless Appearance: A well-applied garage floor filler can restore the smooth and seamless appearance of your garage floor. It helps eliminate uneven surfaces and creates a uniform finish that enhances the overall aesthetic appeal.
3. Chemical Resistance: Certain types of garage floor fillers, particularly epoxy-based ones, offer excellent resistance to chemicals such as oil, gasoline, and solvents. This makes them ideal for garages where spills are likely to occur.
FAQs:
1. How long does a garage floor filler last?
The lifespan of a garage floor filler can vary depending on factors such as the quality of the product, the application technique, and the level of traffic in the area. Generally, a well-installed filler can last anywhere from 5 to 10 years before requiring touch-ups or reapplication.
2. Can I apply garage floor filler on my own?
Yes, many garage floor fillers are specifically formulated for DIY use. However, it is crucial to carefully follow the manufacturer’s instructions to ensure proper application and achieve optimal results.
III. Preparing Your Garage Floor for Filling:
Before applying garage floor filler, it is essential to properly prepare the surface to ensure maximum adhesion and longevity of the repair.
1. Clean the Surface: Begin by Thoroughly cleaning the garage floor surface. Remove any dirt, debris, or loose material using a broom or vacuum cleaner. For stubborn stains or grease spots, use a degreaser and scrub with a brush.
2. Repair Cracks and Holes: Fill in any cracks or holes in the garage floor using a suitable concrete patching compound. Follow the manufacturer’s instructions for mixing and applying the patching compound, ensuring that it is level with the surrounding floor surface.
3. Smooth the Surface: Use a floor grinder or sander to smooth out any rough patches or high spots on the garage floor. This will create an even surface for the filler to adhere to.
4. Prime the Surface: Apply a primer to the garage floor according to the instructions provided by the filler manufacturer. The primer will improve adhesion and promote a long-lasting repair.
IV. Applying Garage Floor Filler:
Now that your garage floor is properly prepared, it’s time to apply the filler:
1. Mix the Filler: Follow the manufacturer’s instructions for mixing the garage floor filler. Ensure that you achieve a smooth and consistent mixture.
2. Apply the Filler: Using a trowel or putty knife, spread the filler evenly across the repaired areas of your garage floor. Work in small sections, smoothing out the filler with long, even strokes.
3. Allow Drying Time: Give the filler sufficient time to dry and cure according to the manufacturer’s recommendations. This may take several hours or even days, depending on the specific product.
4. Sand and Finish: Once the filler is fully dry, use sandpaper or a floor sander to smooth out any rough edges or imperfections. Finish off by applying a suitable sealant or coating to protect the filled areas and enhance the overall appearance of your garage floor.
Remember to always read and follow the instructions provided by the manufacturer of the garage floor filler for best results. If you have any doubts or concerns, it is recommended to consult a professional for assistance.