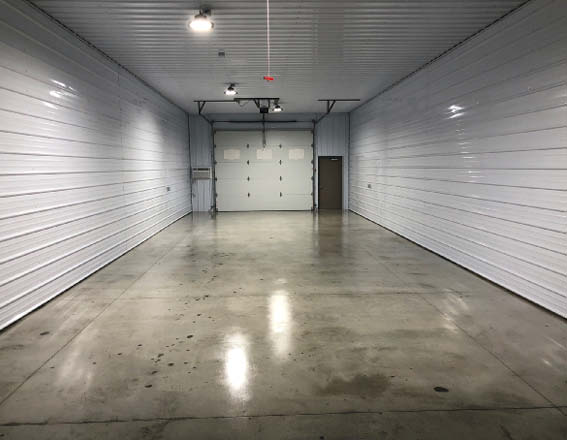
This sort of system works to avoid long lasting degeneration of done concrete floors. No matter what could leak on it or perhaps be dragged across it, concrete floors is virtually indestructible. When you are thinking that you would like to have further choices than just a shiny surface as well as color to work into your design goals, then polished concrete is also the technique to go.
Images about How To Seal Concrete Floor In Garage
They are generally resilient to injury, easy to keep and simple to clean. While a number of persons love to use slate or granite for floor surfaces, concrete floor can be just as gorgeous and a lot more affordable. When cleaning polished concrete floors, you do not have to depend on harsh chemical cleaners anymore.
How to Seal a Garage Floor with Showroom-Quality Results
Thus concrete flooring has become the very first choice of not the household but perhaps the commercial and business owner. In winter, it is drier and retains the warmth of this sun. The appeal would be that with regards to polished concrete flooring, one may be sure the first appearance will be able to be re instated. The diamond concrete polishing process is simple and easy.
New Garage Floors for $100 dollars Eagle Gloss Sealer – YouTube
The Benefits of Acrylic Garage Floor Sealers All Garage Floors

A Homeowneru0027s Guide to Garage Floor Sealing u2014 Hastings
Garage Floor Sealers – Before and After

3 Advantages of Epoxy Sealing Your Garage Floor BN Products
Alternative Finishes for Interior Concrete Floors – Concrete Decor
Best Sealer for a Garage Floor Concrete Sealing Ratings

Garage Floor Sealers Guide From Densifiers to Epoxy Coatings
Best Garage Floor Coating of 2022 – This Old House
/cdn.vox-cdn.com/uploads/chorus_asset/file/22308892/1120_FEA_Idea_House_Fairfield_Farmhouse_08142020NR_0078_v3.jpg)
How to Seal Concrete Floors (with Pictures) – wikiHow

Colored Coatings u0026 Clear Sealers for Concrete Premier Veneers
Alternative Finishes for Interior Concrete Floors – Concrete Decor
Related Posts:
- Concrete Floor Expansion Joint Filler
- How To Put Hardwood On Concrete Floor
- How To Install Backer Board On Concrete Floor
- How To Shine Up Concrete Floors
- Patching Concrete Floor Holes
- Best Epoxy Concrete Floor Coating
- Grey Polished Concrete Floors
- Sprayed Concrete Floors
- How To Repair Concrete Floor Cracks
- Building Regulations Concrete Floor Slab
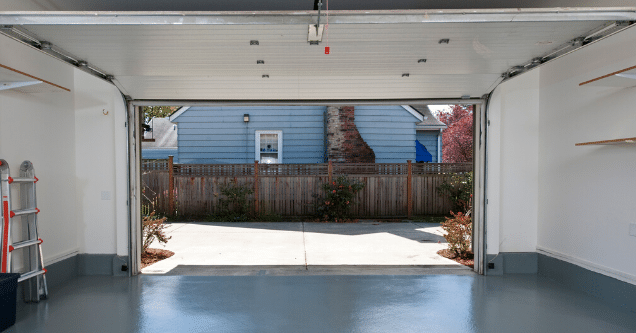
How to Seal Concrete Floor in Garage: A Comprehensive Guide
Introduction:
A concrete floor in your garage is durable and resistant to heavy traffic, but it is still susceptible to damage from spills, stains, and moisture. To protect your garage floor and enhance its longevity, sealing the concrete is essential. Sealing the concrete floor not only adds a layer of protection but also gives it a polished and attractive appearance. In this comprehensive guide, we will walk you through the step-by-step process of sealing a concrete floor in your garage.
I. Preparing the Concrete Surface:
Before applying any sealant to your garage floor, it is crucial to properly prepare the concrete surface. This involves thoroughly cleaning the floor and removing any existing coatings or stains. Follow these steps for optimal surface preparation:
1. Clearing the Area:
Remove all items from your garage, including vehicles, tools, and storage items. This ensures that you have ample space to work and prevents any interference during the sealing process.
2. Sweeping and Cleaning:
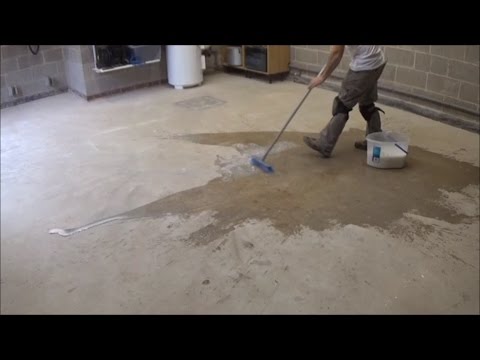
Begin by sweeping the entire garage floor with a broom to remove loose dirt, dust, and debris. Once swept, use a pressure washer or hose with a high-pressure nozzle attachment to thoroughly clean the surface. Pay special attention to oil stains or other stubborn residues, using an appropriate cleaner if necessary.
3. Removing Existing Coatings:
If your garage floor has been previously sealed or coated, it is essential to remove these coatings before applying a new sealant. Use a chemical stripper or mechanical grinder specifically designed for concrete surfaces to strip away any existing sealants or paints.
4. Repairing Cracks and Imperfections:
Inspect the concrete surface for any cracks, pits, or imperfections. Fill these areas with an appropriate patching compound or epoxy filler and allow them to cure according to the manufacturer’s instructions.
FAQs:
Q1: Can I seal my garage floor without stripping away the existing coating?
A1: While it is possible to apply a new sealant over an existing coating, it is generally recommended to remove the old coating for optimal adhesion and durability of the new sealant. Stripping away the old coating ensures a clean and smooth surface for the new sealant to bond effectively.
Q2: Can I skip the step of repairing cracks and imperfections?
A2: It is not advisable to skip this step as cracks and imperfections can compromise the overall integrity of the sealed floor. Repairing these areas ensures a level surface and prevents future damage from occurring.
II. Choosing the Right Sealer:
Choosing the right sealer for your garage floor is crucial for achieving long-lasting results. There are various types of sealers available, each with its own advantages and considerations. Here are some common options:
1. Penetrating Sealers:
Penetrating sealers work by penetrating into the concrete’s pores, forming a protective barrier against moisture and stains from within. They do not alter the appearance of the concrete but provide excellent protection against water damage. These sealers are ideal for garage floors that are frequently exposed to moisture or chemicals.
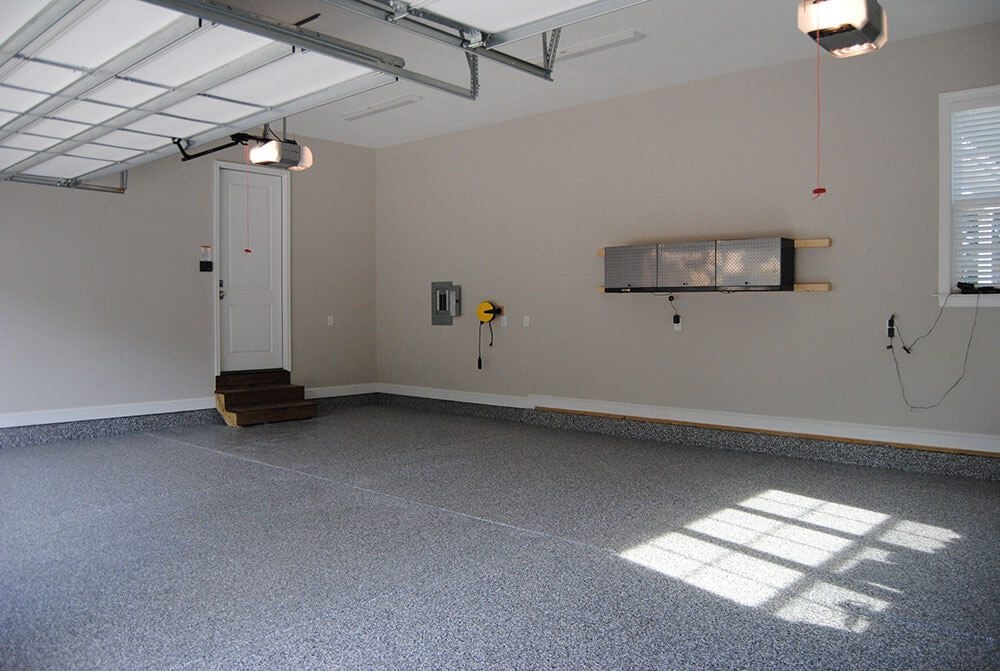
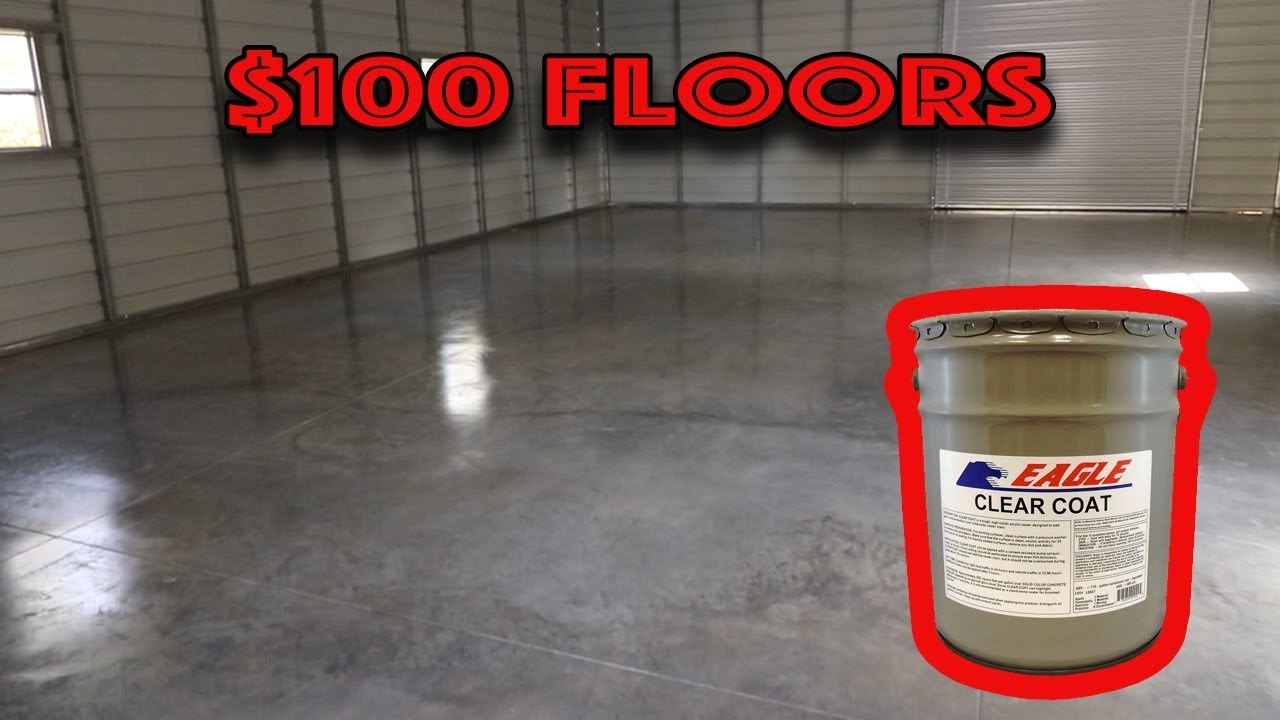
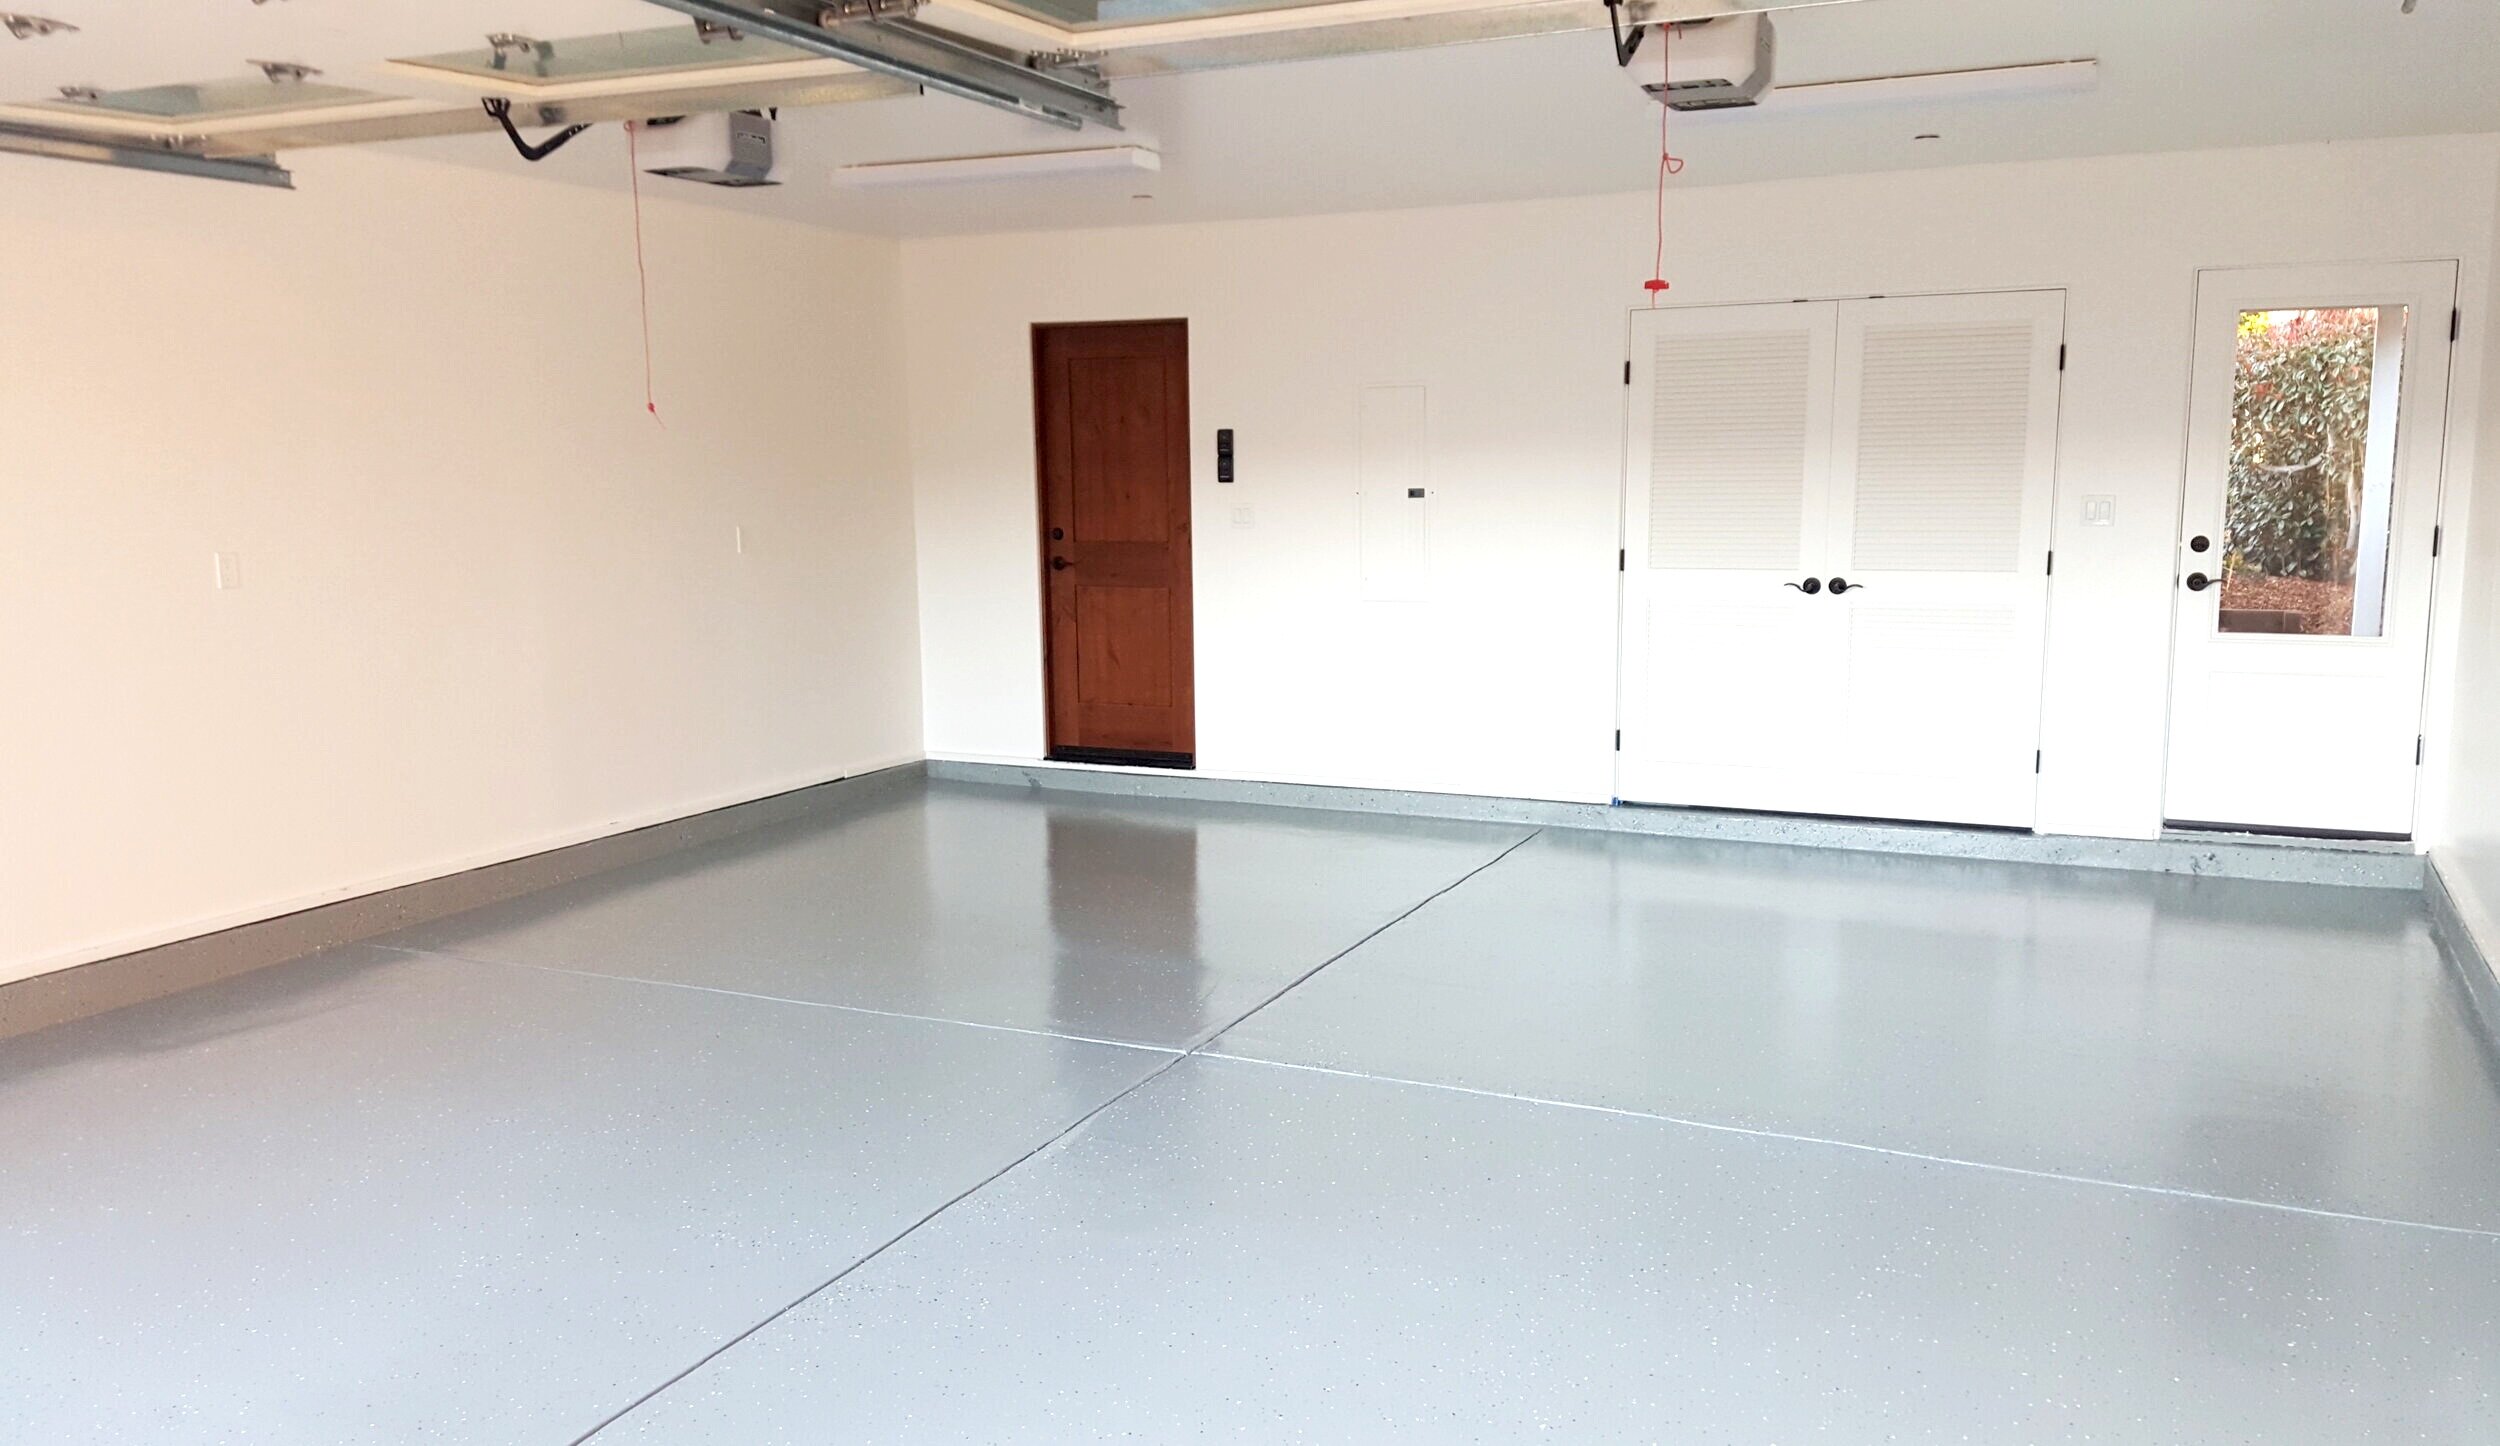
2. Acrylic Sealers:
Acrylic sealers create a thin protective film on the surface of the concrete. They offer good resistance against stains, chemicals, and UV rays while enhancing the aesthetic appeal with a glossy finish. Acrylic sealers are relatively easy to apply and maintain, making them a popular choice for garage floors.
3. Epoxy Coatings:
Epoxy coatings consist of two components That are mixed together to form a durable and chemical-resistant coating. They create a high-gloss finish and provide excellent protection against stains, chemicals, and abrasion. Epoxy coatings are more labor-intensive to apply but offer superior durability and longevity.
4. Polyurethane Sealers:
Polyurethane sealers provide a tough and durable finish with excellent resistance to chemicals, abrasion, and UV rays. They offer a high-gloss or satin finish and can be used on both interior and exterior surfaces. Polyurethane sealers are more expensive than acrylic sealers but offer enhanced protection.
Consider the specific needs of your garage floor, such as its exposure to moisture, chemicals, or heavy traffic, when selecting a sealer. Consult with a professional or the manufacturer’s guidelines for further guidance on choosing the right sealer for your garage floor.
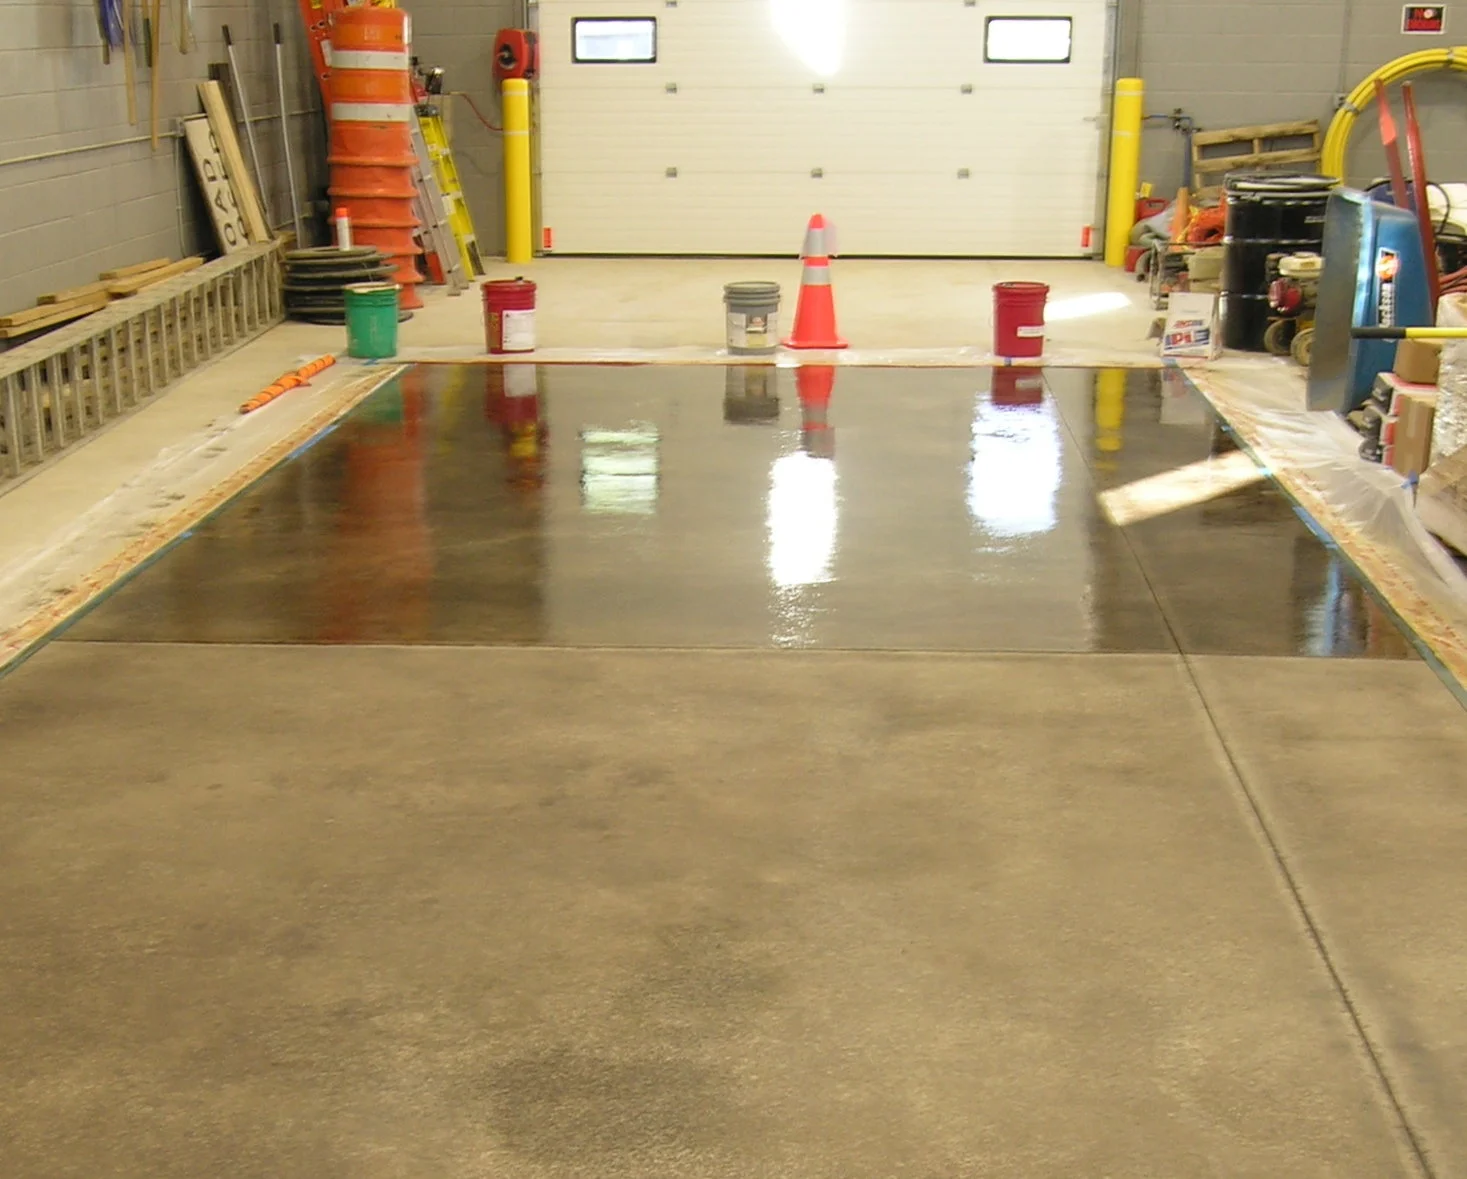
III. Applying the Sealer:
Once you have prepared the garage floor and chosen the right sealer, follow these steps to apply the sealer:
1. Read the manufacturer’s instructions:
Before applying the sealer, carefully read and follow the manufacturer’s instructions. This will ensure that you apply the sealer correctly and achieve optimal results.
2. Start from one corner:
Begin applying the sealer from one corner of the garage floor, working your way towards an exit. Use a long-handled roller or a sprayer to evenly distribute the sealer on the surface.
3. Apply multiple coats:
Apply multiple thin coats of sealer rather than one thick coat. This allows for better penetration and adhesion to the concrete surface. Follow the recommended drying time between each coat.
4. Work in small sections:
Divide the garage floor into manageable sections and work on one section at a time. This ensures that the sealer is applied evenly and prevents it from drying too quickly.
5. Allow for proper curing:
After applying the final coat of sealer, allow it to cure according to the manufacturer’s instructions. This usually involves avoiding foot or vehicle traffic for a specific period to allow the sealer to fully bond and harden.
IV. Maintaining the Sealed Garage Floor:
To ensure the longevity and effectiveness of your sealed garage floor, follow these maintenance tips:
1. Clean regularly:
Sweep or vacuum the floor regularly to remove loose dirt, dust, and debris. Avoid using harsh chemicals or abrasive cleaners that can damage the sealer.
2. Wipe up spills promptly:
Clean up any spills or stains as soon as possible to prevent them from penetrating the sealer. Use a mild detergent and water solution for cleaning up spills.
3. Avoid heavy impact:
Avoid dropping heavy objects or dragging sharp objects across the sealed floor, as this can cause scratches or dents in the sealer.
4. Reapply sealer as needed:
Over time, the sealer may wear off or become less effective. Monitor the condition of your garage floor and reapply the sealer as needed to maintain its protection.<